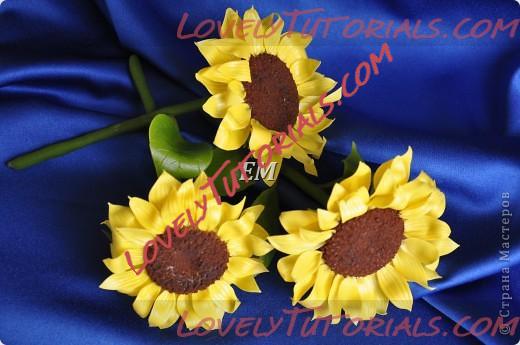
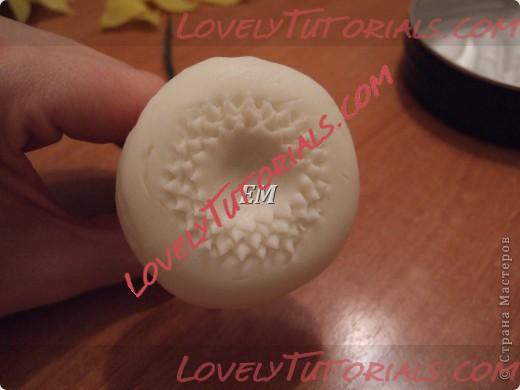
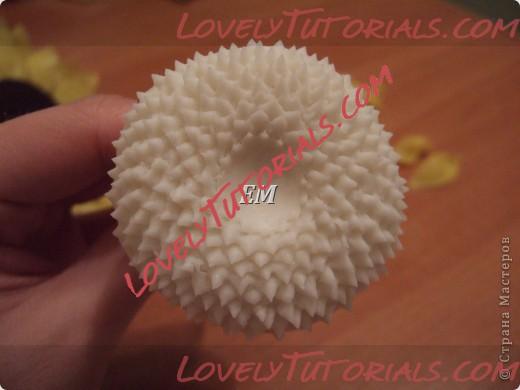
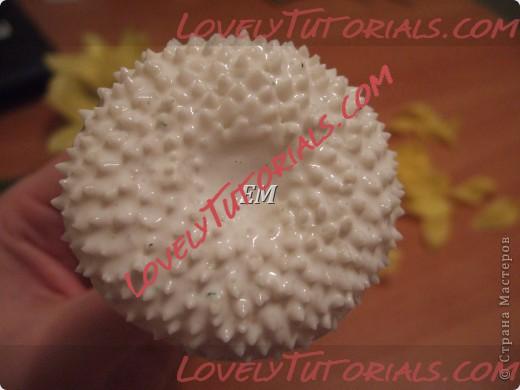
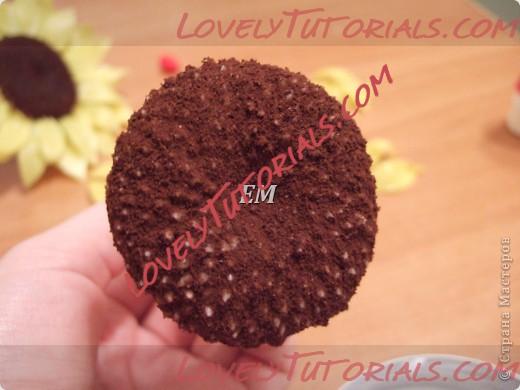
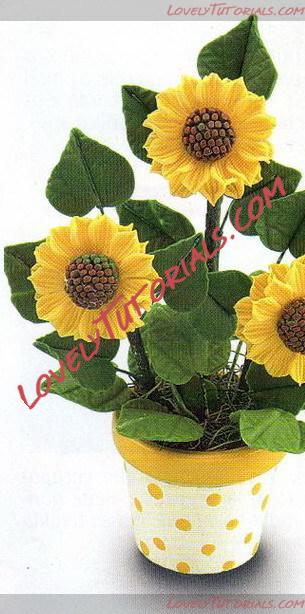
Огромная благодарность Автору RoyalBakery за Мастер-класс
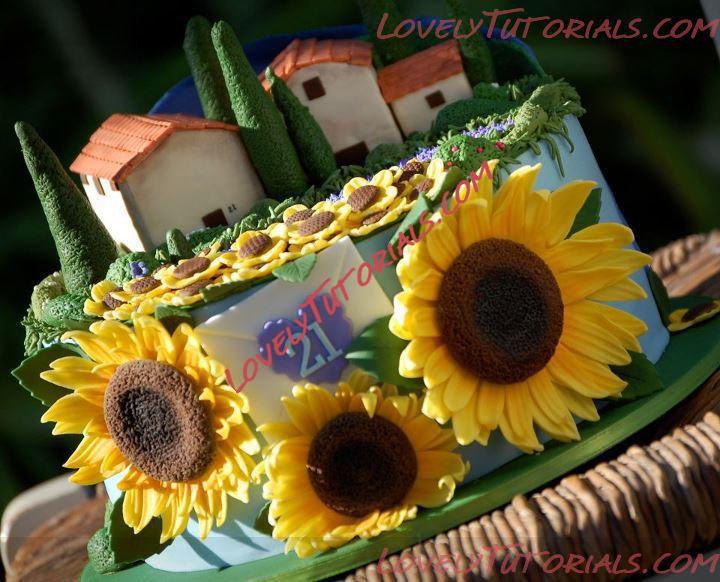
This is a tutorial for making sunflowers without having to shell out for cutters. I’m a total cheapskate and I was worried the cutters wouldn’t arrive in time in any case, so decided to try doing them freehand.
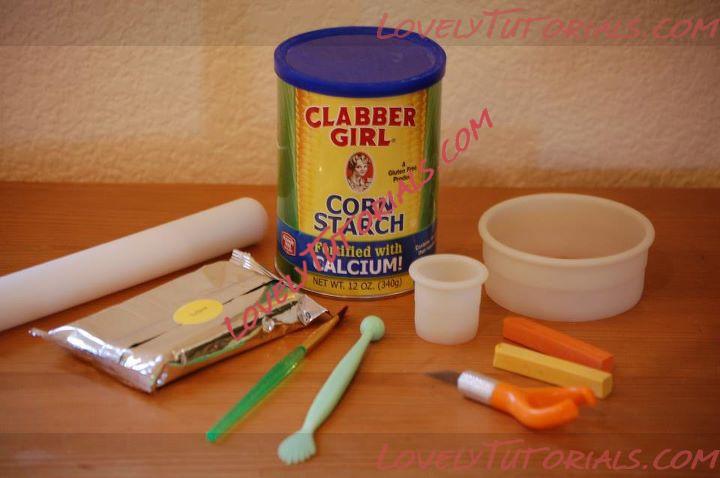
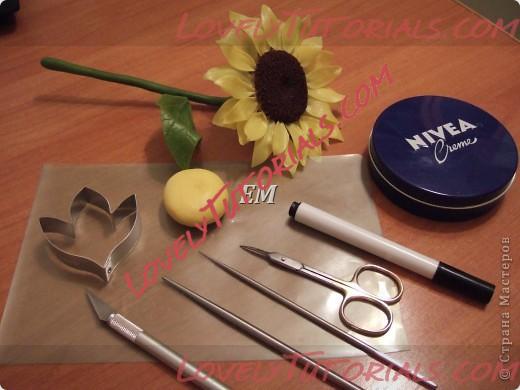
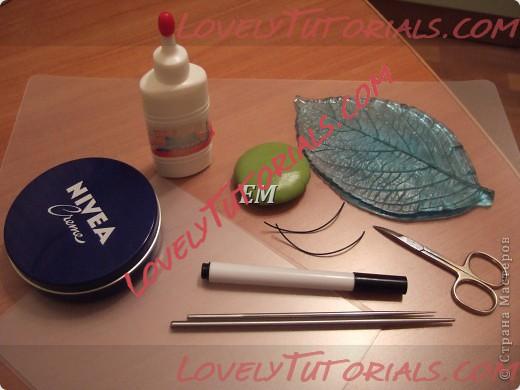
You will need:
- Yellow fondant or gumpaste (I use Wilton fondant because it’s cheap, it’s pliable and it dries quickly)
- Circle cutters (the size is up to you, I’ll talk more about this later)
- Rolling pin
- Exacto or sharp knife
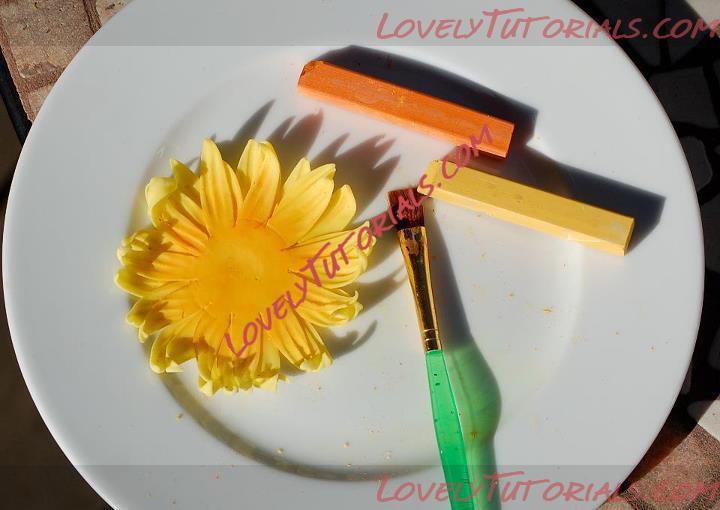
- Yellow, orange and black petal dust or non-toxic pastel chalks
- That shell/scalloped tool thing
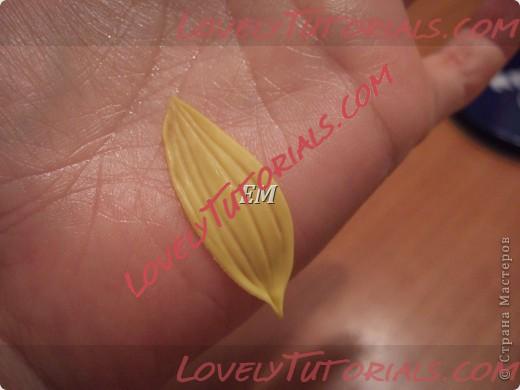
- Thin sponge (not pictured)
- Paint brush
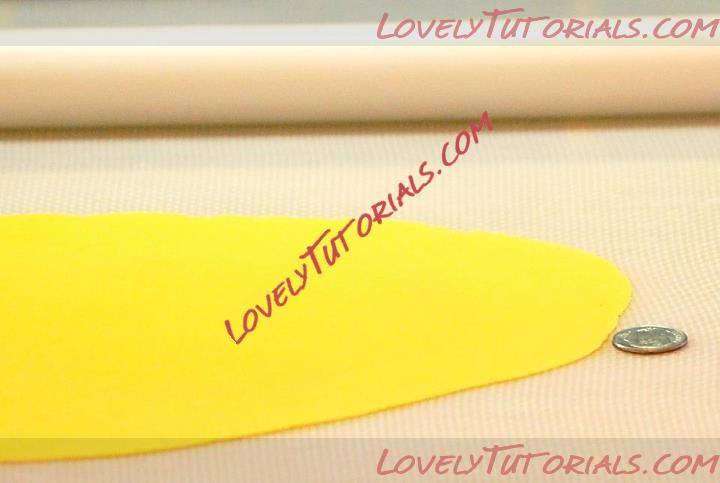
1. Begin by rolling your fondant very thin. Mine was way thinner than a dime.
2. Choose a cutter that is bigger than the size you want your finished sunflower to be. For the cake, I made mine in different sizes, with the largest being 4” in diameter. For this tutorial, however, I used a 3.5” cutter. If you don’t have cutters this size, you can use anything circular as you don’t need to actually cut with it. You can use the lid from your cornstarch, for example, of anything similar. (I’m a cheapskate, remember?)
3. Now choose a cutter that is less than half the size of your first cutter. Mine was 1.5”.
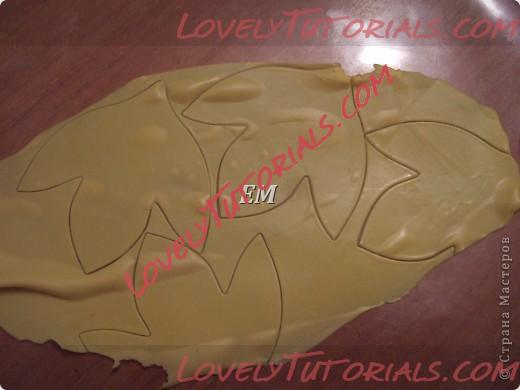
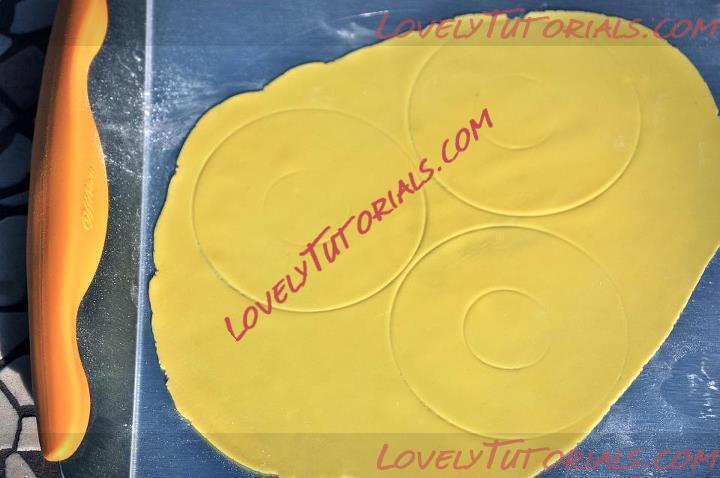
4. Press your largest cutter into your rolled fondant three times (as there are three layers of petals). You don’t need to cut all the way through, you’re just making an indentation.
5. Use the smaller cutter to press VERY GENTLY in the middle of the three larger circles. If you press too hard, your petals will break off when the flower dries. All you need is a guide for cutting your petals. In the photo below I actually pressed too hard into the circle at the bottom.
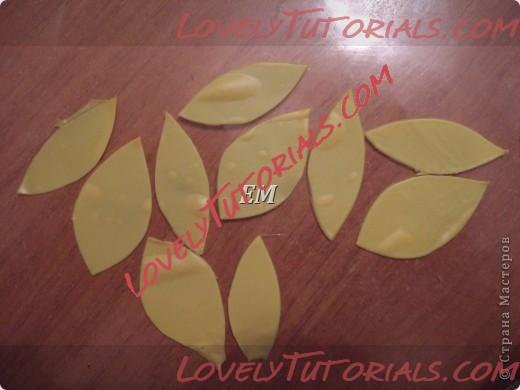
6. Take your scalpel or sharp knife and, using the inner and outer circles as a guide, begin cutting your petals. Start at the inner circle and cut a curve out to, and beyond, the outer circle. Repeat on the other side to meet your first cut at the outer circle until you have one petal cut. Repeat all the way around your circle and remove the flower shape from the fondant. Pop it under a piece of plastic while you cut the rest.
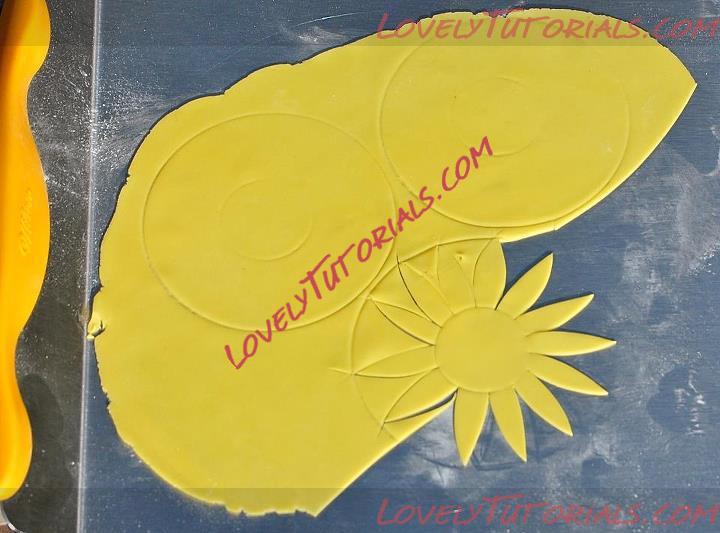
Don’t worry if all your petals aren’t even – mine certainly weren’t – but do be careful not to cut them too thin otherwise they’re more likely to break off later. I tried to make mine between 1/4 and 1/2” wide.
7. Continue until all three sets of petals are cut.
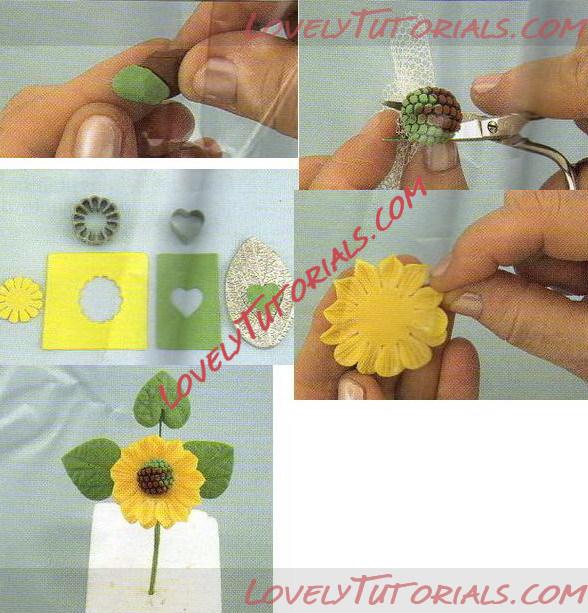
8. Now put one set of petals on to your thin foam and use the scallopy shell tool thing to vein and curl your petals. (I really should find out what that tool is called.)
9. Start with the tool halfway off the end of the petal and press pretty firmly up the length of the petal into the centre. The petal should curl up slightly at the end and have a nice ridged texture. Here’s a useless photo. I have to stand so far back with my camera, I couldn’t reach the tool!
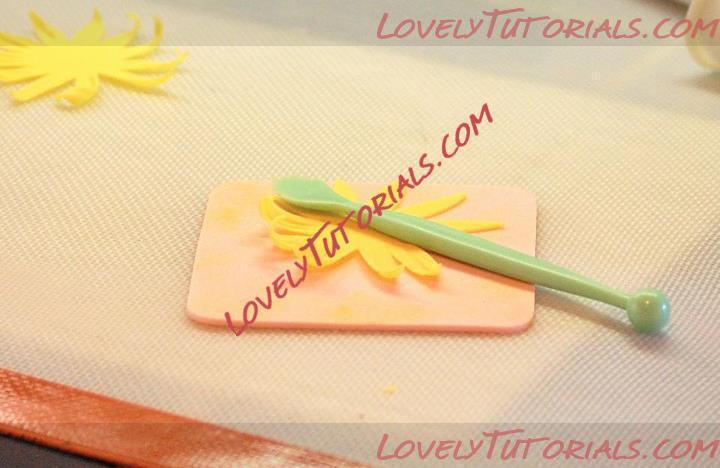
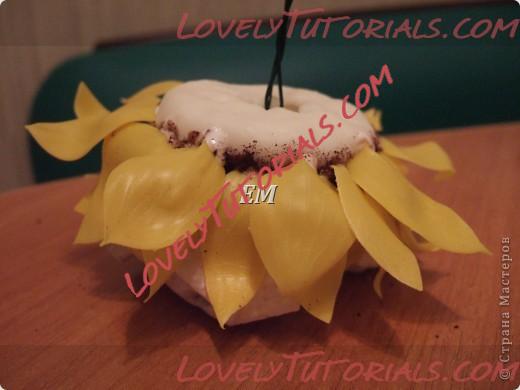
10. Repeat for all three sets of petals and then layer one on top of each other using a dab of water in the centre to secure. Try to overlap the petals so that each one falls between two petals underneath.
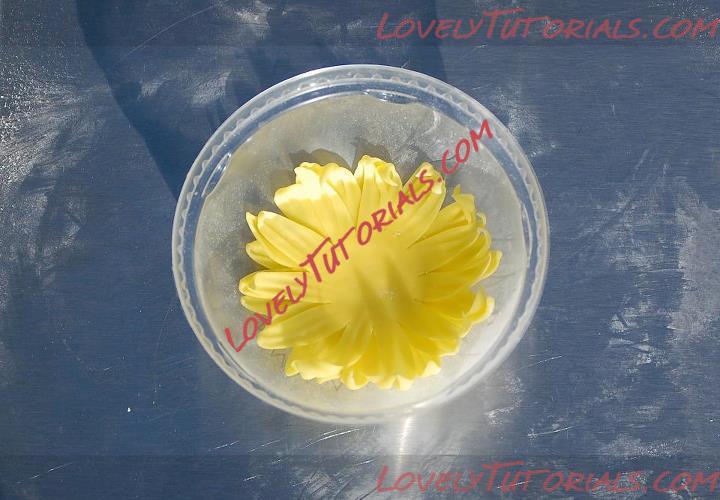
11. Now put the sunflower somewhere ingenious to help you keep the edges of the petals curled up. I used the lid of a Starbucks Frapuccino (did I mention cheapskate?) and then transferred into a cutter of a slightly smaller size so that just the edges of the petals were kept from drooping.
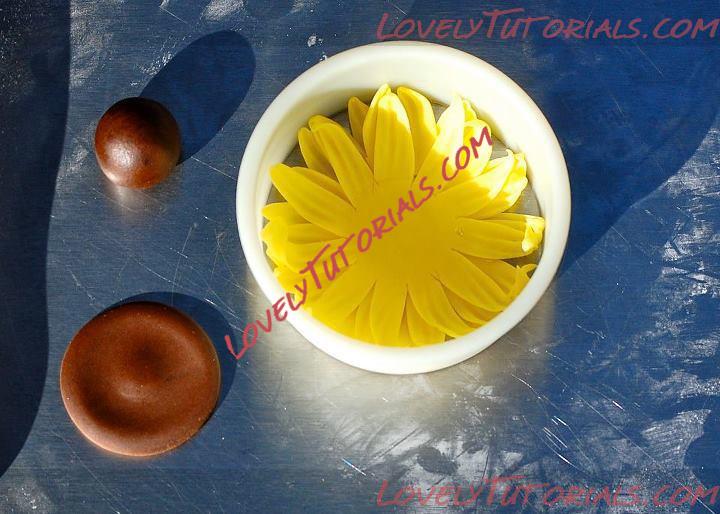
12. For the centre of the sunflower, take a ball of brown fondant – I used Satin Ice Dark Chocolate – and squash it flat. It needs to be a little larger than the diameter of the cutter you used to mark the centre of your petals.
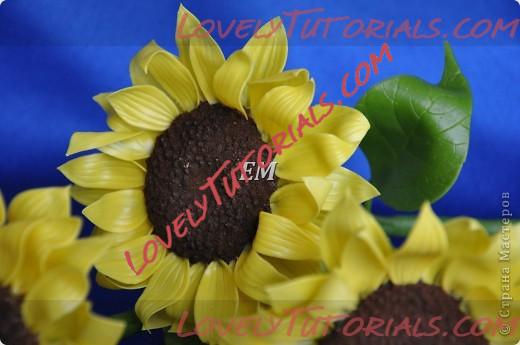
13. Create a round indentation in the middle of the brown disc by rubbing your finger in a circular motion inside the edge. You want the very centre to be raised up, then an indentation, and then the edges to be raised up again. This part isn’t critical, but it does seem to be the shape of the real sunflower centres I looked at.
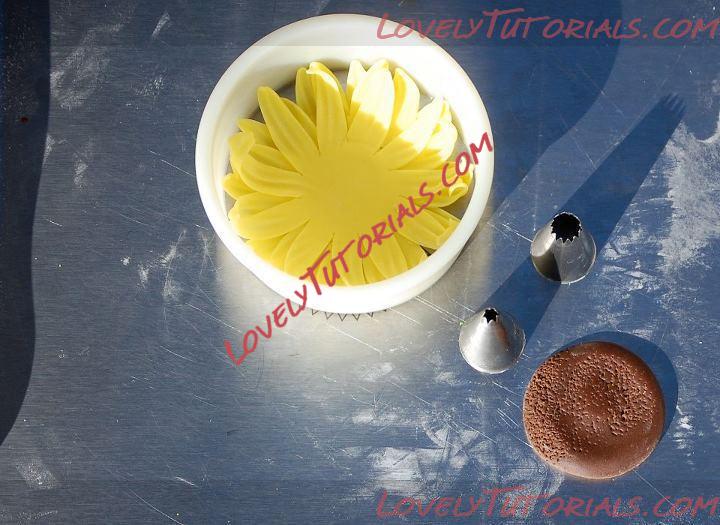
14. Using piping tips, start poking the brown disc all over. I actually used one inside another to make the process a bit quicker. Don’t worry if the fondant starts lifting up slightly – you’re looking for texture, not holes. Keep going all over the disc poking around the edges too if it starts to get misshapen. Try to retain the indentation.
Being a cheapskate – did I mention that? – I didn’t want to buy three colours of petal dust just to make a flower I’m unlikely to make again in years. I’d seen a thread on Cake Central about using non-toxic chalks and thought I’d do some more research. Even Wilton suggests using them on its website. I had a new, unopened box of pastel chalks my son never used (he’s not the arty type) so I used these in place of petal dust.
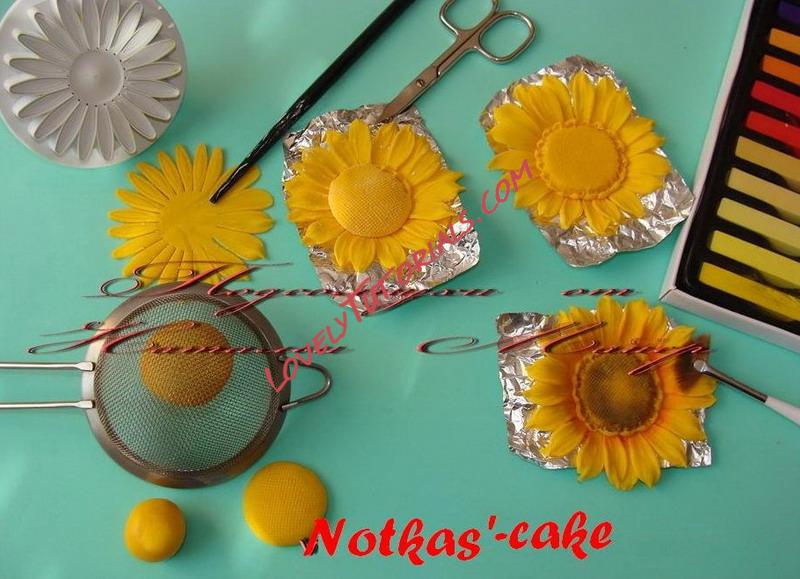
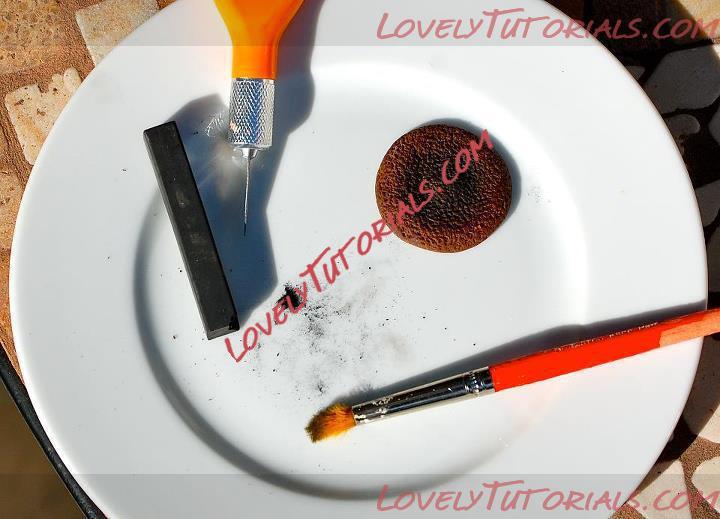
15. If you are using petal dust, brush a little black or very dark brown into the centre of the brown disc. If you are using chalks, you’ll need to create a powder first. There are a few suggestions I’ve read – grind a small piece in a pestle and mortar or rub the chalk through a sieve or tea strainer. I just scraped my chalks with my Exacto knife until I had a little pile of powder.
16. When your sunflower petals are dry, brush the length of the petals with egg yolk yellow petal dust or chalk dust. I started in the centre and brushed outwards towards the tips of the petals. I didn’t brush the underneath petals, but I guess you could do that to each layer before sticking them together. I didn’t think it was necessary.
In the photo below I have brushed just the right hand half of the flowr. It’s a subtle difference.
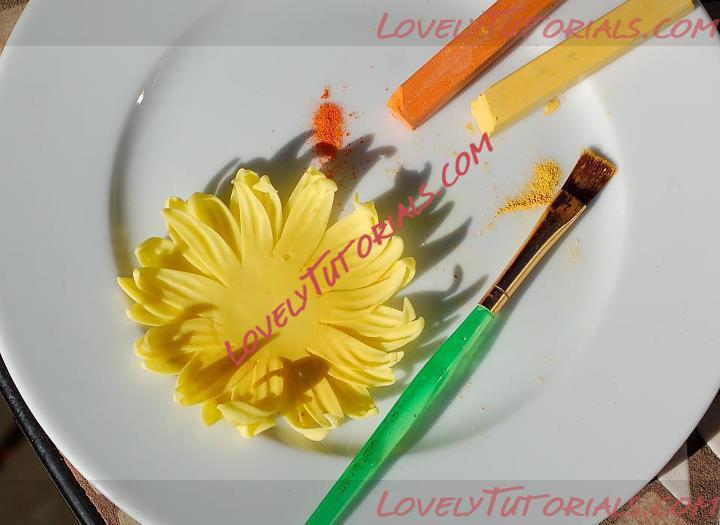
17. Now brush just half of each petal with orange, or orange mixed with the yellow. You don’t want it to be too dramatic – it should just be shading that emerges from under the sunflower centre once it’s attached.
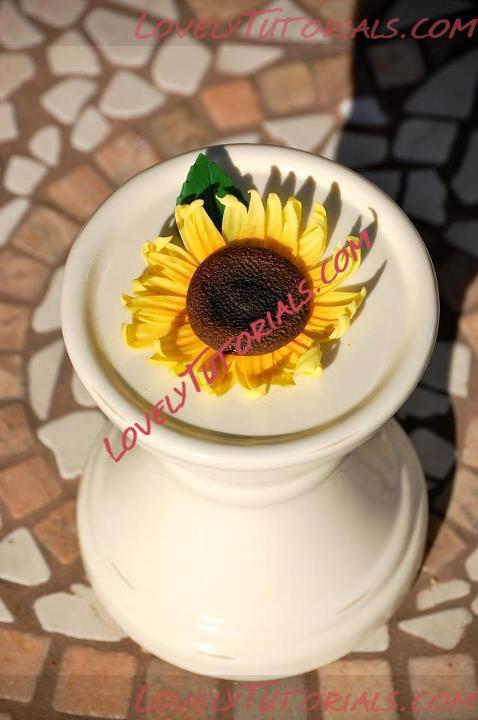
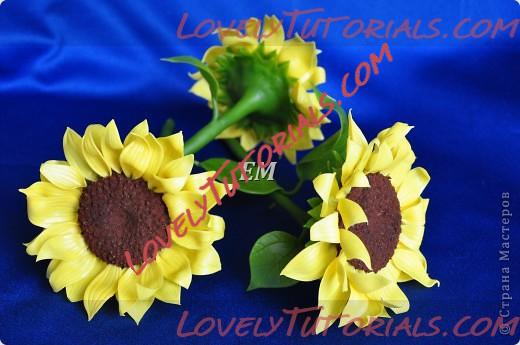
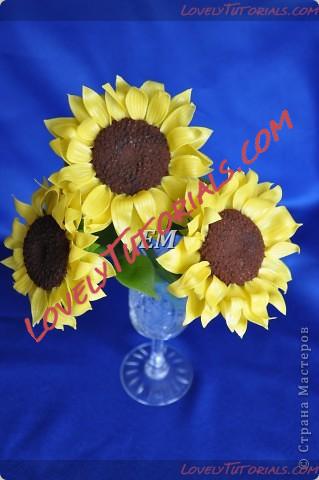
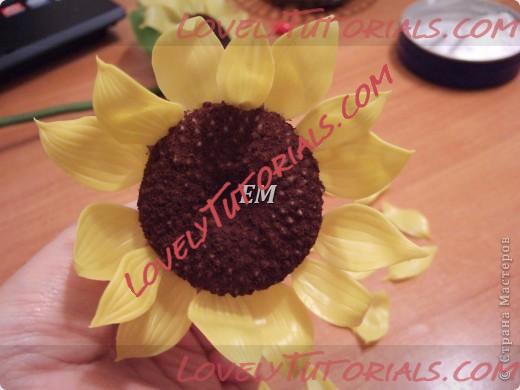
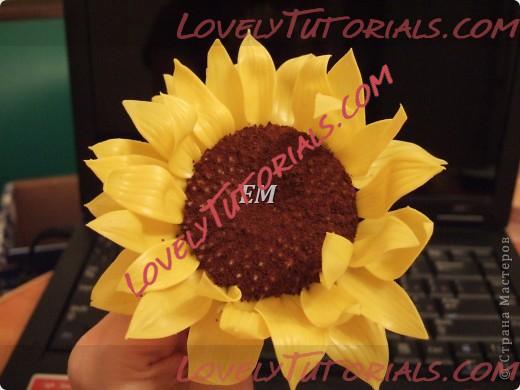
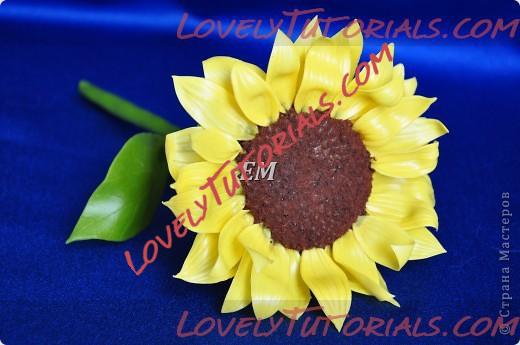
18. Finally, adhere the centre to the petals. Et voila!
I’ve found the PME leaf cutters are pretty much the right shape for sunflowers, so I added a bunch of them to the cake, brushed with a little green petal dust.
