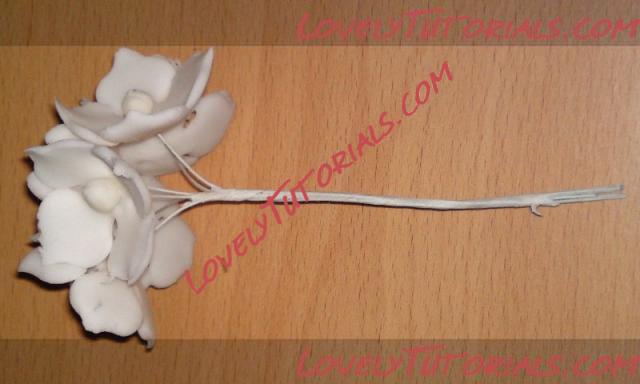
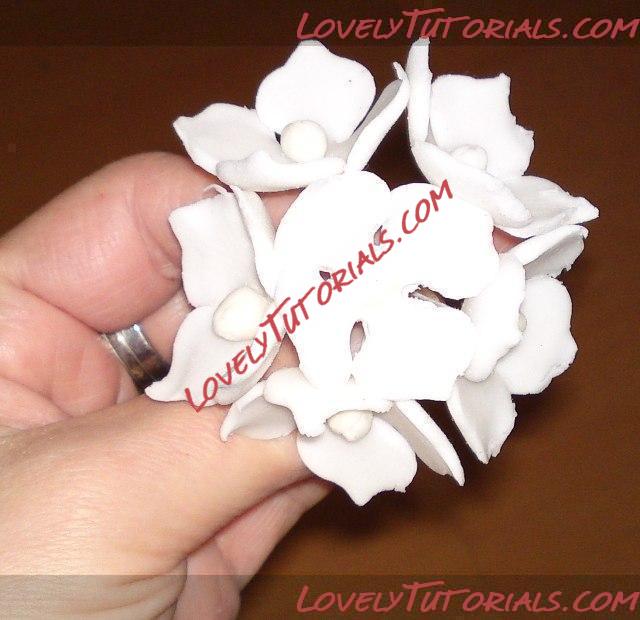
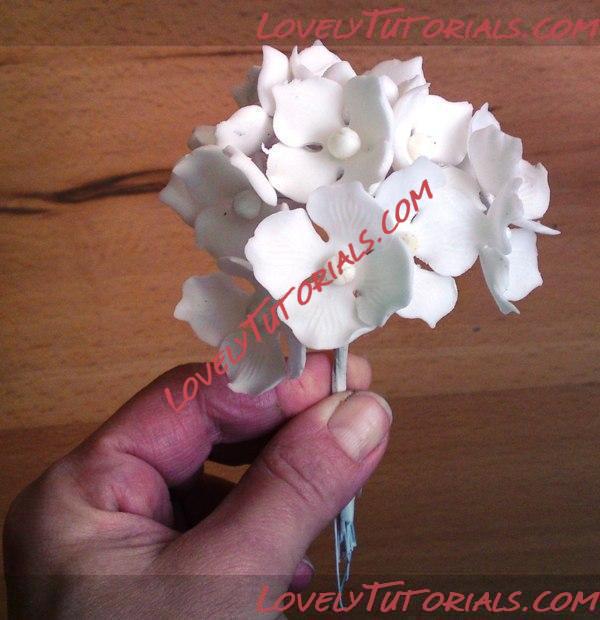
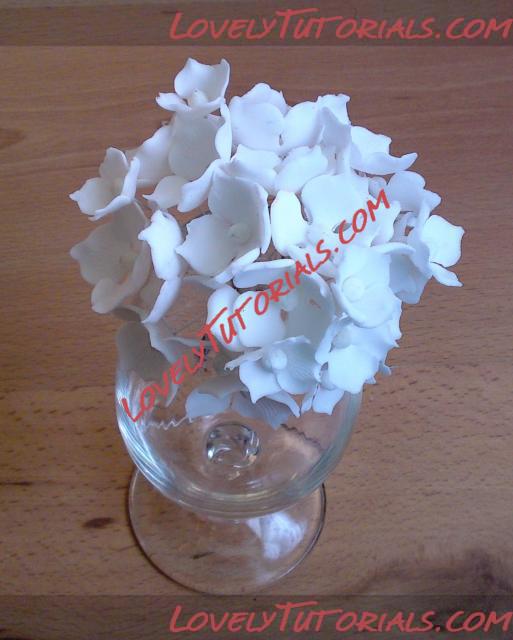
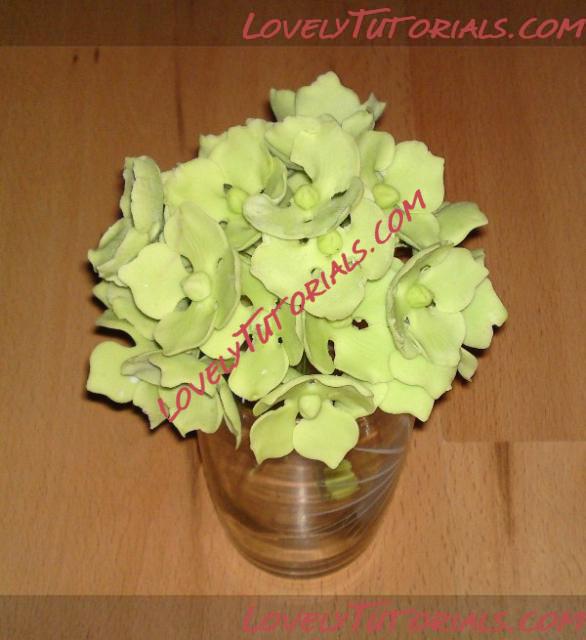
РһРіСҖРҫРјРҪР°СҸ РұлагРҫРҙР°СҖРҪРҫСҒСӮСҢ Lisa Templeton Р·Р° РңР°СҒСӮРөСҖ-РәлаСҒСҒ
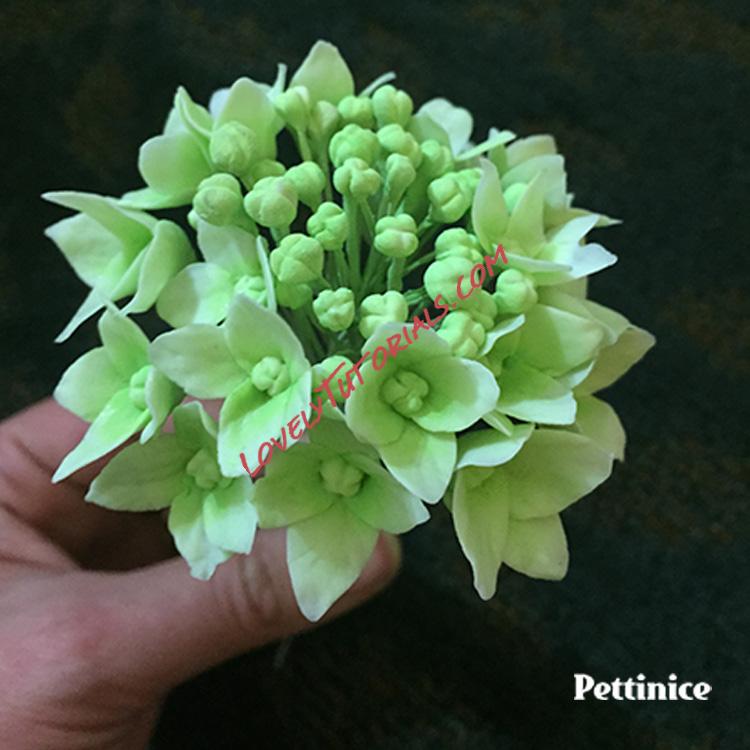
Decorating time:
2+ hours; Make over two days to allow drying time.
Skill level:
All
You will need:
- Ivory or white Pettinice
- Crisco
- Tylose powder
- Edible glue (tylose and water)
- Pme modelling tool
- Scriber needle tool
- Half a large sturdy plastic bag
- Floral wire ( around 22)
- Wire cutter
- Veiner hydrangea or rose veiner (optional)
- Lime or Spring green petal dust
- Paintbrushes for glue and dusting
- Cell board (optional)
Making the hydrangea buds
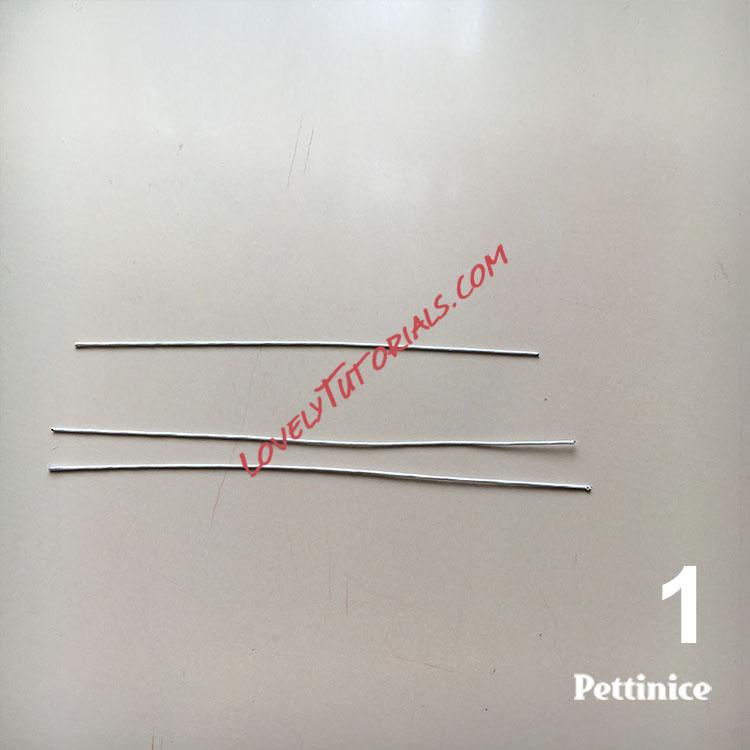
Take your 22 Gauge wire and cut one piece into 2 or 3.
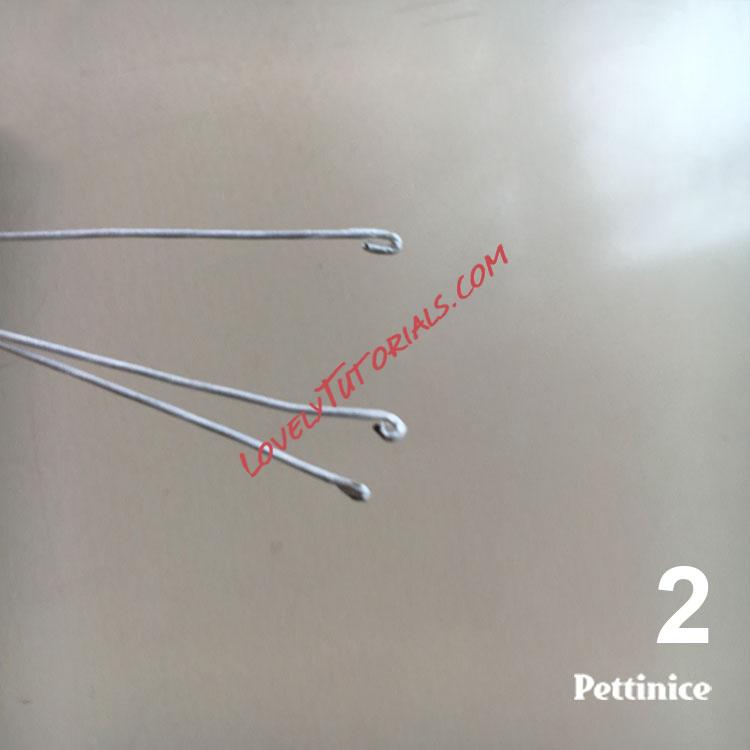
Then using the wire cutter gently bend over the tips to make wee tiny hooks.
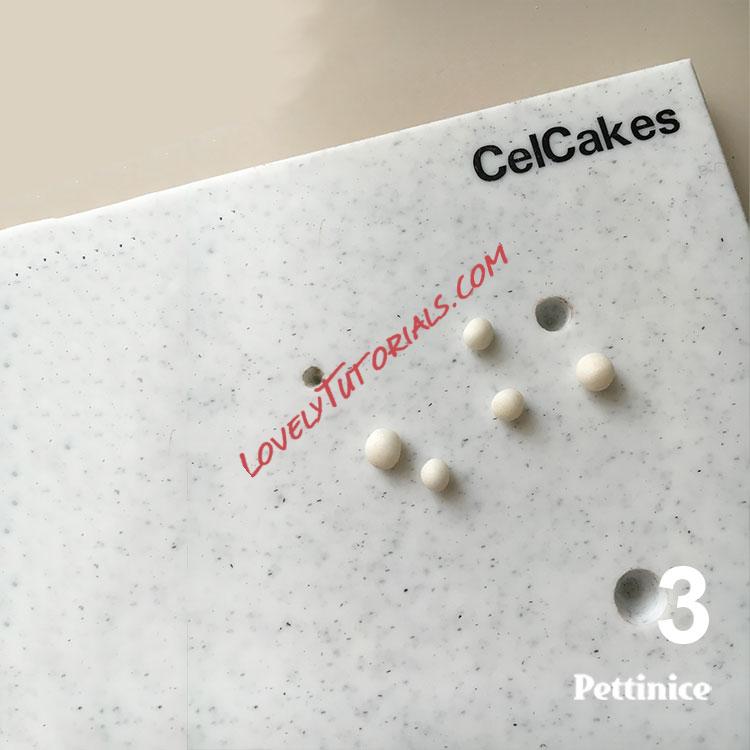
Roll tiny balls. (I use two smallest holes on cell board as guide.) In nature, buds are different sizes so be sure to vary yours too.
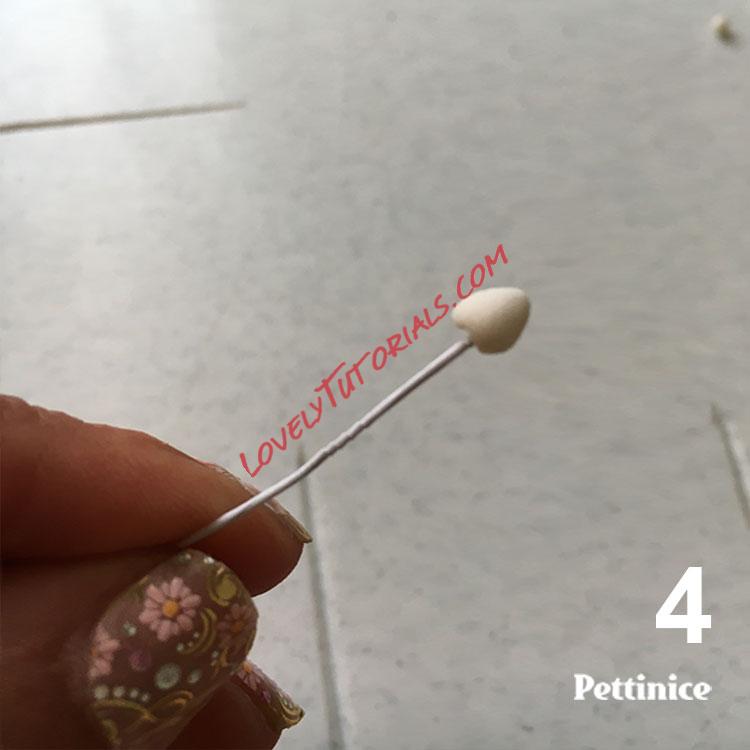
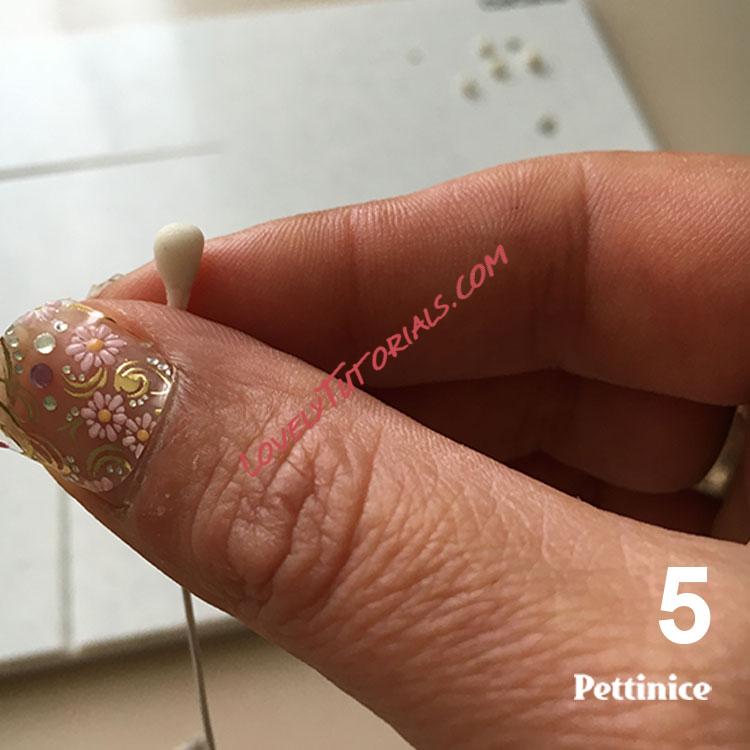
Place your little ball of paste on the end of your wire and gently roll the bottom with your fingers until it sticks well and has a rounded top.
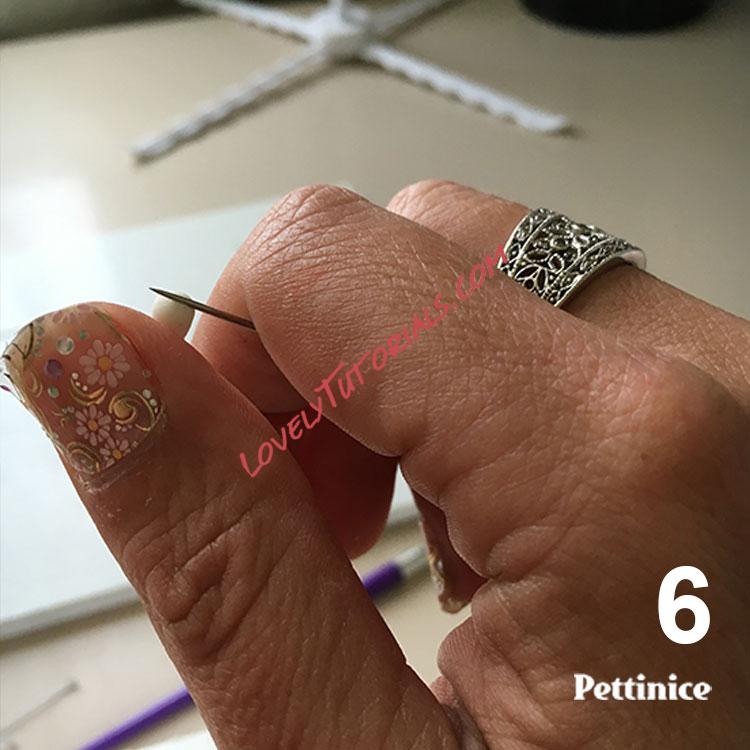
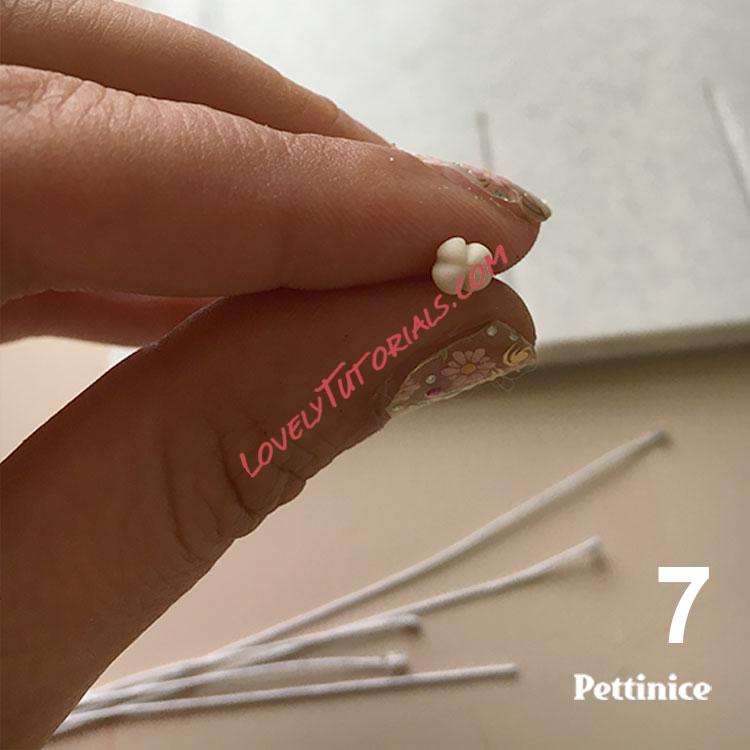
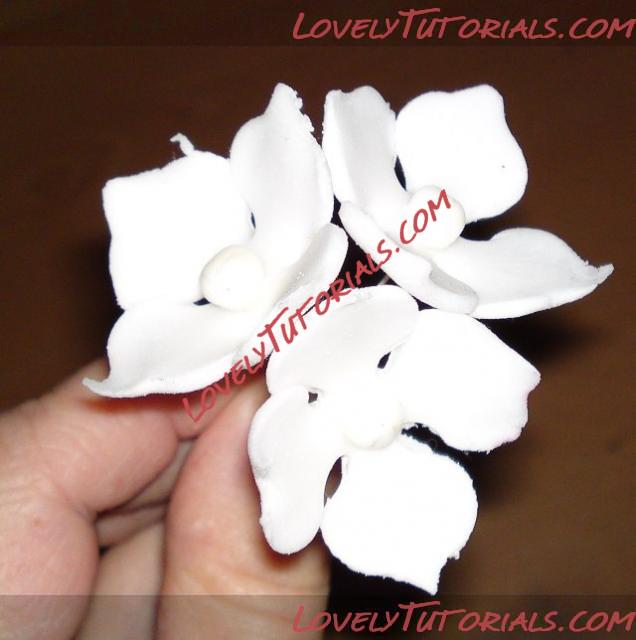
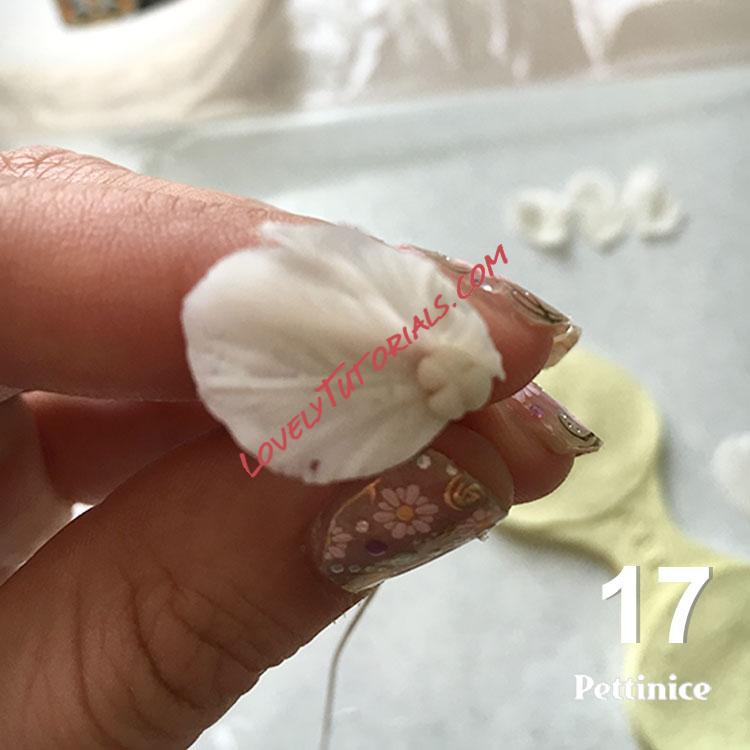
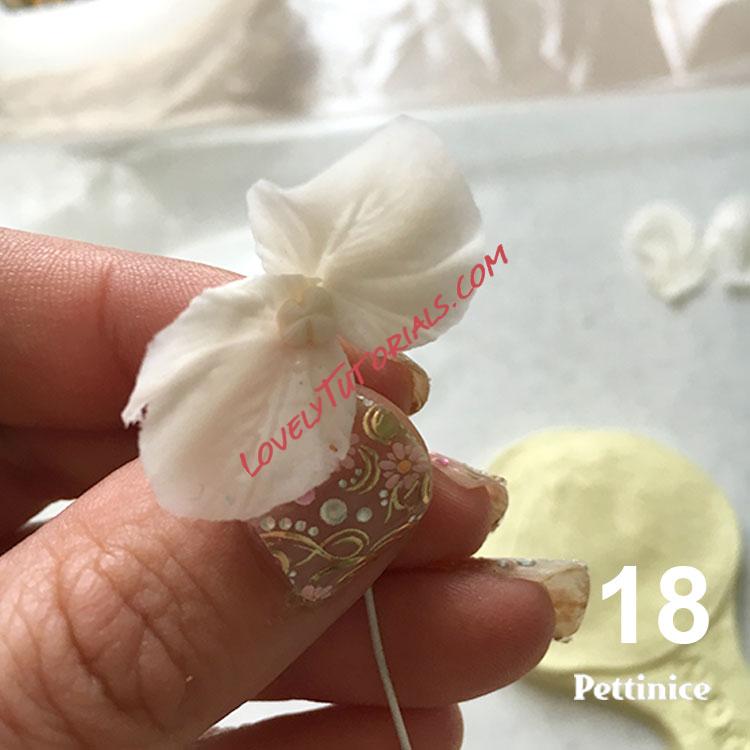
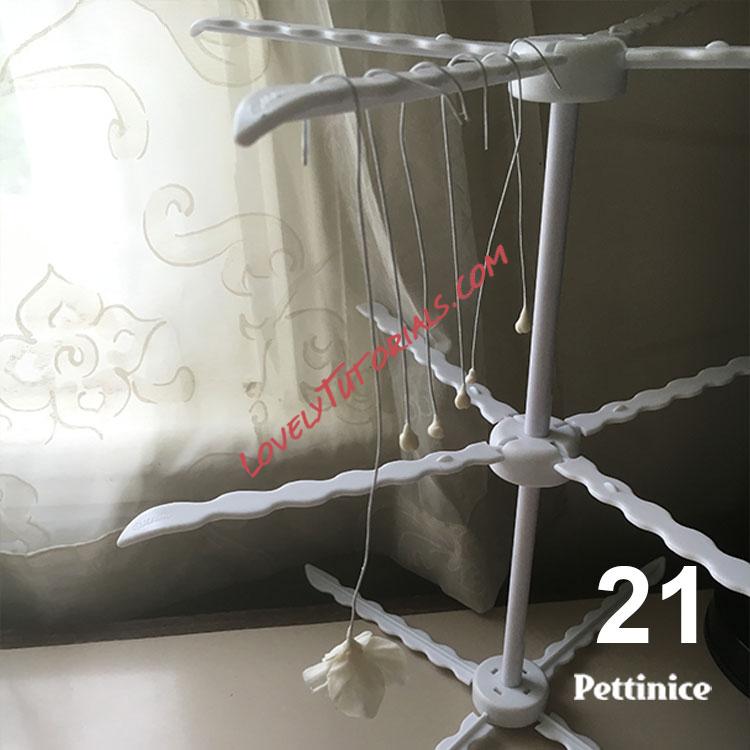
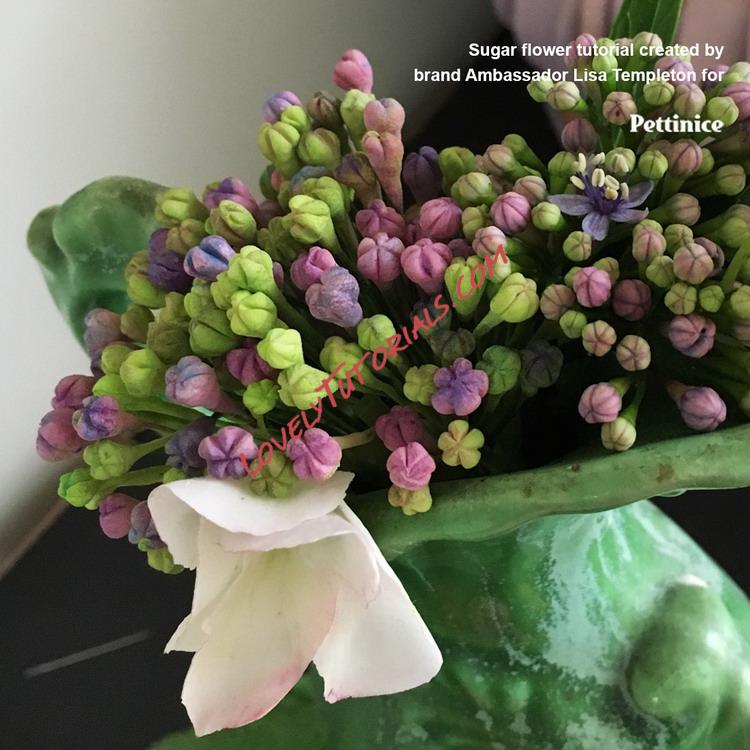
Using the scriber, firmly emboss a cross at the top as shown. Either hang or stick into a polystyrene dummy to allow it to dry. Make as many as you can these are your buds and flower centers. To make a display you need plenty as these are used for both the small flowers and buds. I used 60 for the piece shown.
Making the hydrangea petals
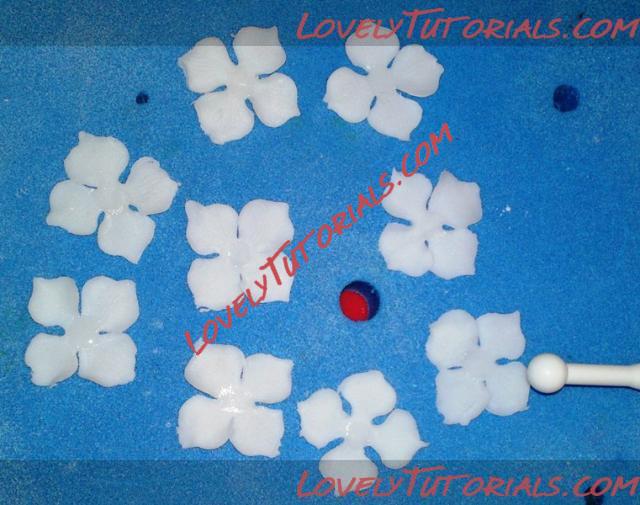
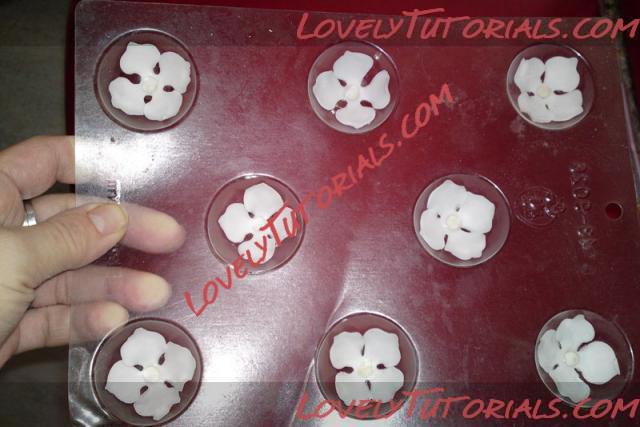
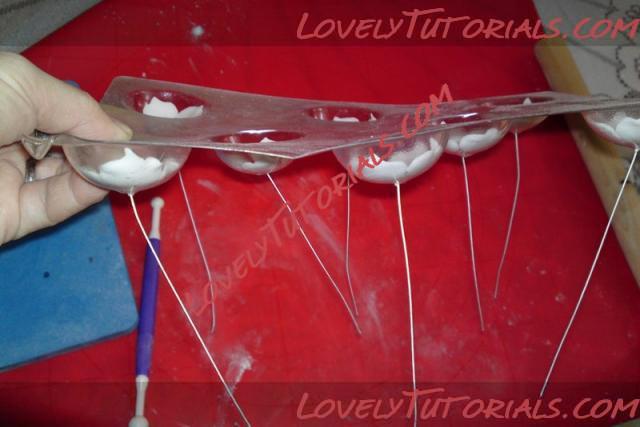
For best results, begin making your petals only after your hydrangea buds have dried. I usually make eight petals at a time.
With my sugar flower method, you do not need special cutters. You will create your hydrangea petals using a sturdy plastic bag (such as a snap lock, or ziplock), which you will need to cut open along one of the side seams so it opens like a book. Open your cut plastic bag, place a small ball of paste inside and fold the plastic over it to begin the next steps.
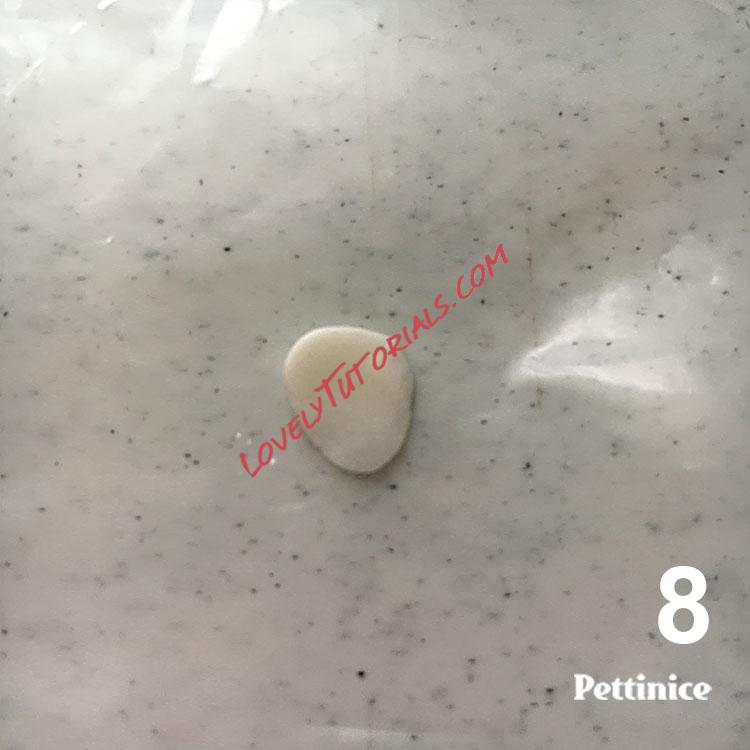
Using your thumb gently pull down to make the pointed bit at the bottom, then using your fingers push out the shape of the petal.
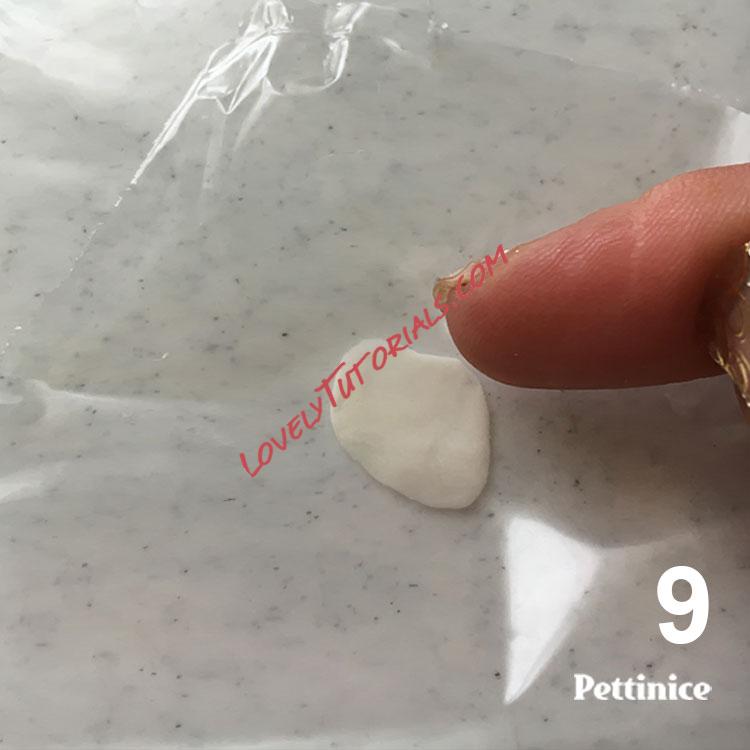
Remember to make them small about 1 cm to 1.5 cm long. Thin the edges of the petal with the side of your finger.
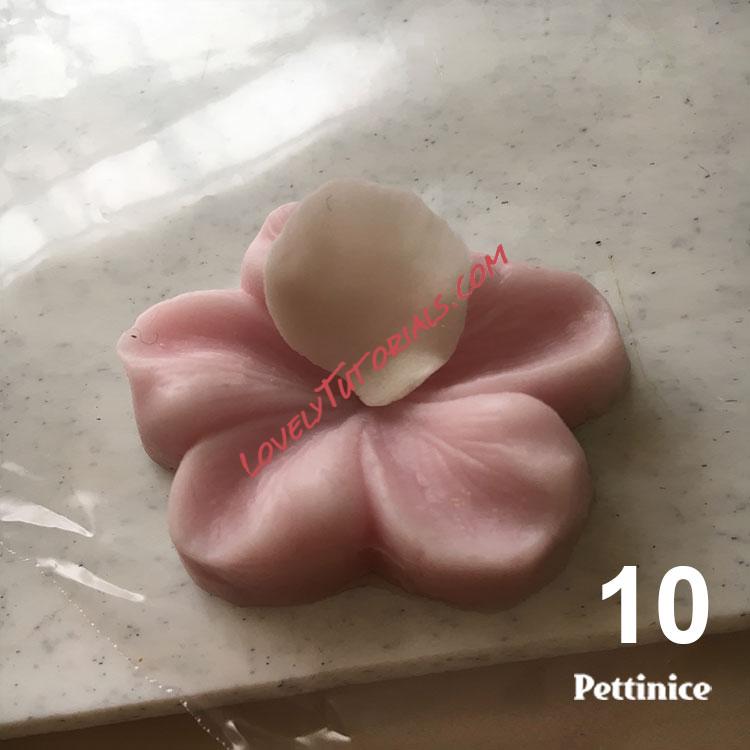
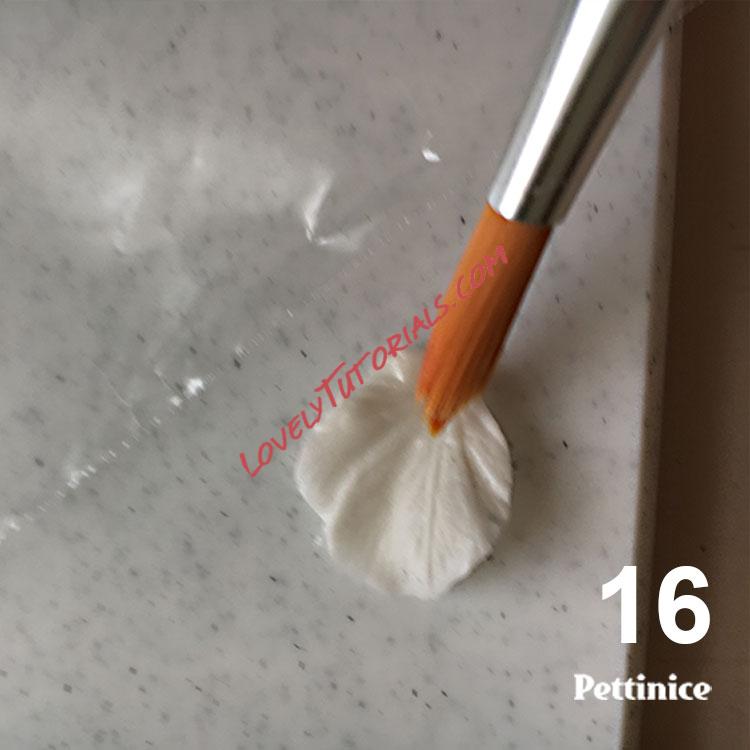
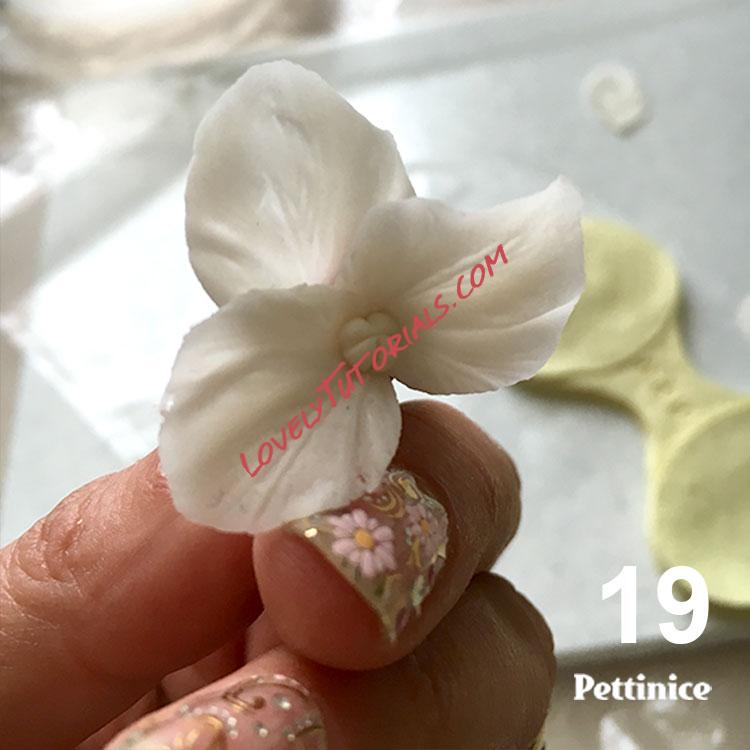
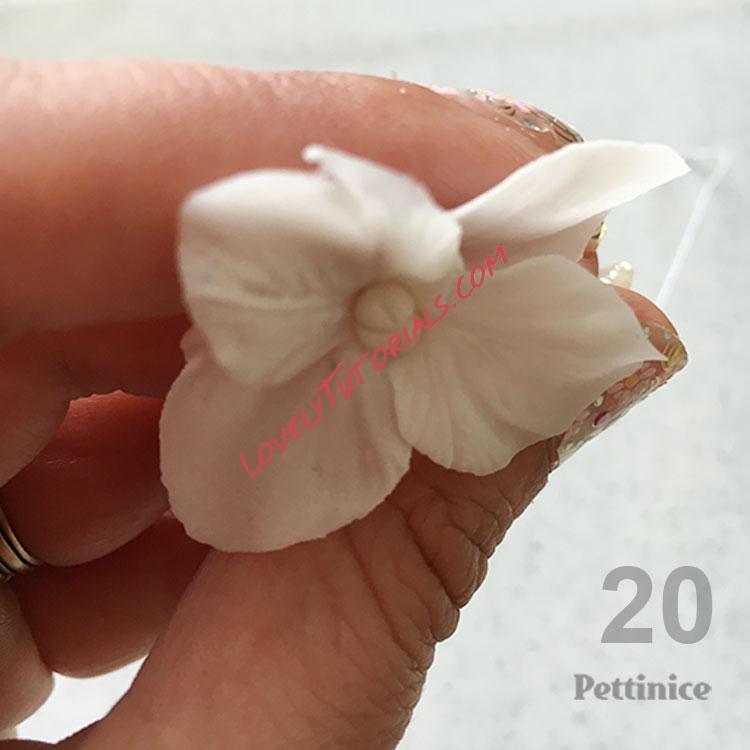
Using a Hydrangea veiner or Rose veiner press in the veins.
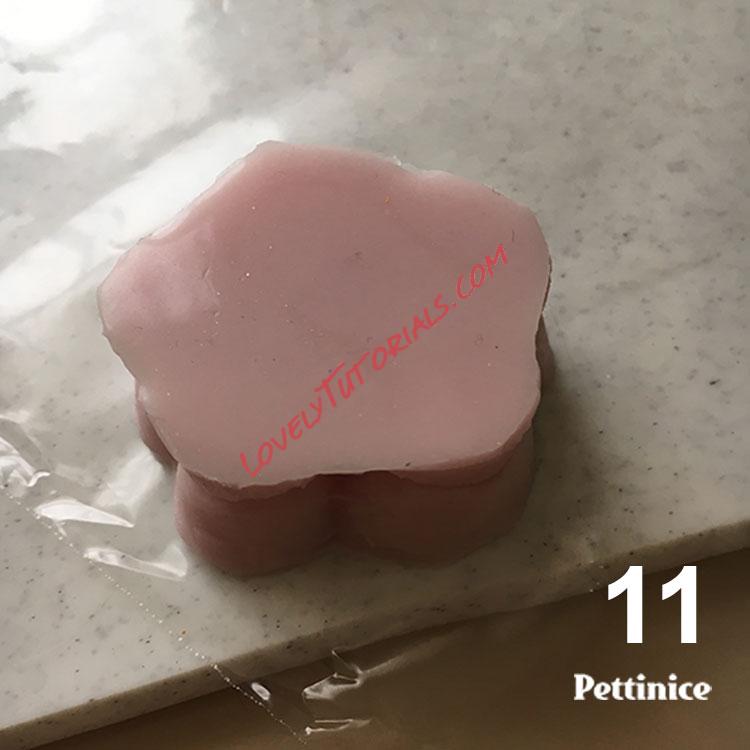
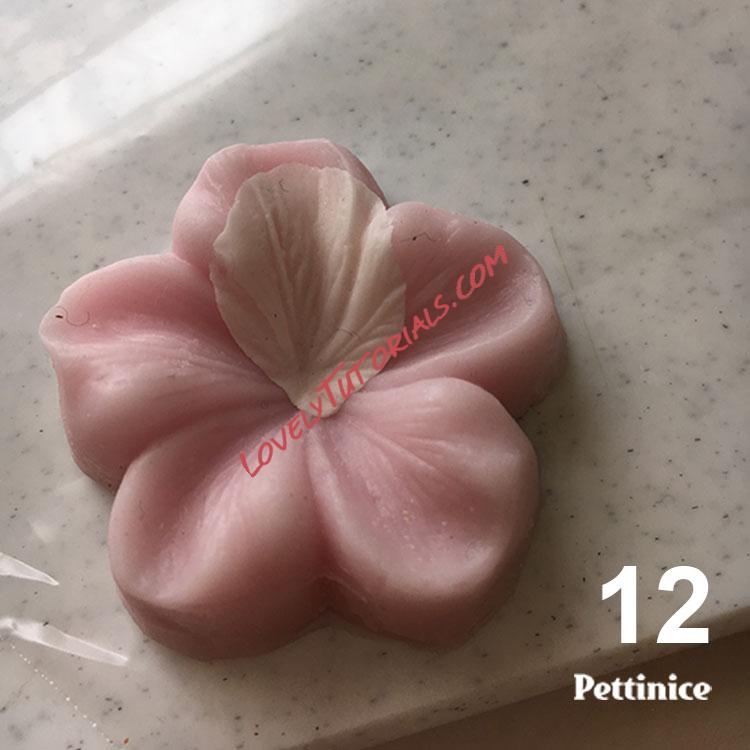
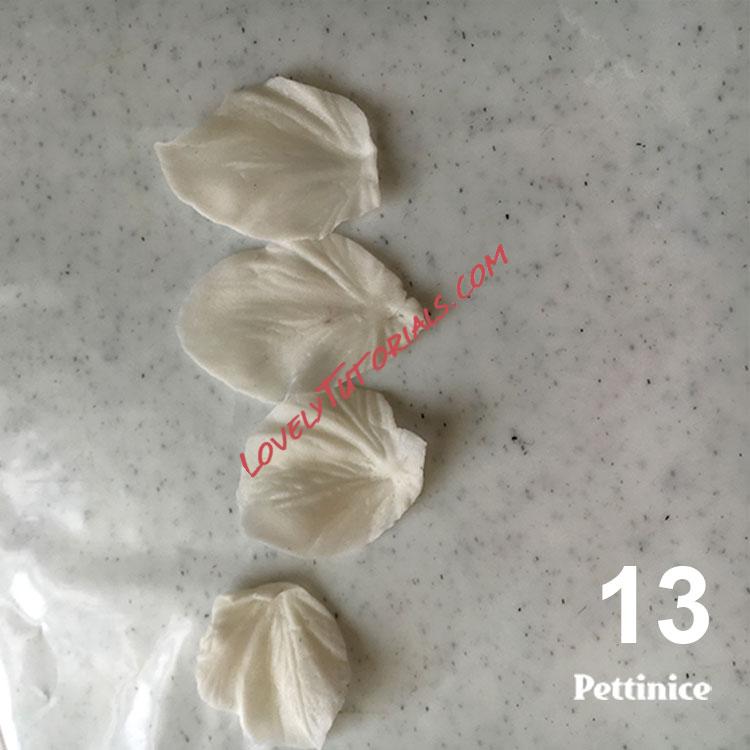
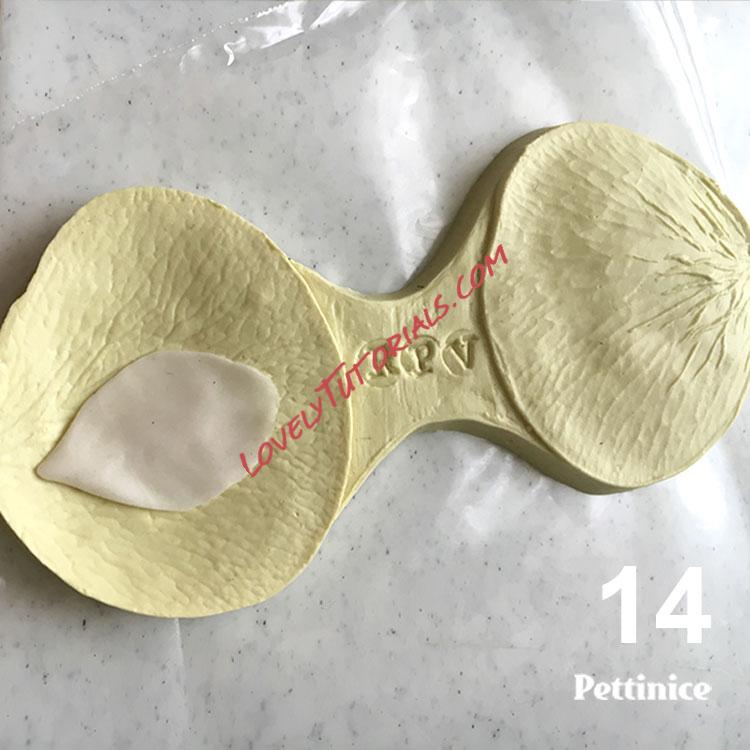
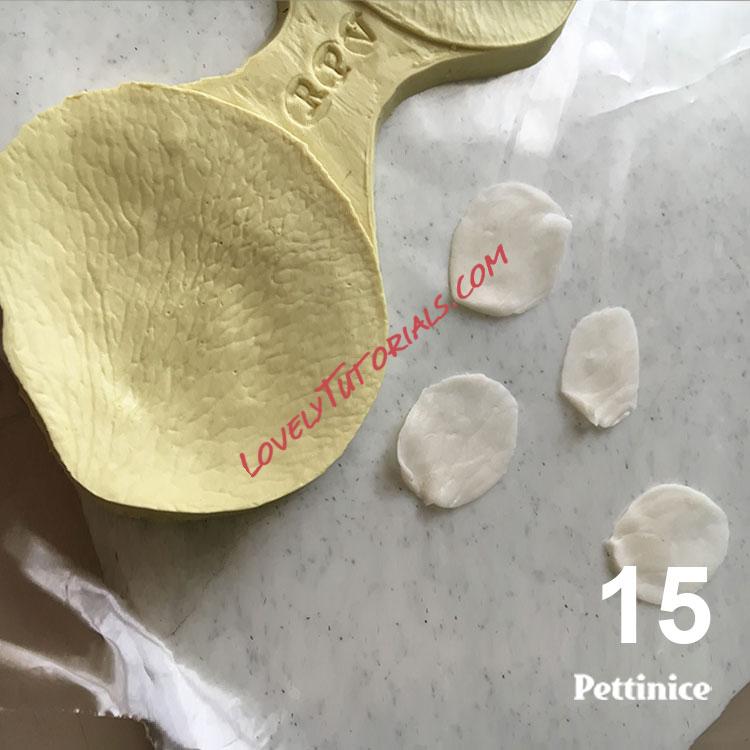 If you don't have a veiner, at STEP 9 above, emboss the veins with the edge of your fingernail while it is still in the plastic bag. Soft pressure is fine as you don't want to tear the bag.


