Огромная благодарность Автору goodtoknow.co.uk за Мастер-класс
Ingredients
95g green modelling paste
35g chocolate fondant
Various sprinkles
Edible gold food pen
2 tbsp royal icing powder mixed with a few drops of water for the 'glue'
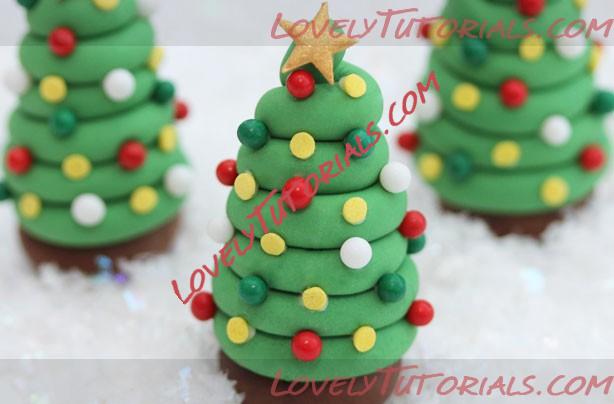
There's nothing more festive than the sight of Christmas trees and now you can have them on whatever you bake this season. Our clever baker Victoria Threader has made these ones really easy so they're perfect way to get creative this Christmas whether you're a novices or an experts.
Equipment
Rolling pin
Water brush
Drying sponge (optional)
Small star cutter
Fondant smoother (optional)
Tweezers (clean, new and just for food)
Step 1
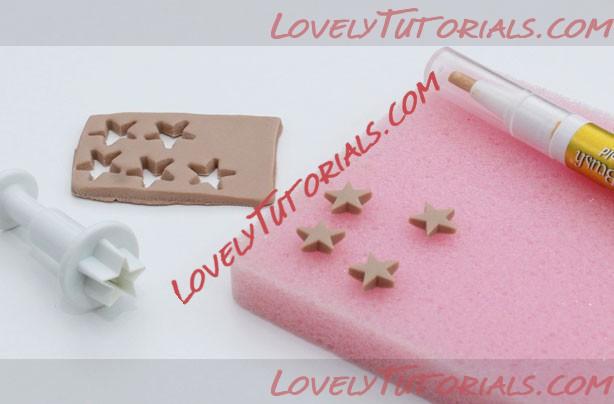
To make the stars, mix 5g of chocolate fondant and 5g of modelling paste together, roll to 4mm thick and cut 6 stars. Leave them to dry for an hour or so and then paint gold, with a gold edible paint pen.
To make the tree pots, roll the chocolate fondant into a sausage and divide into 6. Roll each piece into a ball and then squash flat with the palm of your hand. Leave them to dry.

Step 2
To make the trees, divide the green modelling paste into 6. Roll each piece into a long thin sausage, you can use your hands but if you have a fondant smoother this will help you get a more even shape.
Step 3
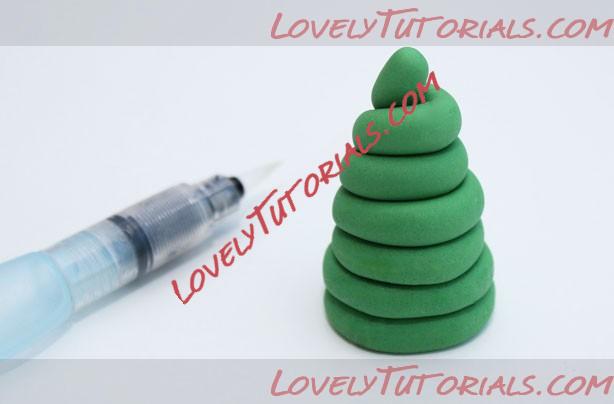
Once you have a length of 40 cm, roll one end into a spiral, then add another layer until you have 6 layers, making each layer a little smaller every time. Using a water brush will help the layers stick.
Step 4
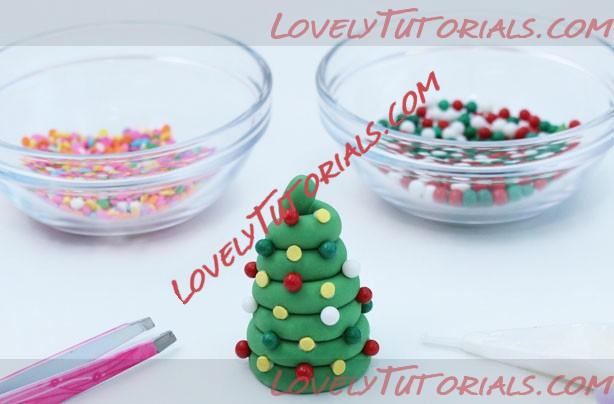
To decorate, mix 2 tbsp of royal icing sugar with a few drops of water to make a thick paste. Add the paste to a small piping bag (or sandwich bag) and snip a tiny hole in the end, twisting the bag at the top of the icing.
Add the sprinkles by adding a dot of royal icing to the backs of the sprinkles (tweezers make this process easier) and then sticking them onto the tree. Once you have covered the tree in sprinkles, stick to the chocolate fondant base with a brush of water.

Step 5
Add the finished toppers to your cakes.


