Огромная благодарность Автору Rose за Мастер-класс
I know there’s probably not a cute demand for catfish cakes, but since my hubby was doing lots of the work on the catfish cake, I was able to snap pics while he worked and do a catfish cake tutorial.
And since I had them, I figured why not share?
Now this is not a comprehensive tutorial – some of the work had already been done before I got the camera (the fins were made) and it was nearing 2am when I did the whiskers and eyes and I didn’t think to take pics of those. But this will give you a general idea of how to do it!
So, prior to starting, you’ll want to go ahead and make the fins at least a day in advance so they can harden. We actually made them the same day we baked since I knew we wouldn’t be decorating until the next day.
The fins were made with gum paste, but you could also do them with fondant and add Tylose. We used Wilton gray from the Transformers set to get the color. When I try to use black gel to get gray, it often turns out looking purple, so I recommend the gray gel.
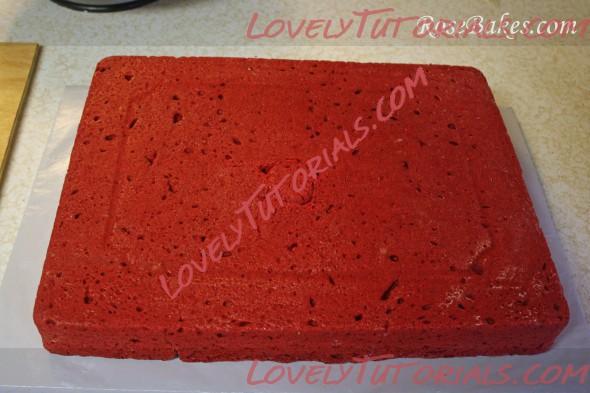
Alrighty, so I started with a cake baked in an 11″x15″ pan. It happened to be red velvet.
Very “Steel Magnolias” huh? If you know what that means… yay! If not, don’t tell me. It makes me feel old.
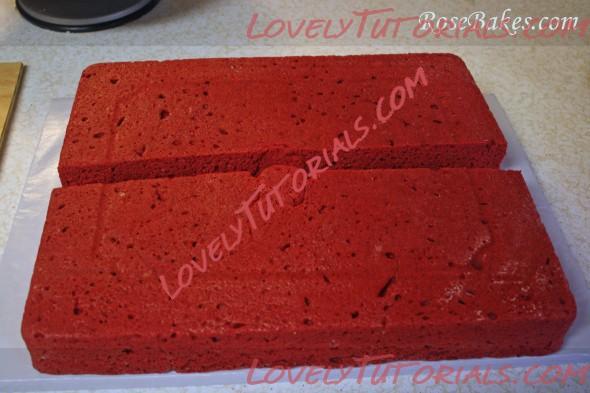
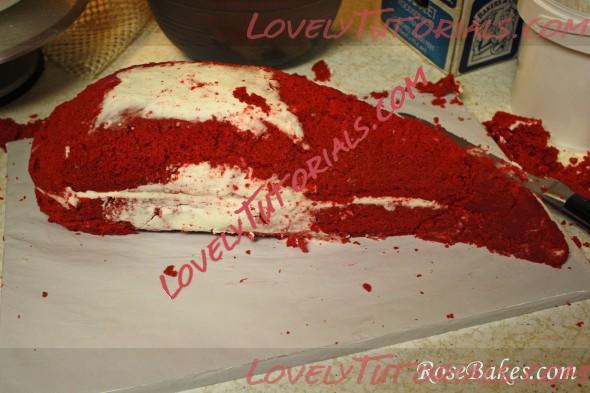
Next, cut the cake in half length-wise, smear on some cream cheese frosting (or frosting of your choice) and stack the cakes…
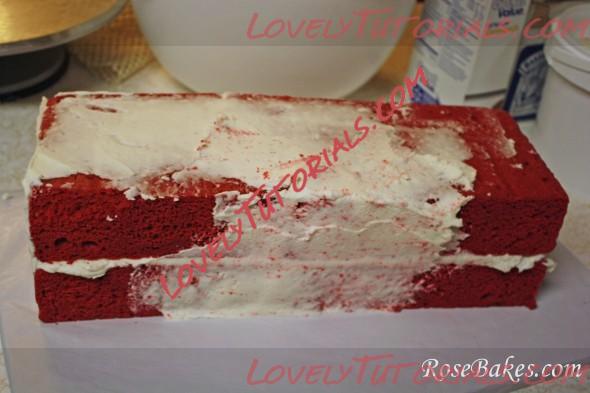
Before snapping this pic, I had started to frost the outside of the cake. Then I realized that was a wasted step because i had to carve it – so all that frosting would be carved away.
So I stopped frosting (halfway through), took a pic,
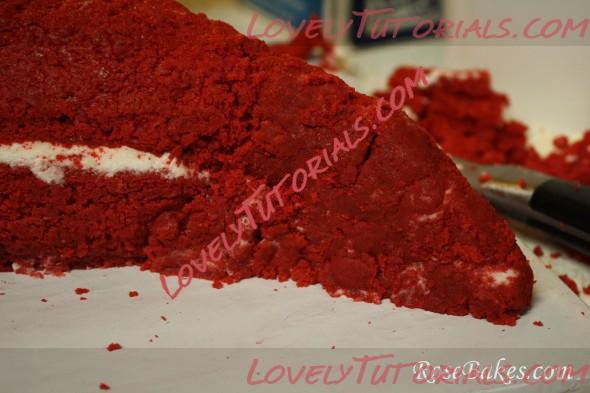
popped it in the freezer for about 15 minutes, then started carving! Don’t skip the freezer step!! When the cake is really cold (or partially frozen), it won’t tear up as easily when you’re carving.
I can’t really tell you specifically what I did here except I looked at a picture of a catfish and tried to carve away until I got he right shape. Be sure to use a really sharp knife. I choose to use a smooth blade, but some cakers use a serrated knife. Totally up to you and what you’re more comfortable with.
After I carved, I realized the tail needed to be longer and more pointy (I don’t have a picture before I did this), so I took some of the cake scraps, mixed it with some frosting to get a cake ball/dough texture, then squished it together to extend the tail… you can see it better here…
Okay, once I had the shape I wanted, I crumb coated the entire thing.
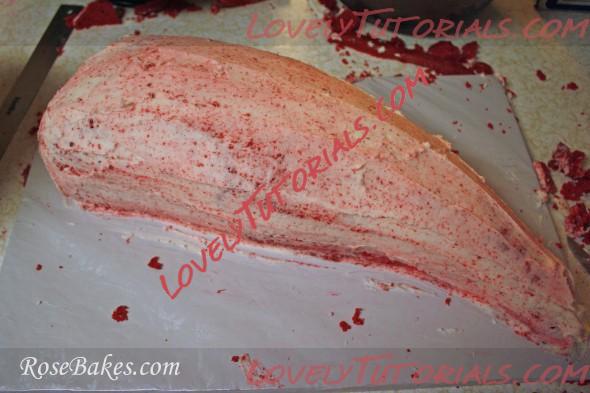
If you’re ready to decorate right after this, I’d suggest just chilling it for 10-15 minutes.
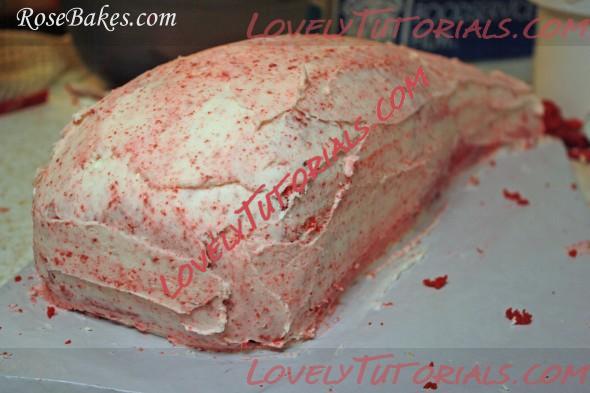
We weren’t decorating until the next day, so after this I covered it and chilled it overnight. The next night, we got busy decorating. Mostly my hubby from this point on…
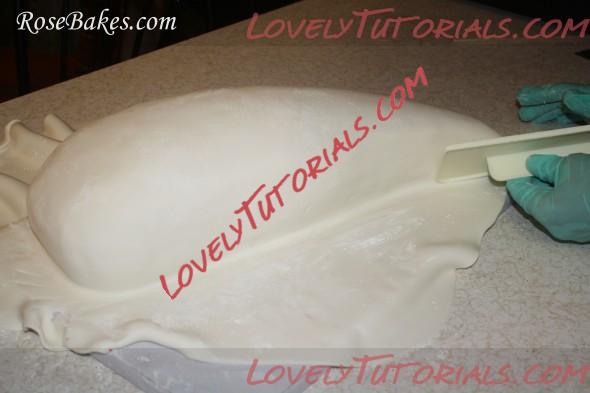
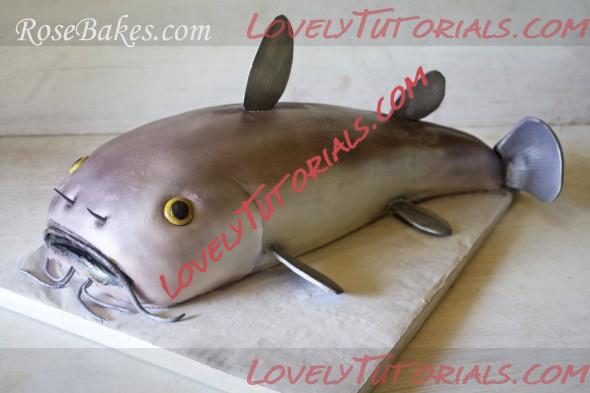
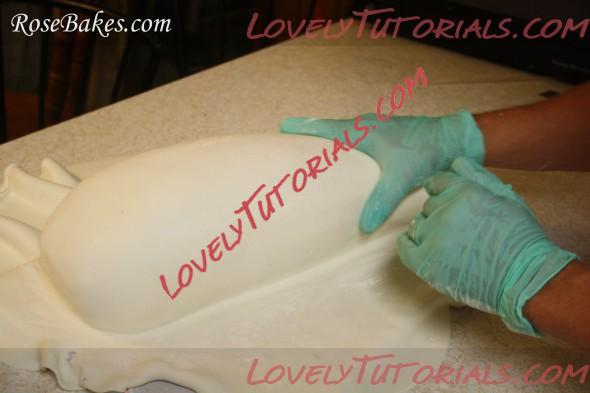
He rolled out the fondant using The Mat and covered it first – being sure to smooth it really well (catfish are slick, shiny, very smooth critters!).
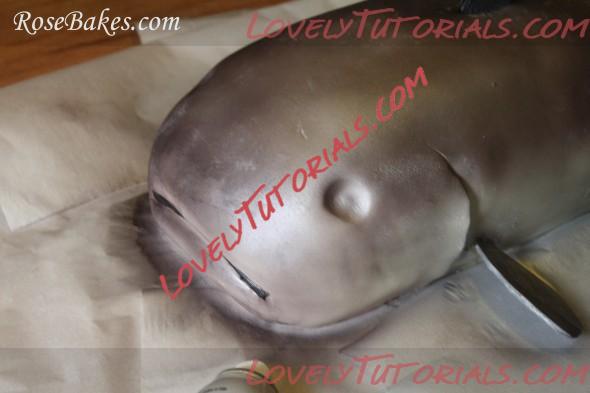
After this, I used tools from the Gum Paste Tools set to make indentions for the eyes (ball tool) and a slit for the mouth and gills….
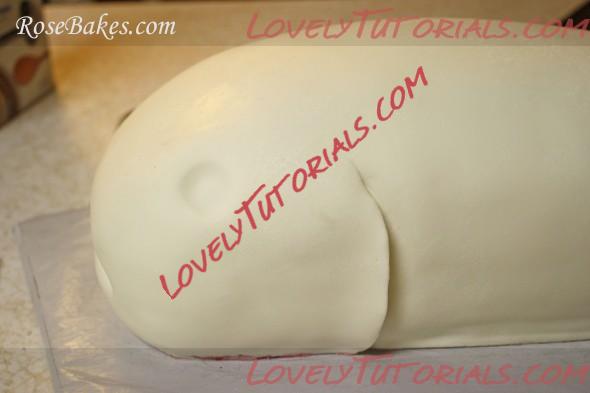
I didn’t get a good picture of it at this stage, but you can see in my original post – we cut the gills deep enough that you could see the red velvet cake inside so that it looked like the gills of a real fish (ewwww!!!).
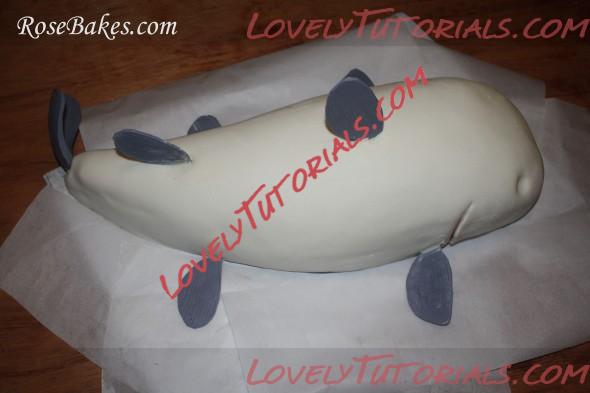
Next he put on the fins. I should say, he was making these about the same time I was carving the day before, so we made sure to check the size of them against the cake to make sure they were proportionally correct. Does that make sense?
I guess I’m just saying, be sure you don’t make huge fins for a tiny fish or vice-versa. Then it would look funny. And nobody wants a funny looking catfish, right?
Okay – so after that – it was time to do the really nerve-racking step. Spray painting a cake.
This step is the reason I enlisted my husband to help on this cake. I was super nervous about the idea of spraying color onto a cake.
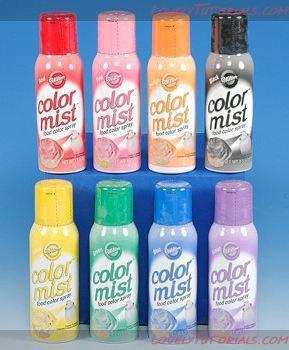
I don’t own an airbrush kit, so we decided to go with Wilton Color Mist spray. We had bought silver and black Wilton Color Mist sprays.
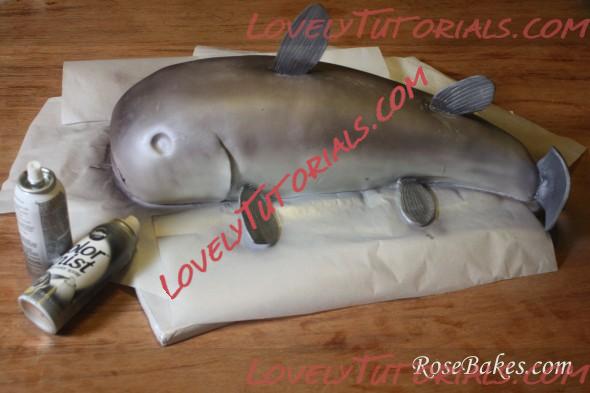
Hubby covered most of the cake in a good coat of silver (not as much around the bottom since the belly of a catfish is more white)… then he went over it with a light spray of black. So that he fins would blend in, he sprayed them too.
Oh, and we did this on a piece of wood on the floor – with parchment paper tucked under all the edges of the cake so the board wouldn’t be sprayed too!
If you choose to take on something like this – let me give you one piece of advice -
do not touch the spray after it’s done. You can not blot it, spread it, smooth it, or in any other way “fix” it once it’s done. You also cannot make it shine with shortening… it flakes off. Trust me, we learned the hard way!

Okay – so after that, I added the eyes (fondant) and whiskers (gum paste – made ahead). I also used black gel to paint around the mouth and get it looking as gross real as possible.
