Огромная благодарность Автору cakerator за Мастер-класс
This tutorial is for a cake feeding about 10 – 12 people, you can adjust the size by just increasing the size of the cake
OK here is what you will need for the scrap cake:
- 1 contoured 9″ x 3″cake pan or an 8″ x 3″ round
- Plastic wrap
- Aluminum foil
- Cake scraps, lots of cake scraps
- One recipe of Swiss Meringue Buttercream (not a shortening based buttercream)
- Approx. 2 lbs ganache
- 9″ or 8″ cake board
- Large 2 gallon freezer bag
- Very sharp serrated knife
- Almost boiling water
- A small angled spatula
- And a 12″ cake base
Direction
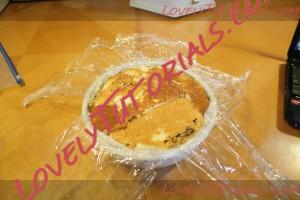
This is a fun and easy process, messy but easy, have your kids join in to help, they love this kind of stuff. Start by lining your cake pan with long pieces of plastic wrap, and have enough of an over hang to wrap and cover the top of the cake pan once filled with cake. This makes it easy to pull out your cake once it’s nice and frozen, be generous with the plastic wrap because the pan will be going into the freezer.
I used foil here because I ran out of plastic wrap, but use plastic wrap!
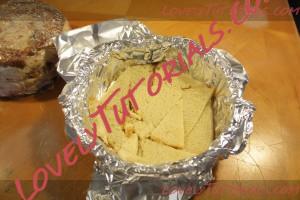
Now take your cake scrapes and piece them together at the bottom of the cake pan like a puzzle, nice and tightly. Find pieces that fit snugly together, you may need to cut some piece to get them to fit.
The object here is to completely cover the bottom of the pan with cake.
Thin layer of buttercream on top of first layer of cake scraps
Once you have done piecing together the cake, and there are no empty spaces, slather on some buttercream, but not so thick of a layer, just enough to glue the pieces together. Now add another layer of cake and continue alternating layers until the pan is filled up. By the way you can just use ganache for the “glue” as well, it’ll actually work better. In this case I had a lot of buttercream left over and I wanted to use it up.
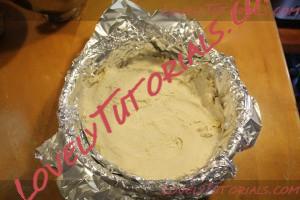
Finally got some plastic wrap!
Now take the over hang of plastic wrap and tightly cover up the cake, and take the cake board and press the cake scraps into the pan to make sure everything is tightly packed in the pan.
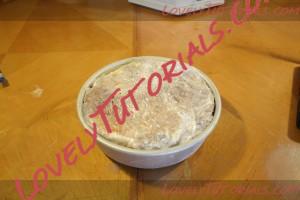
Make sure to press the cake in the pan tightly. Note I forgot to take a picture of the pan with aluminum foil on it, but you know how to do that!
Lastly, cover the top of the pan with aluminum foil and place the cake pan in a freezer bag and leave it in the freezer over night. So now your cake should be covered in plastic wrap, foil and tucked away in a freezer bag. I know I know, over kill but I hate food that taste like freezer! Don’t you!
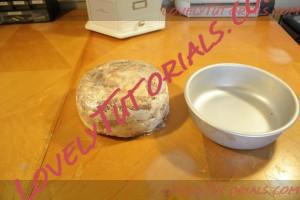
Here is the cake all frozen
Here is my cake all nice and frozen, Now I pop the frozen scrap cake out of the pan and place it back into the freezer, why because I’m going to repeat the process over, but only one layer this time. You don’t have to do this step, but I want both sides of my cake to be rounded. After you line the cake pan with plastic wrap again, piece together one layer of cake scrapes and add a layer of buttercream, take out the cake from the freezer, unwrap it from the plastic wrap and press the flat side (the top of the cake) into the pan, making sure to press it in good. Re-wrap the whole thing and place back in freezer in the pan for about 2 hours. It should look like this, a flatten round ball, now we are ready to carve.
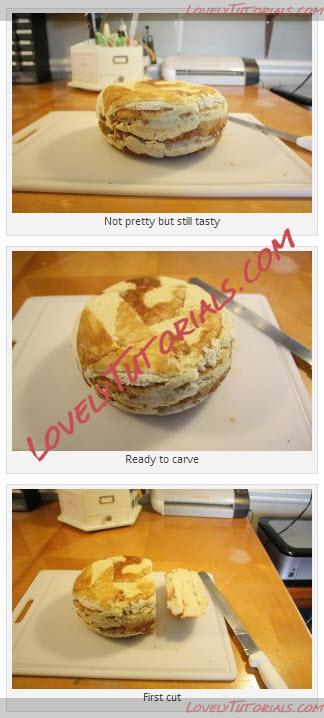
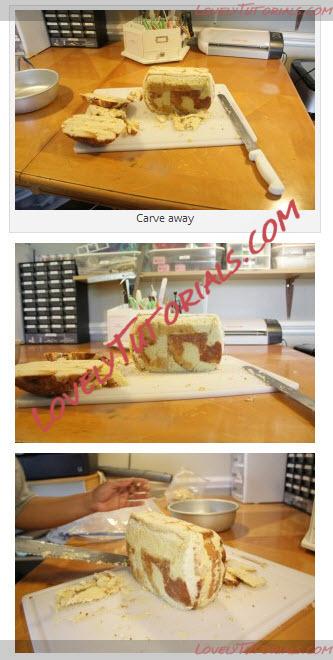
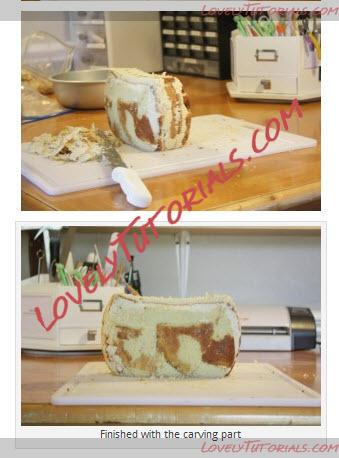
Next, you want to cut off about 2″ of cake on one side so that it will sit flat and vertically on your board. Make sure you cut nice and straight. The nice thing about frozen cake is that you can move it around and man handle it without it falling apart or collapsing. Test it to make sure that it sits up straight before you cut the other end. Now lay it back down flat and cut about 1.5″ in, just a little shorter than the first cut. Next sit it back up and start carving away slivers of cake from what is now the top of the cake, give it a nice shape, make the top opening a little narrower by cutting at a 45 degree angle. As you can see here even though I pieced together this cake it still holds its shape and carves beautifully.
Now because this cake is pieced together with buttercream, when it defrost it will fall apart, so I need to slather on some ganache to hold it together. So at this point I wrap it back up and place it back into the freezer to keep it firm and go make me some ganache.
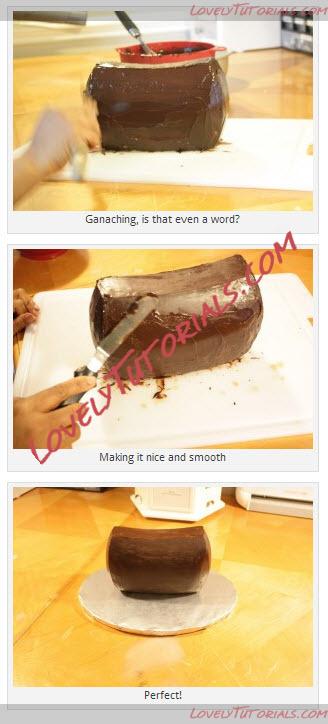
Once the cake is nice and slathered up with some yummy ganached and perfectly smoothed, place it on a prepared cake bass and let it sit out overnight to set. Usually when you make ganache you want it to sit over night, but because we are using it on a frozen cake, you want it to be very soft to make it easier to smooth on, if the ganache was completely cooled it would have harden too fast on the cake.