Make a nest
For the nest, roll out several dozen thin cylinders of plasticine and chop them into short (~5cm) lengths. Haphazardly weave these together into a rough torus, then press them all together so that there aren't too many large gaps. Remember that if your sculpture is too convoluted it will be impossible to mould.
Carefully place the egg and chick in the nest and put in a few more details. Here I've added cracks to the shell and scattered a few fragments of shell on top of the nest.
Spend some time giving attention to the surface texture of your sculpture. The advantage of the feathery chick is that it can still look good while not being entirely smooth. The egg, however, needs to be as smooth as possible if you want to make it look glossy and delicious when it is cast in chocolate.
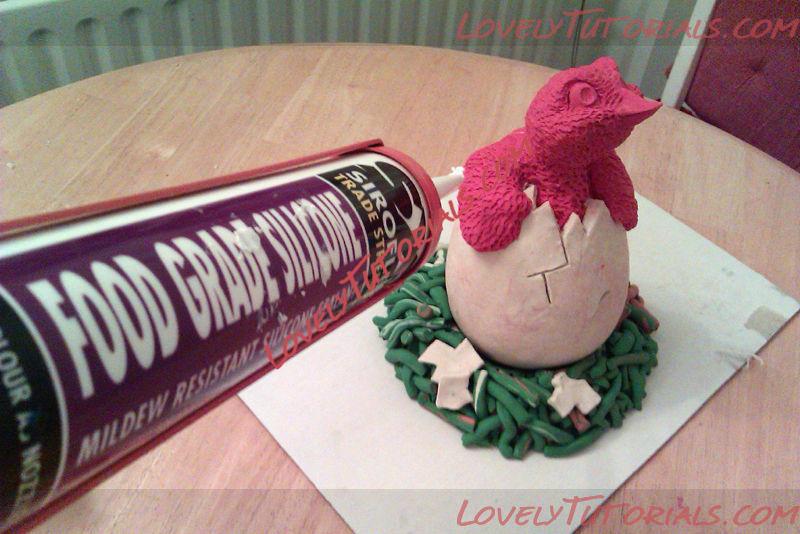
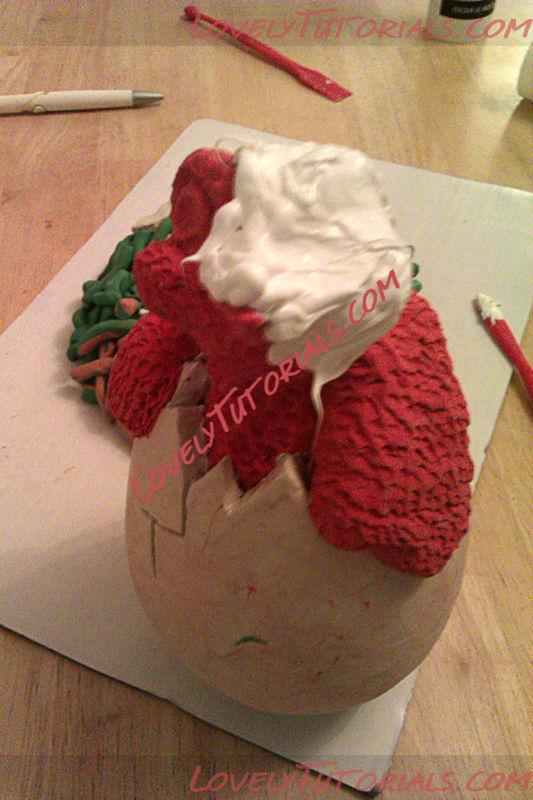
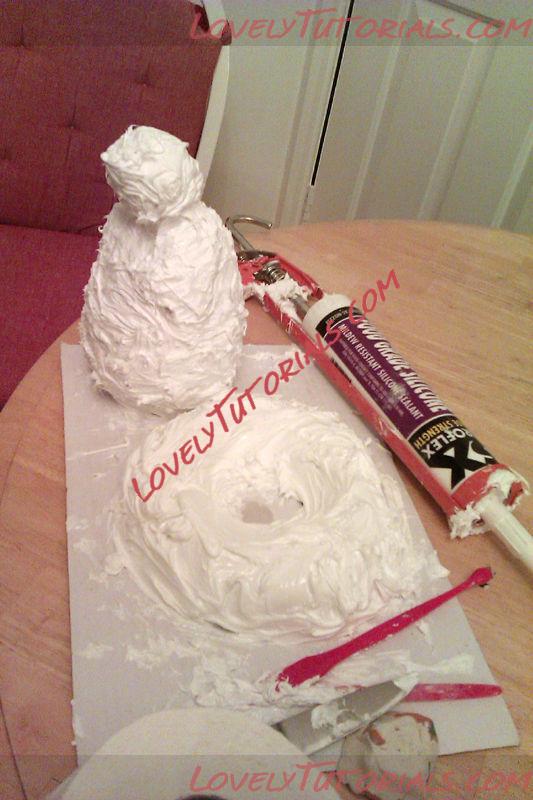
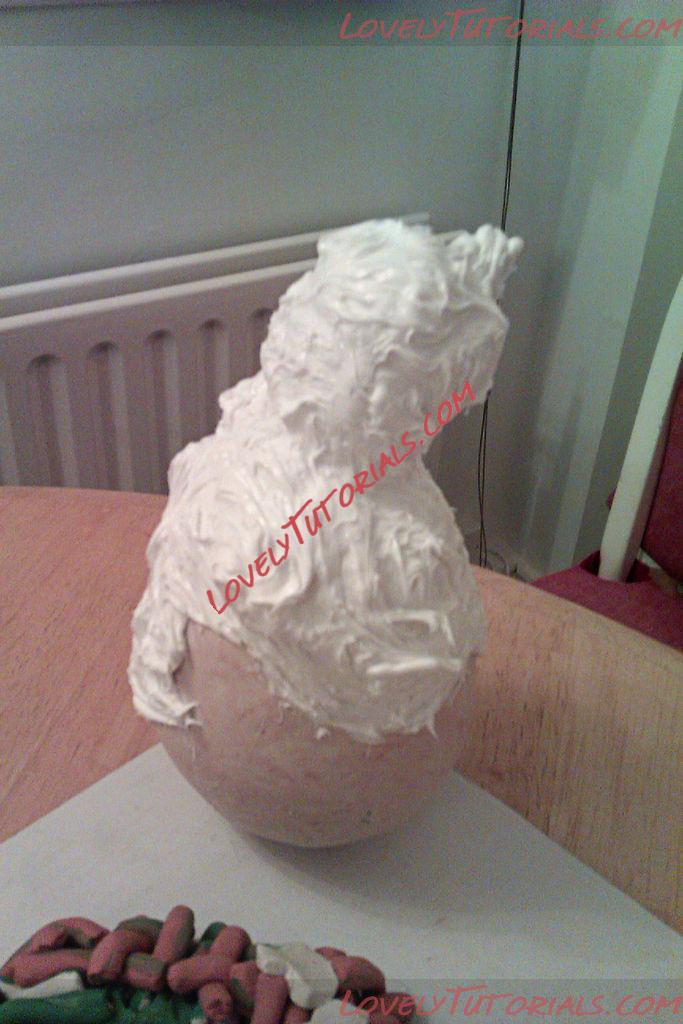
 Cover everything with silicone
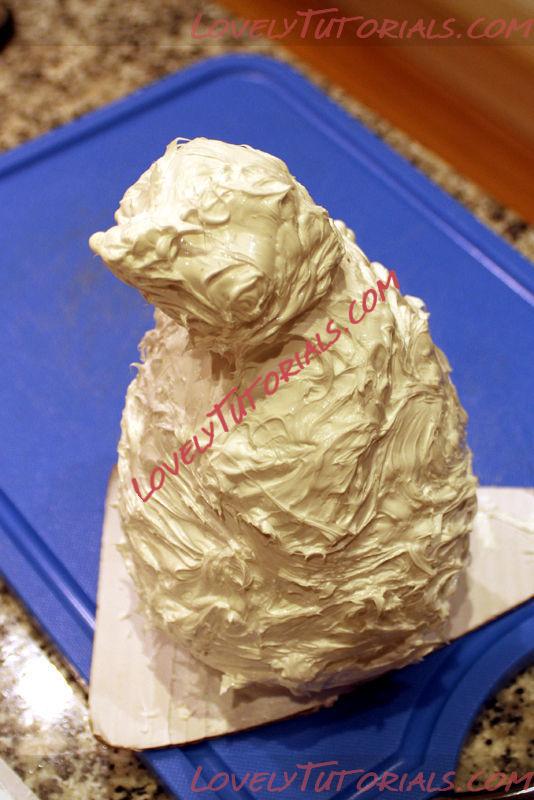
When you're happy with your plasticine sculpture, you're going to have to cover it with silicone to make a negative mould. This will almost certainly destroy your sculpture and, quite possibly, a little bit of your spirit. Fear not: while your original sculpture will soon be no more, its chocolatey progeny will live on indefinitely.
You'll want your plasticine to be as firm as possible before you start coating it, so it might help to chill it in the refrigerator for a short while before you go any further. Done that? Super.
I chose to separate the nest from the egg and cast it separately. If you've decided to use a release agent for the moulding step (see
Step 1 - What you'll need), apply it now. Carefully brush or spray a thin layer of cooking oil onto the plasticine, being sure to work it into all the nooks and crannies.
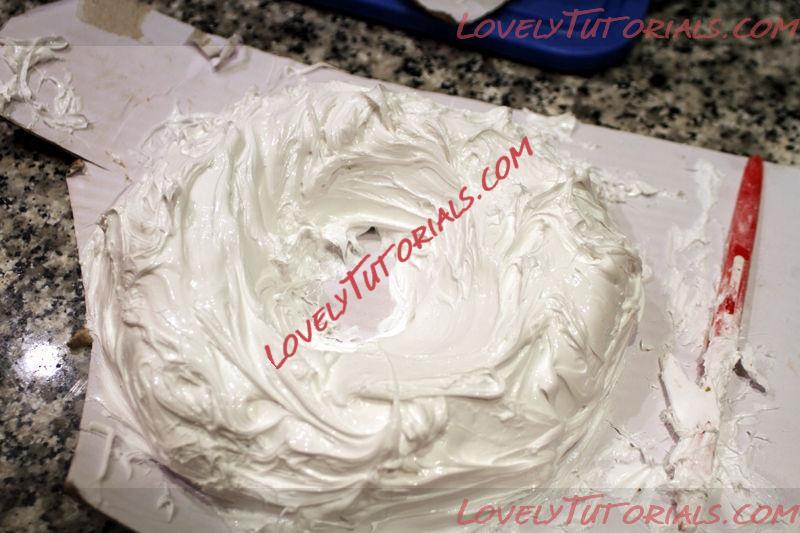
Next, extrude your food grade silicone onto the sculpture. Cover a small patch (
e.g. 5cm square) at a time, then use a blunt knife to smooth the silicone down and ensure it covers all of the surfaces. Any air bubbles that sneak in now will turn into unsightly chocolate warts on the finished product. Build up a layer no more than 0.5cm thick all over the sculpture (any thicker than this and the mould will lose the flexibility that will allow you to remove the chocolate from it without cracking).
Don't worry too much about how rough and messy the outer surface of the silicone appears; the important thing is that the inside has good, continuous contact with your sculpture (or at least with the thin layer of release agent clinging to the sculpture).
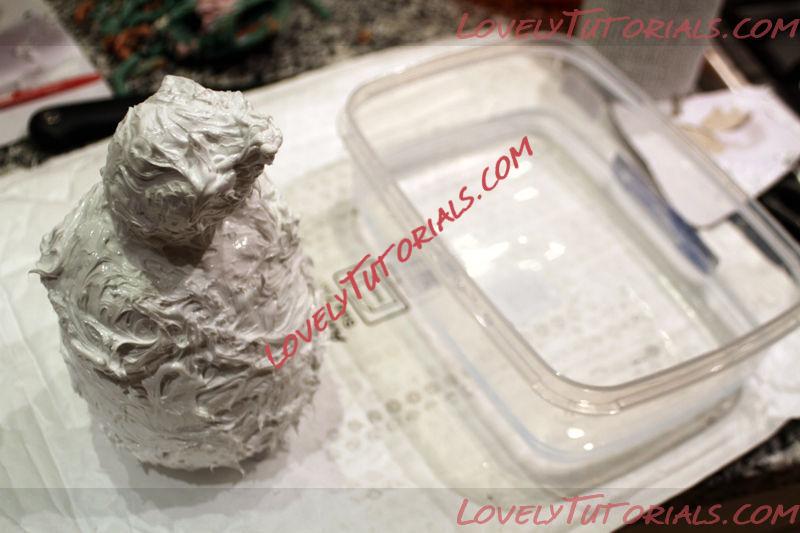
You should end up with something looking like a penguin encased in meringue. Hmm, that gives me an idea for another delicious cookery project...
Leave the silicone in a well-ventilated place for around 24 hours to allow it to fully set. During this period, it will reek of vinegar as acetic acid is released by the curing process.
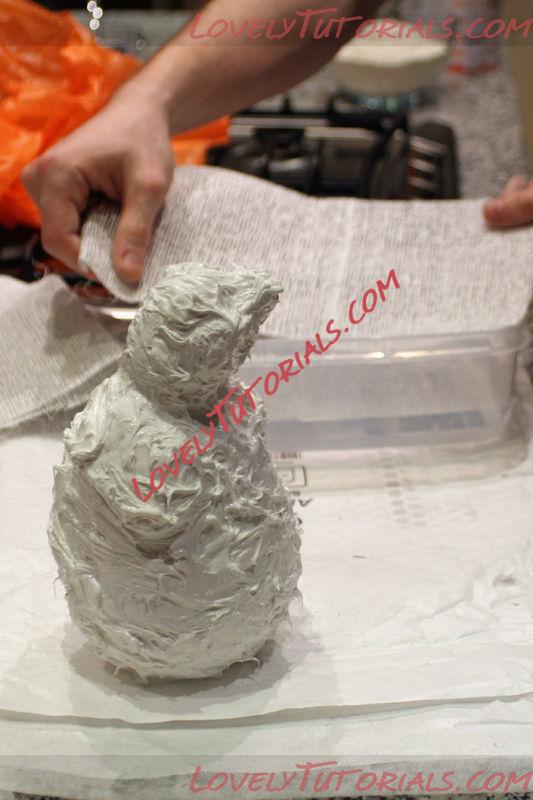
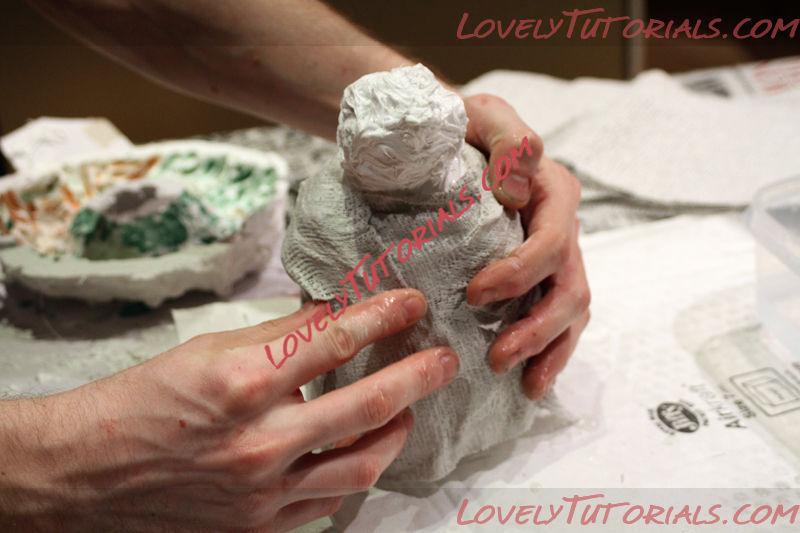
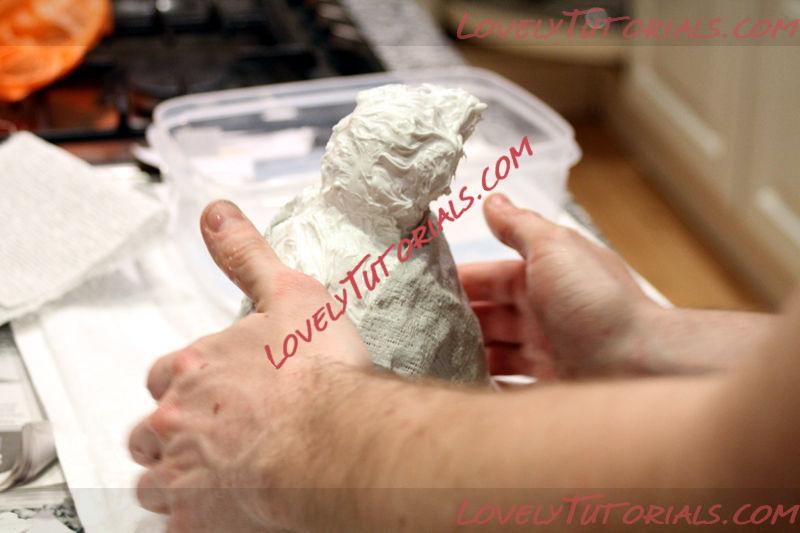
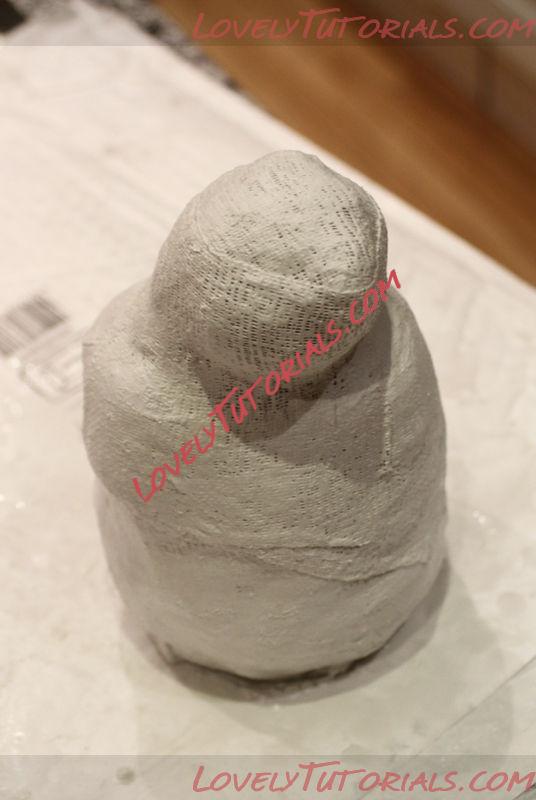 Mummify your chick
Make sure the silicone is completely cured before you move on to this step.
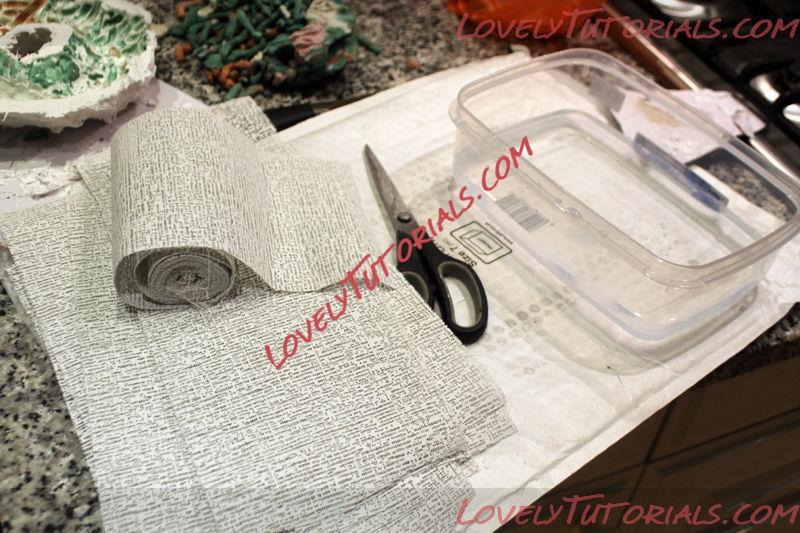
Because the silicone mould you're making is so thin and flexible, you'll need to reinforce it with a layer of something more rigid before you can fill it with chocolate. Bandages impregnated with plaster of Paris are ideal for making a thin outer shell around the silicone. You can either buy these ready-prepared (it's also known as
modroc) or make them yourself by soaking gauze in wet plaster.
It is best to wear gloves when handling plaster, especially if you have sensitive skin or a known plaster allergy.
Wet the plastered bandages, drip off any excess water and wrap them around your silicone-encased sculpture. Your meringue penguin should now turn into a mummified penguin. Leave the plaster until it has set and cooled (plaster heats up as it cures - this may take between 30 minutes and 2 hours).
