Огромная благодарность Автору rosebakes за Мастер-класс
But in the end, if I wait around for perfection, I’ll never get anything posted, so here goes!! I hope somebody can learn something from this…
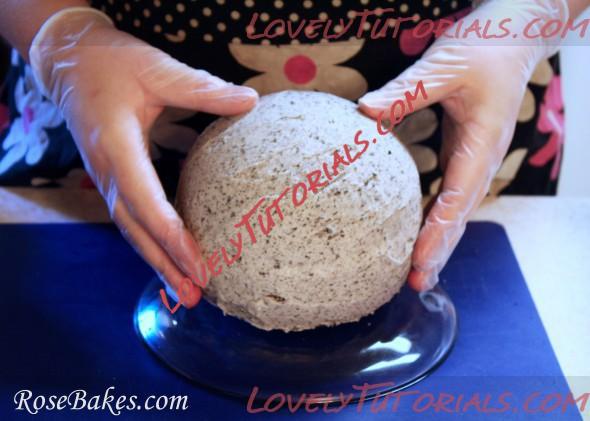
For this cake, I baked a
chocolate cake in the
Wilton Sports Ball pan. I filled it with Oreo Cream Filling, covered it in a thick crumb coat, and then I chilled it for about 30 minutes in the frig – so it was good and cold.
When I got it out of the frig, I set it on an upside down saucer so I’d have a little more work room with my fingers (you can see that later on), then I smoothed on a fresh thin coat of
buttercream so the fondant would stick.

While it was in the frig, I rolled out my Satin Ice Red Vanilla fondant on The Mat. If you don’t use The Mat, roll out your fondant however you normally do and have it ready to cover the ball when it comes out of the frig (I’ve used marshmallow fondant too and covered rice cereal shapes).
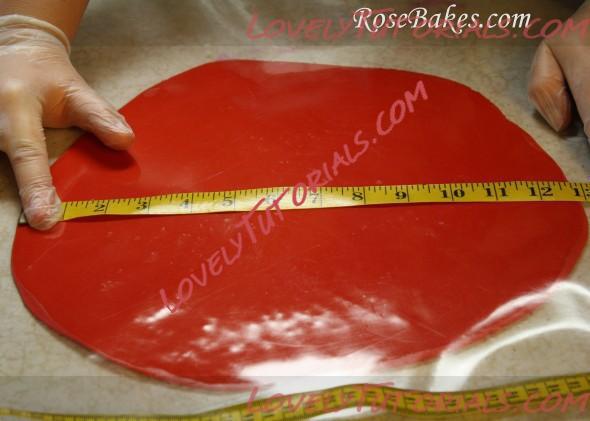
For this 6″ ball, I rolled mine to about 13″ round and that was plenty!
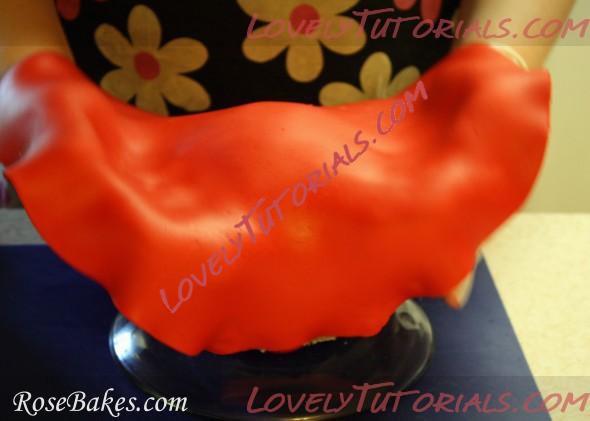
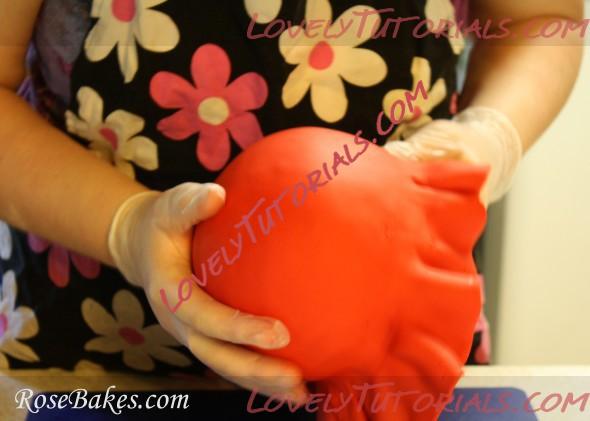
Then just pick up the fondant and lay it over the ball – centering it as best you can!
Just lay it over and let it droop down, then smooth it as far as you can without causing wrinkles… it should stick to the fresh buttercream and I can usually work about two-thirds of the way down the ball.

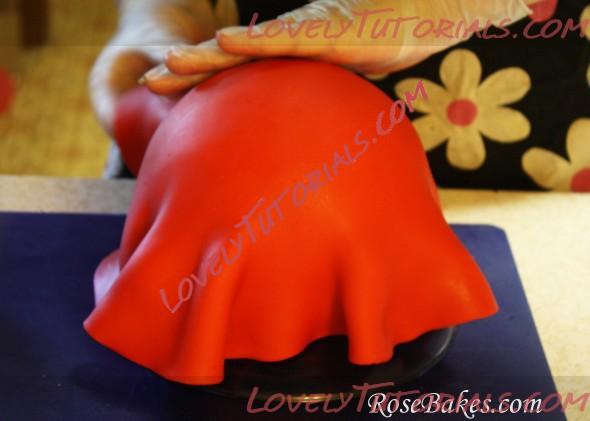
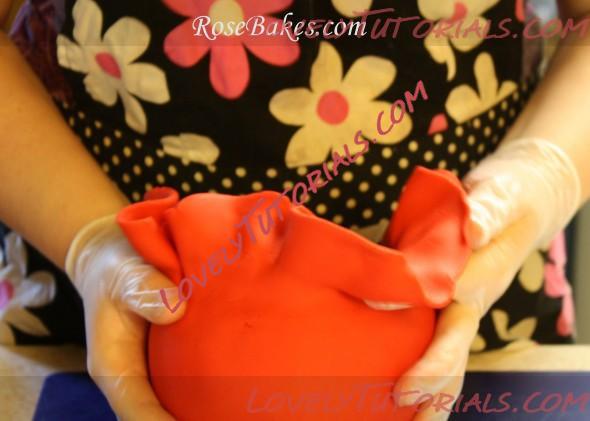
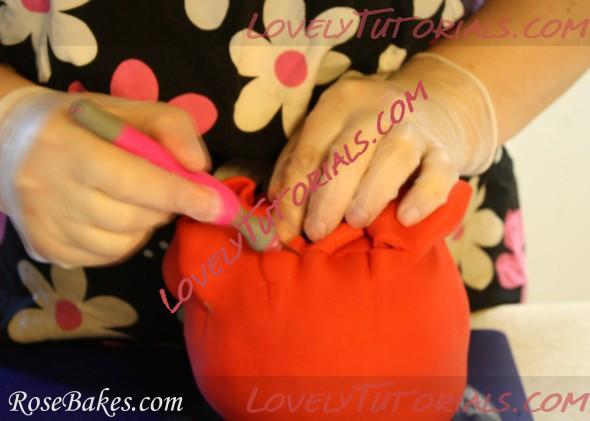
When it gets to this point, you’ll have to start stretching the fondant, smoothing it down a bit, stretch, smooth, turn, stretch, smooth turn. I am sorry these pics are so bad!
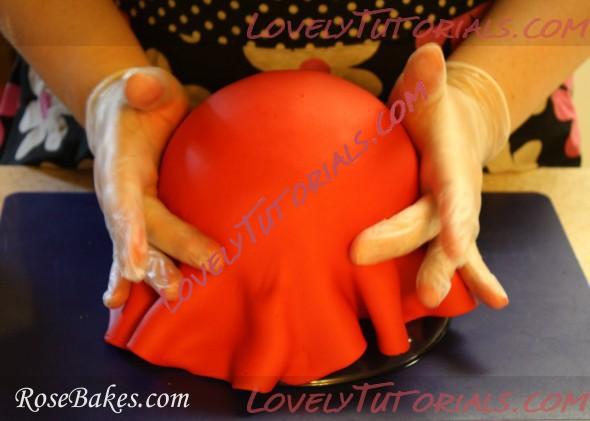
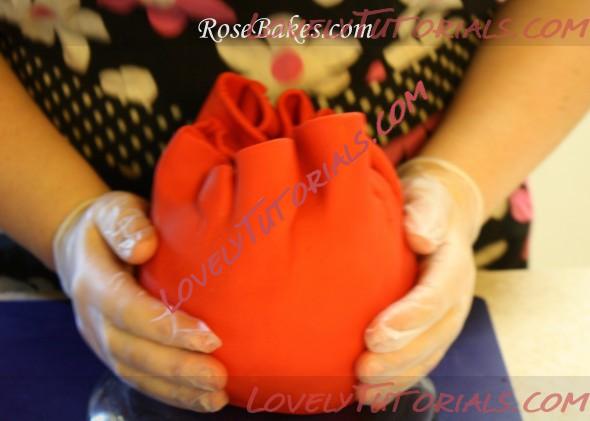
I need to do a video for you to really see this, but I generally get it as near to the bottom as possible, then use my fingers to work around the bottom of the cake, as near to the plate as possible
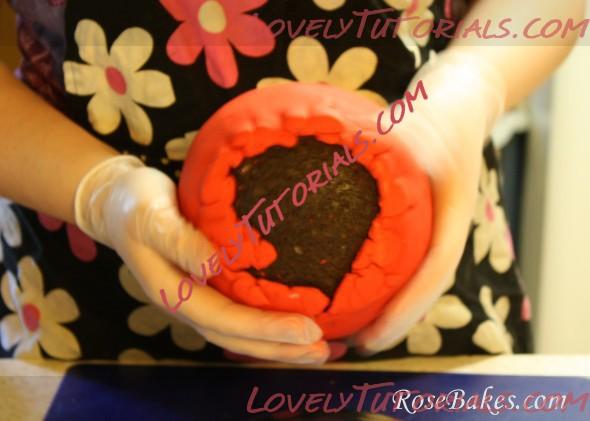
Then… here’s the fun part, and another reason the cake needs to be cold… I pick up the cake…
and flip it upside down!
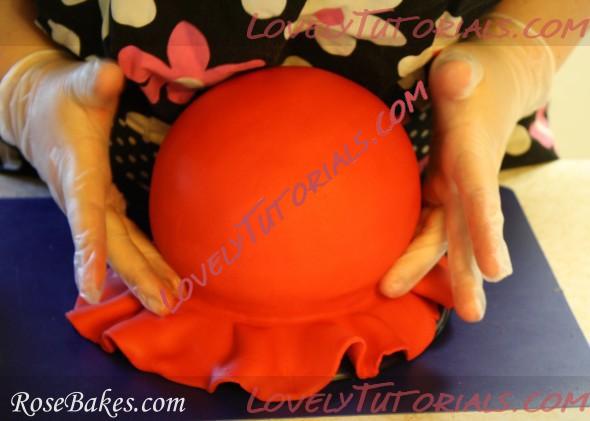
Then I start smoothing the fondant toward the middle of the bottom of the ball. I don’t try to cover it all – I’ve never been able to do that, but I try to get it far enough under the edges that it won’t show when the ball is sitting on the board or another cake tier.
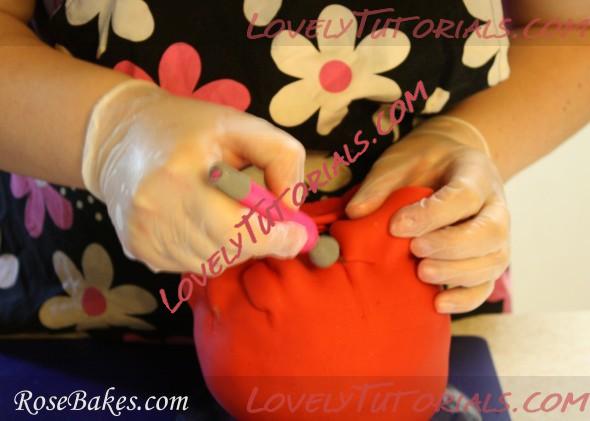
When I get it smoothed, then I cut away the excess with an
Xacto knife.
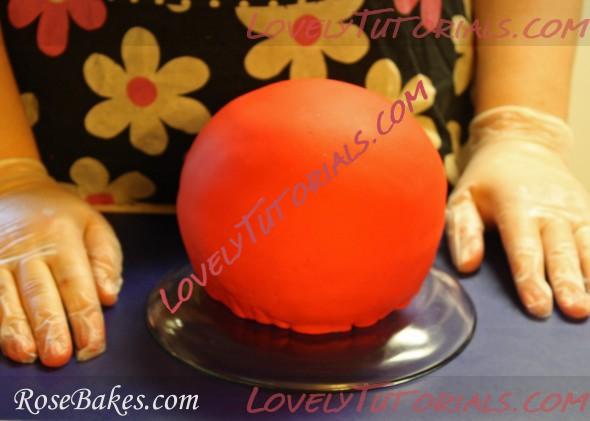
When that’s all done, the cake is peeking out of the bottom (and usually I get it a little tighter than this, but it was not my best day). Bad pictures. Not my best work. Why, again, did I choose to share this?
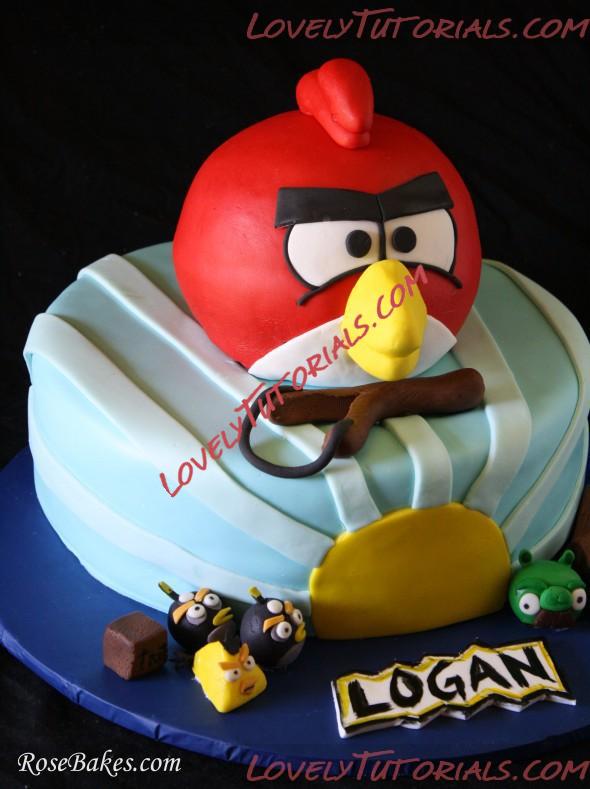
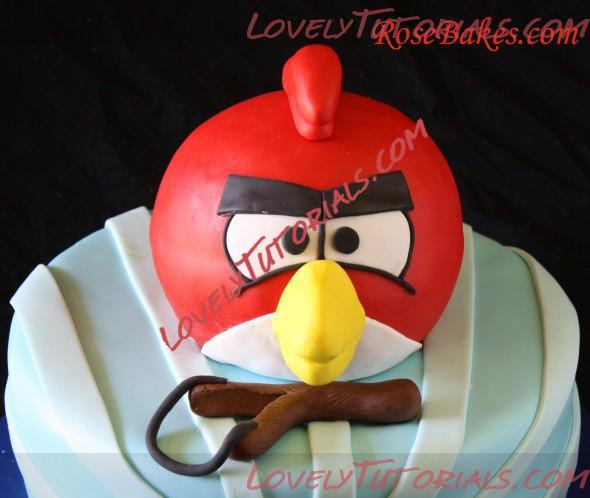
Then it’s done! Assume it’s much prettier, with less wrinkles, less blur, better light… you get the (better) picture, right?? I sure hope so!!
And that’s it. I let this rest for a few hours before decorating so the fondant will harden a bit and be less likely to tear when adding decorations (especially for this cake – adding the beak and feathers).