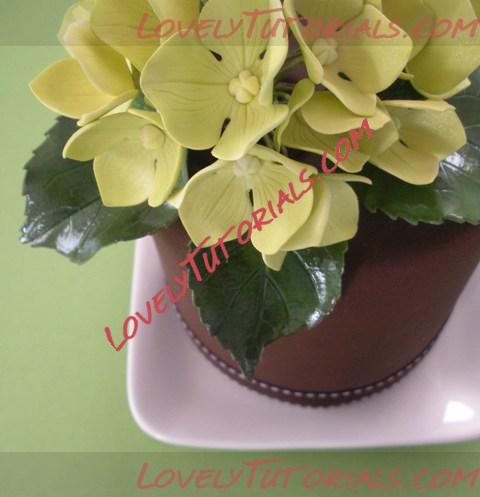
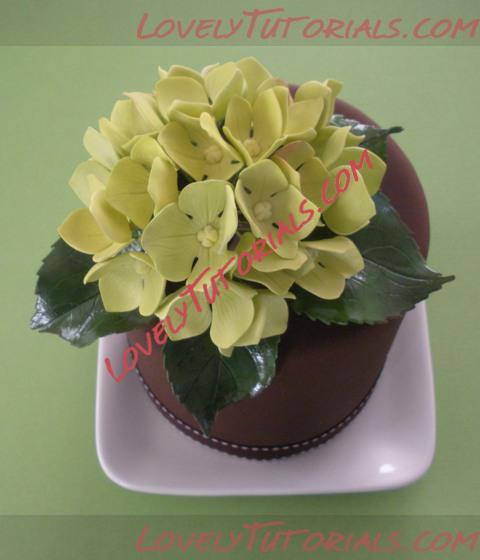
Here is the final piece of the tutorial...how to make hydrangea leaves to go with your gorgeous hydrangea flowers! If you thought Part Two was a bit long, prepare yourself now for Part Three...it's a bit lengthy too...but I hope you find it helpful!
MAKING HYDRANGEA LEAVES
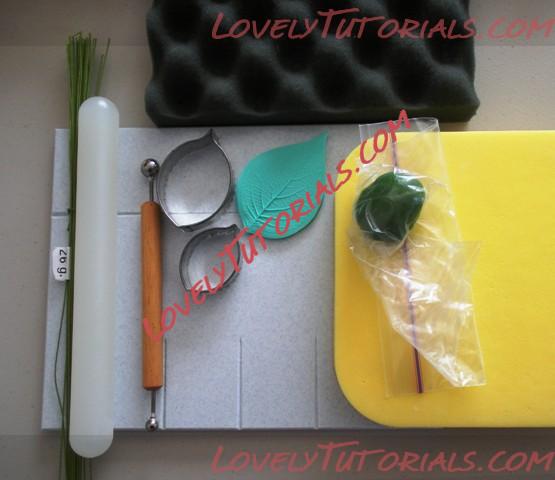
Here are the tools I use for making hydrangea leaves:
*CelCakes grooved board
*Rolling pin
*Ball tool
*Hydrangea leaf cutters and veiner
*Foam pad
*26g cotton-covered green wire
*Wire cutters
*Corrugated foam for drying (I also use scrunched up pieces of foil)
*Sugar glue
*Gumpaste (The color I used was made with Spectrum/Ateco Gels in Leaf Green, Avocado and a bit of Warm Brown)
 Step 1:
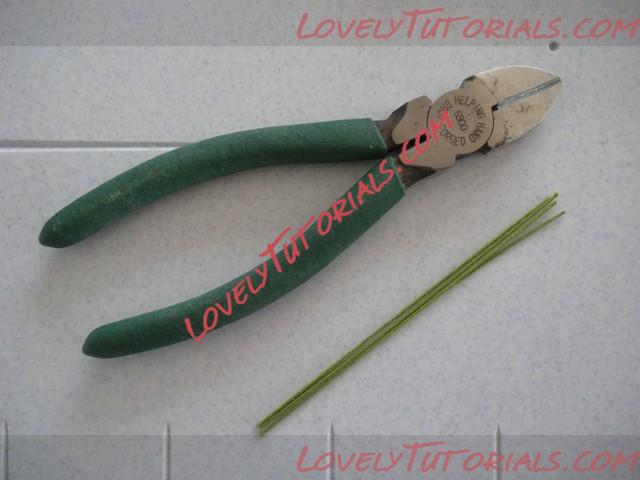
 Cut your 12" wires into thirds. No need to hook them. I like having a little extra length of wire so my leaves can peek out from under finished bouquets of flowers:
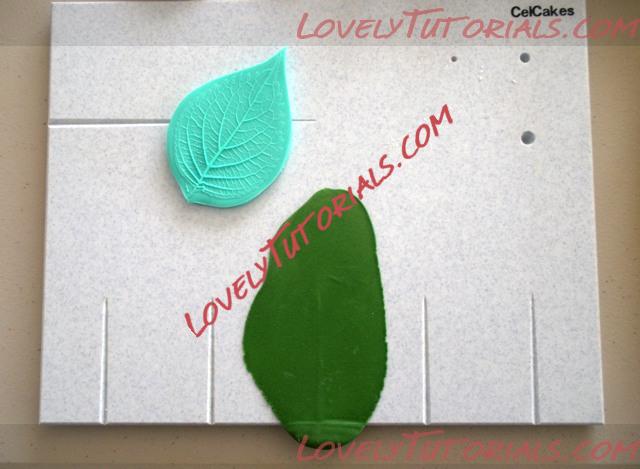
 Step 2:
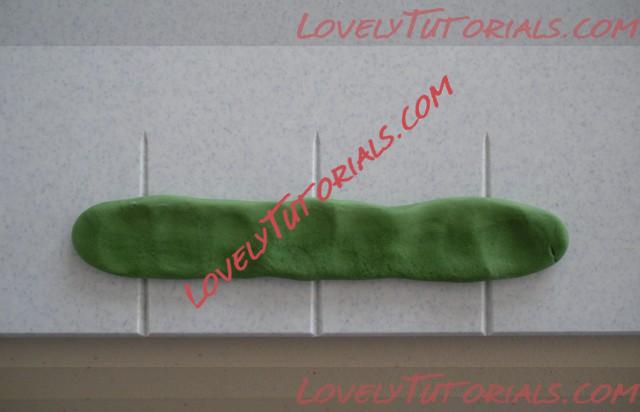
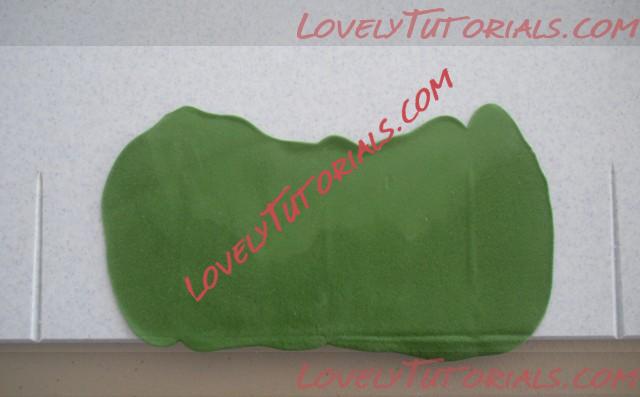
 Roll out paste thin over a groove on the board. I let the excess paste hang over the bottom edge and use it as a tab so I can easily pick up the rolled paste:
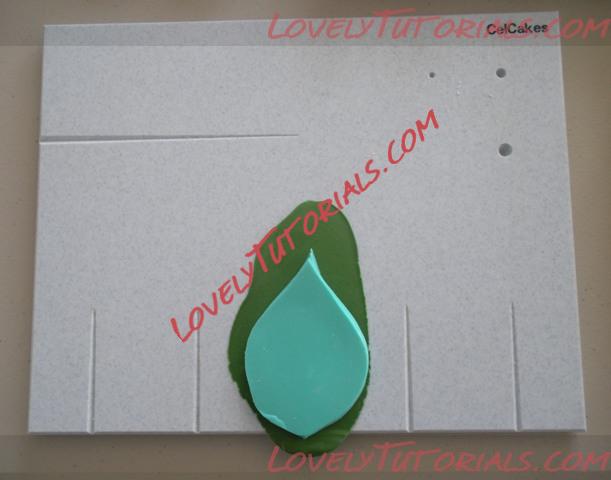
 Step 3:
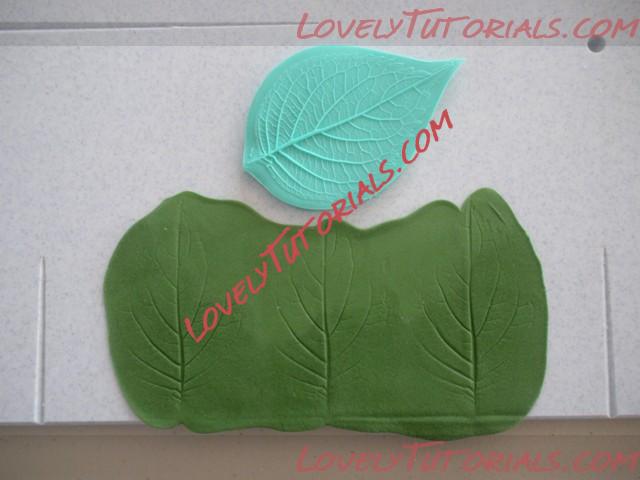
 Imprint with veiner, being careful to line up the bottom of the veiner with the bottom edge of the board (not the overhanging paste):
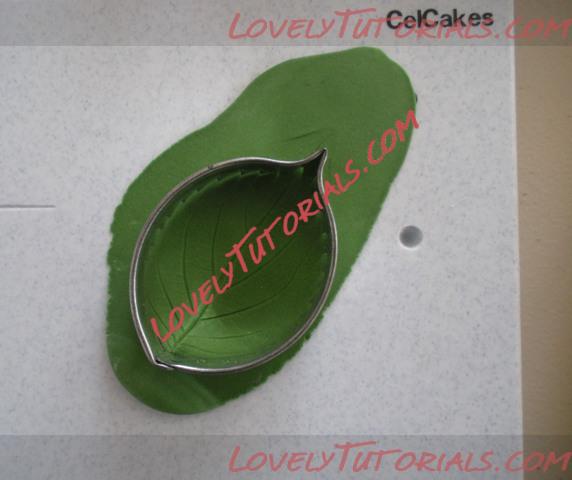
 Step 4:
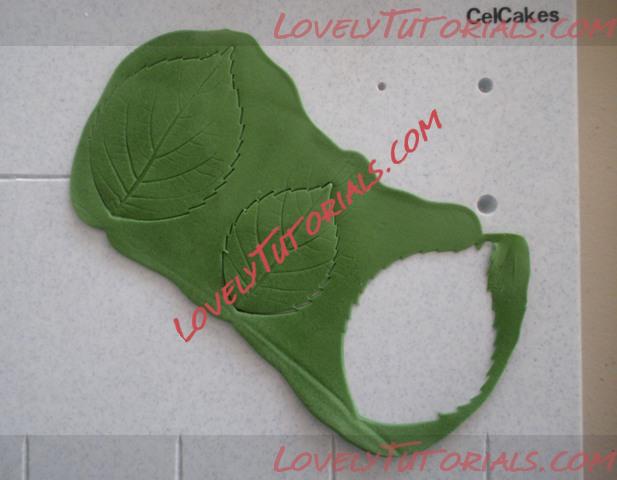
 Pick up imprinted paste, move it to the smooth corner of the board, line up the bottom of the cutter with the bottom of the veining, and cut the leaf:
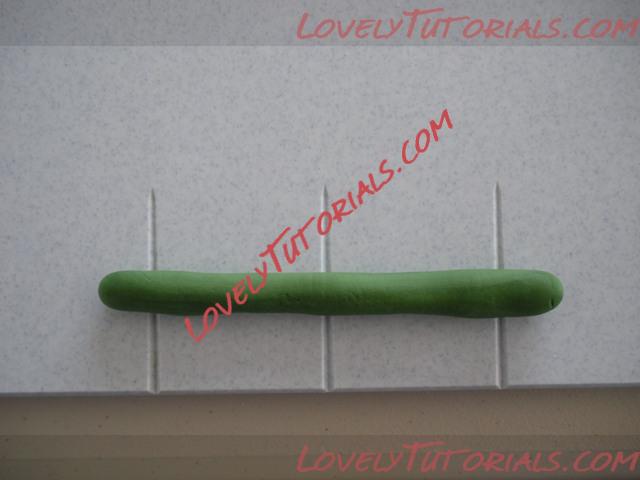
If you want to make MULTIPLE LEAVES at the same time, roll out a larger piece of paste to cover more of the grooves in the CelCake board. If you are cutting many leaves, keep them under some plastic wrap or in a Zip-Loc bag so they don't dry out:
** Whether you are making one leaf at a time, or multiple leaves at a time, the remaining steps will be the same for both **
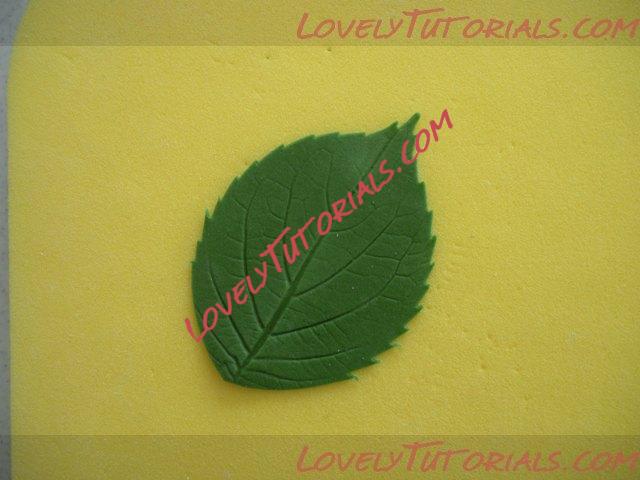
Example of cut leaf front-side:
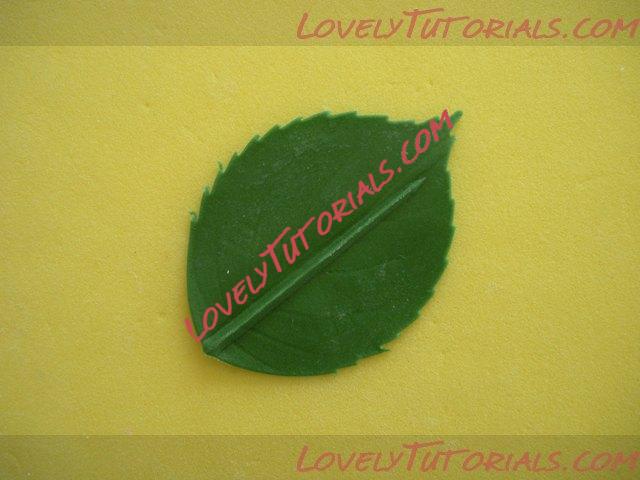
Example of cut leaf back-side with ridge:
 Step 5:
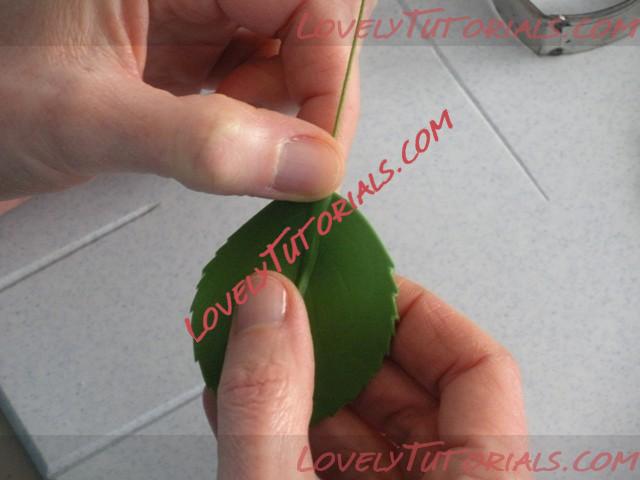
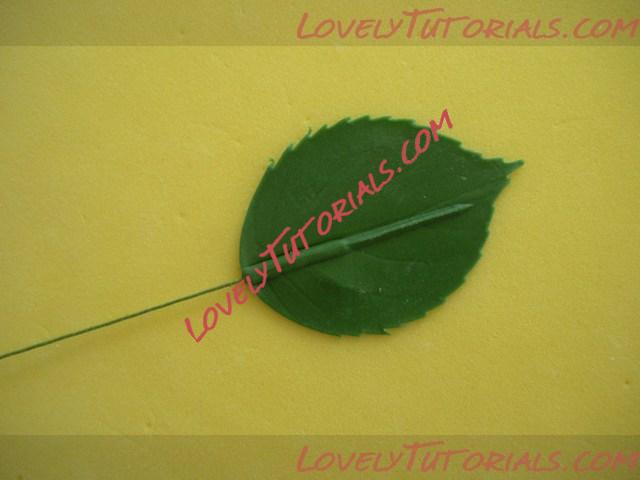
 Dip the tip of the wire into the sugar glue and wipe off any excess. Hold the bottom edge of the leaf between your thumb and first finger, with the wider end of the ridge facing up, and the ridge against your thumb. This set-up will help you feel the wire as it moves through the paste. Gently insert the wire into the center point of the ridge, and then slide it further into the ridge 1/3 to 1/2 of the length of the leaf. Be careful not to poke the wire out through the paste:
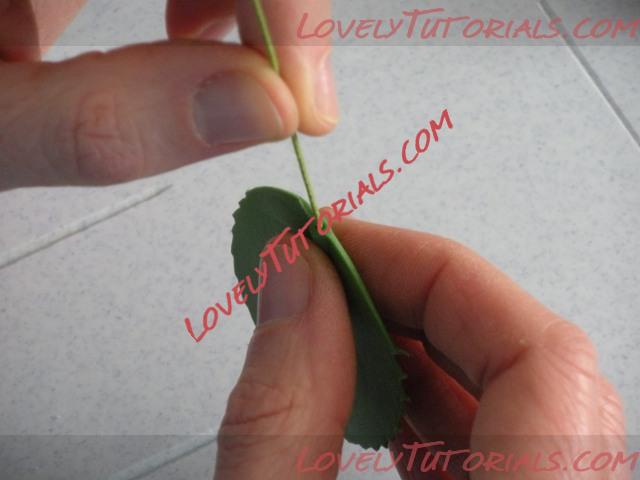
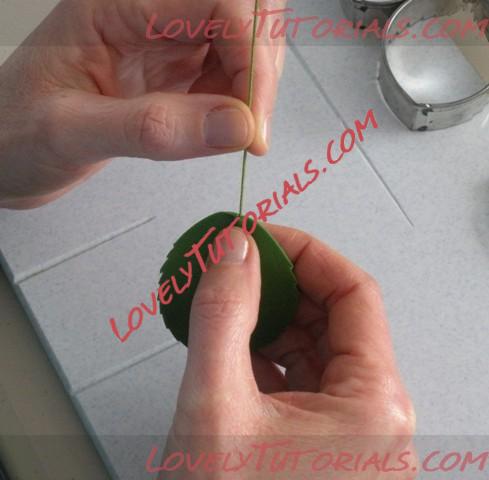
Gently pinch the paste at the base of the wire to secure:
The wired leaf:
 Step 6:
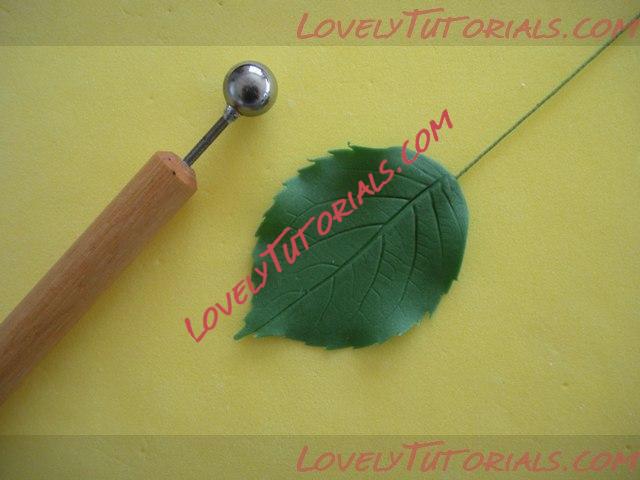
 Place your leaf on the foam pad facing up, and with the tip of the leaf facing towards you. Thin edges with the ball tool, following the contours of the leaf shape. I find if I use the ball tool in one direction, from the bottom edge of the leaf towards the tip, I am less likely to tear the delicate edges and tiny point:
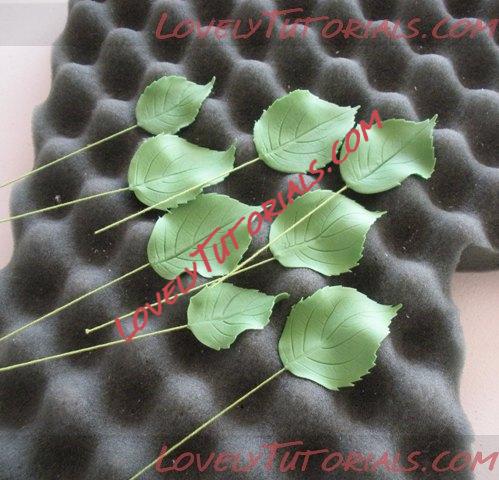
Step 7: Place the leaf on corrugated foam (or scrunched up pieces of foil) to dry, which will allow it to take on a natural shape. Make a nice mix of both large and small sizes, and let them dry overnight:
 COLORING HYDRANGEA LEAVES
Here are the tools I use for coloring hydrangea leaves:
*Petal dusts in Chartreuse, Moss, Lime and Plum
*Firm brushes and flat brushes
*CK Products Confectioner's Glaze and a small brush for application
*CK Products Confectioner's Glaze Thinner
*Disposable cup for mixing glaze and thinner
*Styrofoam or rack for drying
A QUICK NOTE ABOUT GLAZING: You can find several different glazing products online. They are considered food grade lacquers, and are used to extend the life of chocolate and sugar decorations and showpieces.
1. CK Products Confectioner's Glaze and Thinner (found here or here)
2. Confectionery Arts International Lacquer (found here) They now have lacquer in spray form...which sounds much faster to me...but I have not tried it yet!
3. If you don't want to glaze your leaves, you can steam them after dusting. This will give your leaves a soft sheen, but not the glossy finish of glazing.
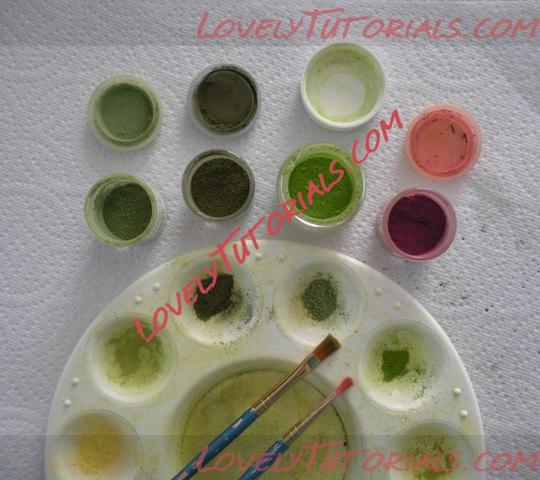
Step 1: Prepare the colors of your petal dusts. For these leaves, I use three colors of green (Chartreuse, Moss and Lime), and Plum for the edges, but I don't mix them. I use them one at a time, and dust splotches of all colors on each leaf (kind of like camouflage). When I glaze the leaves, the colors blend a bit and make the leaf look a little more realistic. From left to right...Moss, Chartreuse, Lime and Plum:
 Step 2:
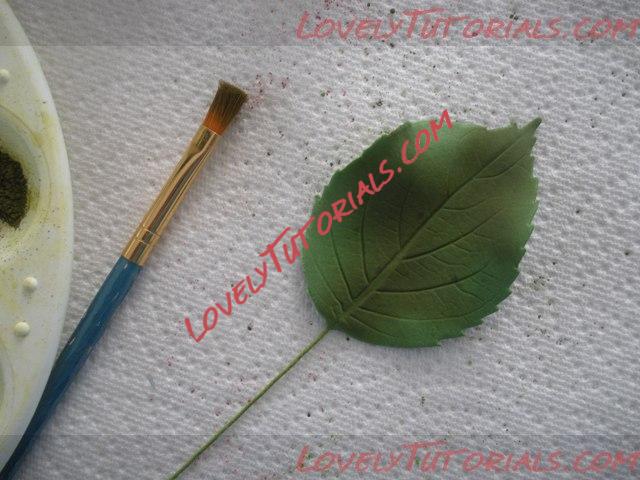
 Using a medium-sized firm brush, dust large random patches of Chartreuse on the leaf:
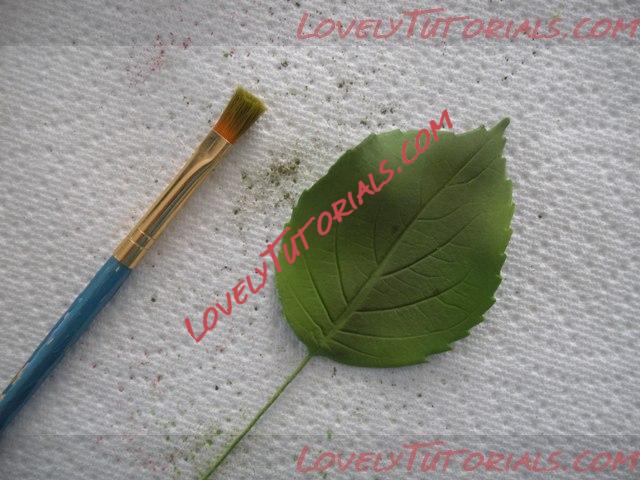
Continue to dust the leaf with splotches of Lime and Moss to cover the leaf surface:
 Step 3:
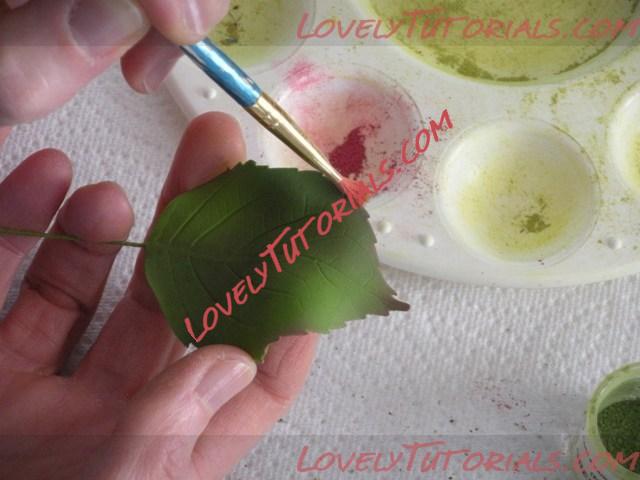
 Using a flat brush, dust parts of the edges of your leaves with Plum, being careful not to break the delicate edges:
Here is a group of dusted leaves:
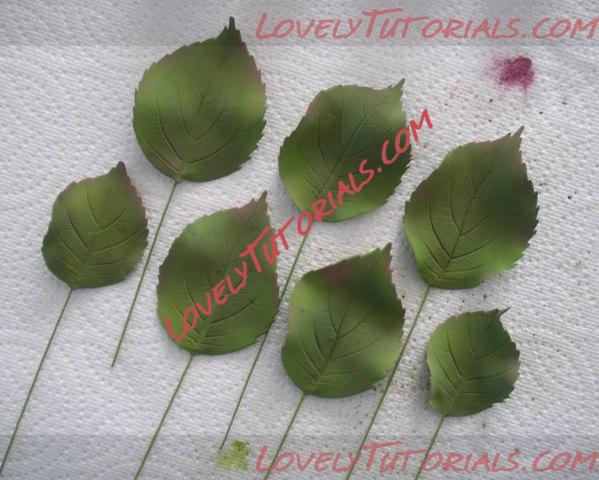
I usually do not dust the back sides of my leaves unless they will be really visible. Most leaves have variations in coloring from top to underneath...so you can decide what is best for your particular project.
Step 4: In a small disposable cup, mix a small amount of glaze and thinner to total about a tablespoon. A little goes a long way, so start with a small amount and add more if you need it. I use a ratio of 50/50...but I live in a pretty dry climate. You may have to adjust the formula where you live in order for the leaves to dry thoroughly. The glaze can be sticky and messy, so I use a disposable cup for easy clean-up! With a small brush,
lightly apply the glaze to the TOP only of your leaves with a
dabbing motion until they are covered with the glaze.
LIGHTLY is the key word here...if your leaves are dripping then you are using way too much glaze. When glazing, do NOT use a painting motion as this will cause streaks in the coloring, rather than blending:
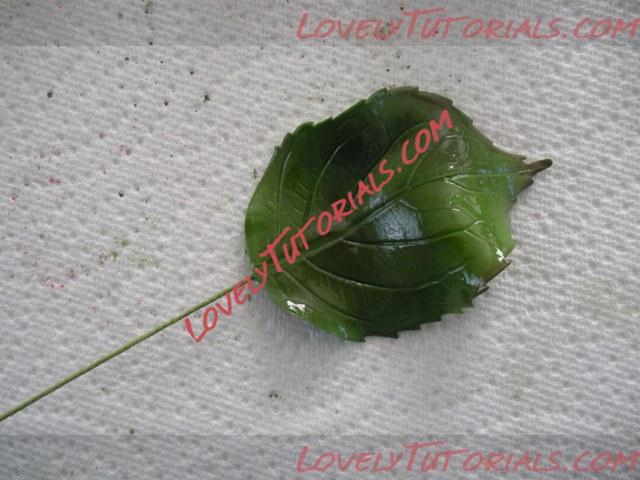
Insert the wires into Styrofoam or hang to dry overnight:
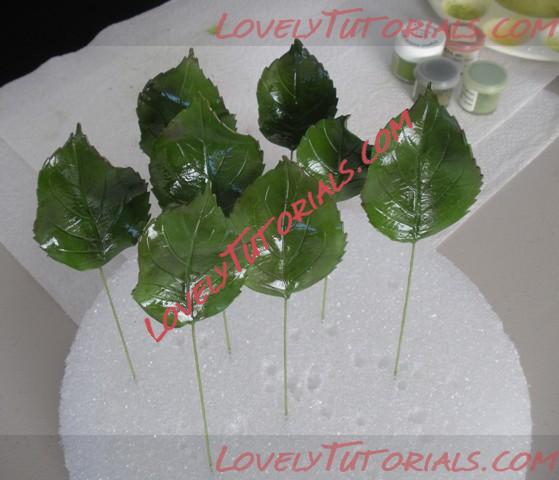
**Many leaves are only glossy on the top, but you can change how you glaze them according to the variety you are making and your preference!
ARRANGING HYDRANGEA LEAVES:
There are many different ways to use leaves...and here are a few examples of how I use them most frequently...
All throughout a bouquet:
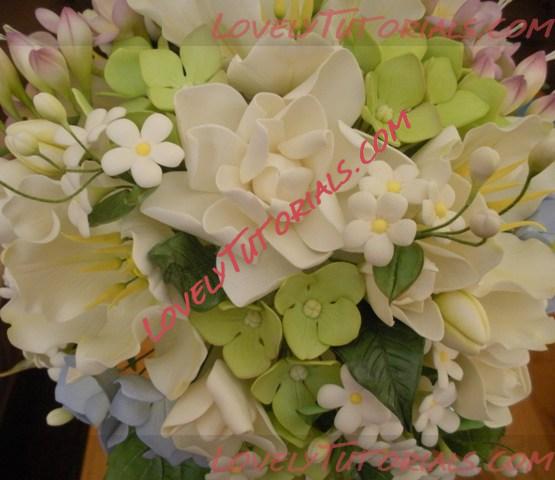
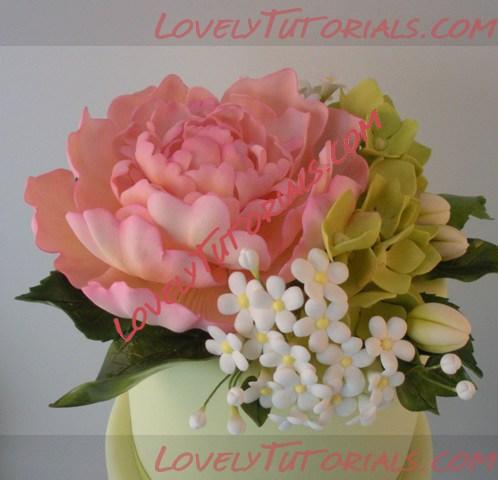
Hydrangea leaves are usually visible from underneath beautiful bunches of their flowers, so here is how to arrange them that way:
Here are the tools I use when adding leaves to a hydrangea bouquet:
*Florist tape in moss green
*Completed hydrangea flowers
*Completed hydrangea leaves
*Wooden skewers
*Wire cutters
*Styrofoam (to hold bouquet stem while working on the arrangement)
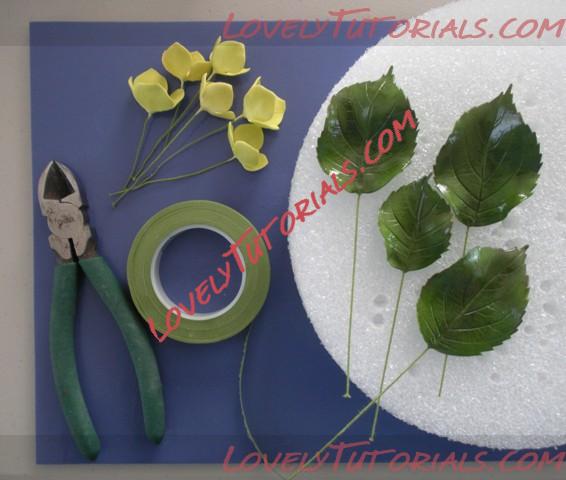 Step 1:
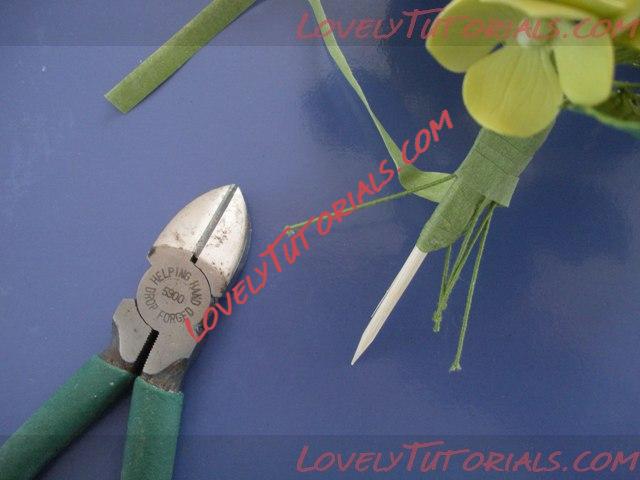
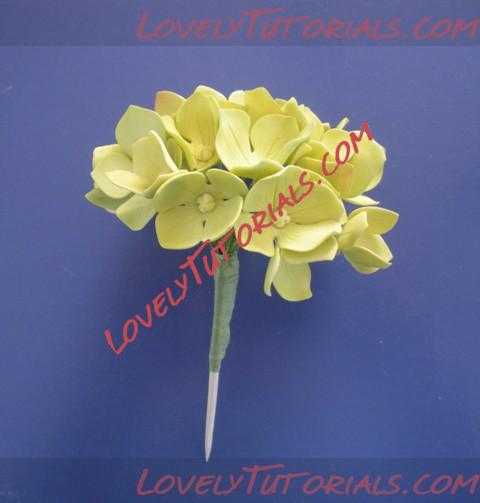
 Gather your completed flowers into a bouquet, and tape together. I used about 25 hydrangea flowers for this one. To prepare it for using on a cake, you can tape your flower wires to a skewer:
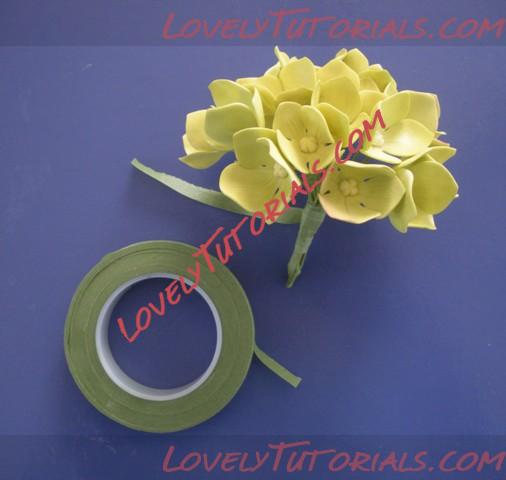
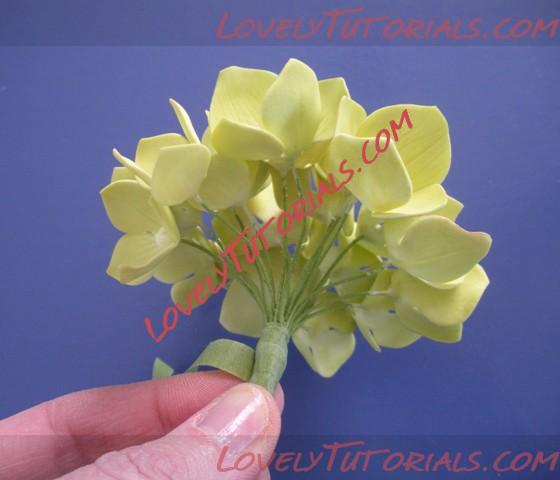
Cut off any extra length of wire from the flowers:
 Step 2:
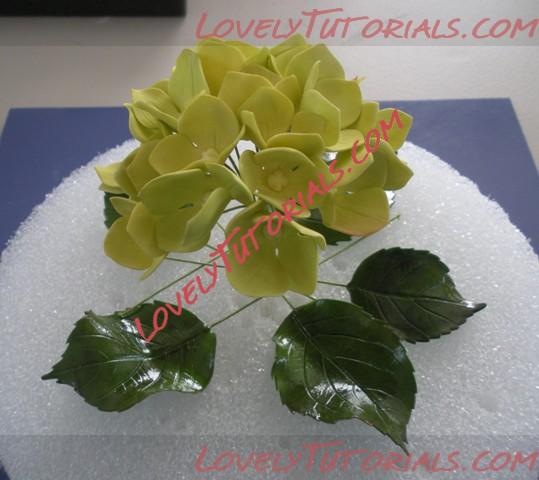
 With the bouquet in the Styrofoam, lay the leaves around the base to visualize where you want them to be added. I tend to use leaves in ODD numbers, and put small groupings of them together instead of making them all perfectly spaced. And keep in mind they can all be moved around however you wish, even after they are taped:
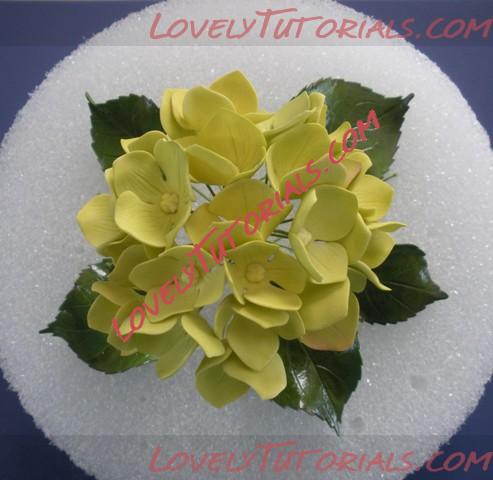
Here's how I want it to look from the top:
 Step 3:
 One at a time, tape the wires of the leaves to the main stem, varying how much leaf is visible from the top:
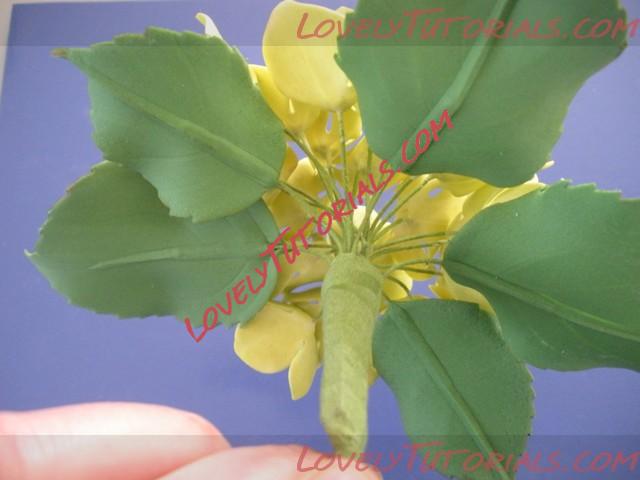
The taping is all completed:
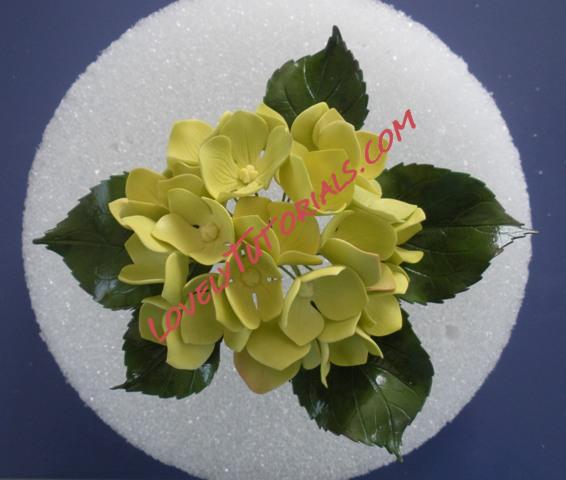
And this bouquet is ready to be used on a cake:
