Огромная благодарность
Angie Scarr за Мастер-класс


Method
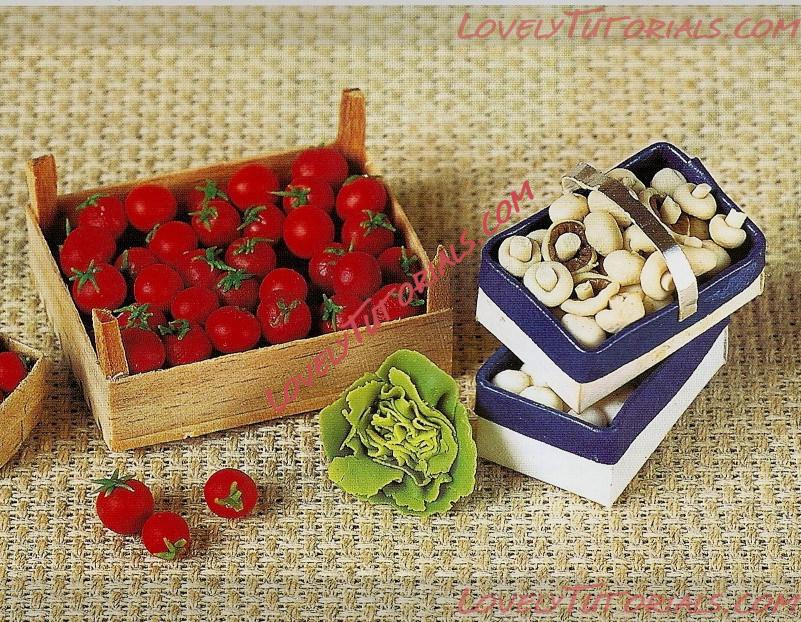
1 This mushroom basket was made out of white card with blue paper, glued around the edges. The handle: was made of silver card. You should half-fill your basket ot box wilh pale cream mix day and make a layer of tiny balls to cover it. On top of this, we are going to put a layer of mixed closed and open mushrooms.
2 Make several more liny balls of cream-coloured clay, 3-4mm in diameter. Using a ball-ended tool with a fairly largish ball end, press a little hollow into the ball.
3 aod 4 Make an even smaller ball of mushroom-coloured clay. Press this into the hollow.
5 Using your dental tool or a cocktail stick, make a scries of indentations all the way round to simulate the gills.
6 Pre-harden several long, thin rolls of clay for the mushroom stalks. These should be a little thicker than the ones used for the carrot projects. It helps if they are very slightly 'under' hard as this makes them easier to break. Push one end of a hardened roll into the mushroom and break off with your fingernail (if you have any), otherwise cut out with a pair of nail scissors. Put these mushrooms into the pile.
Using your dental tool or a cocktail stick, make a series of indentations all the way round to simulate the gills.
7 Make some closed mushrooms by pushing the stalks into little balls of cream clay and omitting the gills part of the process.
o Finally, pack your mushrooms into a display.
