Огромная благодарность Kate Lau за Мастер-класс
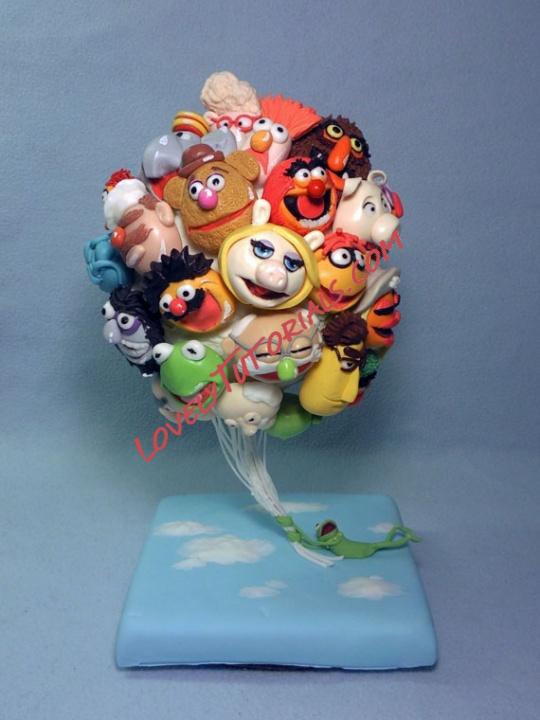
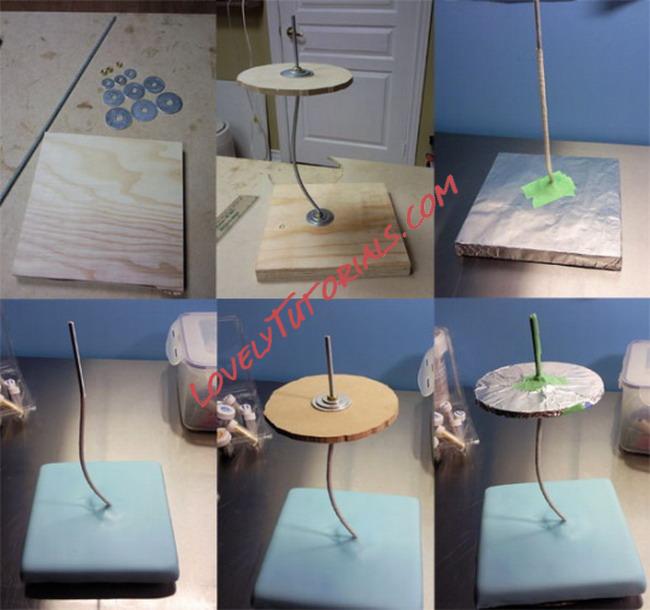
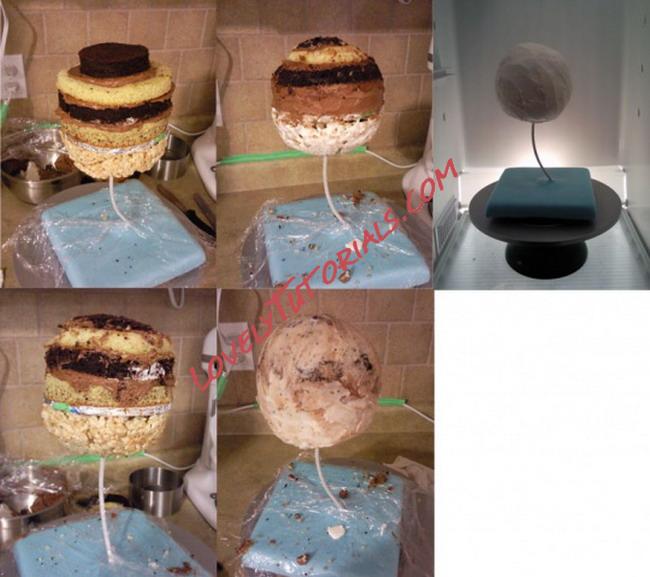
The major challenge was figuring out the structure to support the cake. How in the world? I thought. With educational guidance from my handy boyfriend and a trip to a hardware store, I brought materials to experiment. The results from the experimentation was a success but my worries wasn't over yet. There is a possibility the threaded rod might break under the weight of the cake and decorations, but I took the risk anyway.
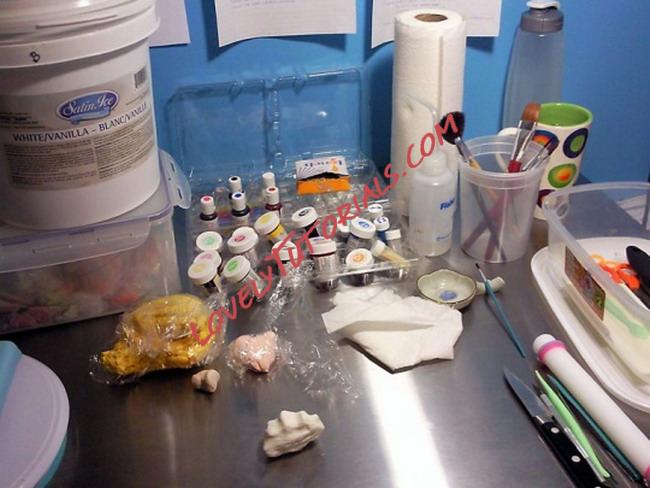
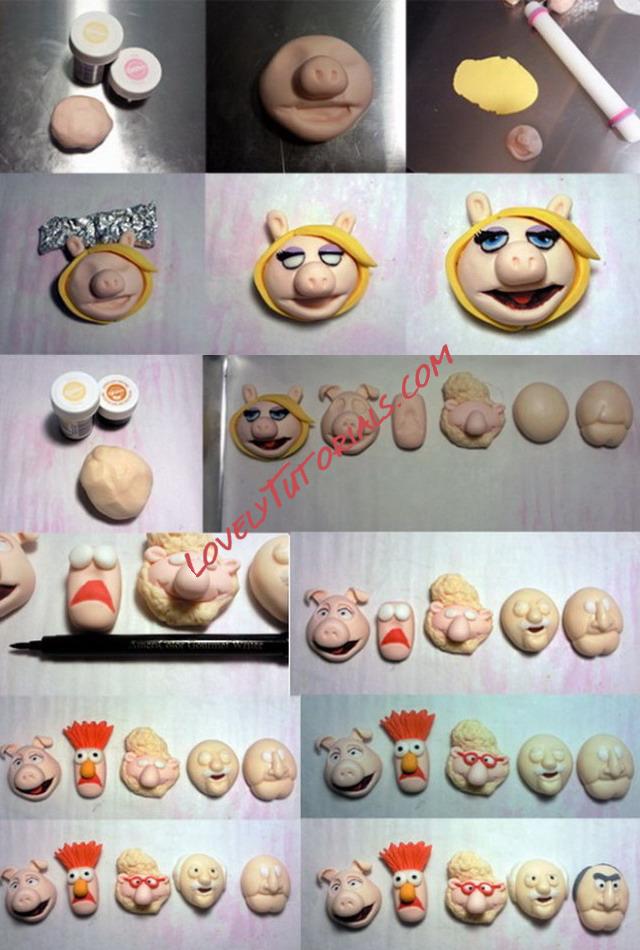
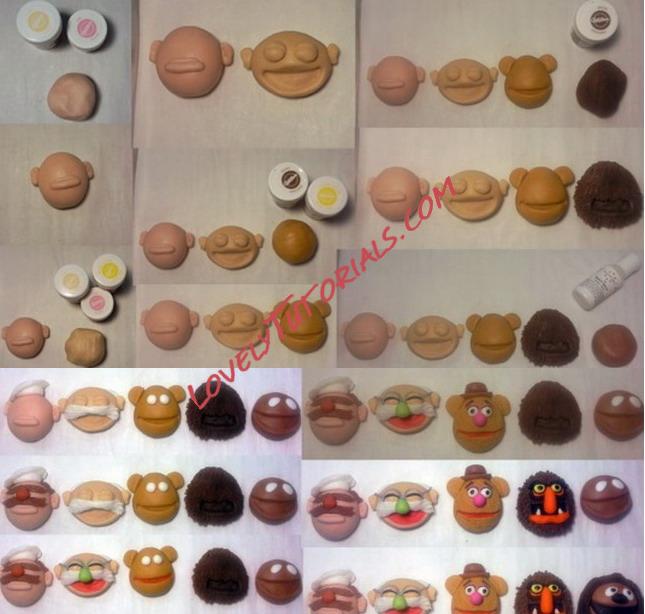
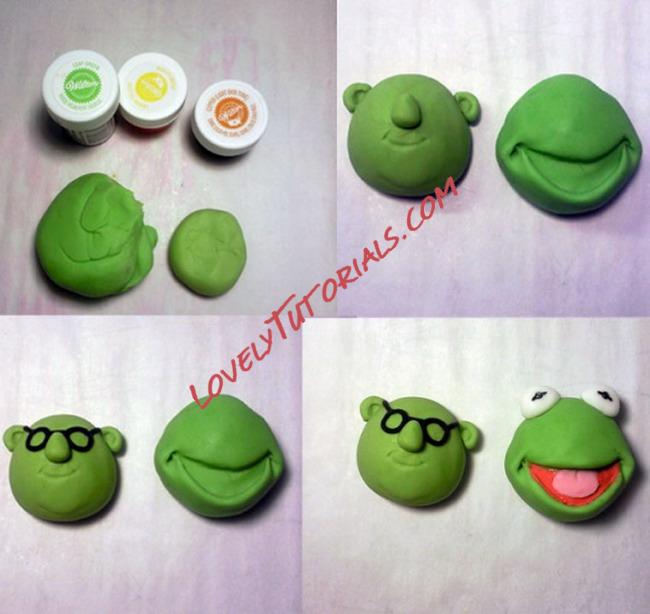
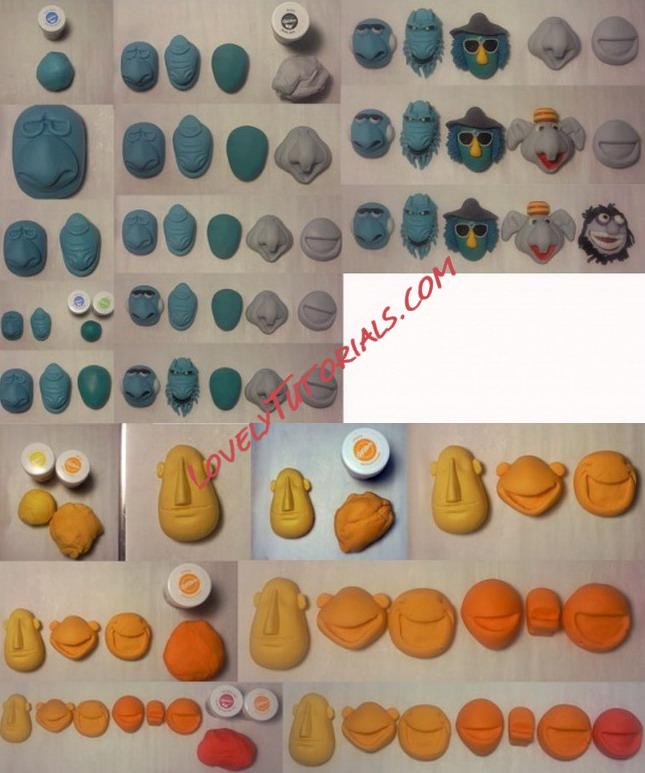
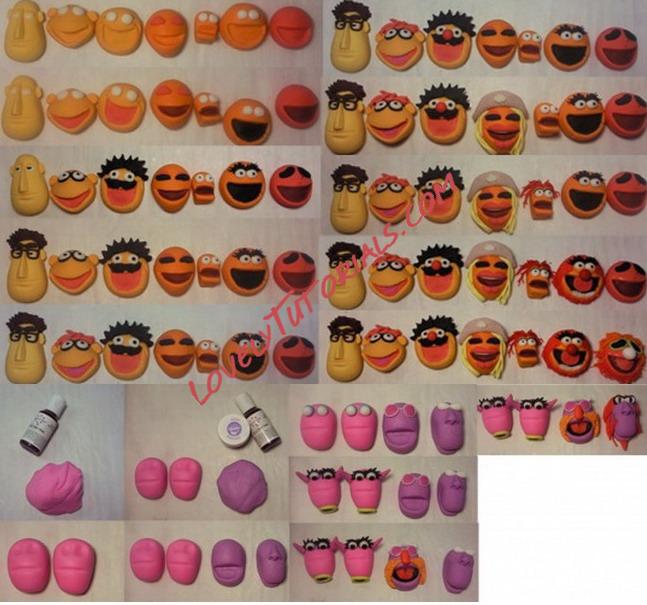
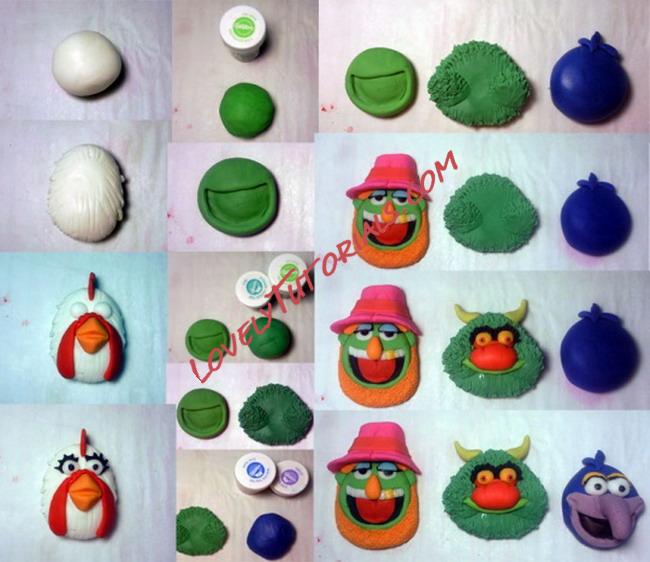
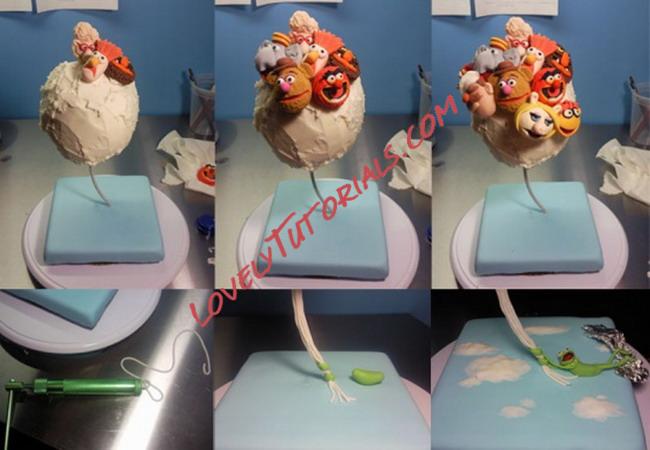
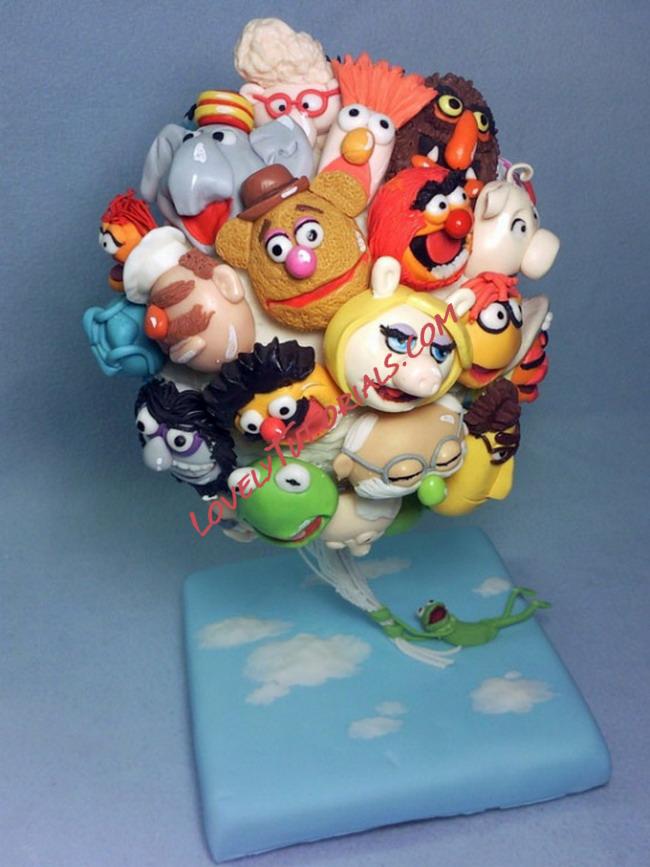
I started making the decorations first since its always the time consuming part of any cake making. I used fondant to make the Muppet heads. It took way too long when I started out making one head at a time. So I changed ways by colour coordinating them, making the basic shapes, and than finished off with the details (hair, eyes, etc.). I used varies decorating tools to shape and build the faces. The hairs I used different tools for different effects, such as, extruder, x-acto knife, scissors, and #18 piping tip. The eyeballs I filled in with a black edible marker. It took days to complete the decorations.
Since the support structure is not edible, I had to cover the surfaces with tin foil and floral tape to protect the cake from contamination. Blue fondant was rolled out to cover the base board.
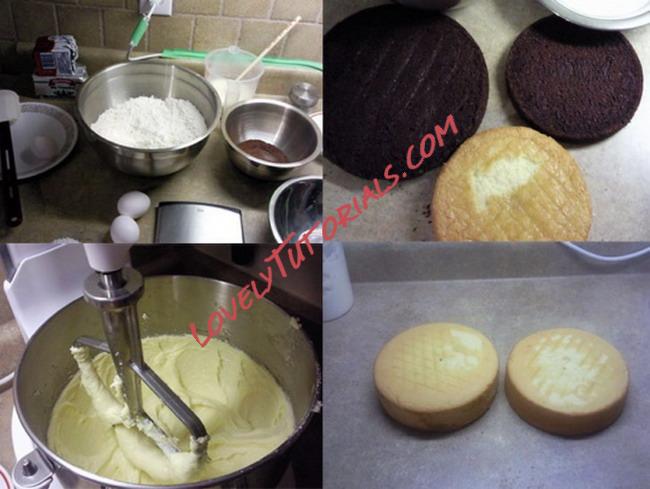
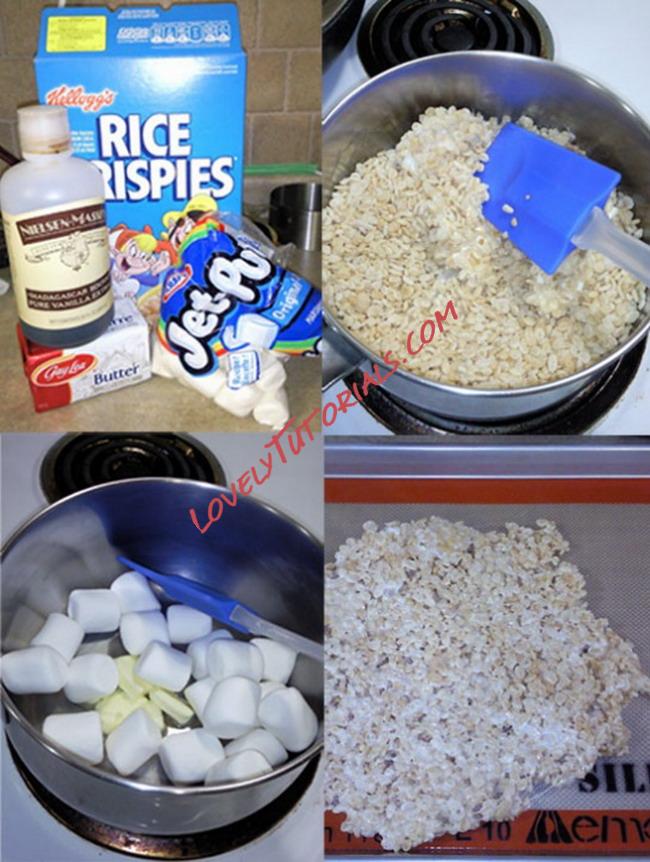
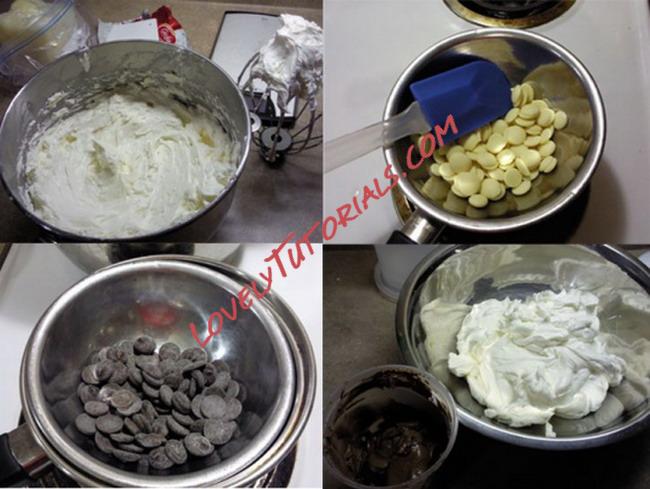
The cake is chocolate and hazelnut with belgium chocolate buttercream, all made from scratch. The final coat is white chocolate buttercream. I assembled the cake by alternating the layers of chocolate and hazelnut. Initially, the bottom half of the sphere was also cake, but due to the nature of gravity, the weight of the cake was too much and started falling off the structure. After the cursing was done and dealt with, I decided to use rice krispies as an alternative. It was glued to the bottom of the support with royal icing for extra hold. The whole cake was than given a makeover with a serrated knife, carving until I was satisfied with the shape. A crumb coat than a final coat finished it off.
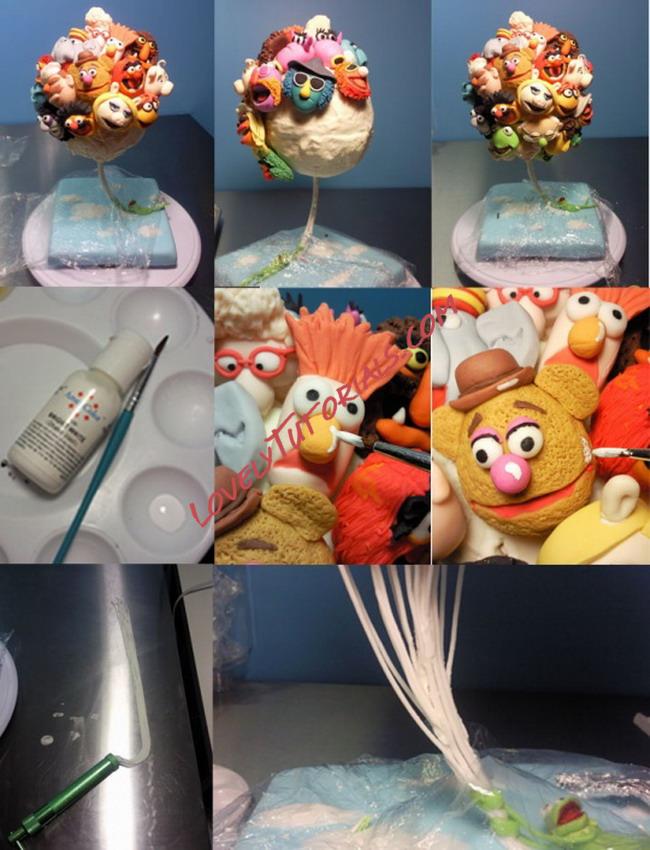
The balloon strings were made out of fondant, pushed through an extruder. Its pieced on one by one using royal icing as glue. Kermit and the clouds were also made out of fondant.
Next the Muppet heads were stuck on the cake with royal icing (royal icing does wonders when it comes to holding things in place). The bottom half of the sphere I had to use toothpicks to hold the heads in place to fight gravity. Edible white gel colour was used to paint on the "shine" affect that balloons have. A sigh of relief was let out when everything came together and the internal support iwas doing its job.
