Огромная благодарность автору rosesen за Мастер-класс
Gumpaste Shoe How-To: Tips and Template
6 Oct
I just recently got a great email question regarding how to make the Manolo Sedarby D’orsay gumpaste shoe:
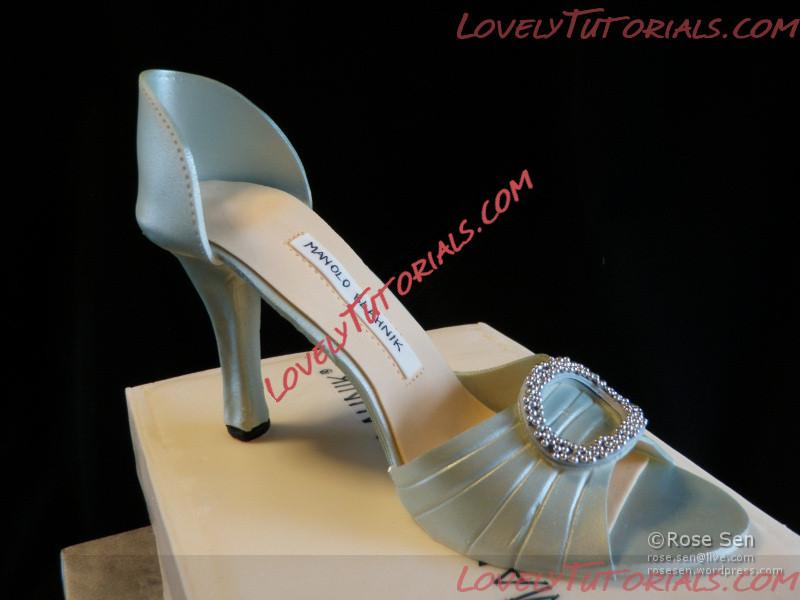
I had used a the same method as
Pink Cake Box’s awesome gumpaste shoe tutorial. But here are some extra tips on what I did:
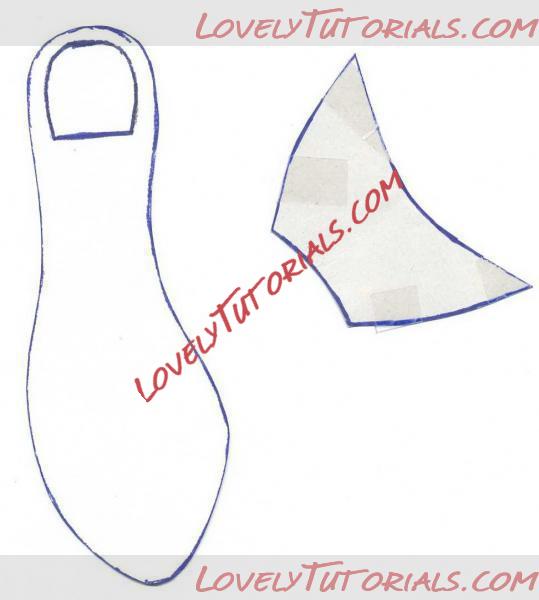
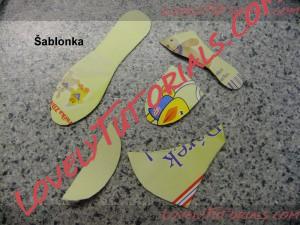
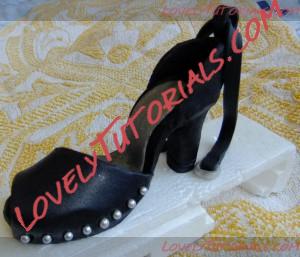
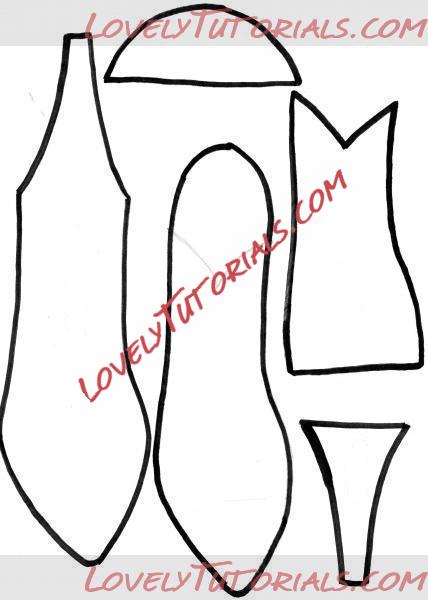
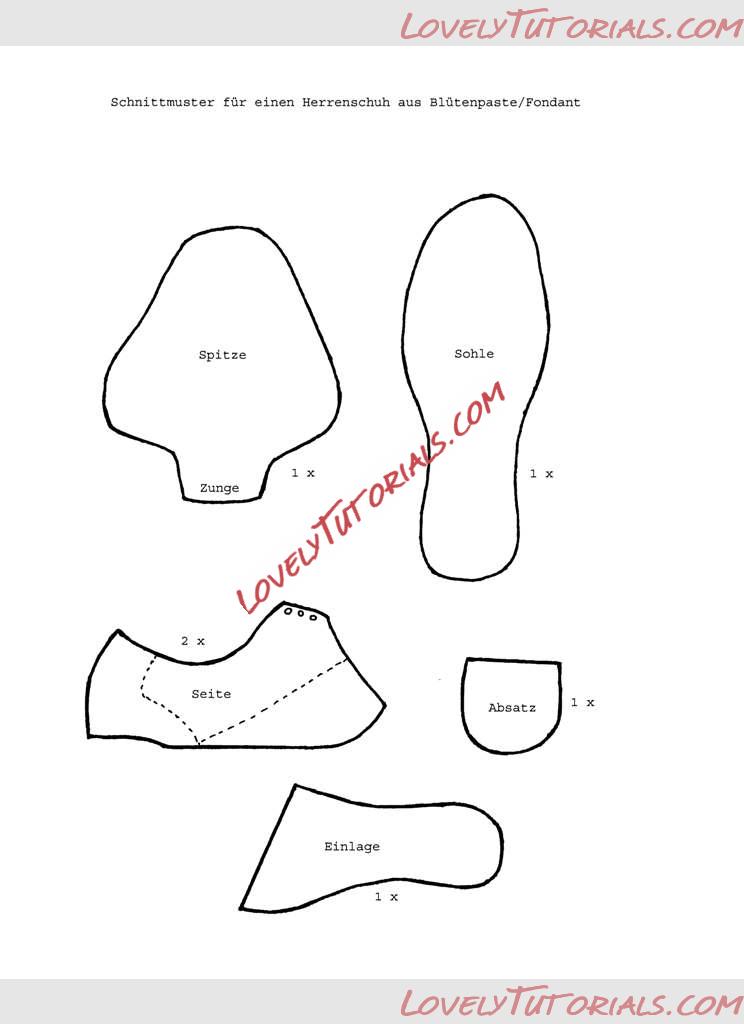
- To make the template, I found a real shoe at home that had the same shape used it to make the template. I didn’t make it exact though, and was exaggerated to look curvier. Here are photos of the shoe templates I made (click for full size):
- I got lots of reference photos from online of different angles of the shoe. And I love shoes, so it wasn’t hard to browse! In this case, I found photos on Ebay: http://shop.ebay.com/?_from=R40&_trk...All-Categories. I used these photos to copy the little details of the shoe.
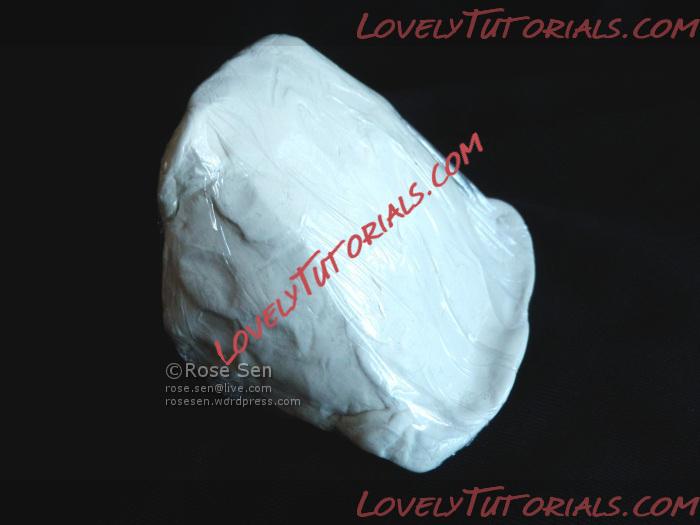
- To make the form that the shoe sits on, I hand-sculpted a form out of modeling clay and covered it in saran wrap. This way, I got a nice exaggerated curve. I was really picky about the curve of the form… if you look closely, you can see how it gradually curves out at the bottom too. You can use anything for a form, but this is just what I had on hand.
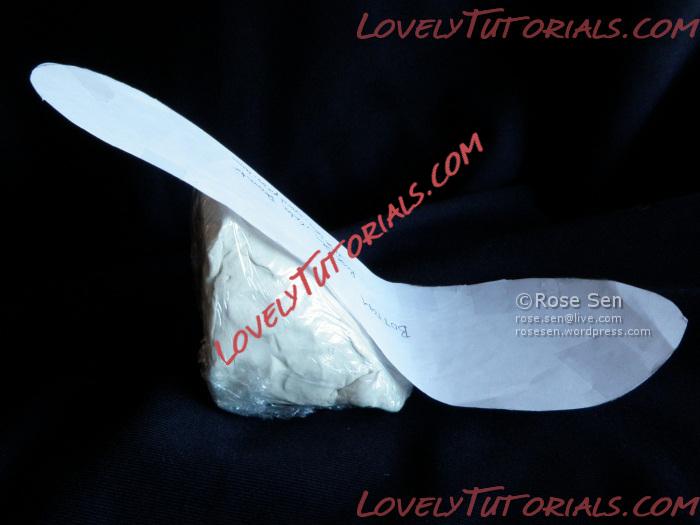
- To make the stitching, the Wilton Gumpaste tool kit has a great little stitching tool.
- To shape the top of the shoe, I used a ball of saran wrap lightly pressed into the shape that I needed. Sort of like that shape of that wad of tissue you sometimes get in a pair of new shoes.
- To make the brooch, I used circle cutters to make a flat wheel shape out of grey coloured gumpaste. Then I bent the wheel shape a bit to make an oval. I brushed on some clear piping gel and stuck tiny silver beads onto it. It was hard to get the beads to look even, and I had to use tweezers in some spots.
- To get the silver colour, I airbrushed it using edible silver food colouring, but you can get the same effect by painting in thin layers using a mixture of edible silver lustre powder and alcohol.


