Огромная благодарность Andrea за Мастер-класс
I started out making a 1/2 sheet cake. This is the size you need if you are making two men's sized shoes. Once it had cooled I let it sit overnight wrapped and chilled in the fridge. I made a whipped ganache filling and got ready to torte and stack my cake. A half sheet cake is 12 x 18. I measured and cut the cake in half long ways (just under 9 inches since cakes shrink slightly) and leveled off the tops (BUT DON"T THROW THE TOP AWAY!). After I filled (with whipped ganache) and stacked the cakes, I took the running shoe that the Mom of the Eagle Scout gave me and outlined it on a couple pieces of paper (it doesn't fit on an 8 1/2 by 11 so I taped two pieces together). This lets you know what the base of the shoe should look like. Just remember the sides of the cake can stick out over the base in the middle of the shoe where it tapers in.
I cut around my template then flipped it over (so I could get the other shoe) and cut that one out as well and saved my scraps (I always try to save them intact just in case, you never know when you are going to need them). Then I added a little more of the whipped ganache to the heal to the middle part of the shoe since they are higher around the heal and that tongue of the shoe and then added the the extra cake that I had cut off when I leveled the cake (the part I told you not to throw away). After this you need to chill the cake. Very VERY important that you chill it before you start to carve or it will be a crumbly mess and wont cut like you want it too. Either 20 or so minutes in the freezer or a few hours in the fridge.
After it was chilled I brought them out one at a time (so the other one could stay cold) and with the real shoe as a visual I started cutting. It is always scary when you start cutting so just do little bits at a time. I started going around and curving the rough edges and cutting in under the toe. then I moved onto the sides the back and then the place where you put your foot in the shoe.
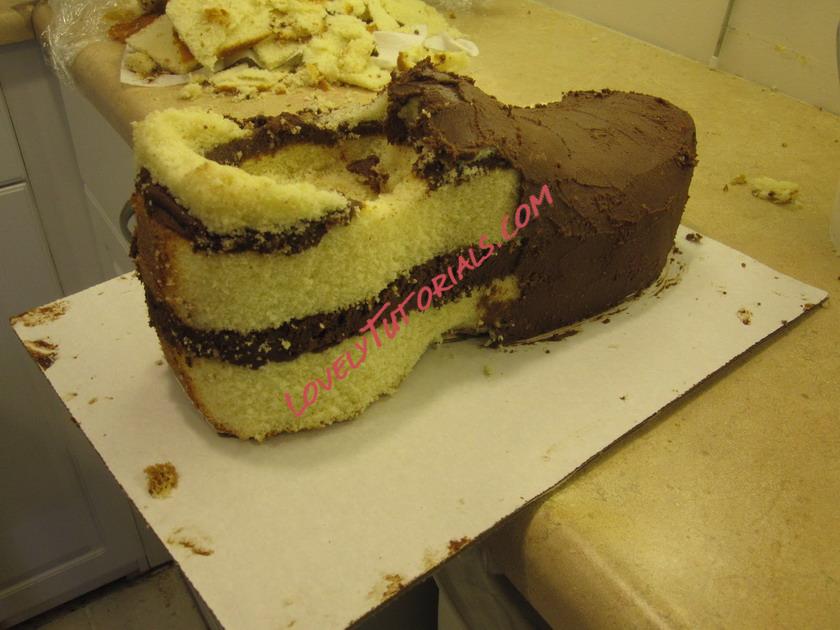
You can see in this picture the layers of cake before I crumb coated the whole thing.
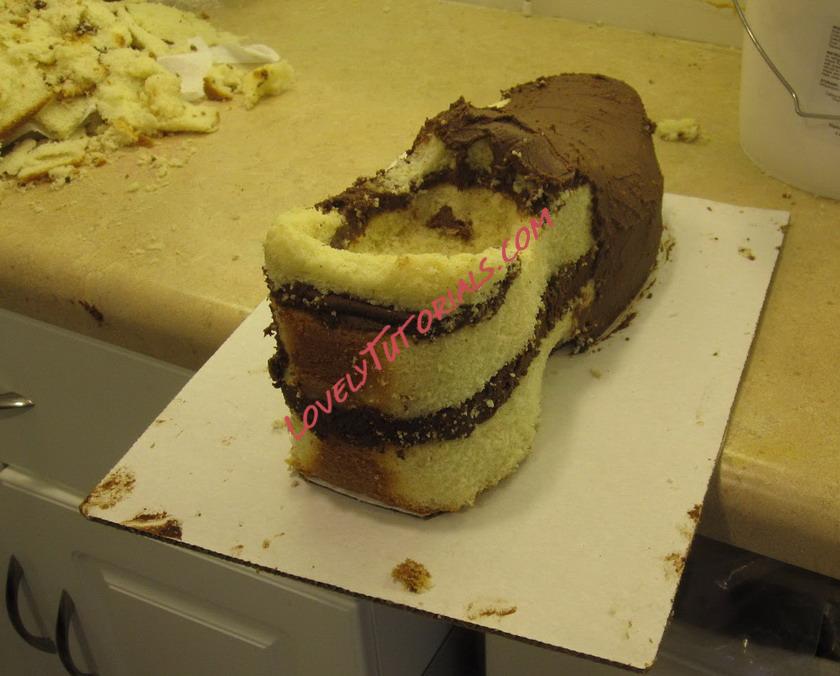
Here is a back view (wow that was dangerously hanging off the edge! Didn't notice that until now.)
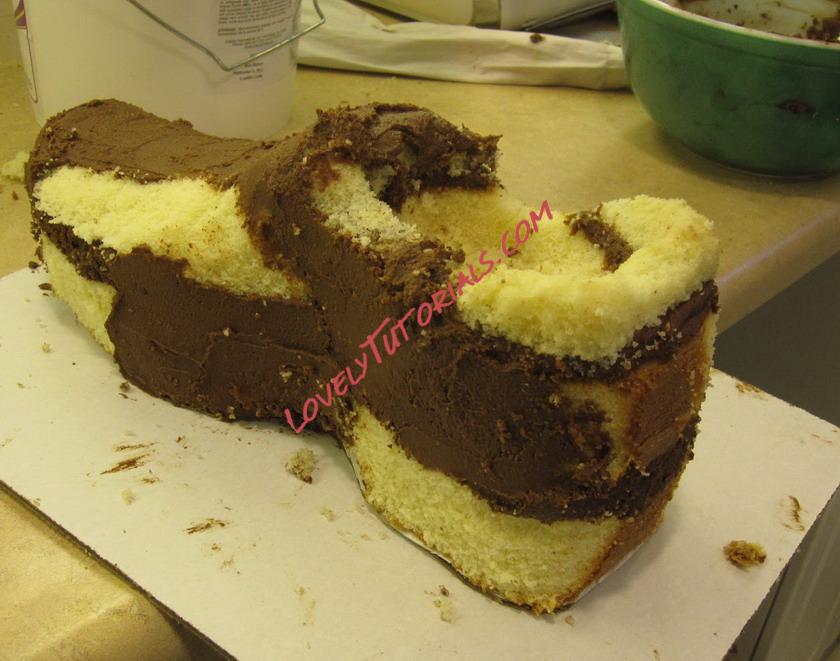
Then start smoothing on your crumb coat. Make sure it is nice and thin so it doesn't rip the cake apart while spreading. For areas that felt like they would rip (Especially around the tongue and the top heal area of the cake) I piped the frosting on and then smoothed it. Much easier that way! Oh and make sure you cut a cake board for under each shoe cake. I used the template to cut out the board and then just trimmed it to where it needed to be after carving the cake.
After you do your crumb coat let that set or chill and then add your final coat. If you are using ganache like me I chill my final coat and then smooth it by dipping my spatula in really hot water, wipe off the water and then smooth a section. The spatula gets nice and hot from the water and smooths the chocolate.
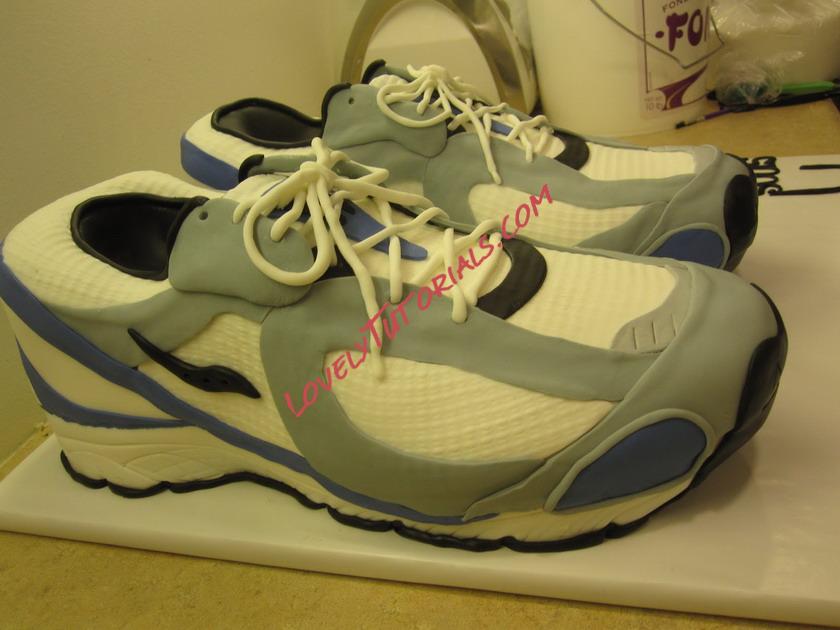
I then covered it with a layer of white fondant. I then immediately used my gumpaste tools to make the designs that go around the bottom of the shoe (if you wait too long the fondant will crack and look horrible). Then comes the hard part. Look at the shoe you are decorating (choose and easy design if you have the choice) and look to see what parts are overlapping and what is on the bottom. I started with the white part that goes from the toe to the tongue since it looks like it is under everything else. To give the white part texture I used a (new) non-slip mat that I use to keep cakes from sliding during delivery and rolled over the fondant with it. Then keep working on all the parts. I worked from the toe backwards and ended with the shoe laces and the black that goes around the base of the shoe.


