Огромная благодарность Автору Victoria за Мастер-класс
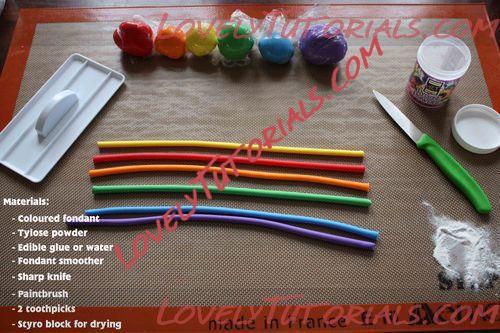
Gather your materials (add a ruler or straight edge to this list!)
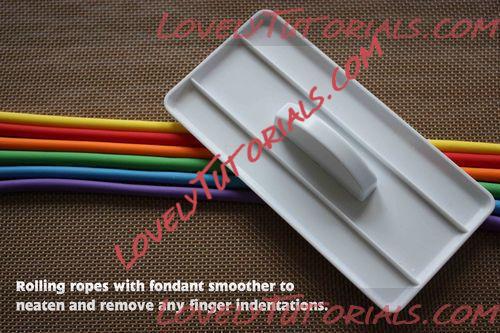
Knead in a little tylose powder to your coloured fondant. My ratio is 1tsp tylose to 250g of fondant. Roll ropes of fondant (now gumpaste!) to desired thickness. Keep one rope a little thicker than the rest. Here the green is slightly larger. This will help when it’s time to insert the toothpick supports. When you have all of your ropes, roll over them with a fondant smoother to neaten and to remove any finger indentations.
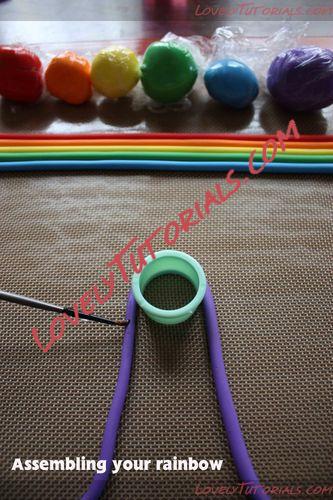
Use a circle cutter (any size you like – here I am using a 2” cutter) to help support the assembly of your rainbow. Paint the joining edge of each coloured rope with a little edible glue (tylose mixed with water). Plain water will also work fine.
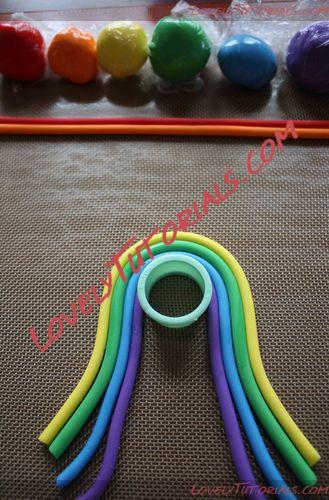
Start joining your ropes together pulling down gently at the ends to secure the adhesion.
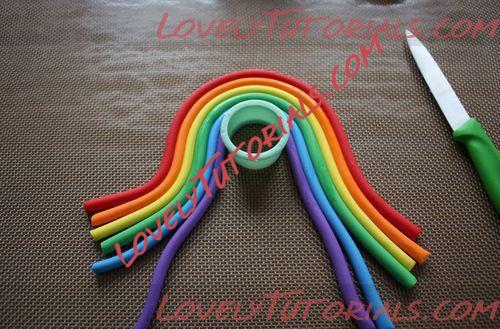
Admire how pretty it’s looking

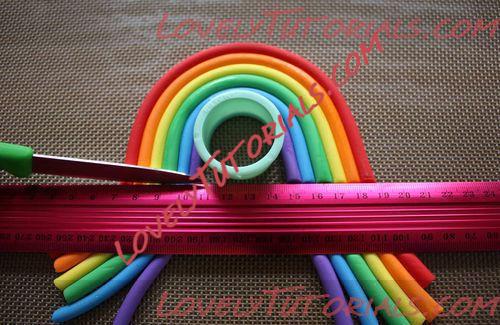
Lay a ruler or straight edge along where you want the base of your rainbow to be and make a nice neat cut with a sharp knife.
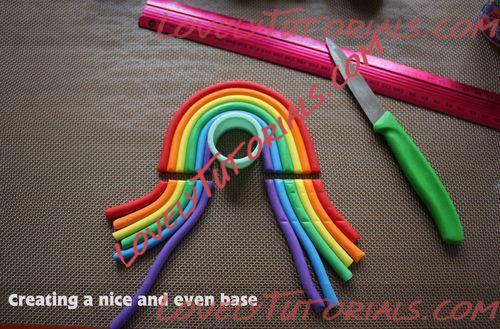
This ensures your rainbow with stand nice and straight.
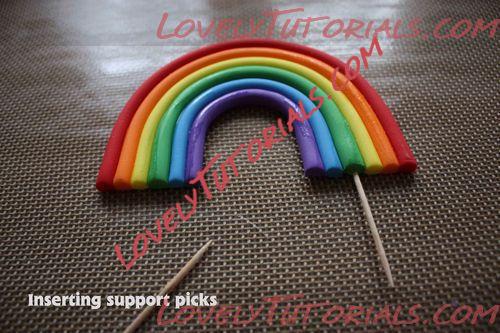
Dampen the end of a toothpick (with your glue or water) and insert dampened end into either end of the larger rope. Allow to dry laying flat like this overnight.
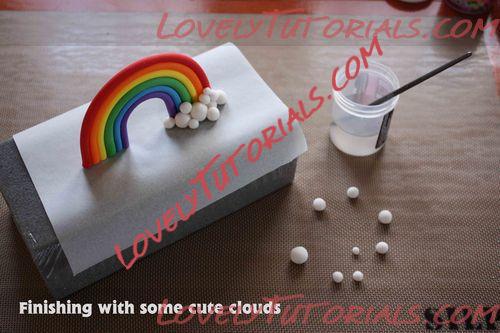
Once your rainbow is firm and dry, stand it up and insert into a foam block. Add some cute little clouds by rolling various sized balls of white gumpaste and adhering to the base of the rainbow with a little tylose glue or water. Adding the clouds to both sides of the rainbow looks nice and also adds extra support. Allow to dry in the foam block overnight.
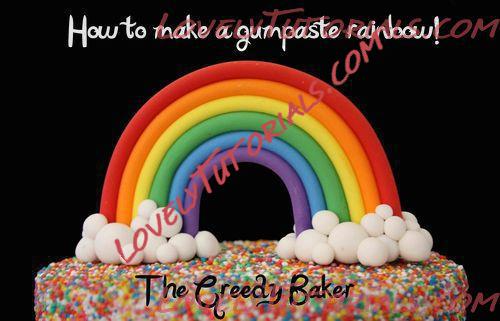
You can now add your finished rainbow to your cake – it is sure to brighten up any creation!


