Straight Edge Fondant Tutorial
Огромная благодарность Cupcakelicious за Мастер-класс
started with a ganached 8" round and I use the upside down method to achieve that....
Using skirting method, smooth fondant over the cake.
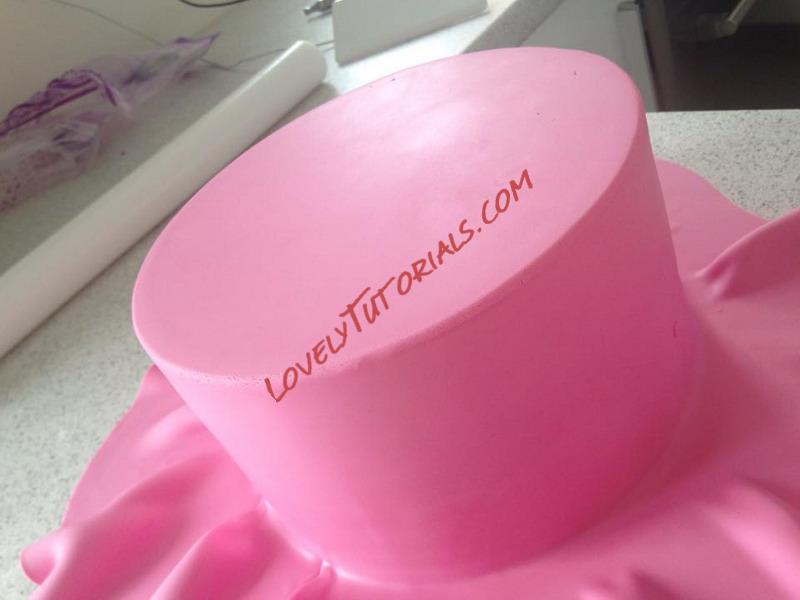
There are a few little cracks in the corners which will soon be sorted out
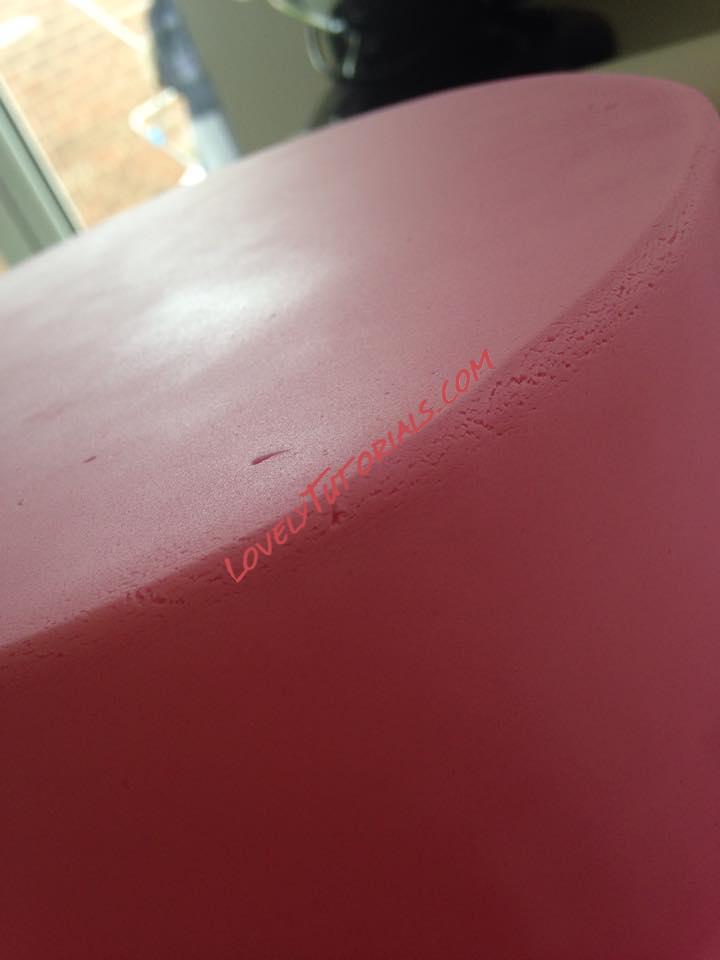
Ive used a 12" round tin with some baking paper just over the top like this
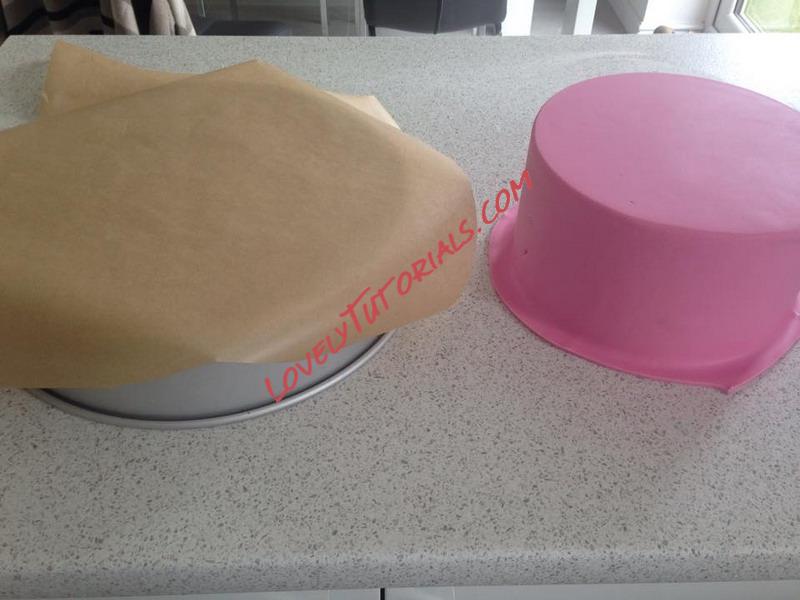
Place the baking paper in the top of the covered cake, and then the tin on top of that
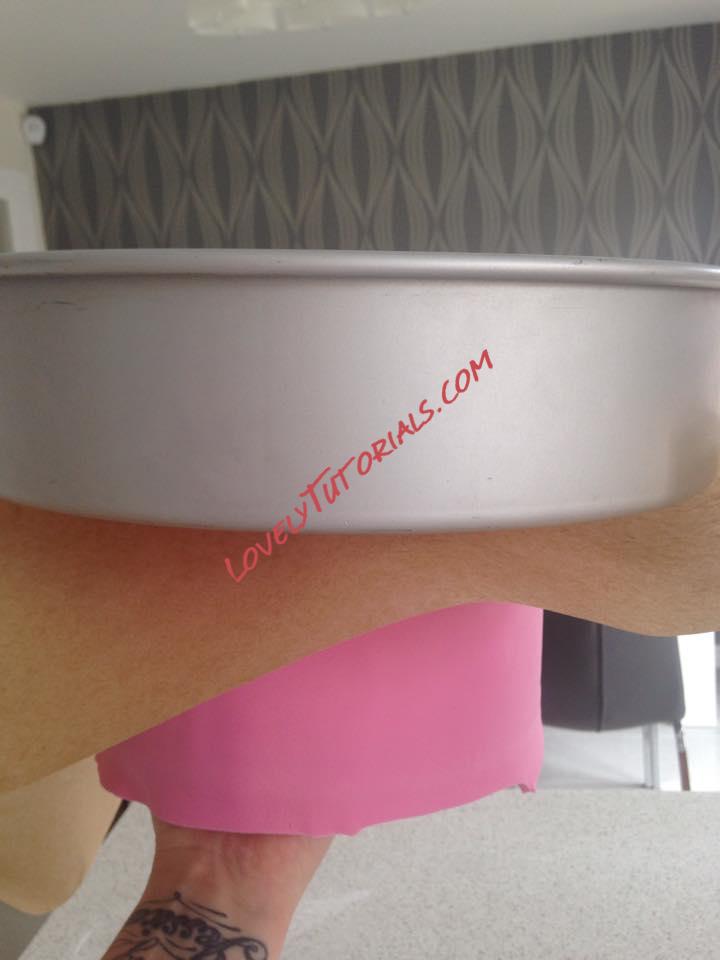
Pop it on your worktop. You can use a non slip Matt underneath if you wish
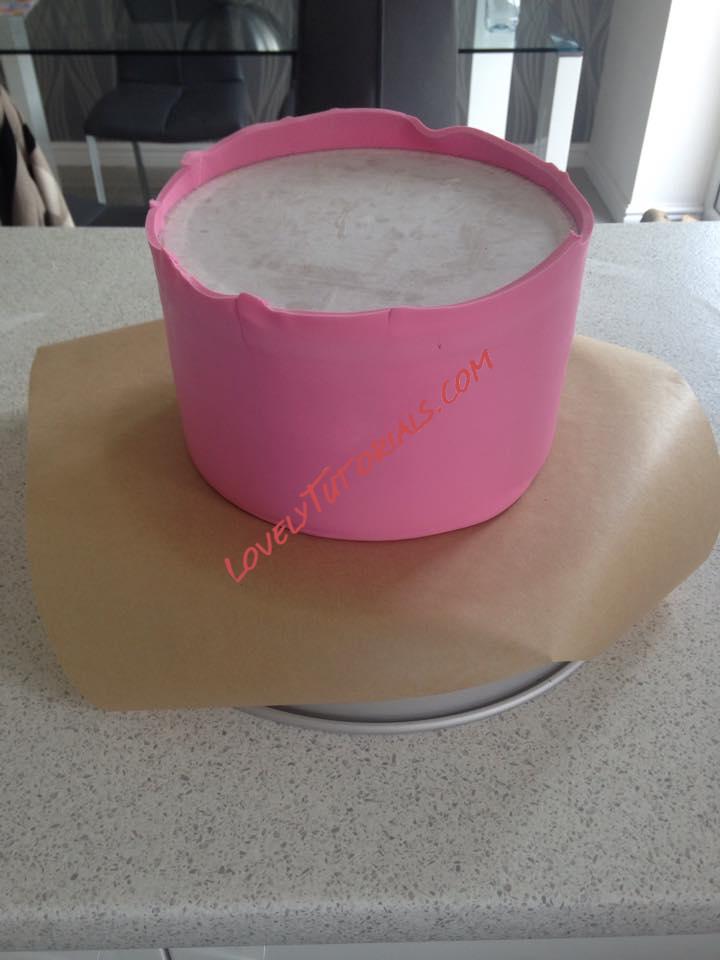
You will need a straight edged cake smoother, which you can get relatively cheap from ebay, Amazon etc.
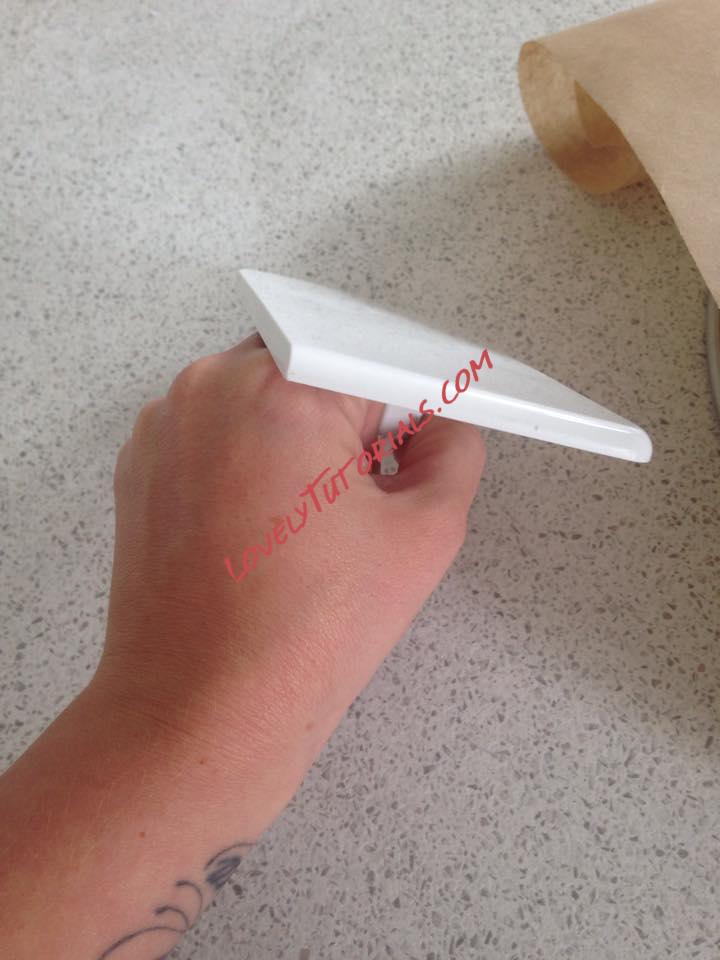
Gently push down the fondant effectively pushing it to the top of the cake, so you will be tapping it all down onto the tin....
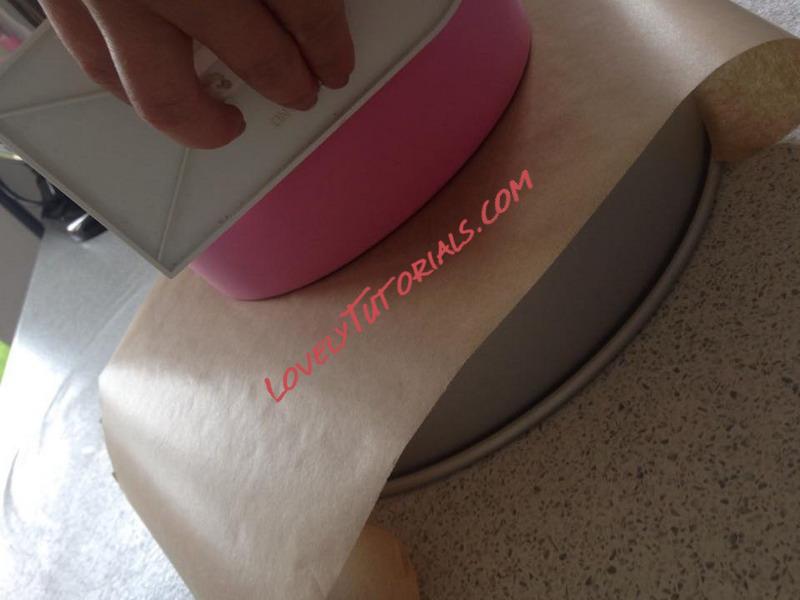
You will have pushed down fondant like this
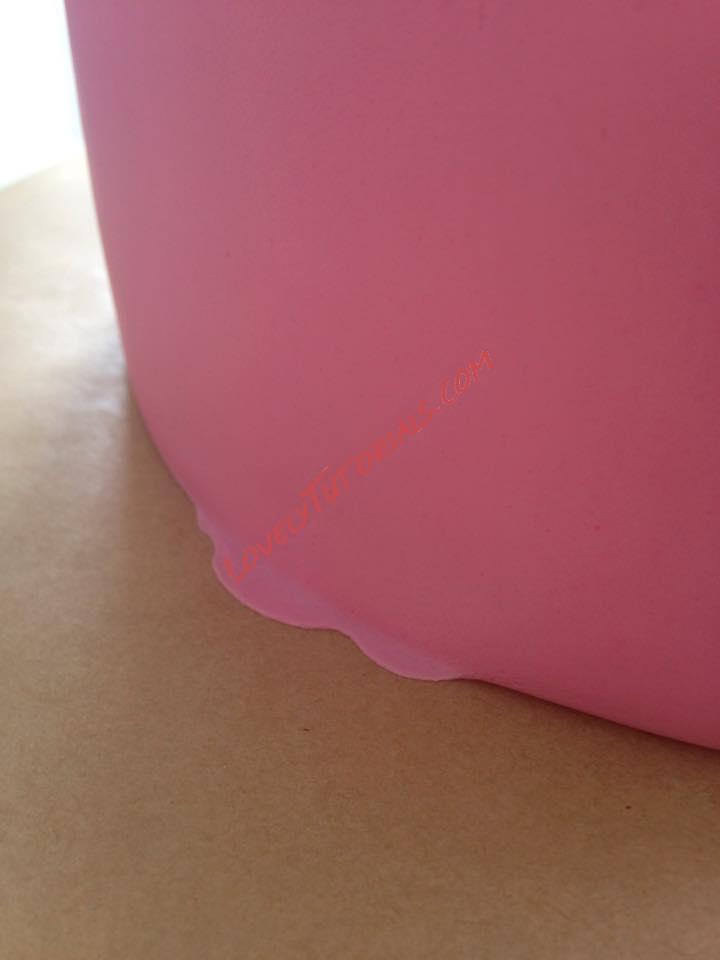
Carry on all around the cake
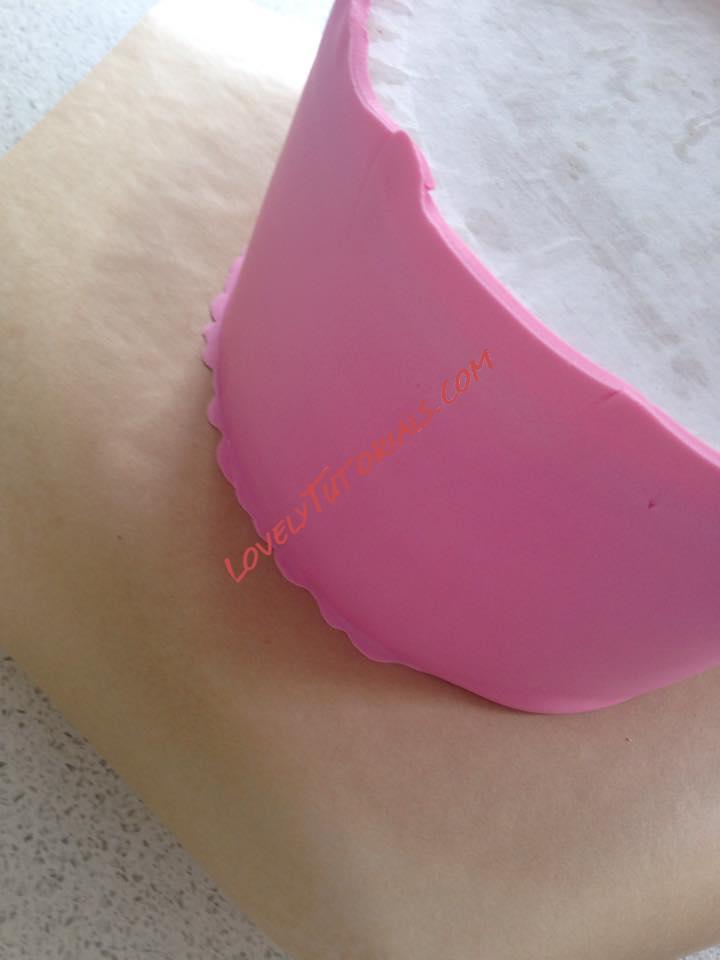
Using a sharp knife or scalpel, cut off the excess fondant. Be careful not to lean in on the cake and cut in wards. Gently use the cake for the knife to 'flow' around it.
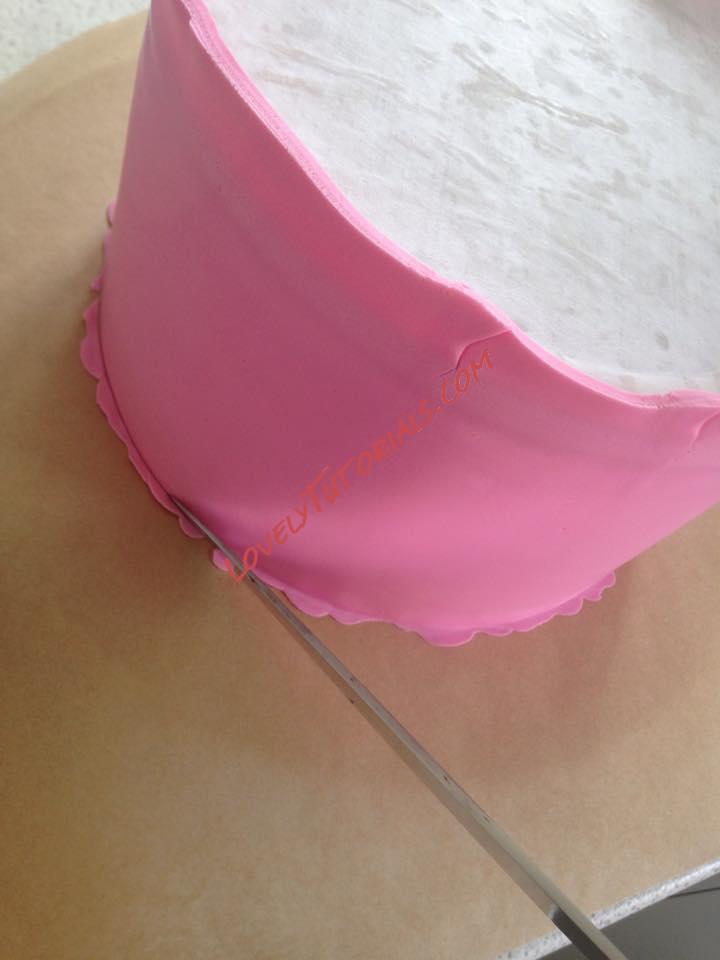
Carry on all the way around
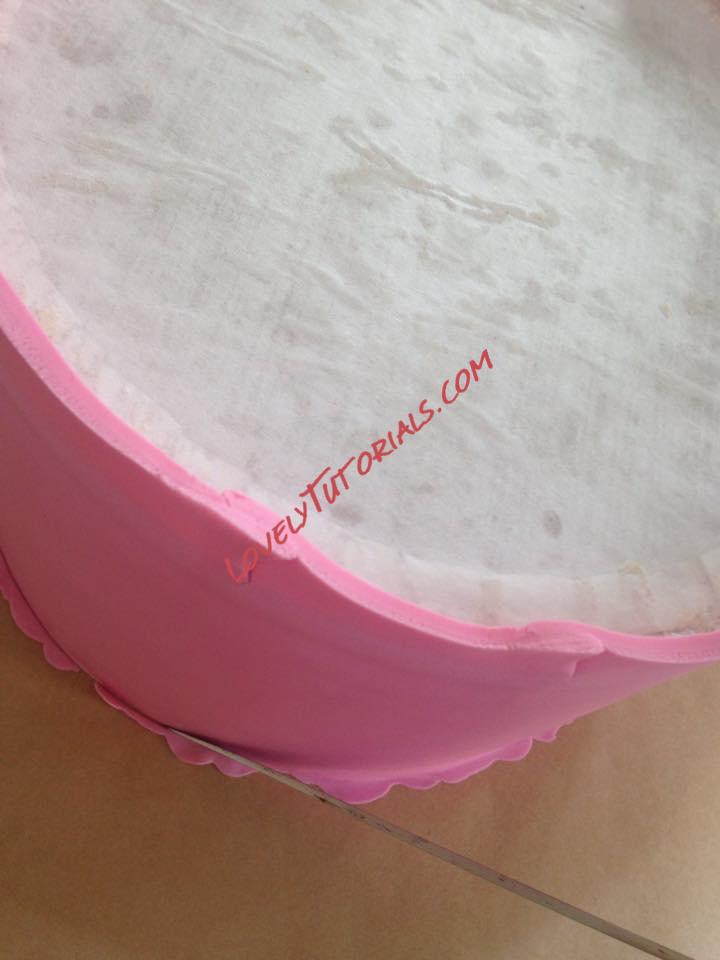
Then remove it
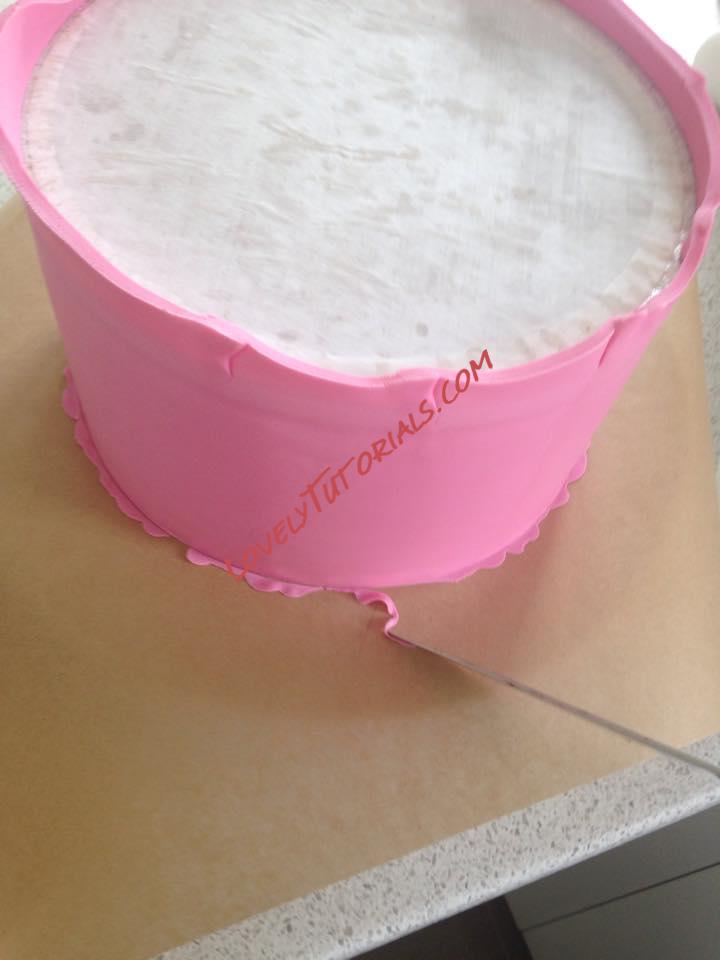
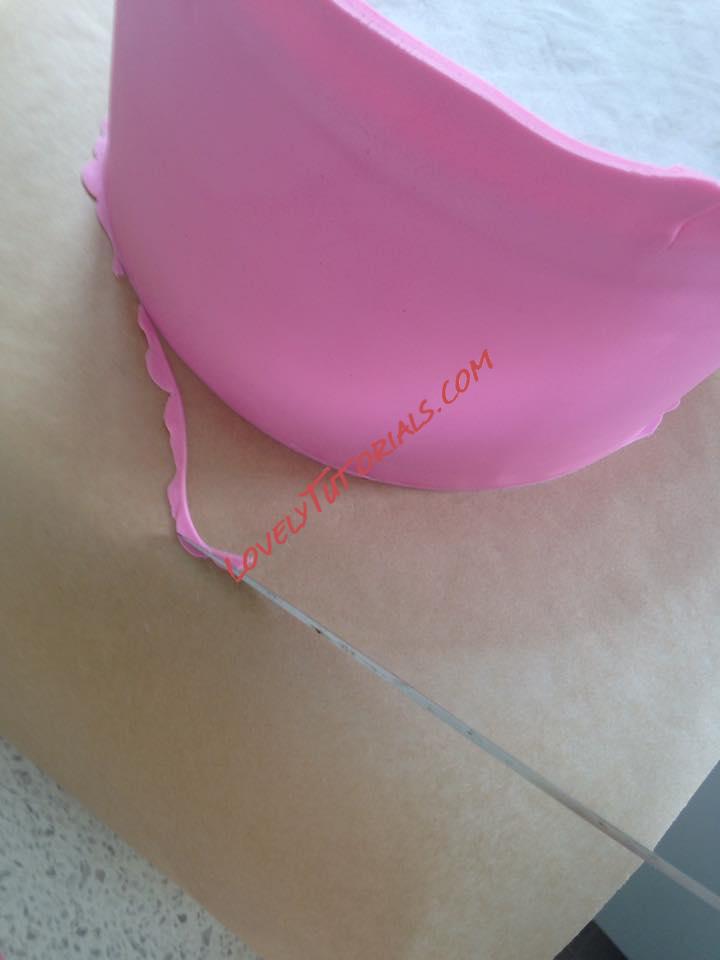
Now all the excess is gone...
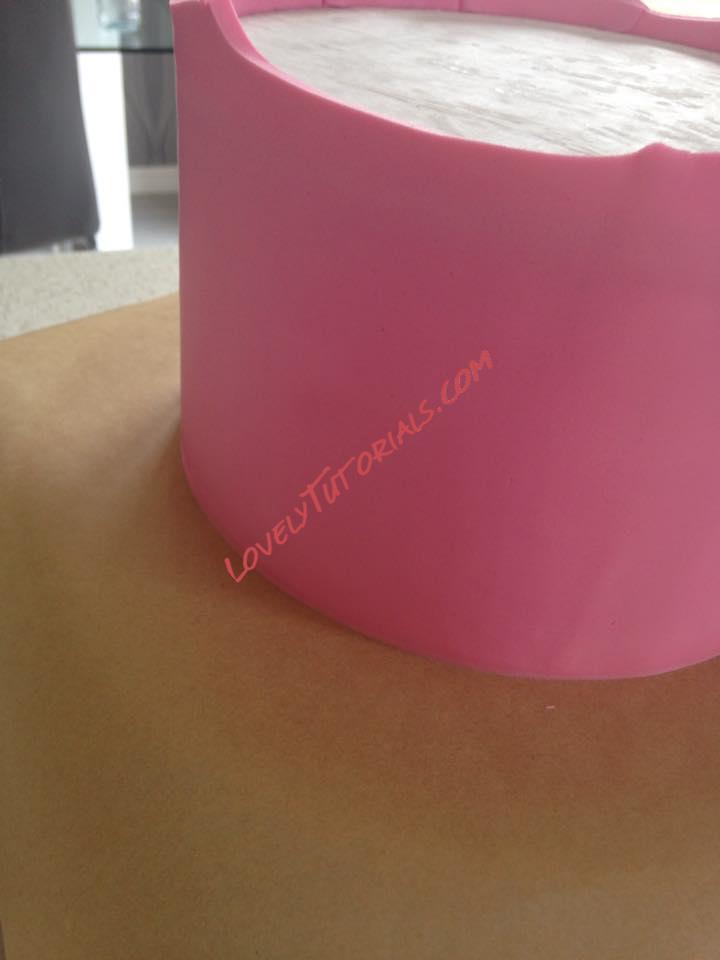
Gently smooth around again, keeping the straight edge flat to the tin so you don't push in on the cake
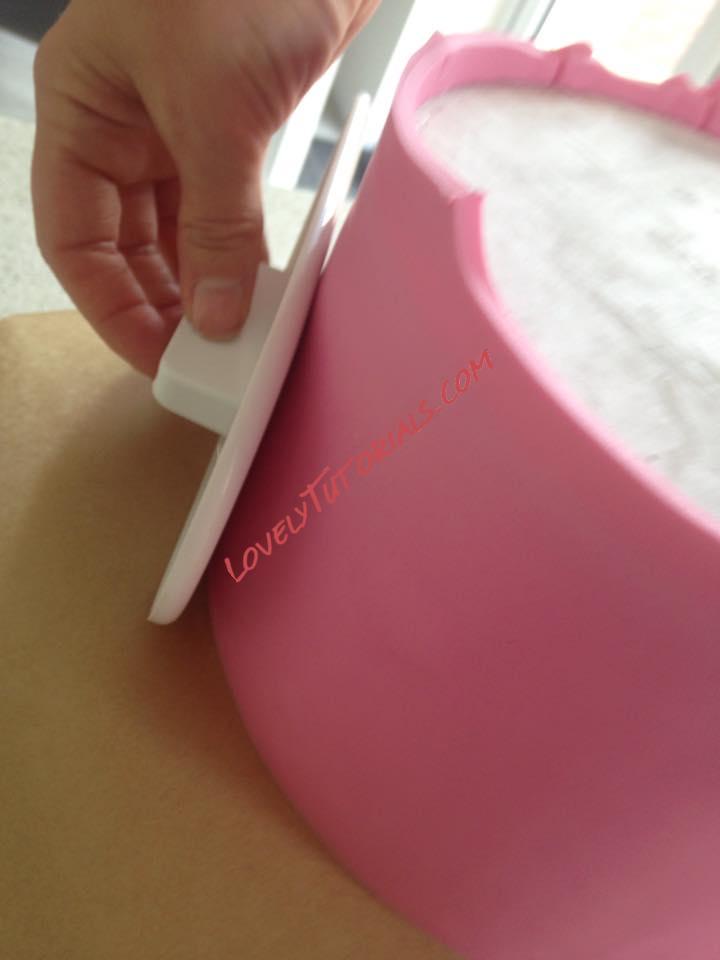
Now to chop off the excess at the bottom... Using the sharp knife or scalpel again...
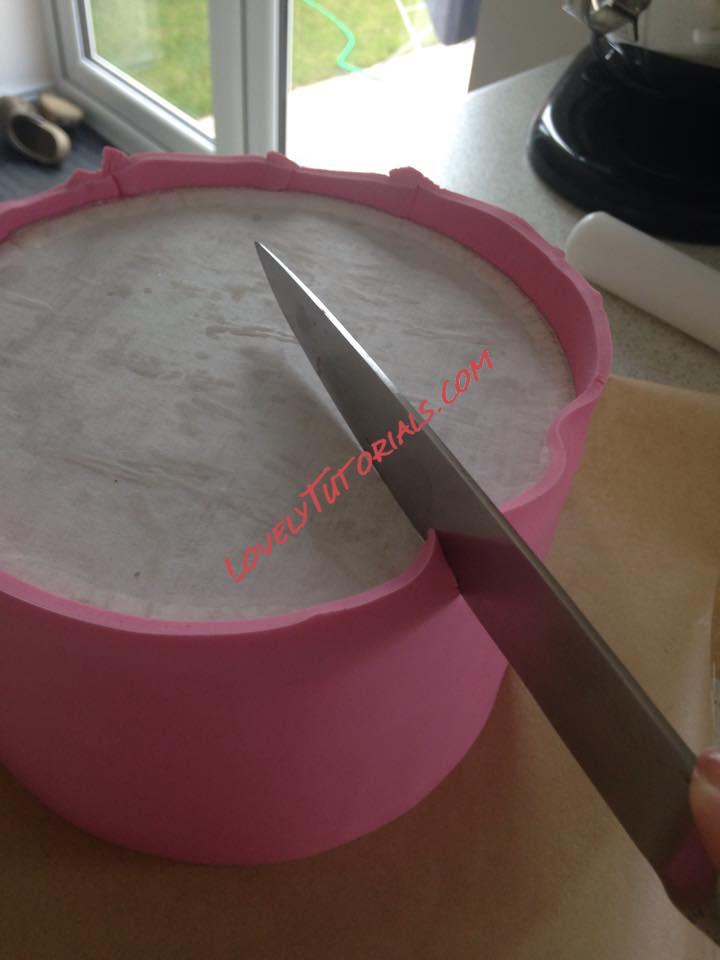
Rest the knife on the cake card and just slice it off.
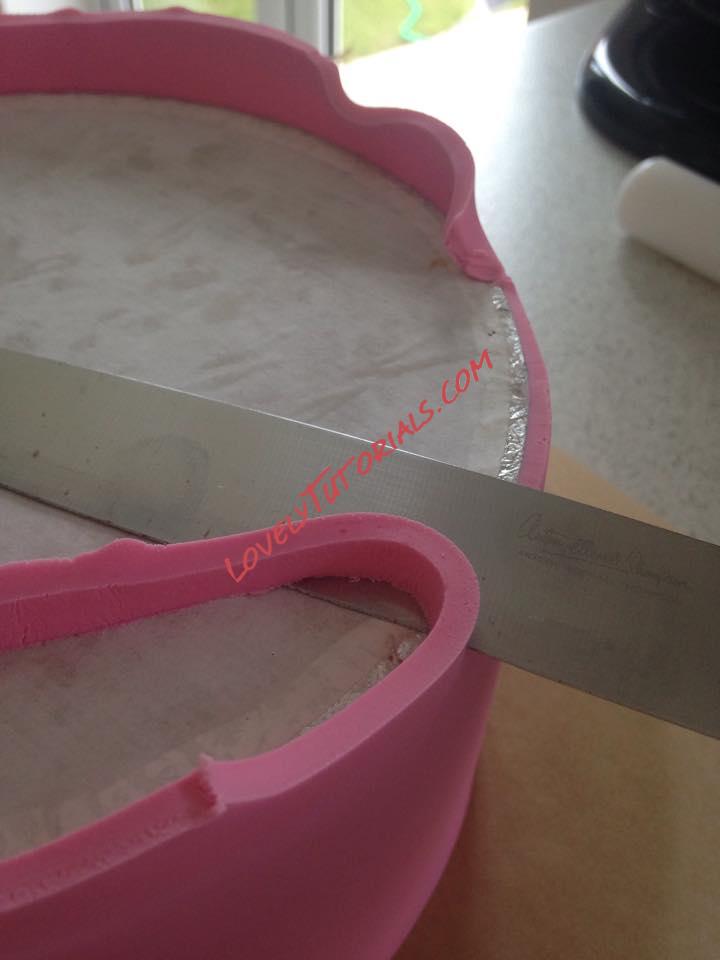
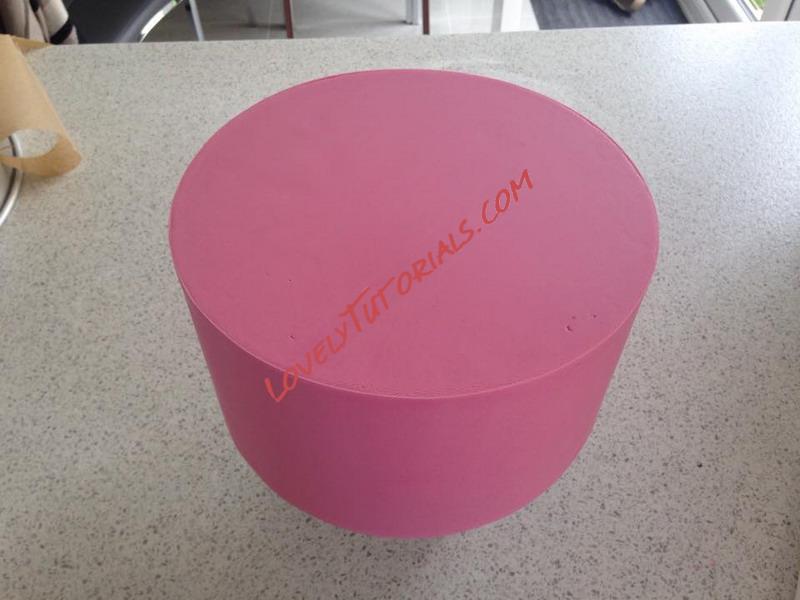
All excess is removed, gently pick up the tin, 1 hand under The tin... One hand on top of the cake, flip it back over so the cake is now the right way up. Remove the baking paper and run your smoother over the top one last time.
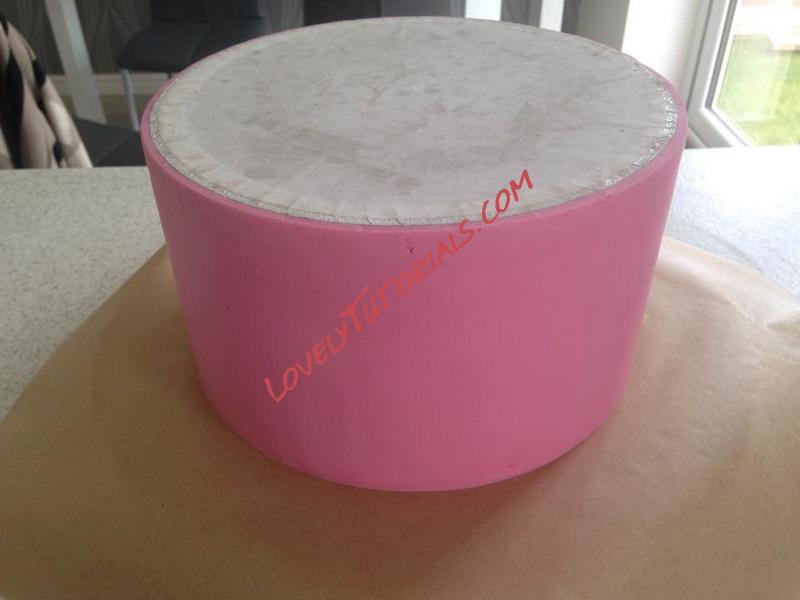
Straight edges
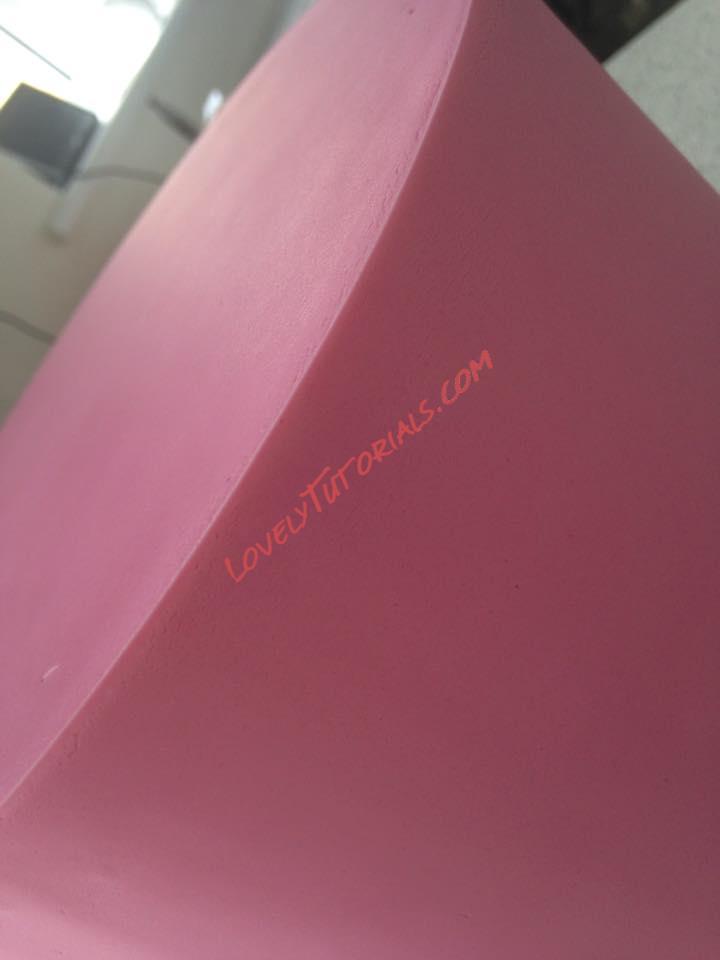
Смайлик «smile» cracks have gone and this looks super slick
