Огромная благодарность goodtoknow за Мастер-класс
These adorable little baby cake decorations are the perfect thing to adorn any celebration cake be it christenings, baby showers or first birthdays.
You can play around with hair, eye and outfit colours to suit whoever you’re making it for.
This recipe makes one decoration and you can make it however big or small you like. Follow Victoria Threader’s easy step-by-step to make these gorgeous icing characters - they're a lot easier than you might think!
Ingredients
- White modelling paste
- Skin tone modelling paste
- Black fondant
- Blue fondant
- Yellow fondant
- Silver ball sprinkle nonpareil
- Dusky pink petal dust
- Dried spaghetti strand
Equipment
- Sharp or craft knife
- Soft brush
- Strand of dried spaghetti
- Small/medium ball tool (optional)
- Water brush
- Fondant cutting wheel (optional)
- Veining tool (optional)
- Small plain writing nozzle (optional)
- Cone tool (optional)
- Small circle cookie cutter
- Pin tool or cocktail stick
1
 Step 1
For the body:
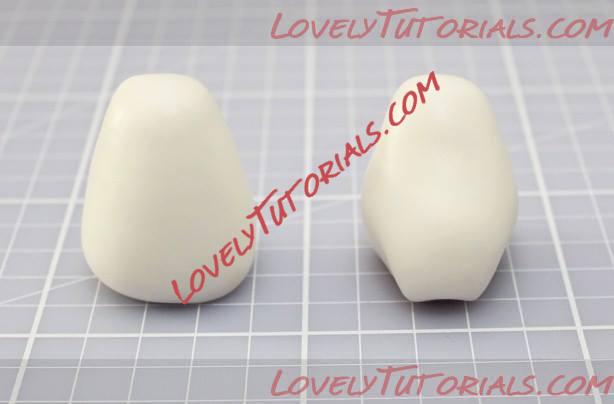
 Mould 20g of white modelling paste into a pear shape and then pinch in the bottom to shape where the legs will be.
2
 Step 2
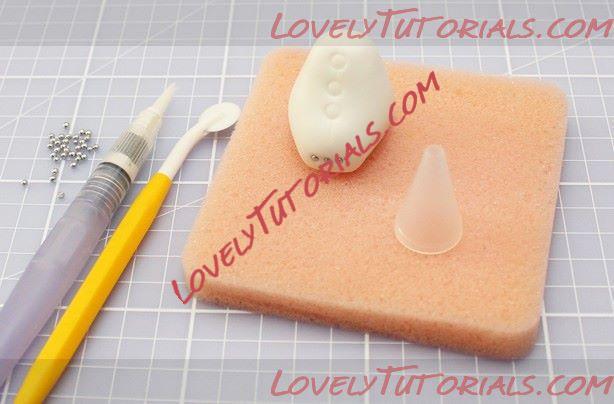
Add 3 silver ball sprinkles for the poppers by adding a brush of water, and pushing them into the paste. Add studs to the body by pushing the small plain nozzle into the front of the baby grow and add some lines with a cocktail stick or pin tool. It helps to pop the model on a sponge or greaseproof paper, as it makes it easier to move around without getting finger prints in the paste.
3
 Step 3
For the legs:
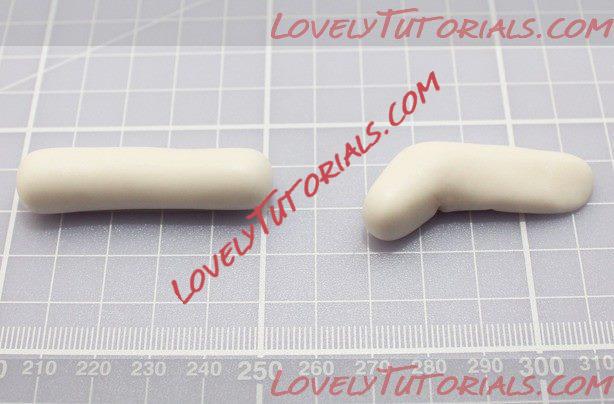
 Roll a sausage to about 10cm and cut in half diagonally. Bend the uncut end over and mould a foot shape. Thin the hip end by pinching the fondant in between your fingers. It is now ready to stick onto the body.
4
 Step 4
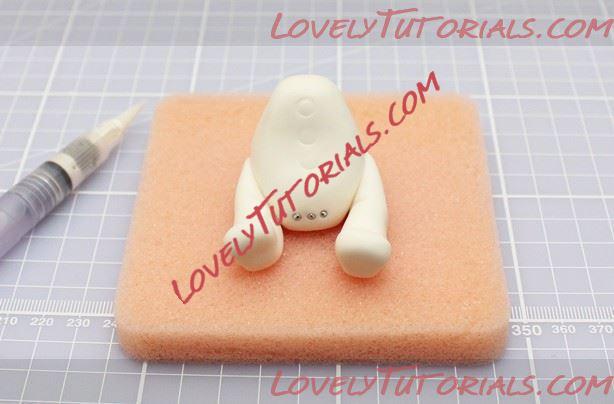
Stick the thinned end of the leg to the side of the body with a brush of water,
5
 Step 5
For the arms:
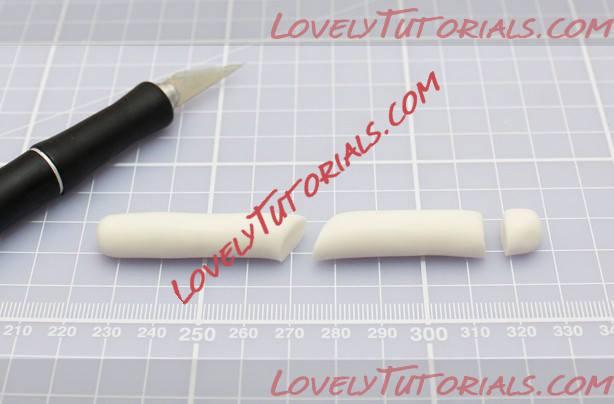
 Roll a sausage and cut in half diagonally and trim the end. Using the cone tool or a cocktail stick, add a hole to the centre for the hands, and stick the sleeves to the body with a brush of water.
6
 Step 6
For the hands:
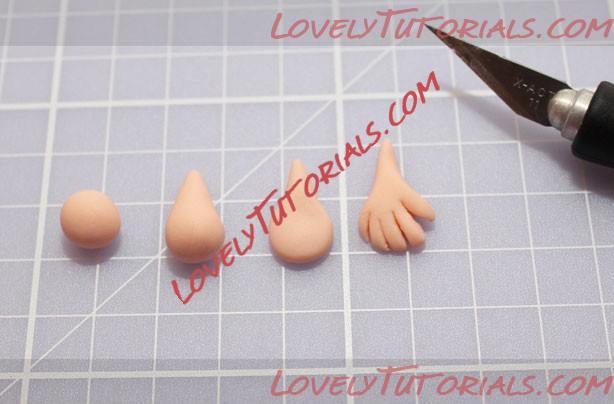
 Start with 2 small balls of skin tone paste, roll one end to make a cone and flatten with your finger. Cut a mitten shape, then cut 3 lines for the fingers and soften the edges with the tips of your fingers.
7
 Step 7
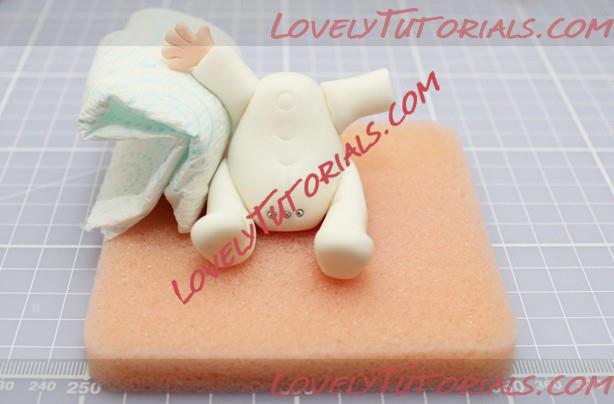
Add the hands to the sleeves with a brush of water. Sometimes the weight of the hands pull the sleeves down. If this happens, add a piece of kitchen towel under the sleeves as a support until they have dried in postion - this should take about 20 mins or so.
8
 Step 8
For the head:
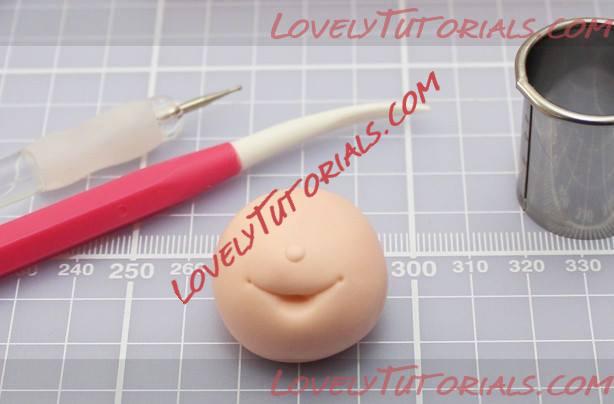
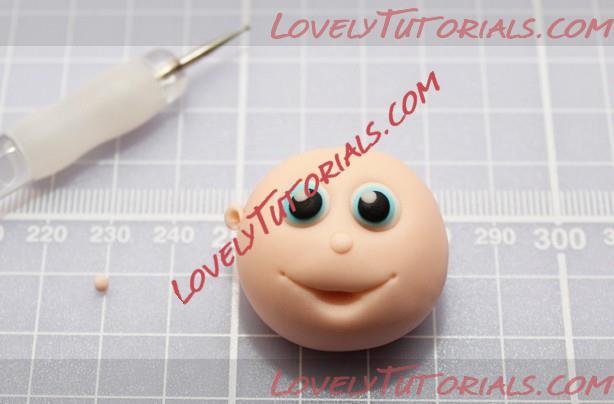
 Roll a ball of skin tone paste and add a smile by pushing the edge of a cookie cutter into the front of the face. Add detail with a tiny ball tool and veining tool if you have them, then add a tiny ball of paste for the nose.
9
 Step 9
For the ears:
 Roll tiny balls of skin tone paste and attach them to the side of the head with a dot of water and the small ball tool if you have one.
For the eyes: Indent holes for the eyes and add a small ball of white paste, a smaller ball of blue paste, an even smaller ball of black fondant, then finish with a dot of white paste for the reflection.
10
 Step 10
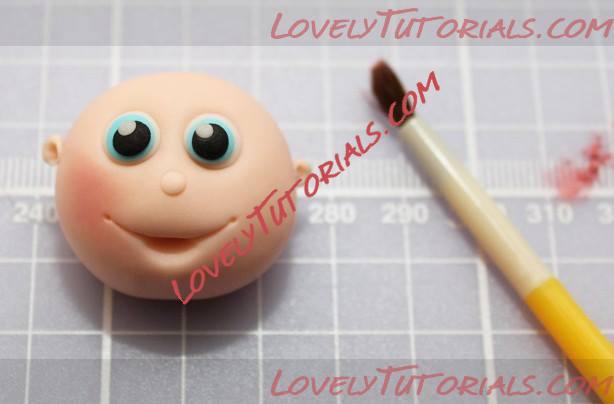
Brush the cheeks with a soft brush and dusky pink petal dust (if using).
11
 Step 11
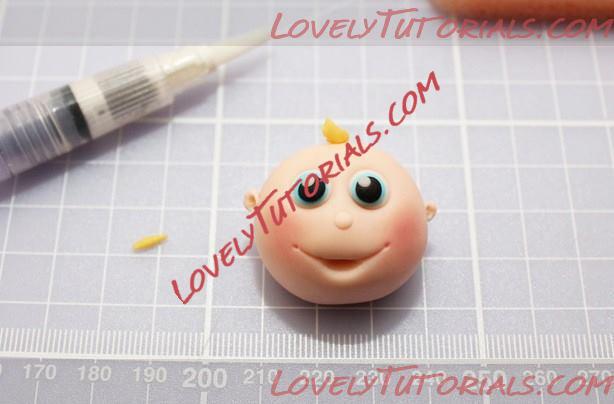
Roll a tiny curl of yellow fondant and stick it to the top of the head with a brush of water.
12
 Step 12
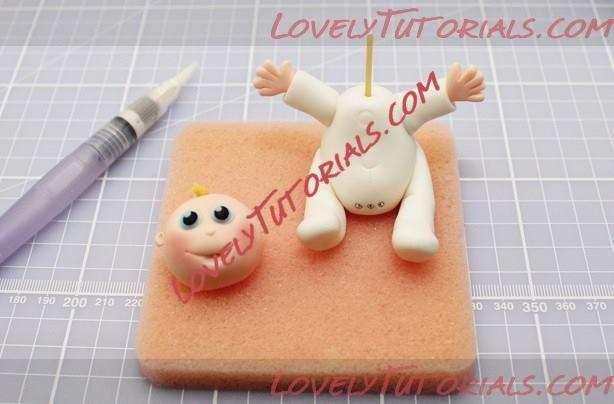
Add a length of spaghetti to the body and brush around the neck with the water brush, push the head onto the spaghetti.
13
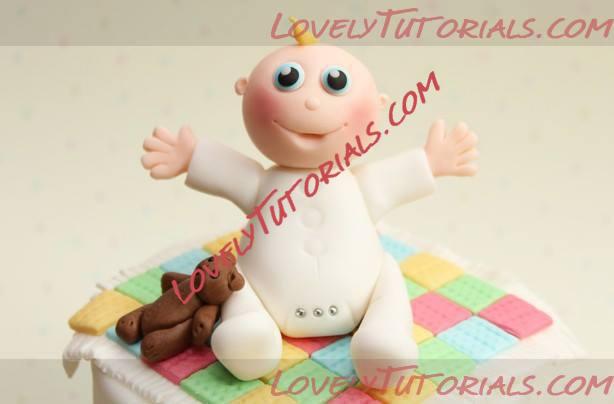 Step 13
Add the finished topper to the cake.


 Step 1
 Step 2
 Step 3
 Step 4
 Step 5
 Step 6
 Step 7
 Step 8
 Step 9
 Step 10
 Step 11
 Step 12
 Step 13