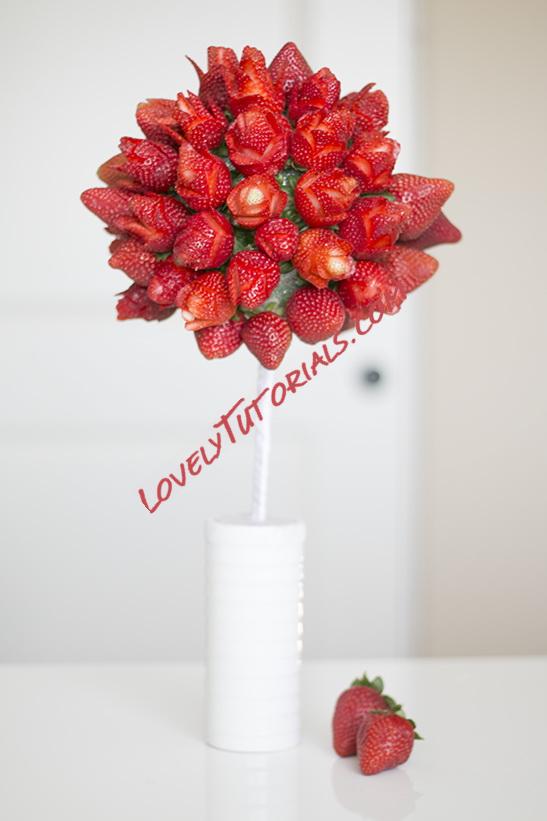
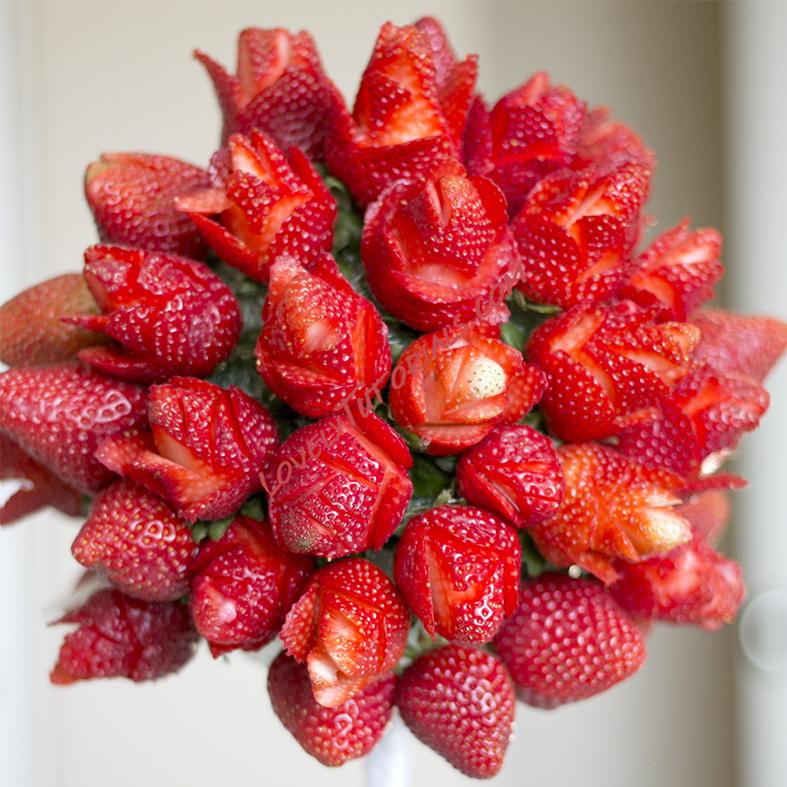
Огромная благодарность ashandcrafts за Мастер-класс
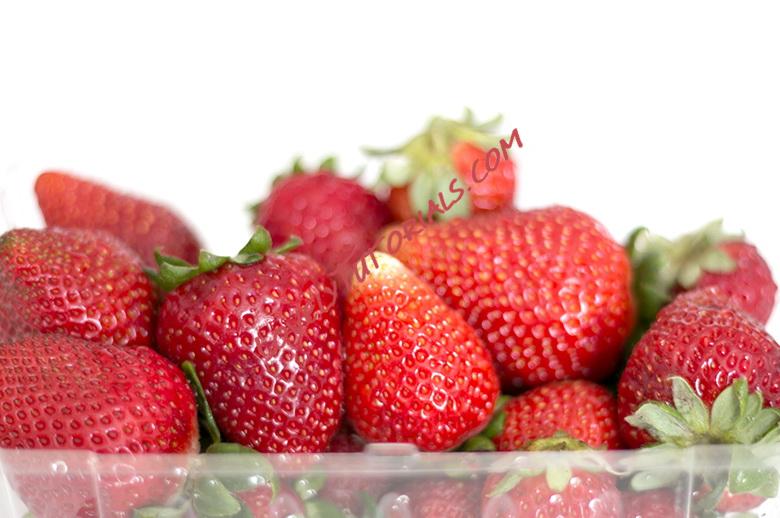
You’ll need some strawberries and a paring knife. You want to use strawberries that are very firm so they hold their shape.
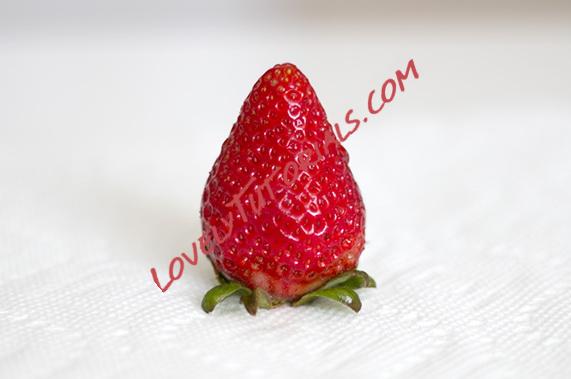
Place the strawberry on your working surface with the leaf side down. Hold the tip of the strawberry down with your index finger to keep it in place.
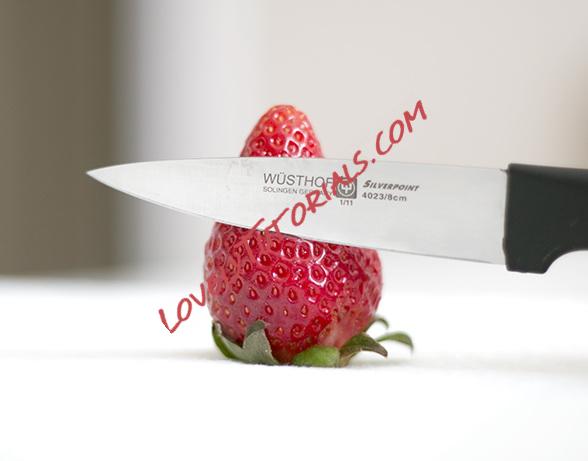
Place your paring knife in a similar position as the photo above. Remember to hold the strawberry down by the tip. I didn’t do this in the photos because I did not want my hands to get in the way of the picture, and I needed to press take the picture.

Cut down but do not cut all the way through. When you get close to the bottom, angle your knife away from the strawberry so the petal angles outward like in the photo above.
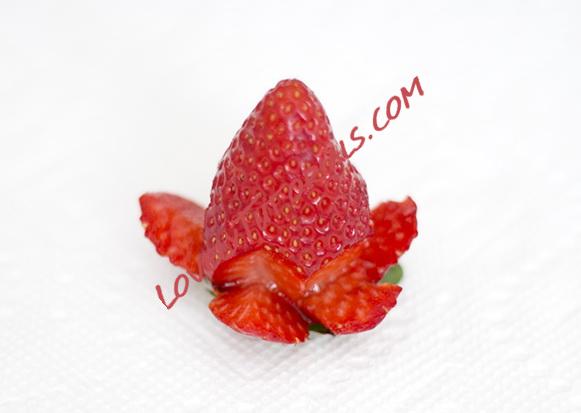
Repeat this five times around the base of the strawberry.
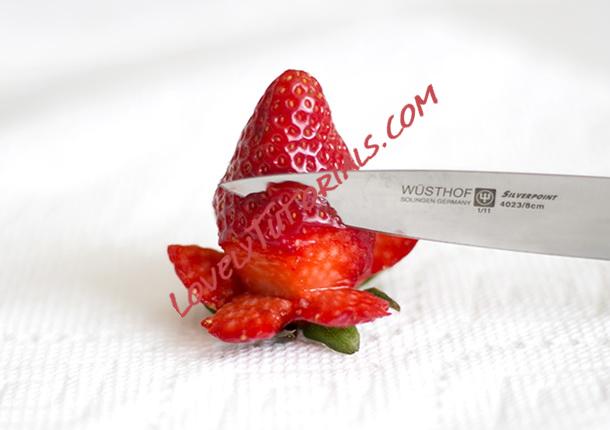
For the second layer, do the same thing, but cut these petals so it is positioned between two of the bottom petals.
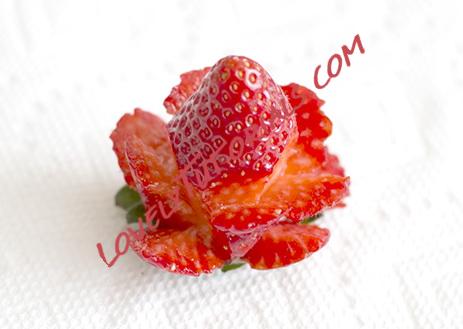
Repeat this around the strawberry five times. Now for the center of the rose, you can either keep repeating these layers until you get to the tip, or you can cut a spiral as shown below:
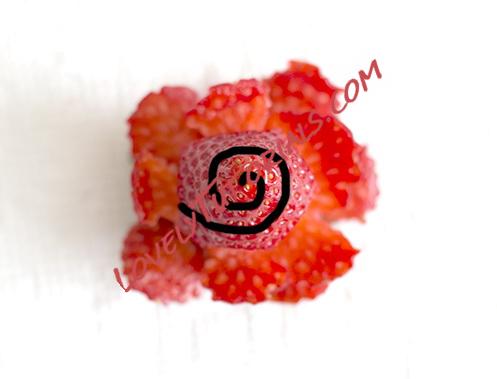
Point your knife downwards and cut a spiral to the tip of the strawberry. Use your knife or finger to spread the spiral apart so it looks like a row of petals leading to the tip of the strawbery.
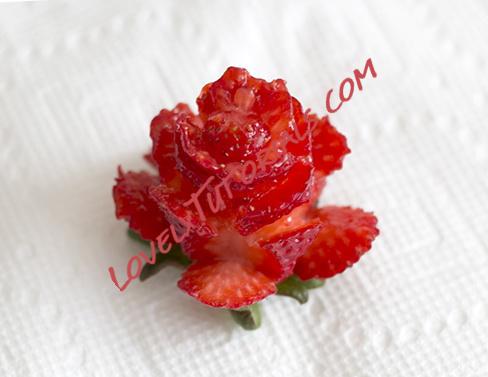
This is what the spiral will look like from an angle.
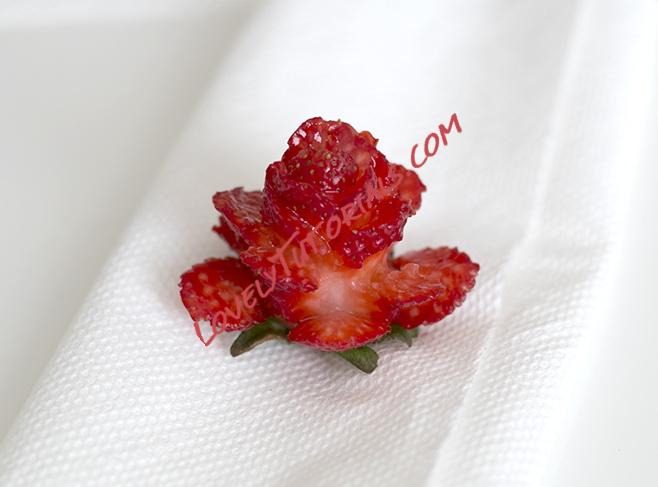
Another side view
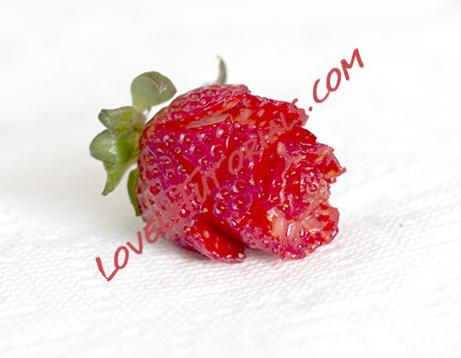
If you want you create a rosebud, follow all the same steps as above but do not angle the petals away from the main strawberry body.
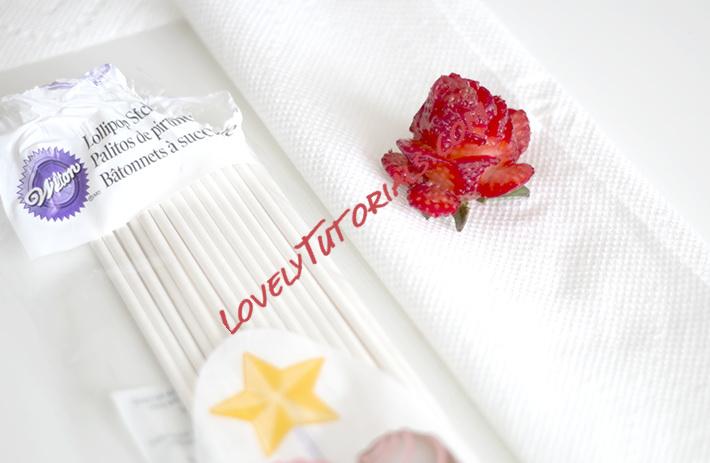
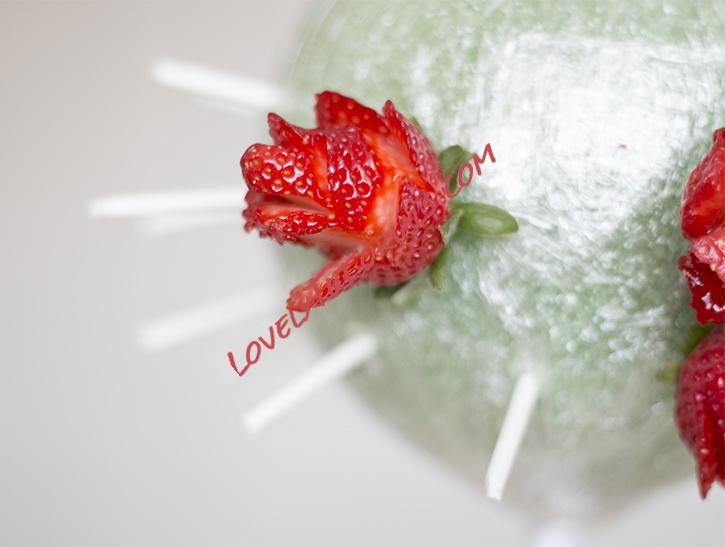
If you want to create a bouquet of these roses, insert lollipop sticks into the base of your strawberry
before cutting it. I also recommend using some candy melts or chocolate on the lollipop stick and at the base to use as the “glue” if you find that your strawberries will not stay.
