Огромная благодарность Ella за Мастер-класс
The art of quilling has been around for quite some time; it was used a great deal in renaissance art. Quilling is very popular in jewelry where very thin sheets of precious metals like gold and silver are cut into narrow strips, which are then coiled and shaped into different designs. Quilling is also very popular in paper and is often used in schools as a children’s craft. In this tutorial, I’ll show you the art of quilling using fondant.
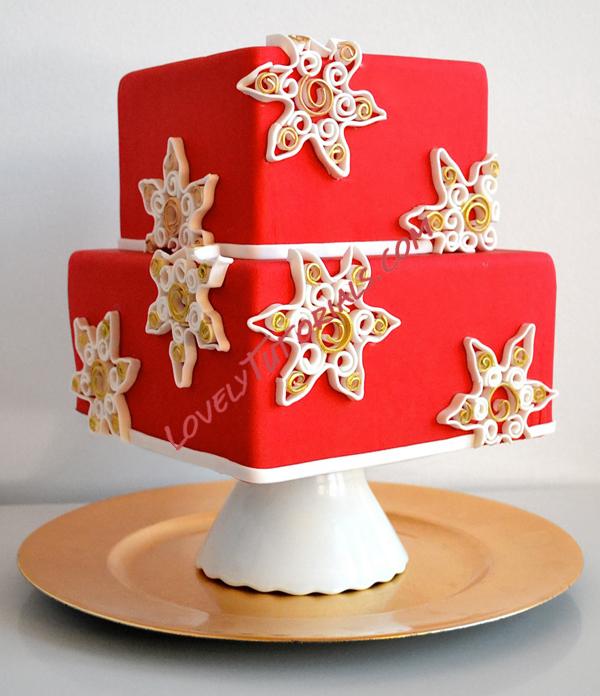
This cute Christmas cake is covered with fondant and the decorations are made from a mix of 50% gum paste and 50% fondant. It’s also possible to use pure gum paste if you can work fast enough, before it starts to harden. I don’t recommend using 100% fondant because it will take too long to dry. With pure fondant your design can get droopy or lose its shape during the long drying time.
Quilling is great because the coils can be very different and have very different textures. You can roll the coils very tight for even textures or let them loose to get more exotic and edgy effects. Personally, I like more open coils, but you can mix them to get beautiful designs.
You will need:
- One 8” X 4” square cake
- One 6”X 4 “ square cake
- Cake circles
- Dowel Rods
- Rolling Pin
- Knife
- 36 oz. Wilton Ready-to-Use Red Fondant
- 16 oz. Wilton Ready-to-Use Gum Paste OR
- 8 oz. Gum Paste and 8 oz. White Fondant
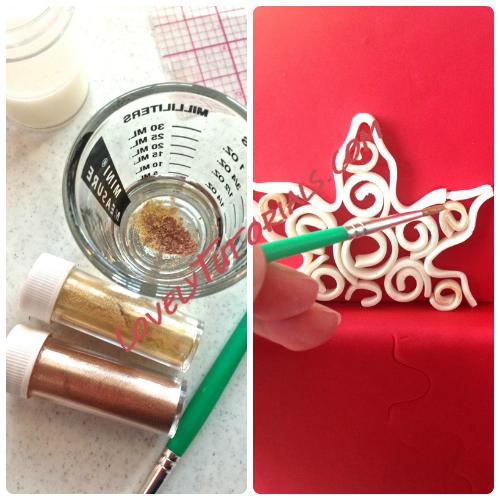
- Gold Pearl Dust™, Bronze Pearl Dust™ (Optional)
- Lemon Extract
- Fine Tip Decorator’s brush
- Gum Paste Adhesive
- Your favorite Christmas Cookie Cutters
Instructions:
I recommend decorating the cake the day before you need it ready.
- Prepare the Gum Paste adhesive.
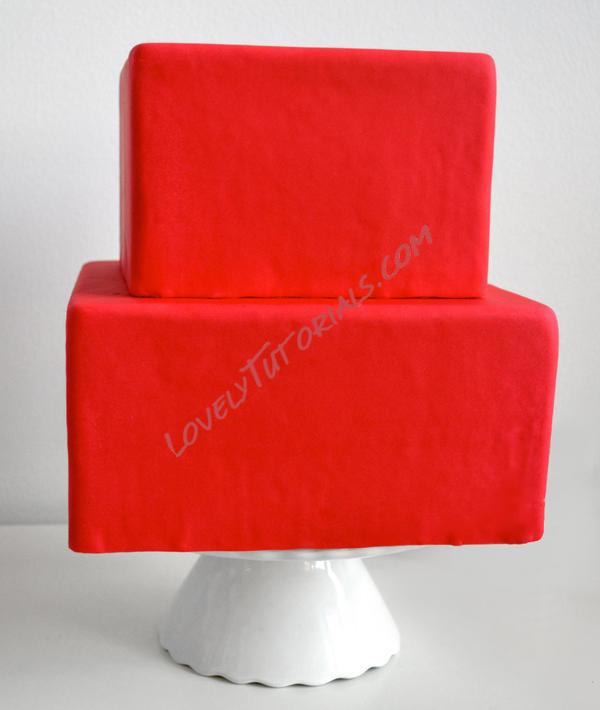
- Cover your cakes in red fondant and stack them.
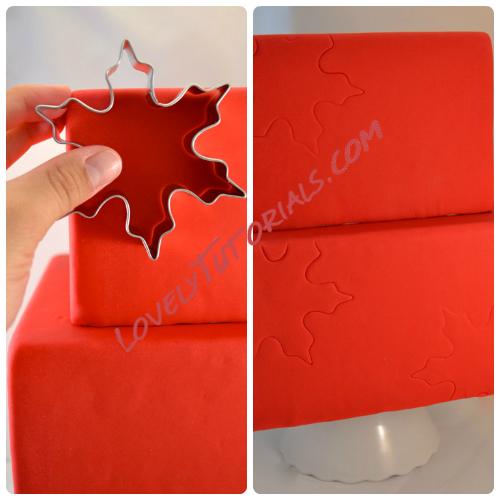
- I used the snowflake cutter and marked the cake where I wanted to place my designs.
- Mark as many designs as you want, but be careful – too many may cause problems when you’re attaching the coils.
- Take the pure gum paste or the mix (50% gum paste – 50% white fondant) and roll it out 1/16” thick. (Any thicker and the coils won’t look as delicate.)
- Cut strips 6” long and 1/4” wide.
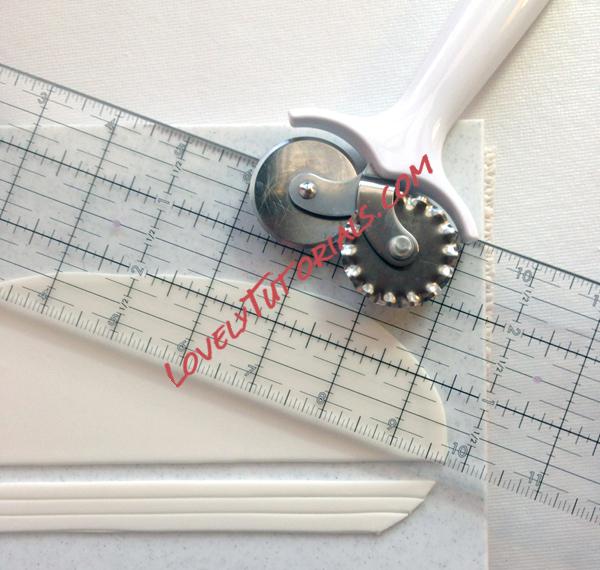
- Start to roll little coils to fill the inside of your design. (NOTE: the amount of coils, sizes and colors are up to you! Get creative!) Let them dry for a couple of minutes.
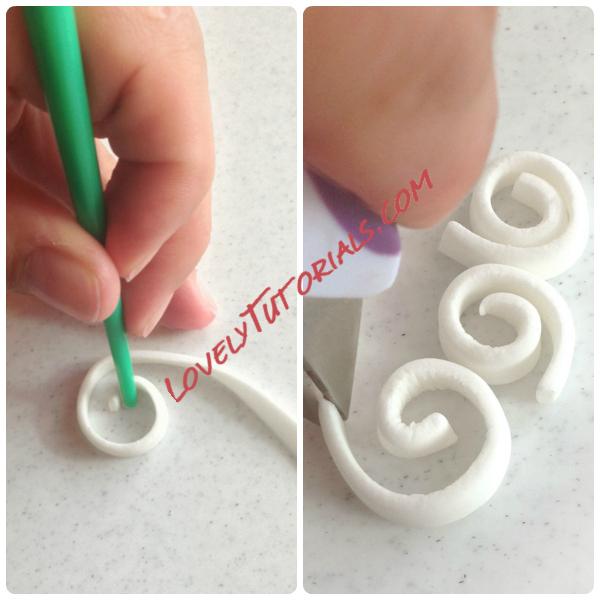
- Using the fine tip decorator’s brush, apply gum paste adhesive to the back edge of your coils and start to attach them to the cake. You can readjust them using the back of your brush.
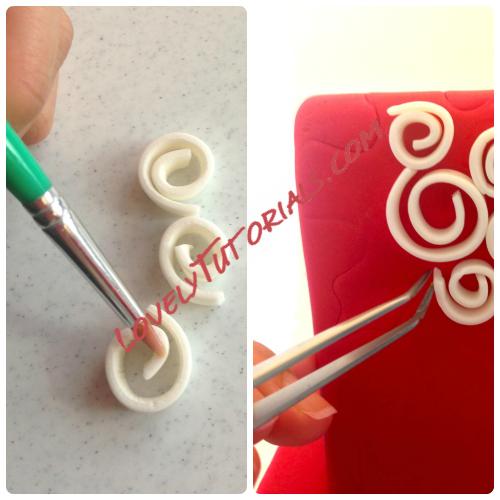
- Once you have the inside coils you can outline your design.
- Roll out more of the pure gum paste or the mix to 1/16” thick. Cut the paste or the mix into strips 6” long and 1/4” wide. Do not turn these strips into coils. Instead, apply the gum paste adhesive in the back edge of the strip and attach it to the cake following the outline of the design. In my case it’s the snowflake.
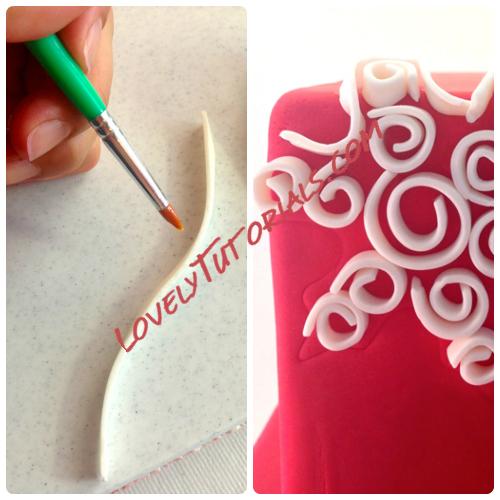
- I love gold dust so I painted some of the coil edges in Gold Pearl Dust™ mixed with some Bronze Pearl Dust™. My coils are a little more ‘exotic’ because of their openness and texture, but you can do exactly the same with tighter coils and it will look beautiful too!
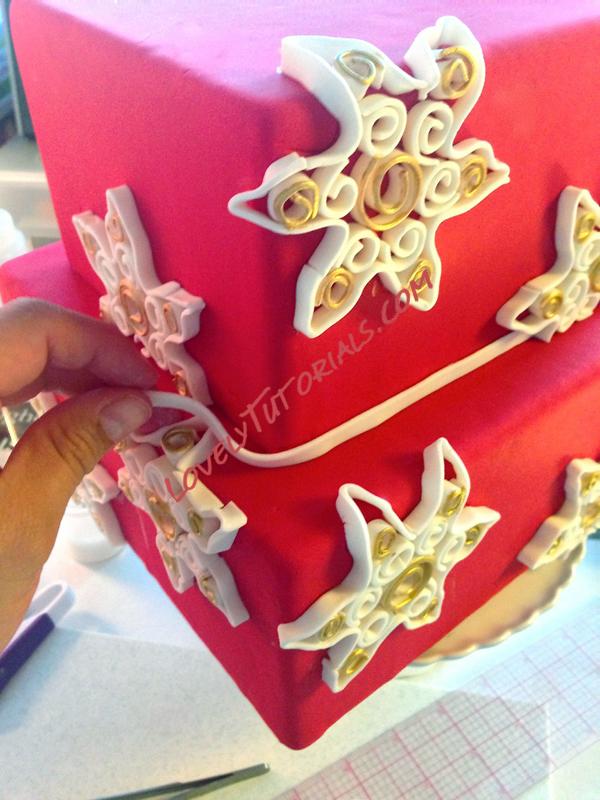
- You can attach the same kind of strip to the cake bottoms to continue with the same style. Enjoy!
