1. Measure the circumference of the covered cake with a strip of paper. Divide into equal sections (which will be the size of the drapes), the number depending on the size of cake. (Suggestion: 6 for an 8" dia. cake). Mark the side of the cake with a scriber where the ends of the drapes will bo.
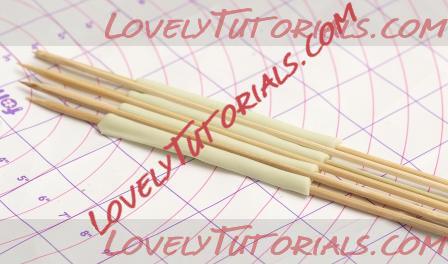
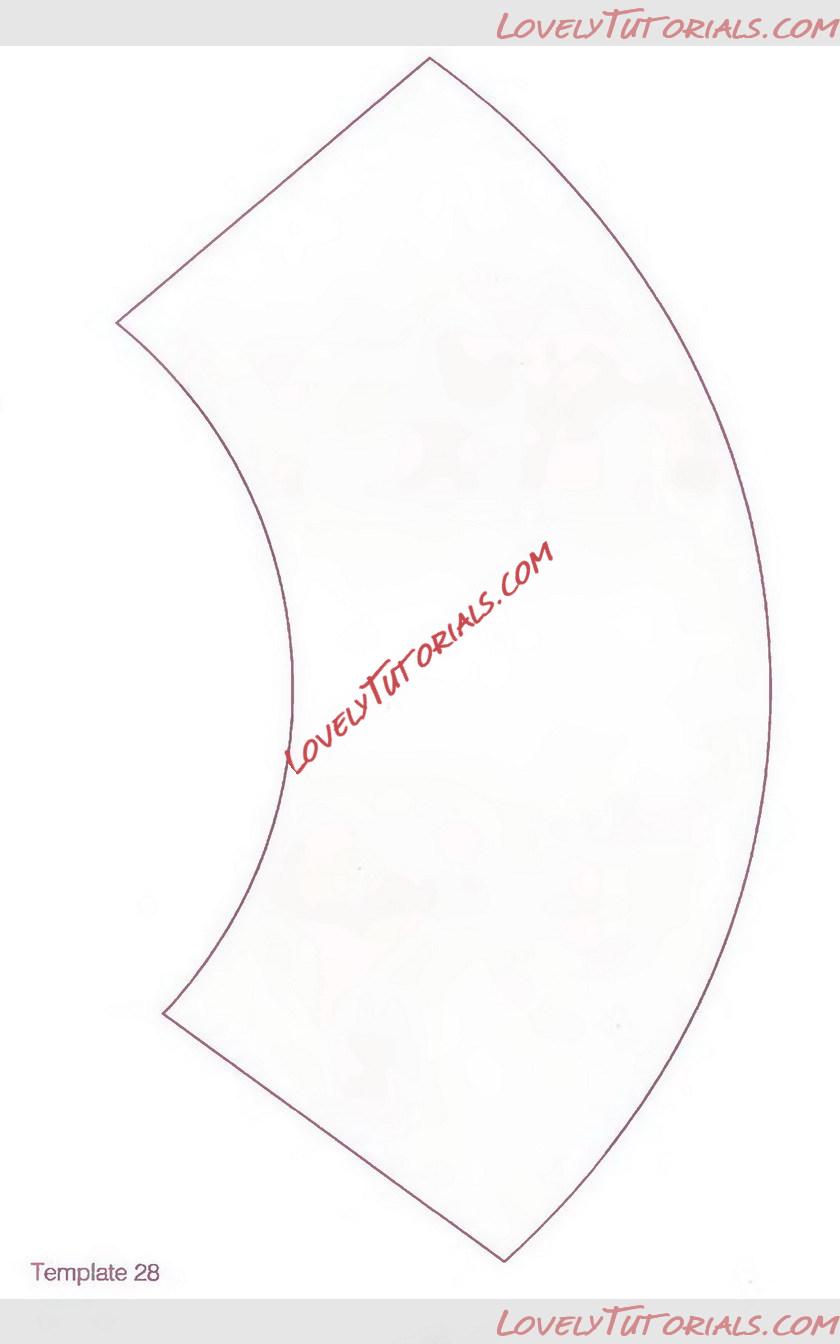
2. Cut out a paper * template for the size and depth of the drape (Suggestion: see Template 28). Use the forming rod shape as the bottom curve. Top curve to choice. Angle the ends. The template should nearly reach to the base of the cake.
3. Roll out paste thinly - 50% flowerpaste and 50% sugarpaste or recipe A. Place the template on top and cut round the shape (preferably with a plastic knife or palette knife to avoid stretching the paste or marking your board). Dust with colour, if required. Dust the underside of the paste with a little cornflour so that the rods can slide.
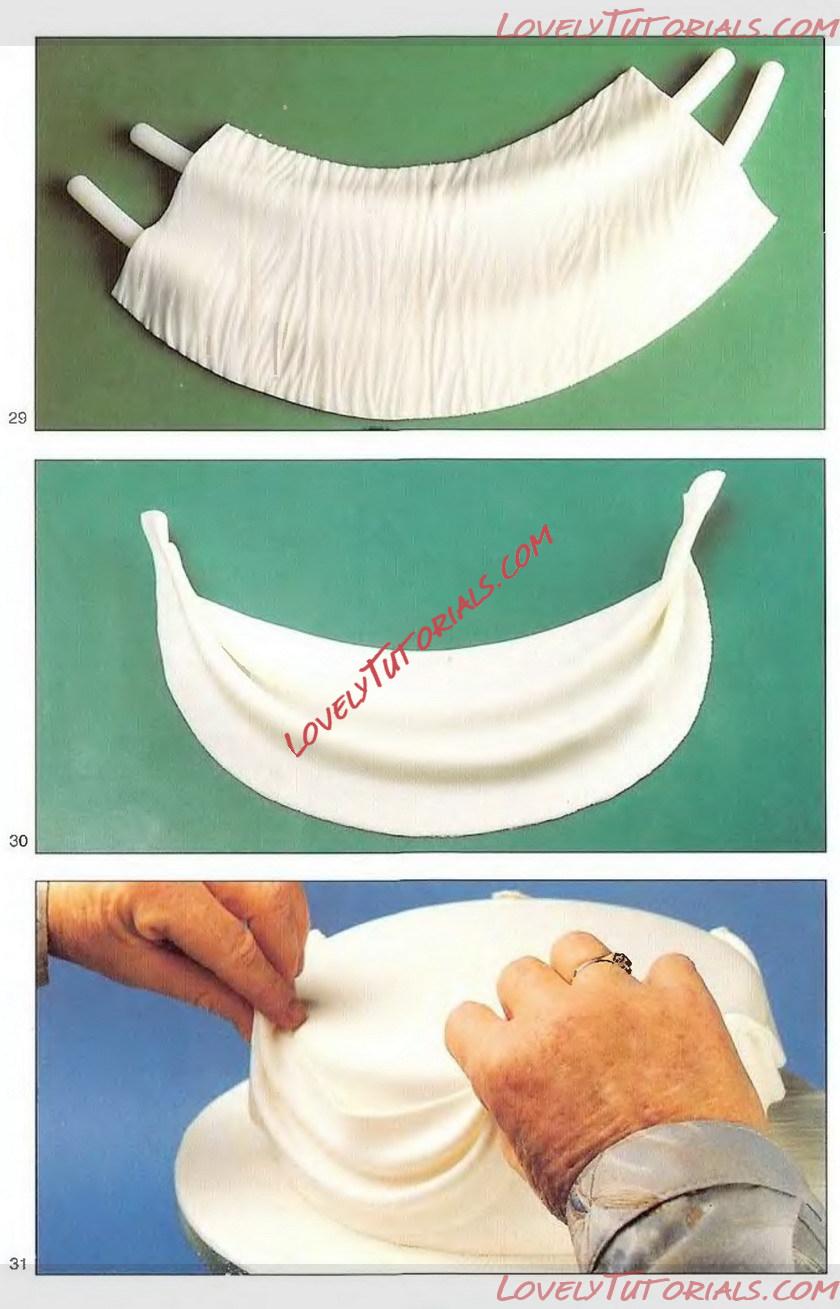
4. Place the paste over the two forming rods (shortest one at the top) and gently smooth between the folds with a balling tool (see Illustration 29).
Leave to set for about 30 seconds. Remove the rods. Offer up to the cake to check that the proportions are correct.
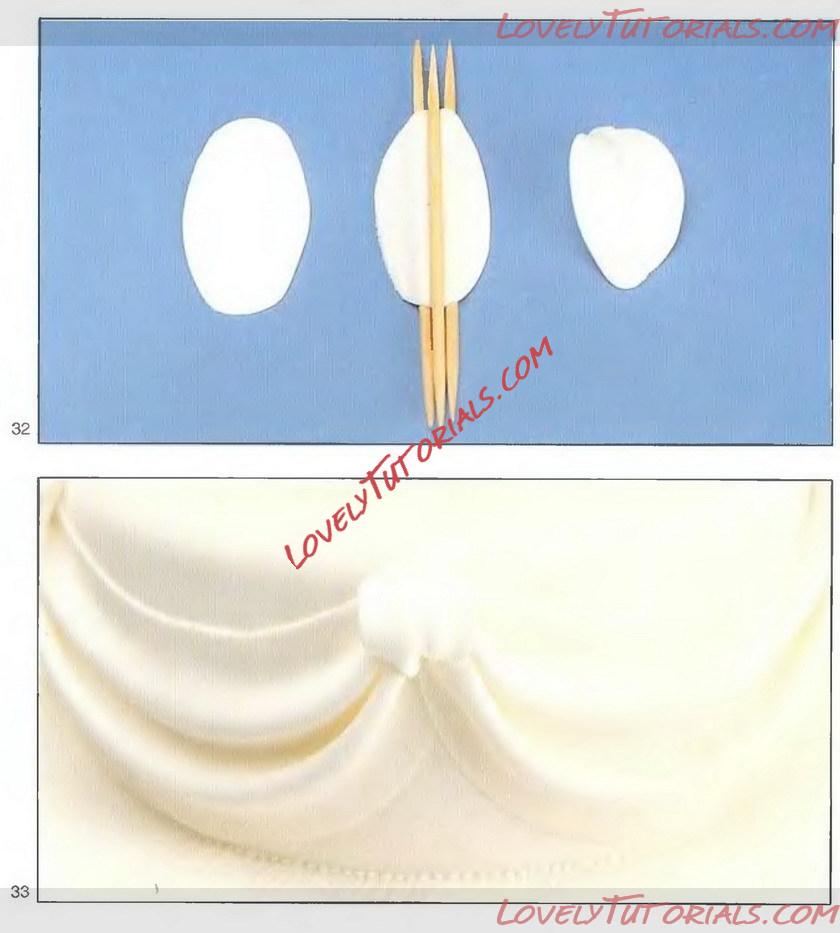
5. Paint Tylose glue in between the top folds for about an 1" at the ends and underneath the folds and squeeze each end (see Illustration 30).
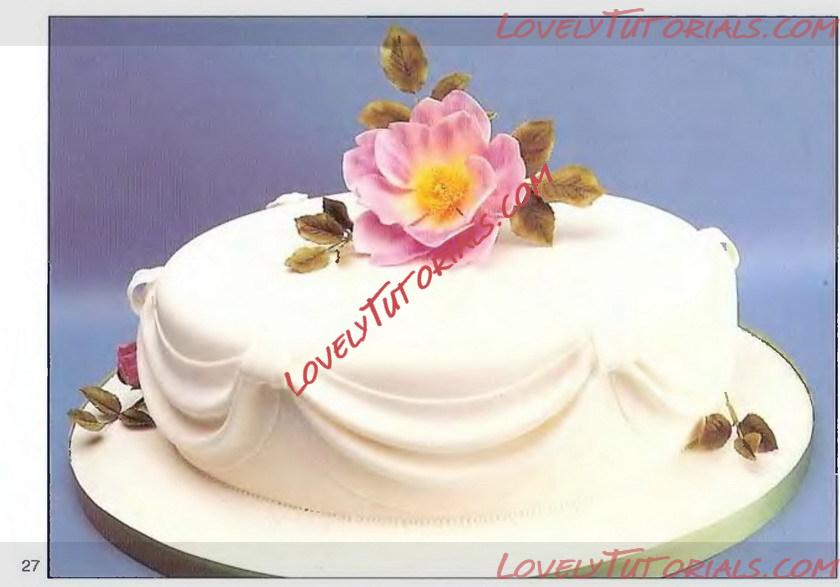
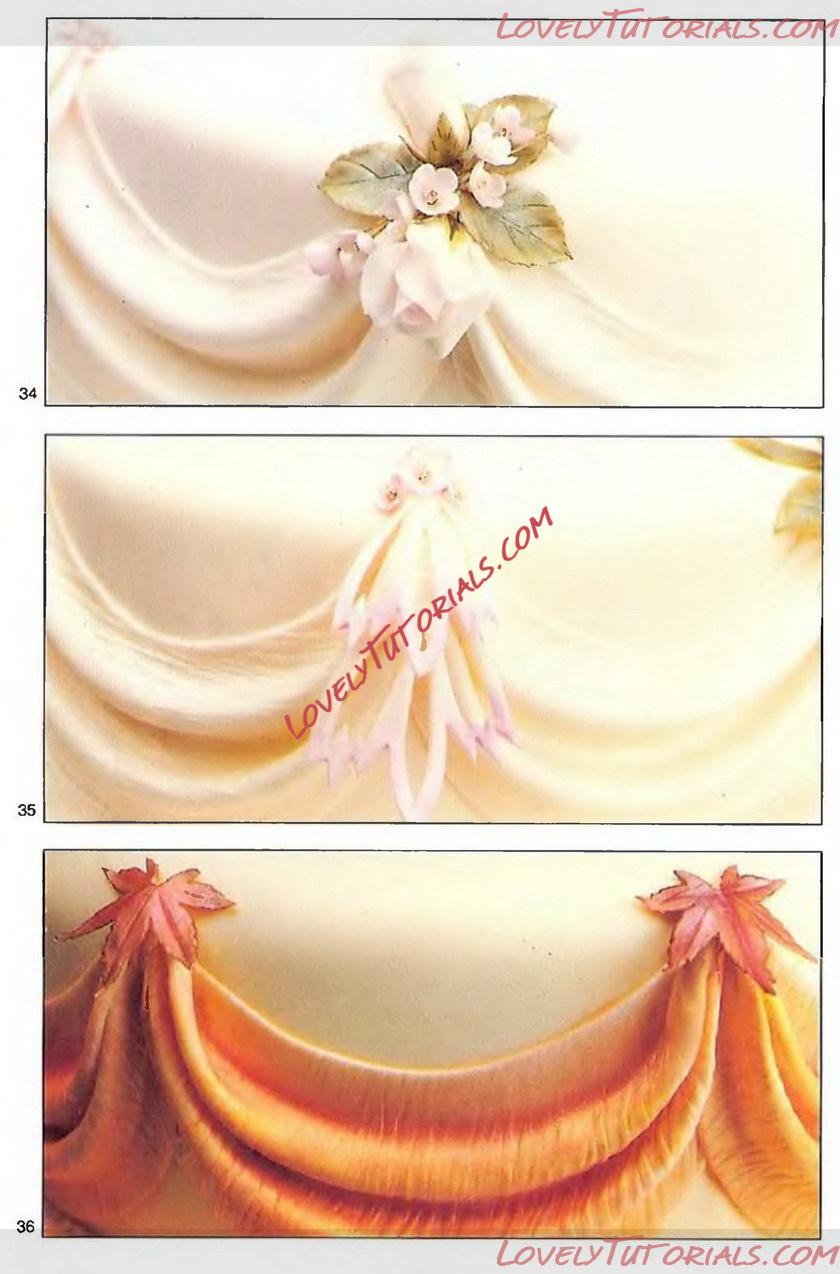
6. Paint glue underneath the drape, about 1" in at each end along the centre fold. Place carefully onto the side of the cake, using the hole markings as a guide, and gently smooth the edges into place (see Illustration 31).
If applying further drapes, tidy up the join between the drapes with a scalpel.
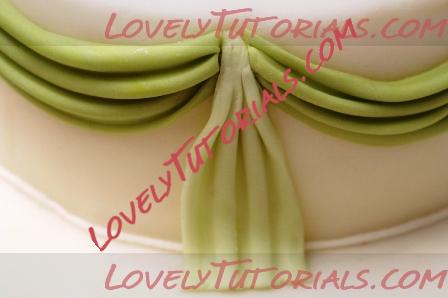
7. Joins, (see Illustration 32). Roll out White paste and cut out a small oval shape. Put 2 cocktail sticks, about 1/4 apart, underneath the oval and mark down the centre with the point of the petal veining tool. Place another cocktail stick on top down the centre. Remove all the cocktail sticks and squeeze the tips of the oval together.
Glue the back and lay over the join between two drapes (see Illustration 33).
Alternatively a Rose petal (pointed end facing the board), or a Japanese Maple leaf make a quicker cover for the joins. Some alternative suggestions for joins are shown in Illustrations 34-36.
* If you are likely to use this technique often, then cut out the template in the plastic from an ice cream container for a more permanent version.


