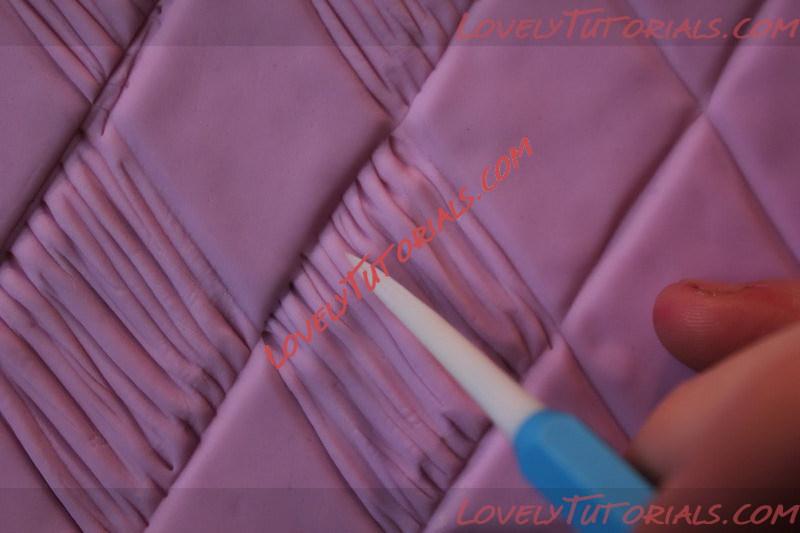
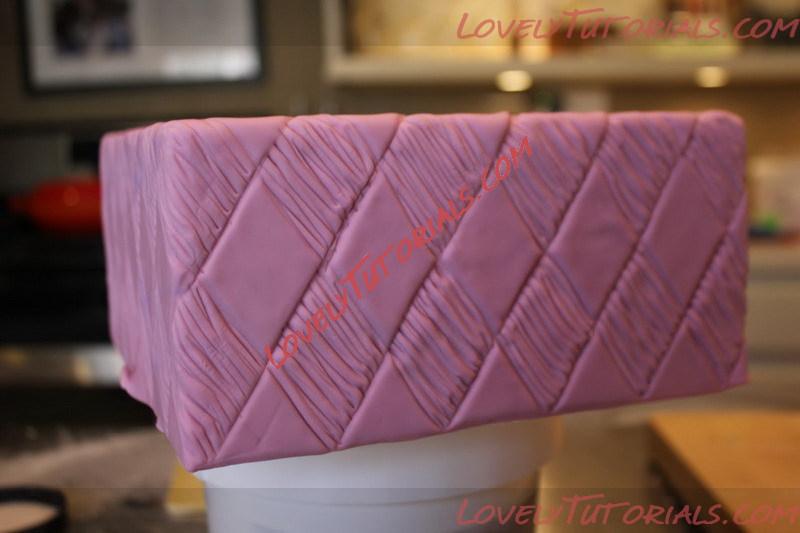
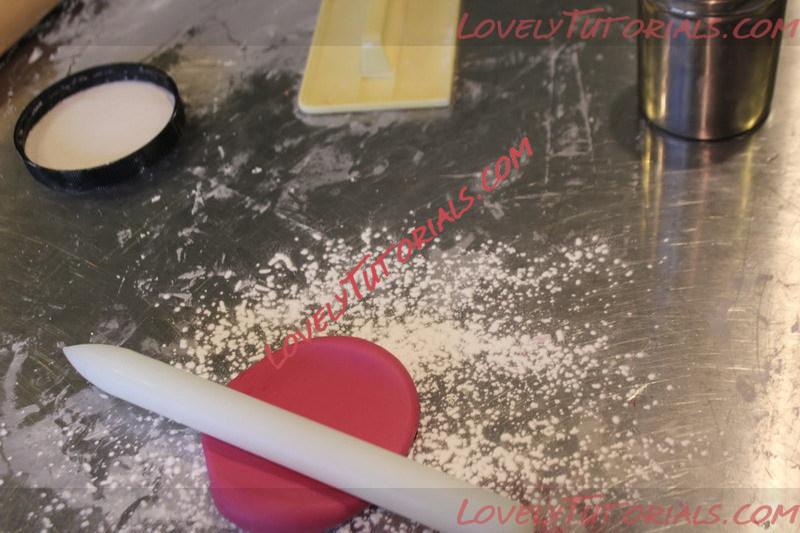
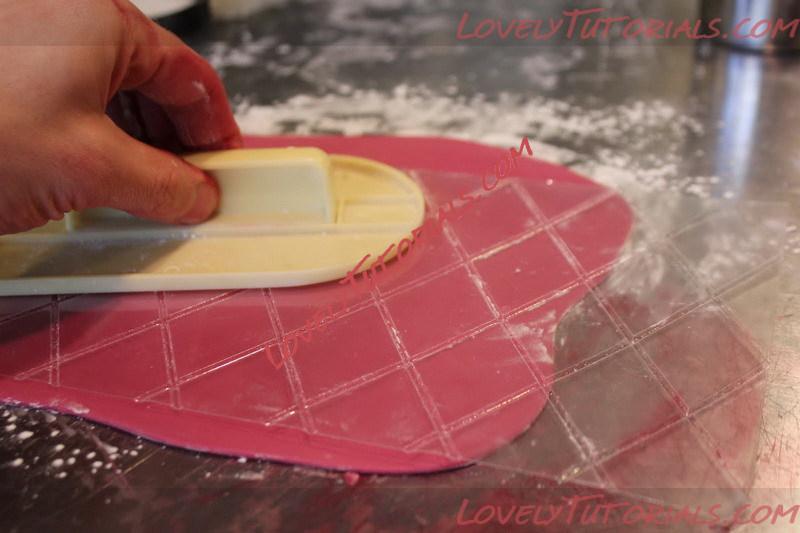
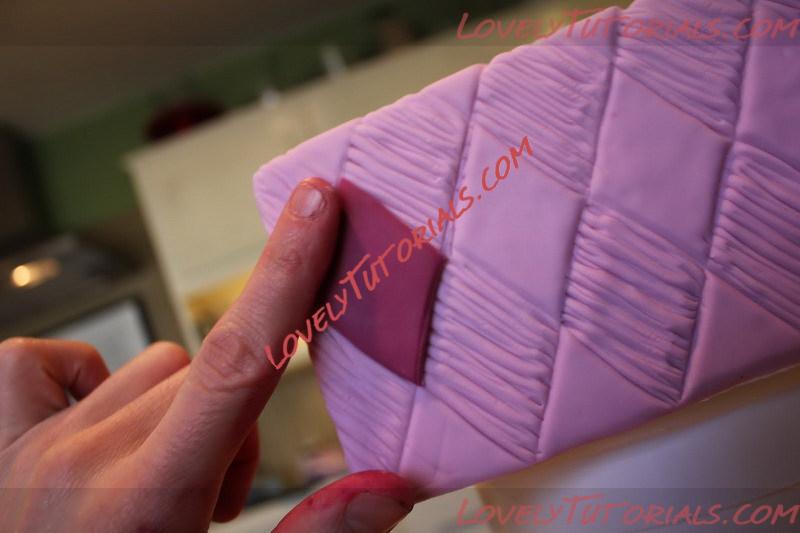
So to start, I cover the cake in this pink fondant and make my impression. Then deepen the lines with a gumpaste tool.
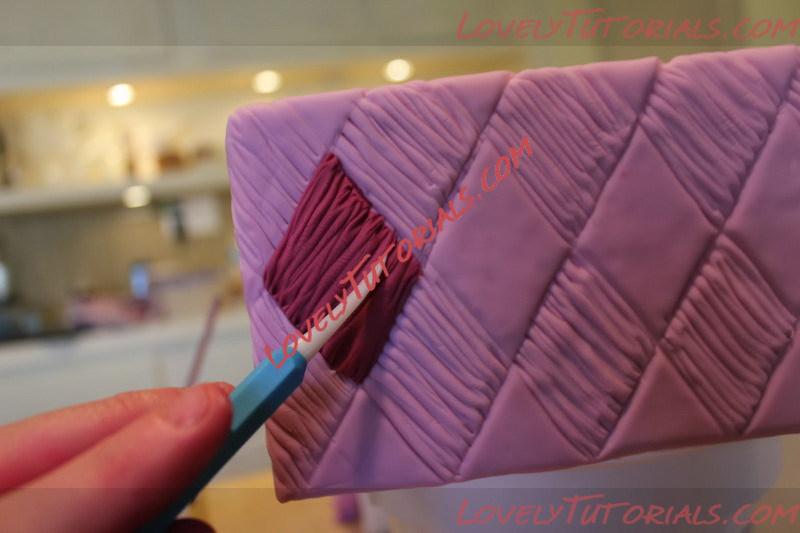
Next, I start roughing it up.....but only every other diamond.
So here is part one....finished. Looks a little cray cray at the moment.....
Now I am taking a different color (this wine color) and rolling it out.
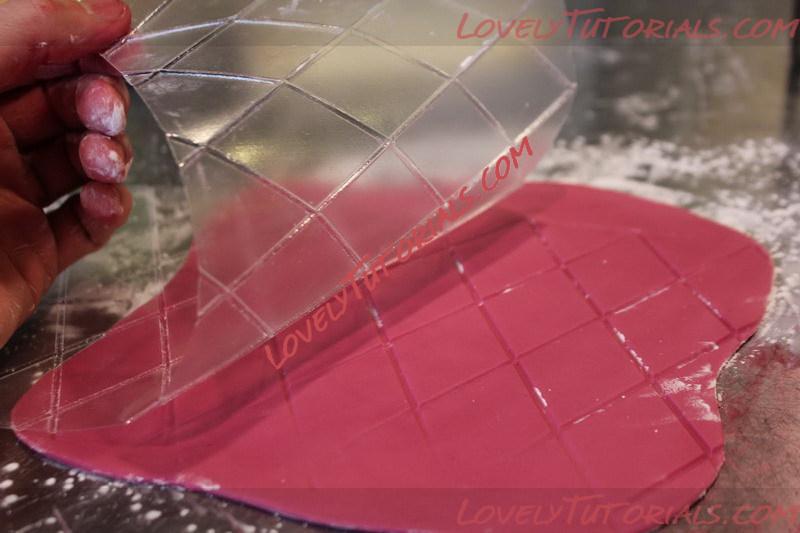
And then I use the same impression mat on this to get my lines.
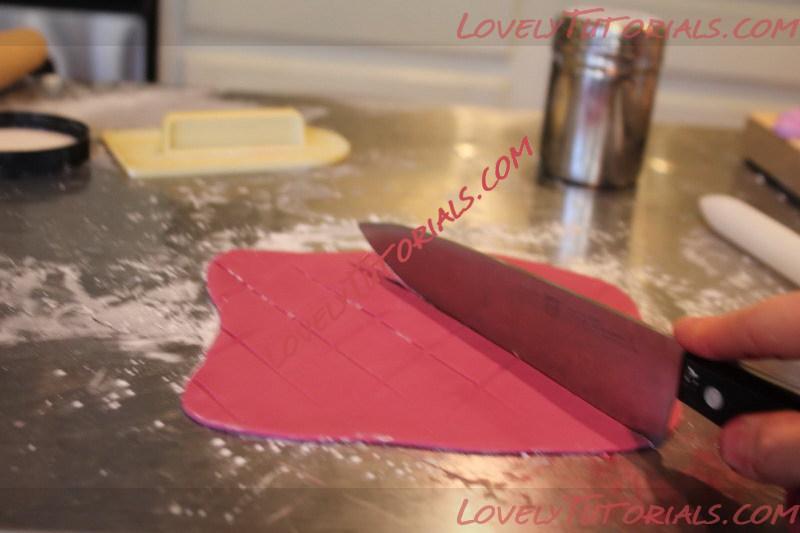
Now I cut the diamonds apart.
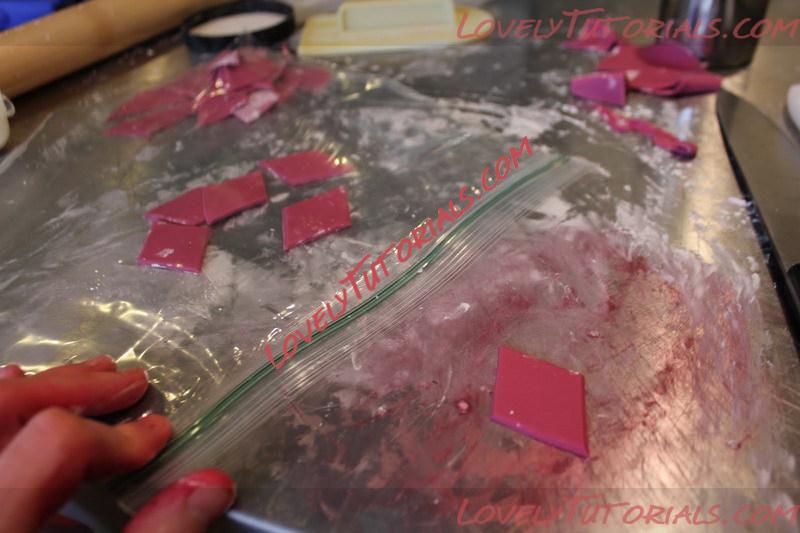
I am going to place them one at a time. So I keep the others in a plastic bag so they will not dry out.
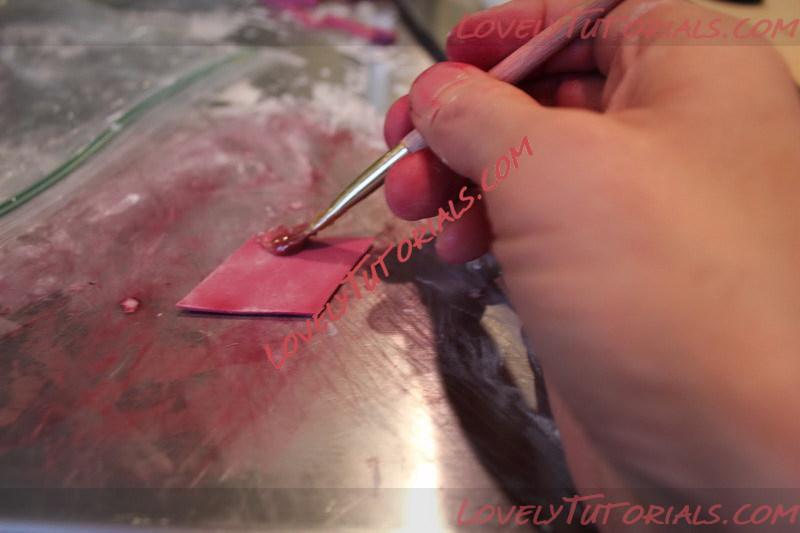
I paint the back with a little piping gel.
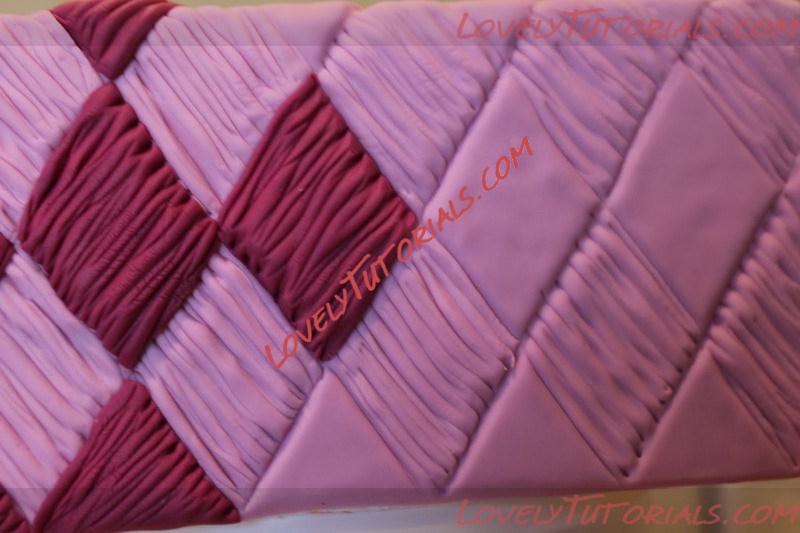
And place it in the untextured diamond space.
Now I texture each one the opposite direction as the diamonds in light pink.
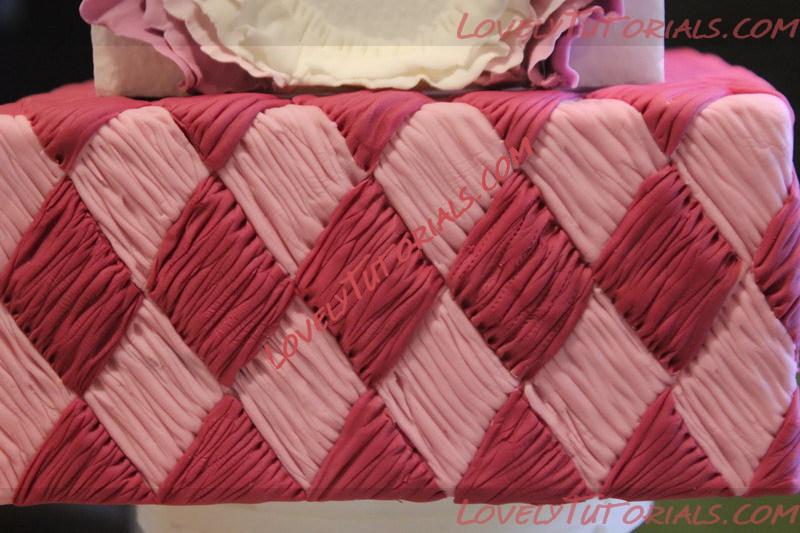
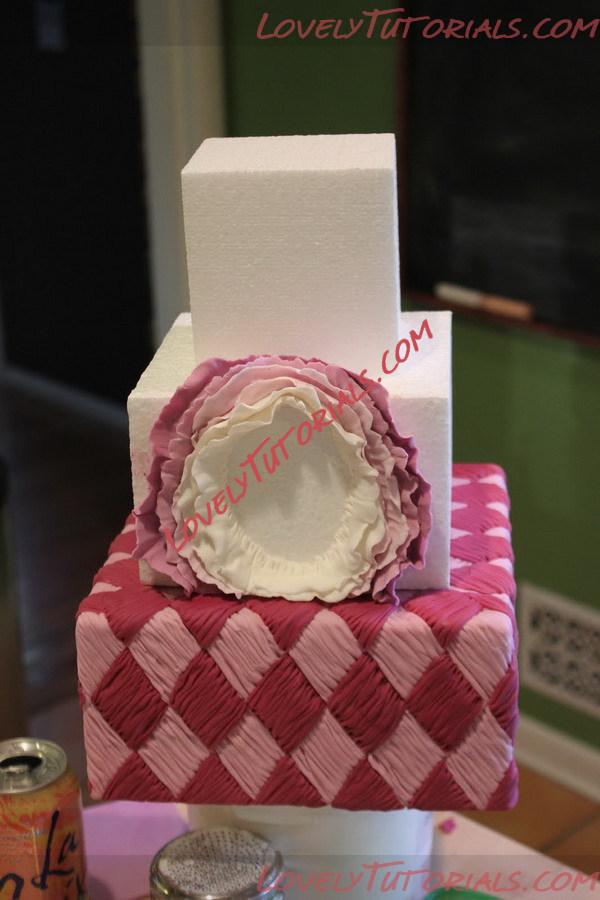
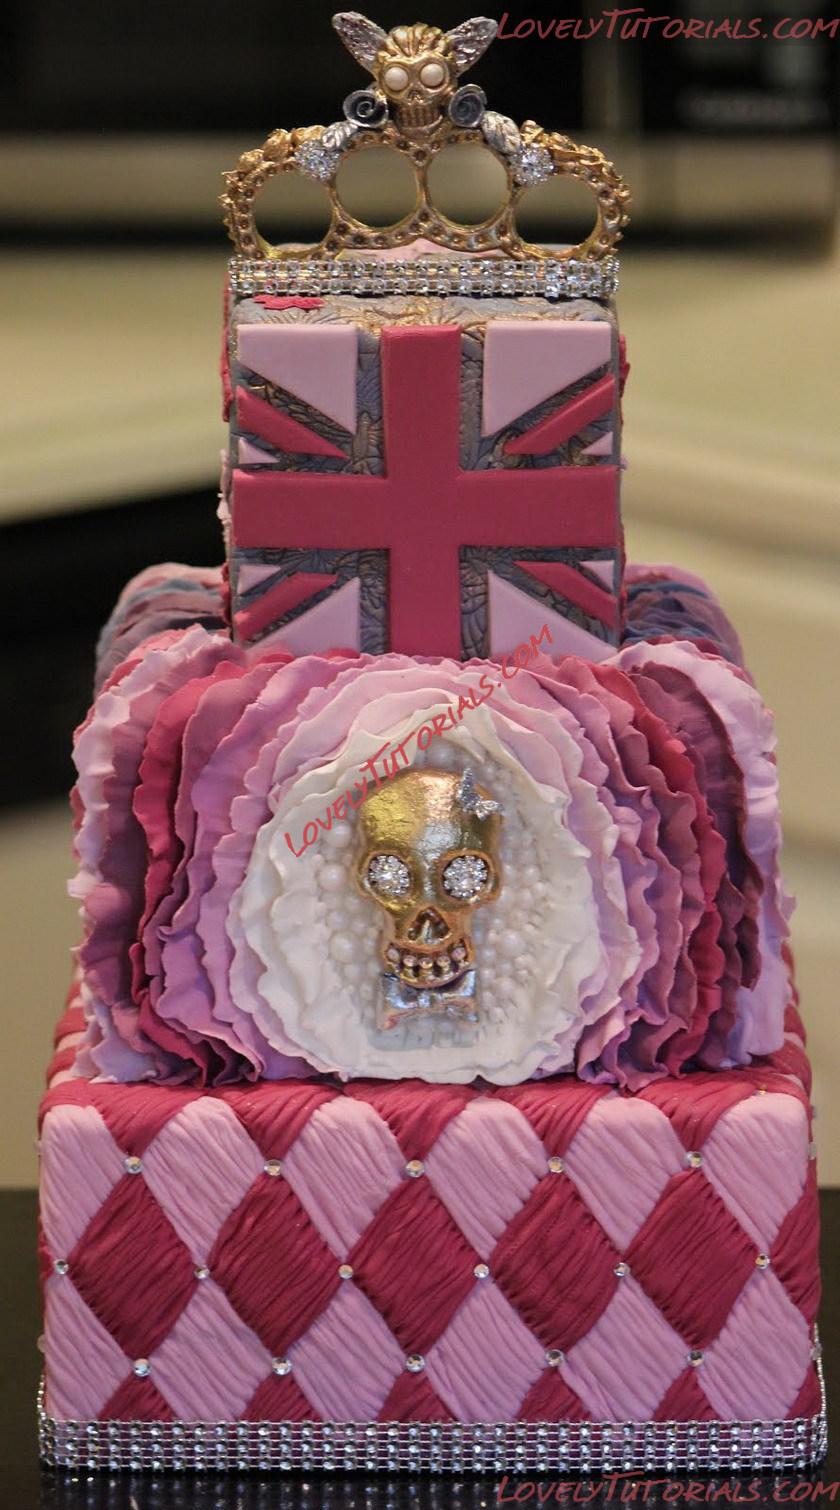
Here is the end result....
Fancy! Okay let's move on
Here is the next look that I am in love with. Even in this still shot, you can see the movement of the fabric. This is why I love fashion shows so much. This is not a ready to wear look....but it's exciting and makes you want to see more!
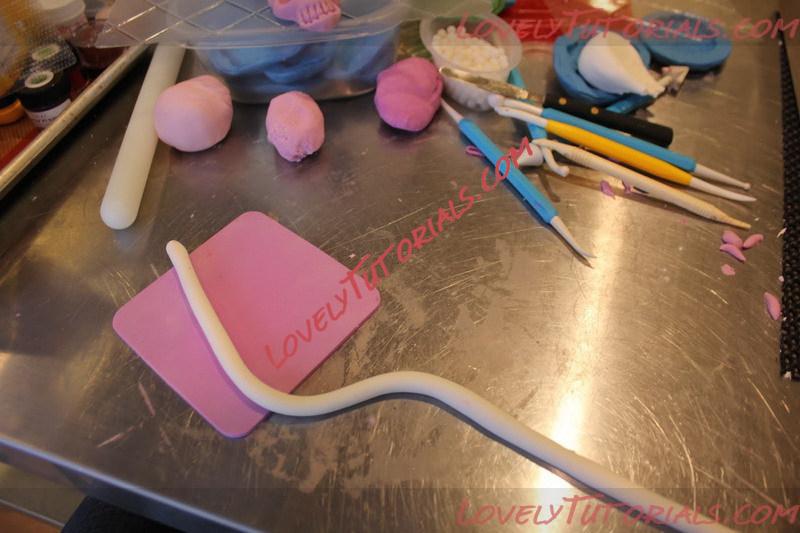
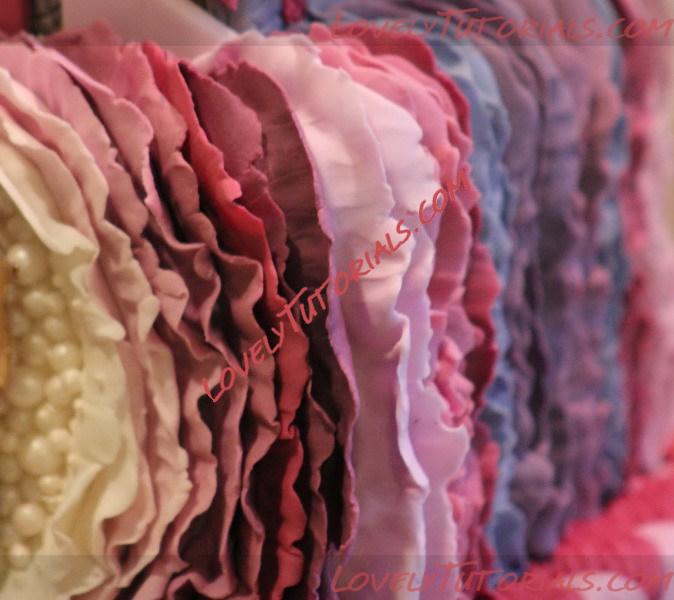
For the ruffles, I start by rolling a strip of fondant. I used fondant because gumpaste would dry too quickly and we need to thin this and work it for a while.
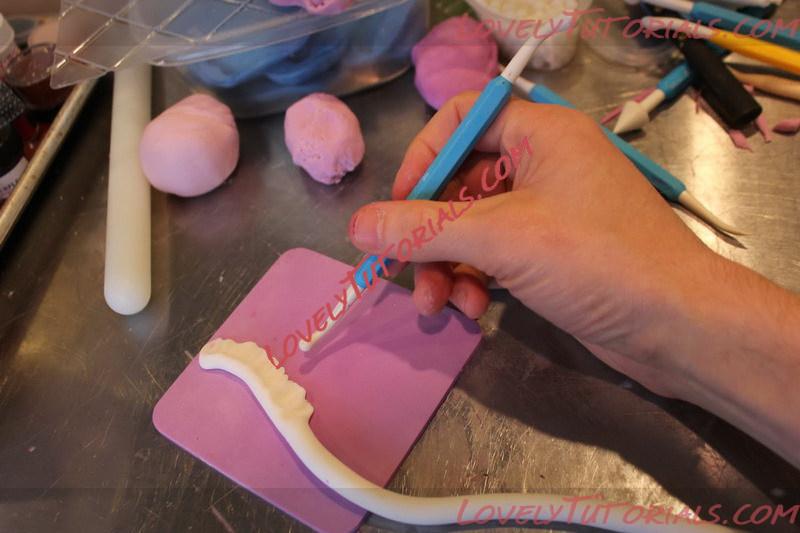
Now I take the small side of the ball tool and thin by pulling out. But I still leave a thick side to secure it and to make the ruffles seem a little spread apart.
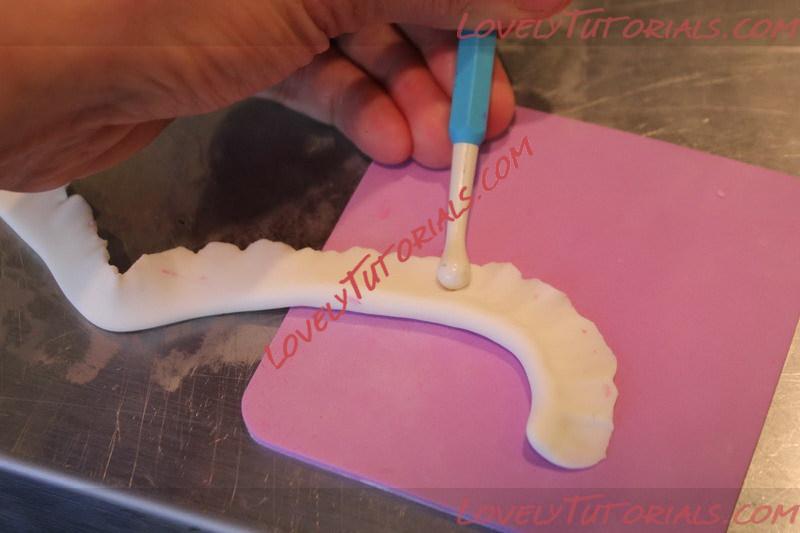
Now flip and ruffle over and do the same technique with the larger side of the ball tool.....so we don't tear what we already made.
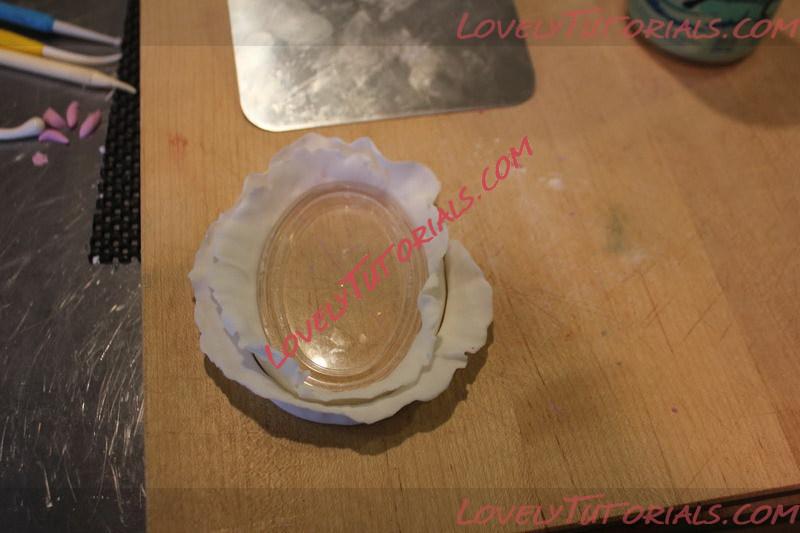
Now I wind it around an object that the skull will fit into and let it dry before gluing to the cake with piping gel. This will start the foundation for the ruffles.
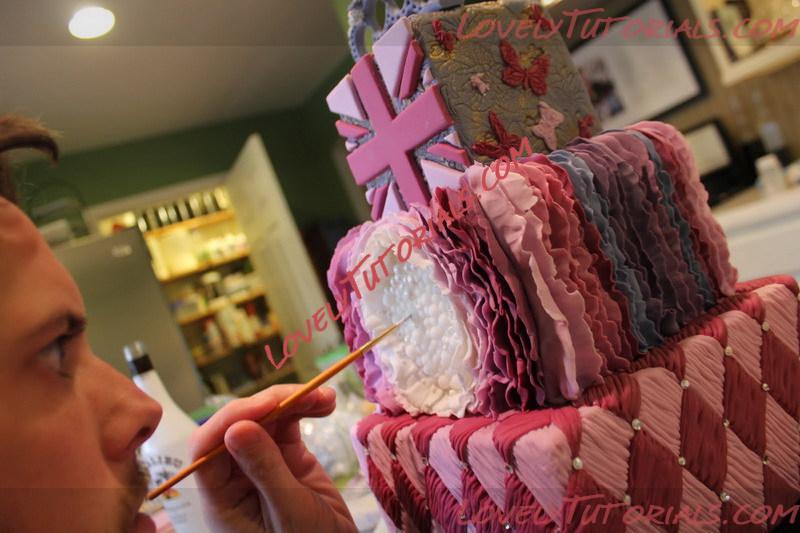
So you can see I just keep going and changing colors slightly...not really for an ombre thing, but to show variety....
I also added some pearls for the skull's background. And painted them with pearl dust.


