Огромная благодарность Rosie Cake Diva за Мастер-класс
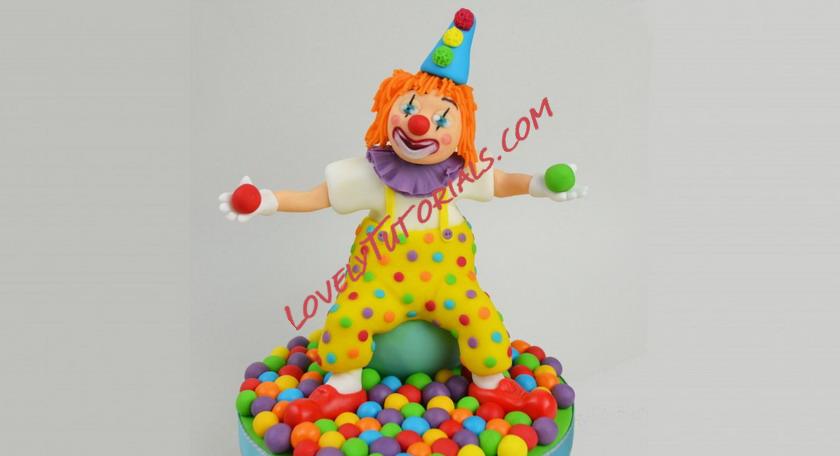 You will need:
Coloured Sugarpaste with Tylo Powder or your preferred Modelling Paste
Ball tool
Pointed Tool (or cocktail stick)
Circle Cutter (about 4cm diameter)
A supporting dowel
Florist’s Wire
Spaghetti (optional)
A ball (I made one out of Rice Krispie Treat and fondant) or anything else for the clown to sit on.
So limber up…AND LET’S DO IT!
Boots
*Tip – Why not make your boots and socks a day ahead? They will become firmer so that when you add the trousers they won’t be easily squashed.
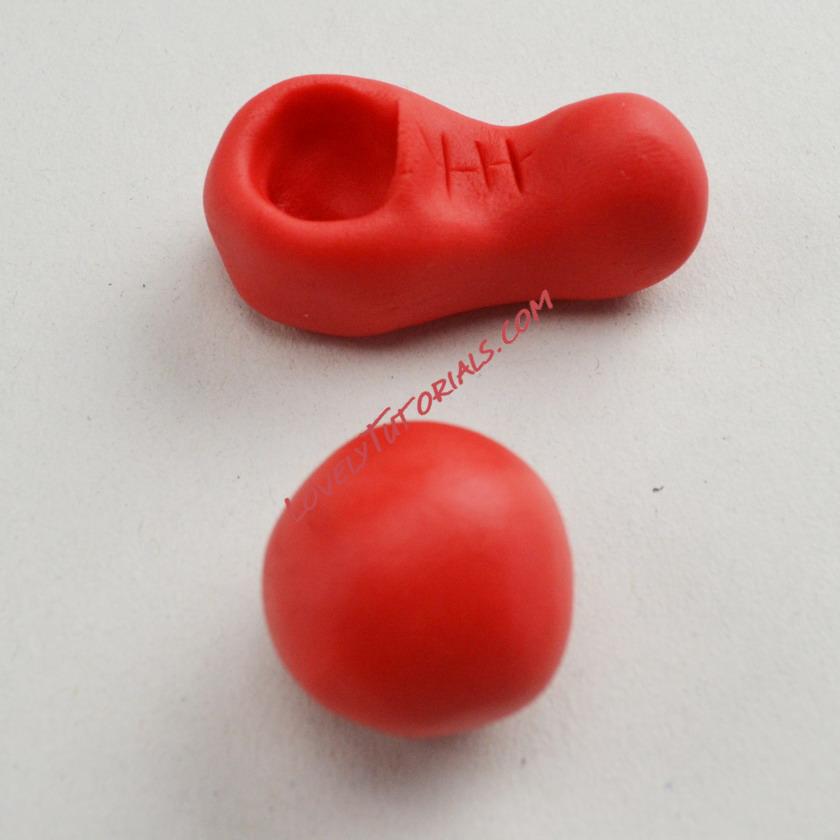
To make the boots, take 16g red fondant, split it into two equal parts and roll into balls
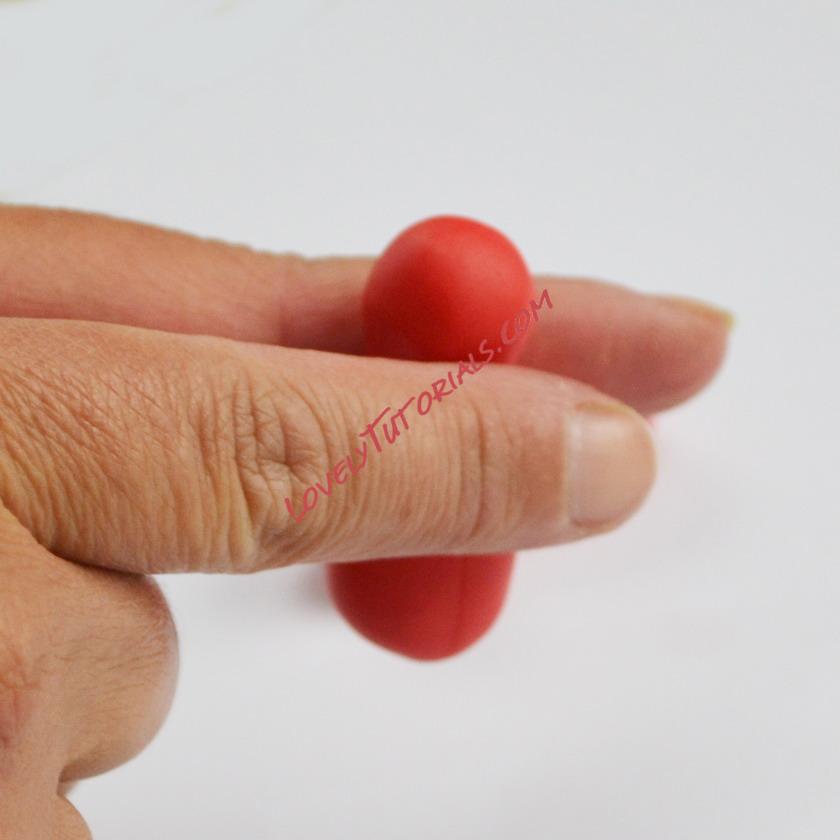
Roll each ball into a sausage shape
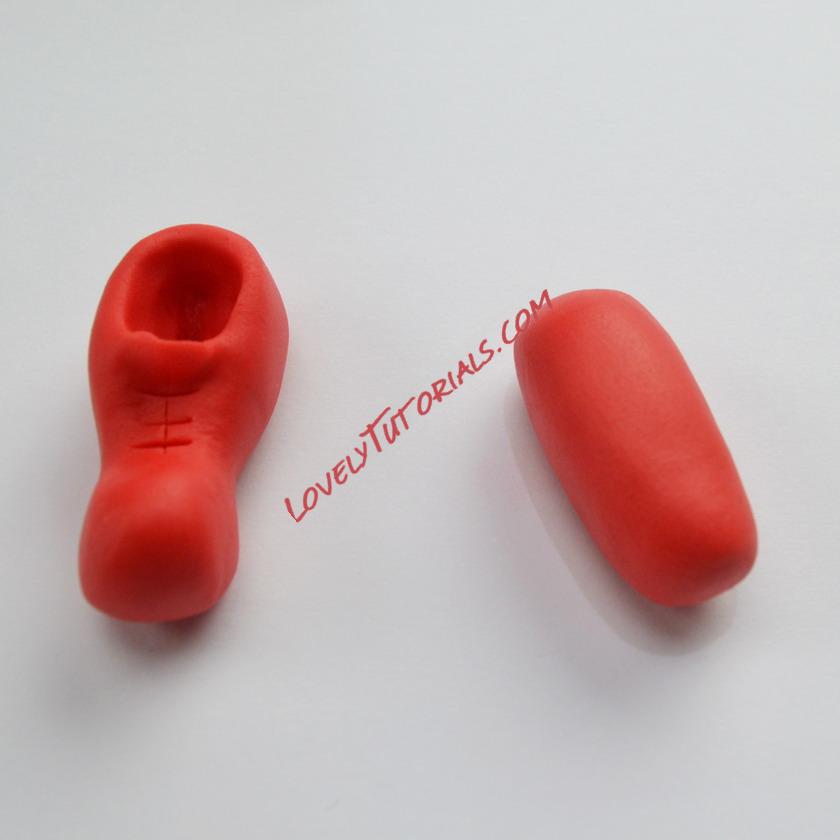
Using two fingers, roll each sausage to create an indentation
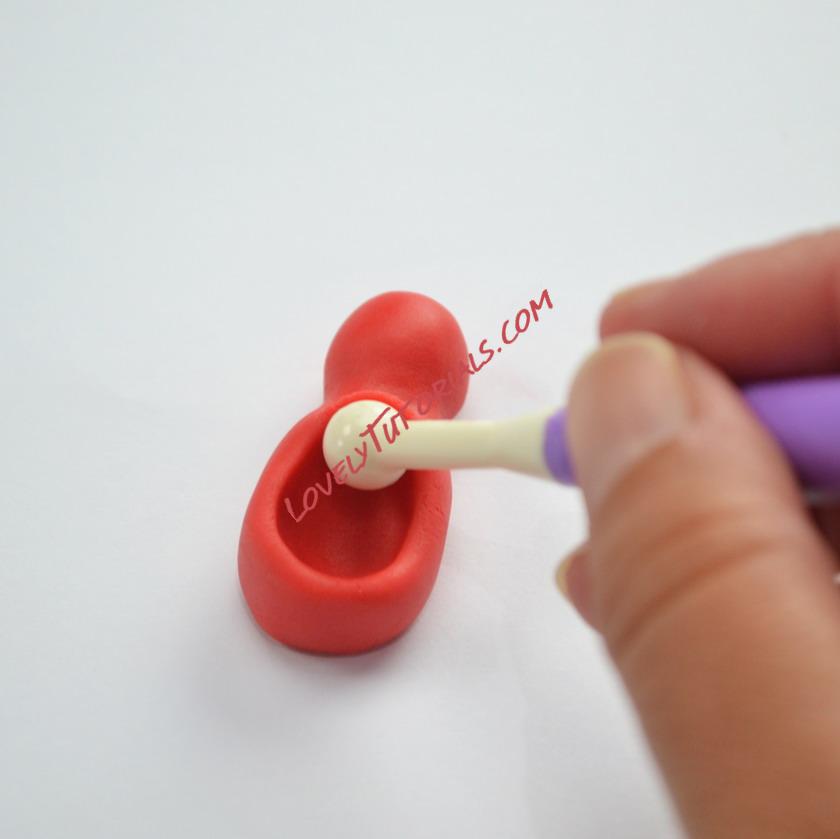
Use a ball tool to create a leg hole
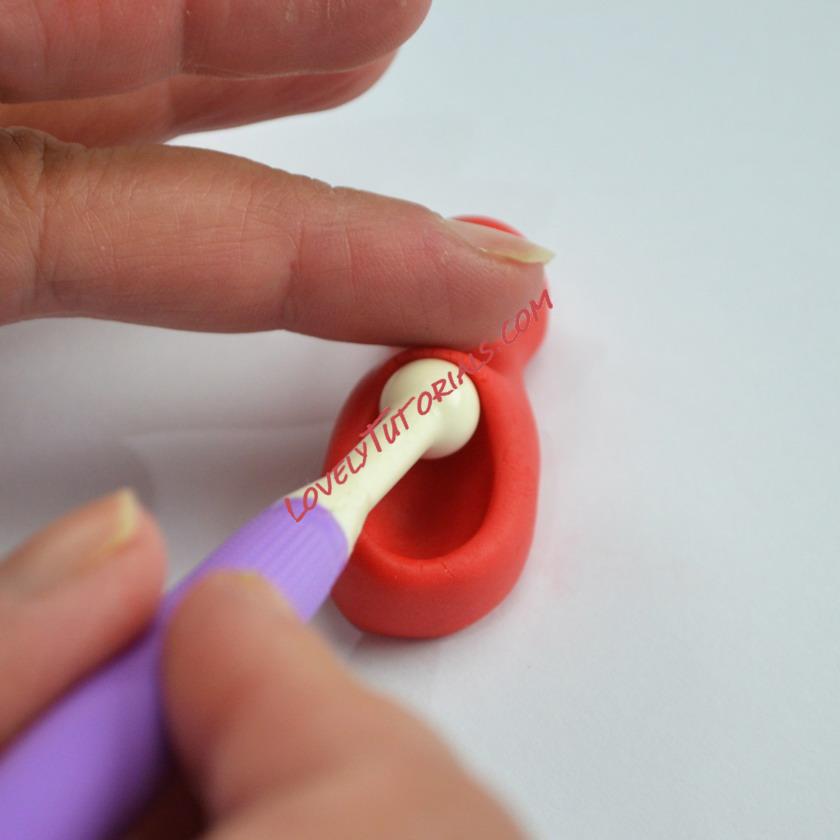
Use the ball tool to manipulate a ‘tongue’ shape against your finger
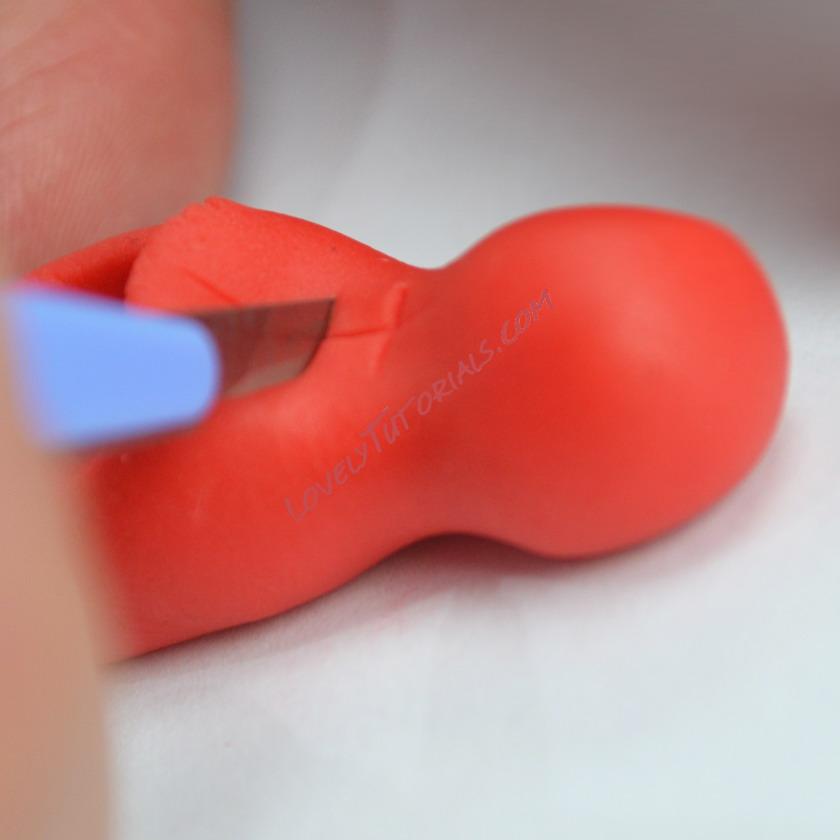
Use a scalpel to create boot-lace marks
Socks
*Tip – Make your own sugar-glue by adding water to Tylo-Powder. Just use 1/4 tsp in an egg cup. Cover it with water and in a little while it will turn into a gel.
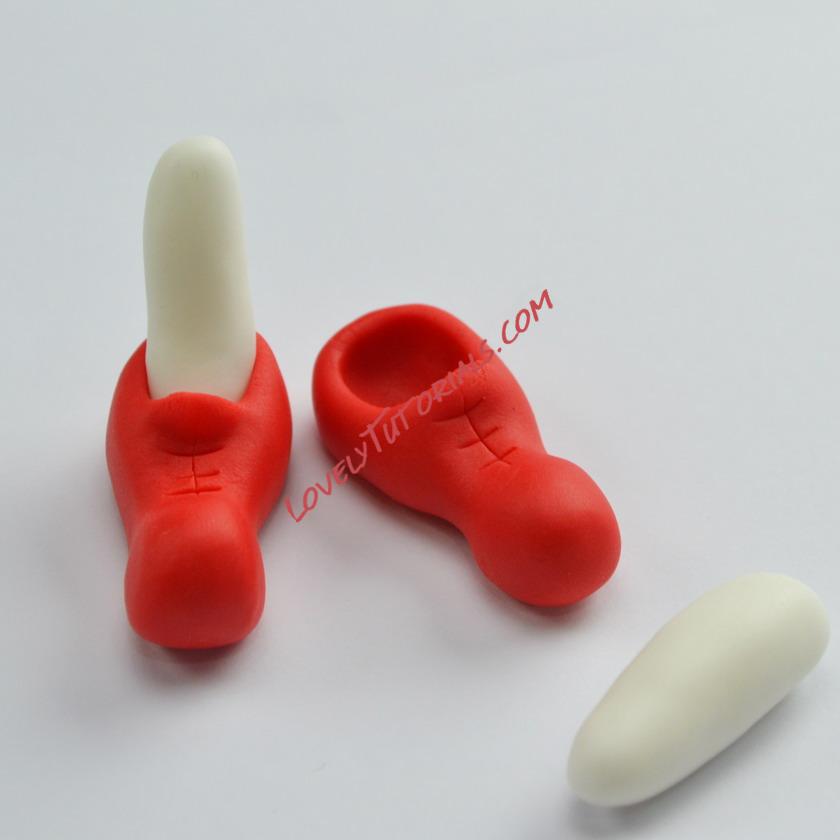
To make the socks take 4g of white fondant, split into two and roll into sausages. Use a little water or sugar glue to secure inside the leg holes
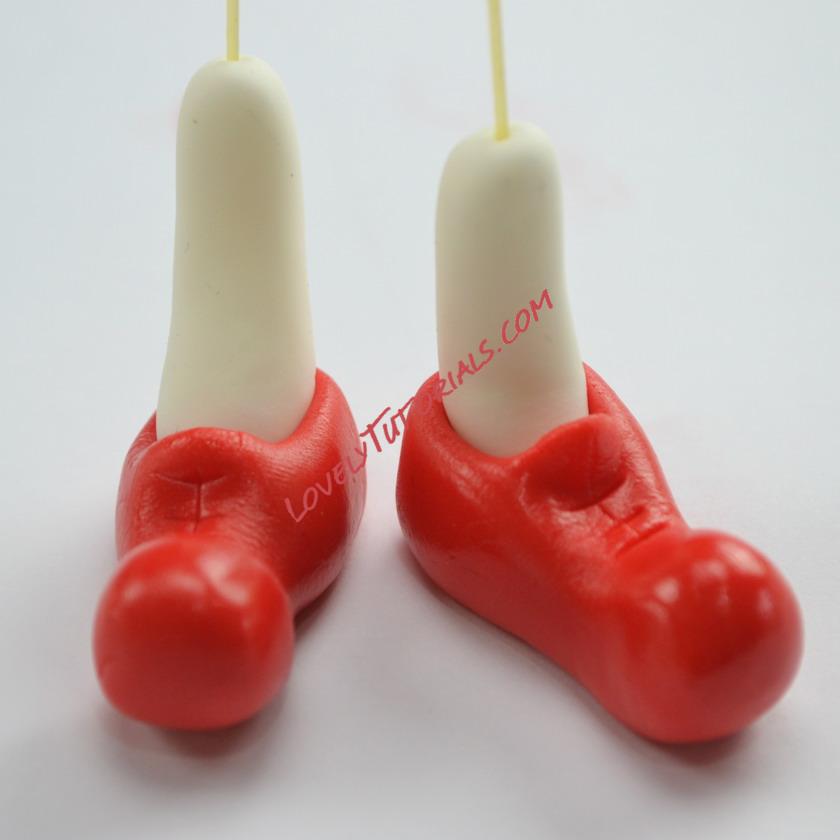
You can use a piece of spaghetti to help the socks stay upright
If you want to make a standing clown, this is where you would use dowels instead of spaghetti. You can learn more about standing figures in my Craftsy Class
Trousers/Pants
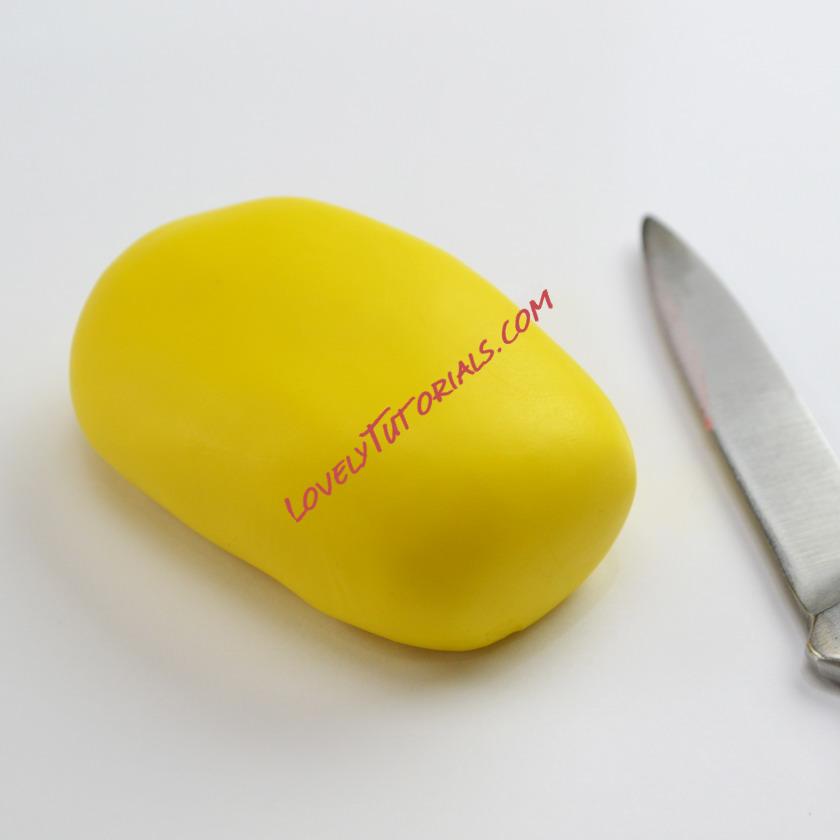
For the trousers, roll 100g yellow fondant into a fat sausage shape. (Ensure you keep enough 1. yellow aside to make the braces later.)
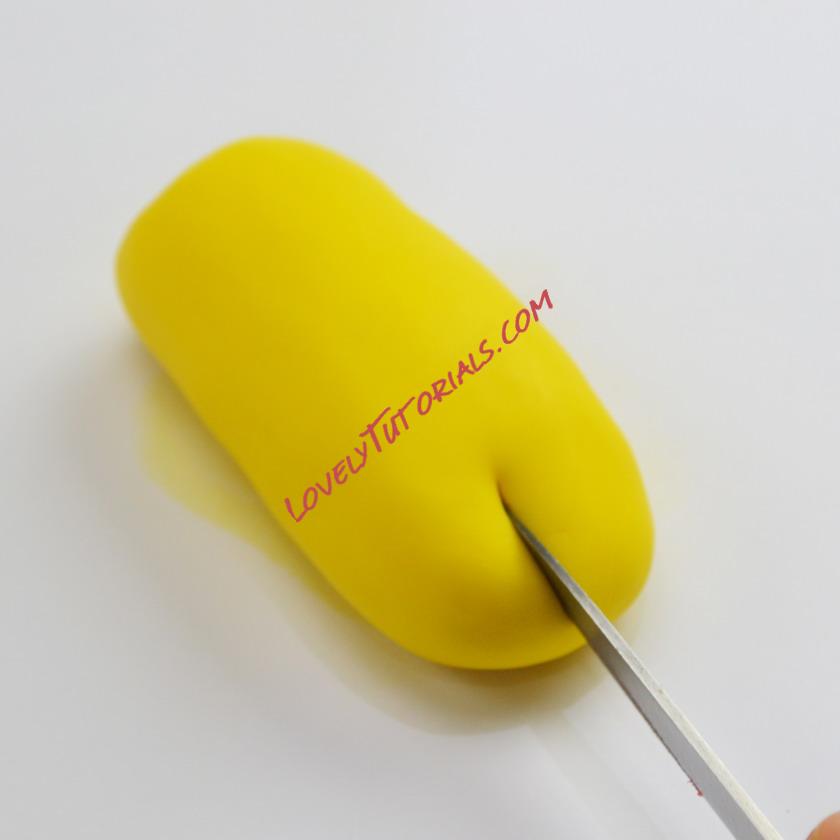
Use a knife to cut a line down one third of the sausage
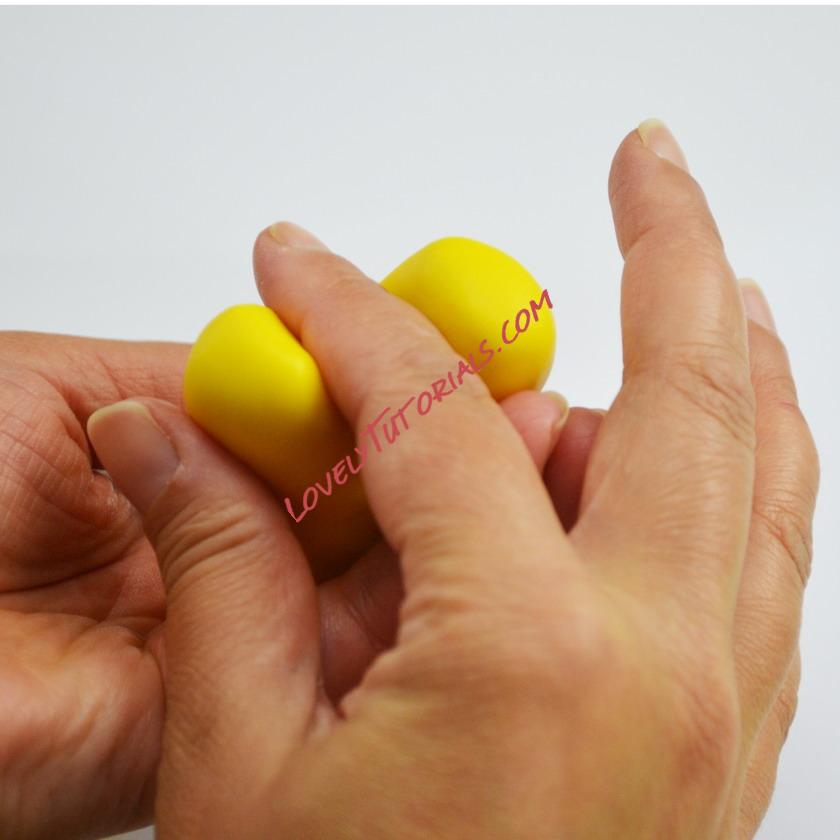
Use your fingers to round off the edges to create the trouser leg shapes
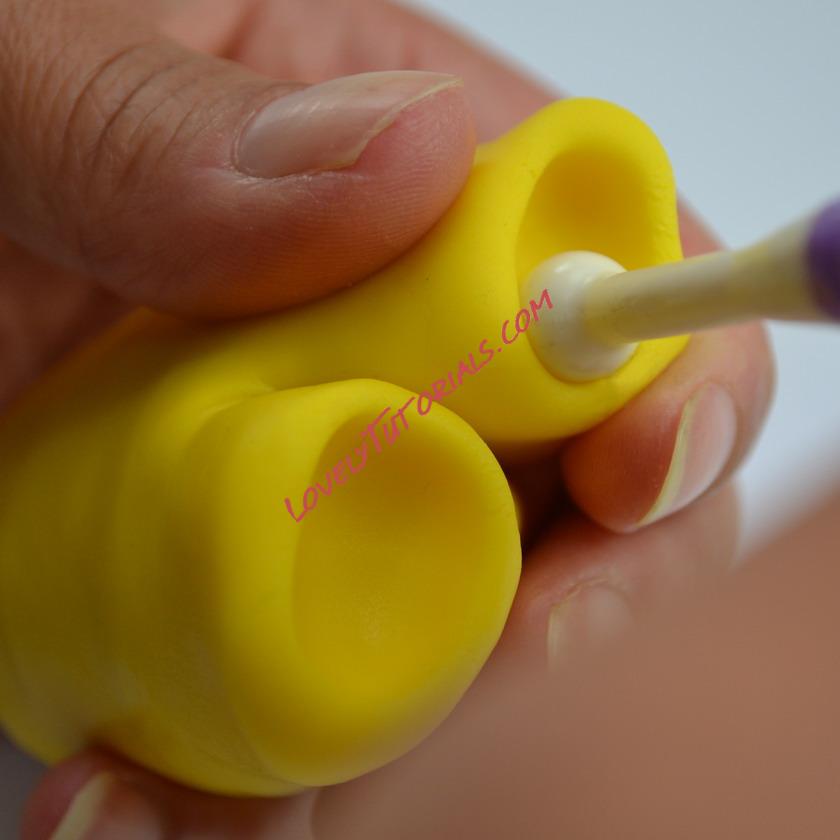
Use a ball tool to make the two leg holes
Body
*Tip – For this figure I needed to prepare something for him to sit on. I used a Rice Krispie Treat (RKT) ball covered in fondant but you could use a cupcake or anything else that takes your fancy. It’s your figure…do whatever takes your fancy. xx
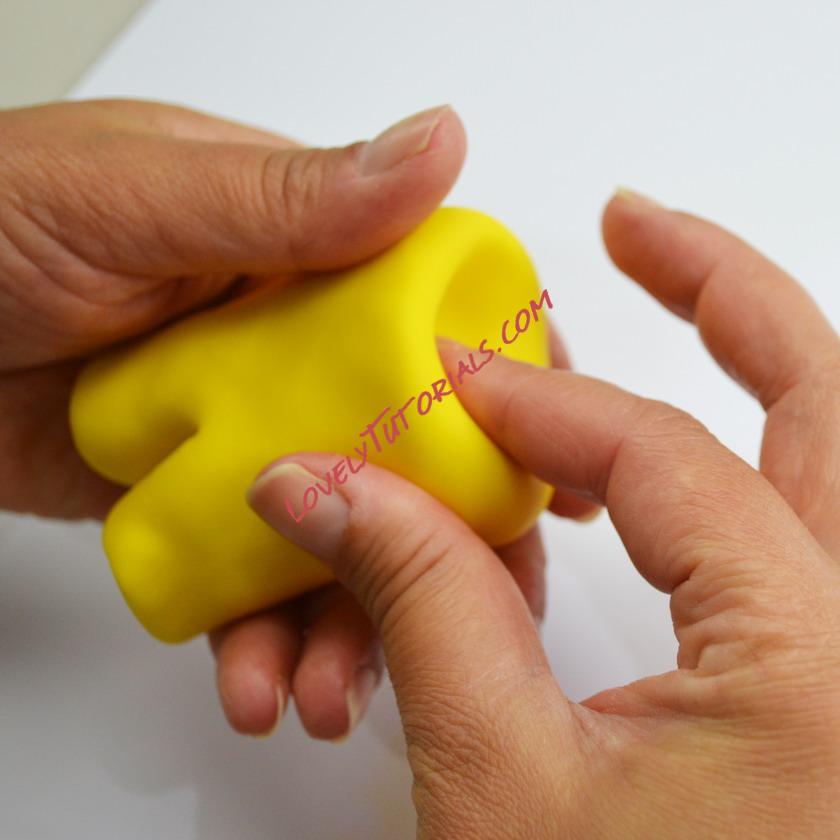
Use your fingers to create a large dent in the other side for the body
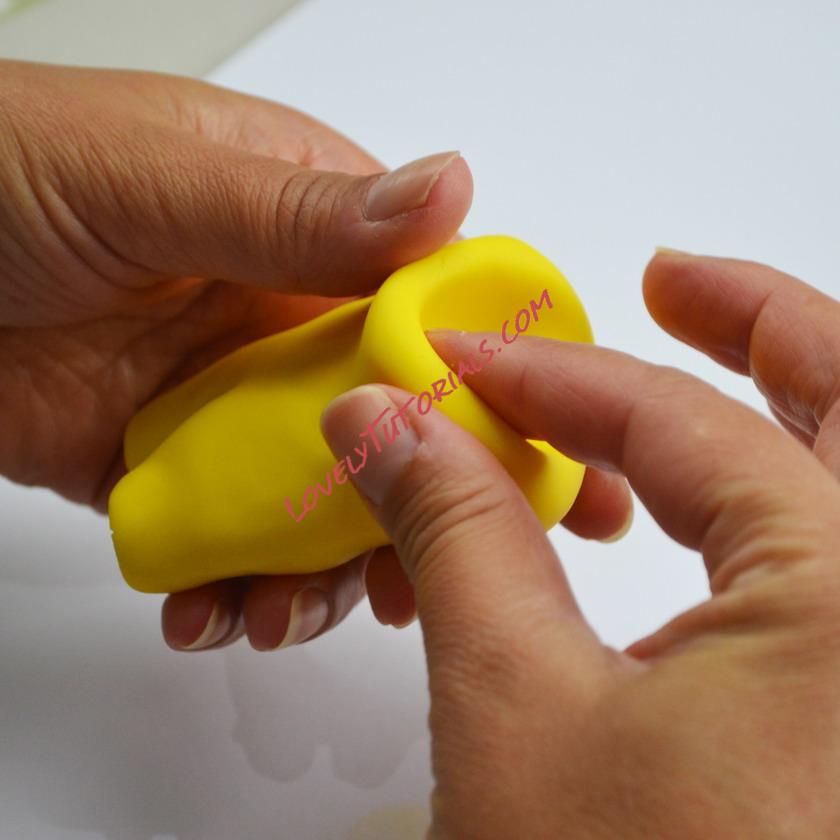
Smooth the edges as you go
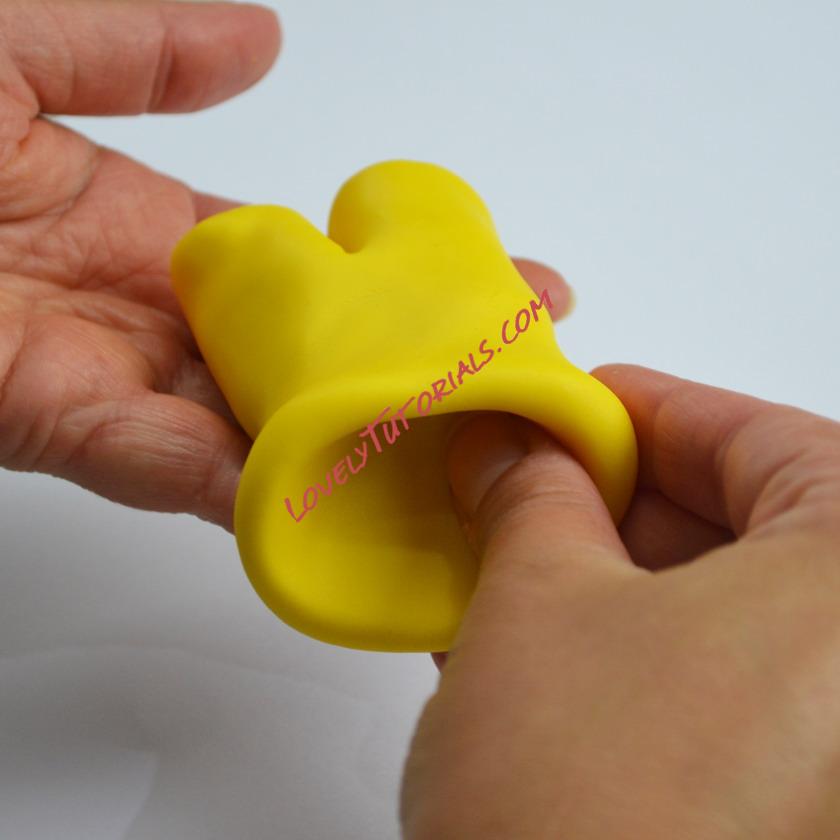
Tease the sides out until the waist band is large enough to accommodate the shirt
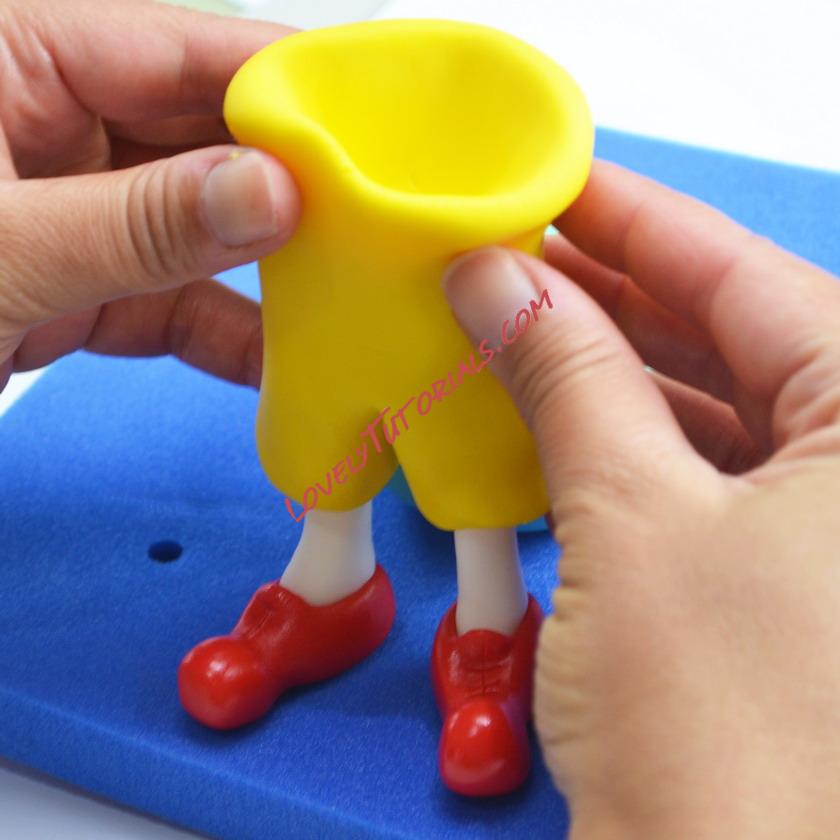
Paint some sugar glue into the leg holes and position them over the socks. At this point you will need to introduce the supporting ball for him to sit on
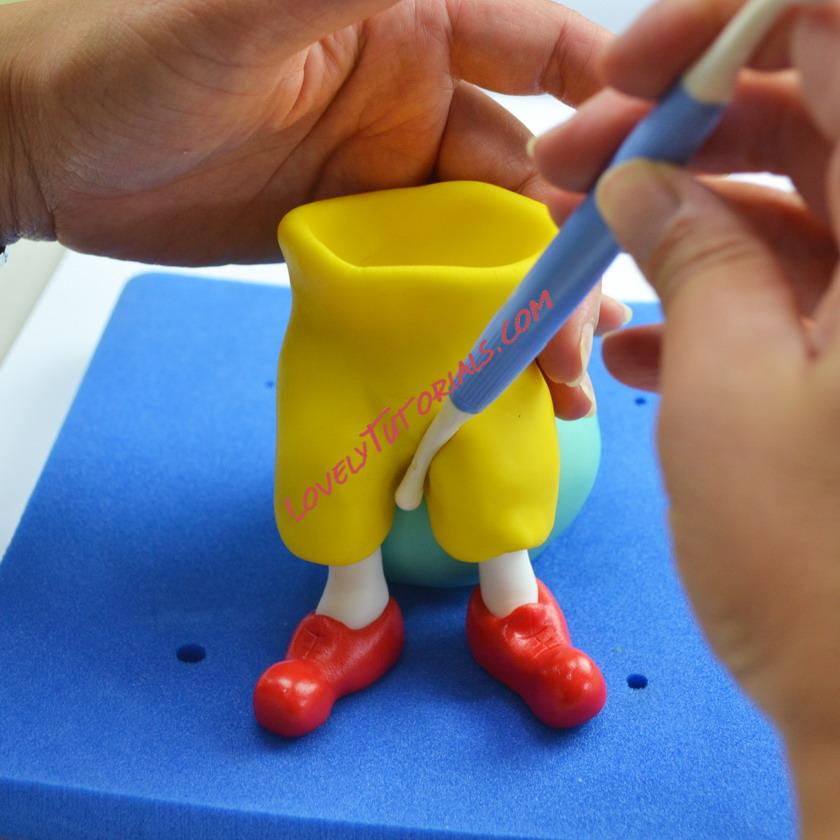
Use the ball tool to create the relevant folds and creases in the trousers
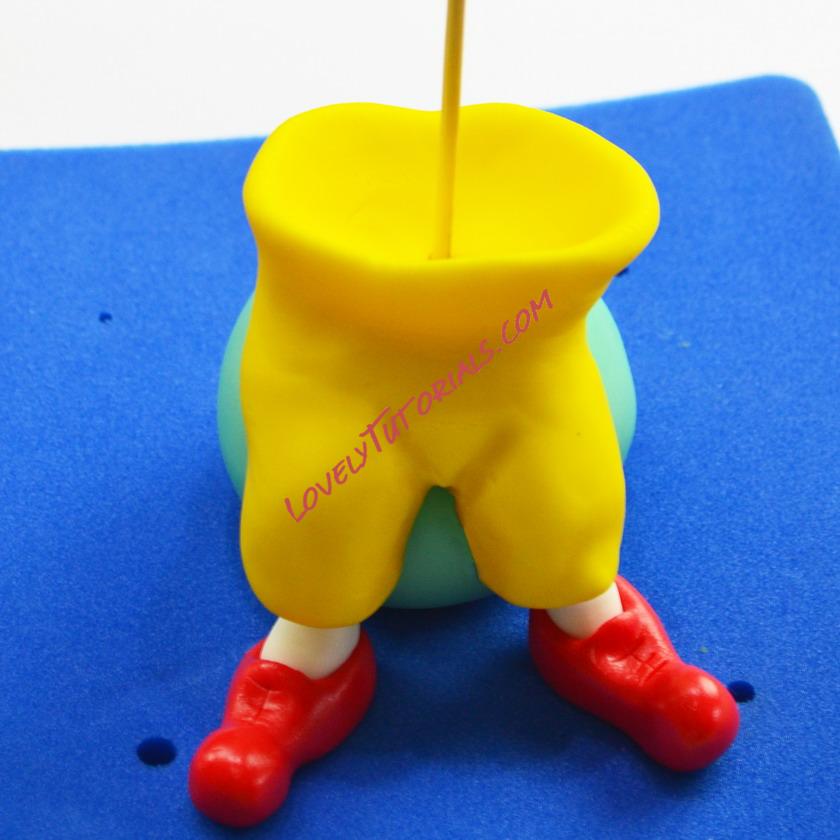
Use a wooden dowel or skewer through the centre of the body to fix his ‘bottom’ to the supporting ball
*Tip – Make sure that if you use a dowel it is SCRUPULOUSLY clean. I usually wipe them with vodka before inserting.
Body
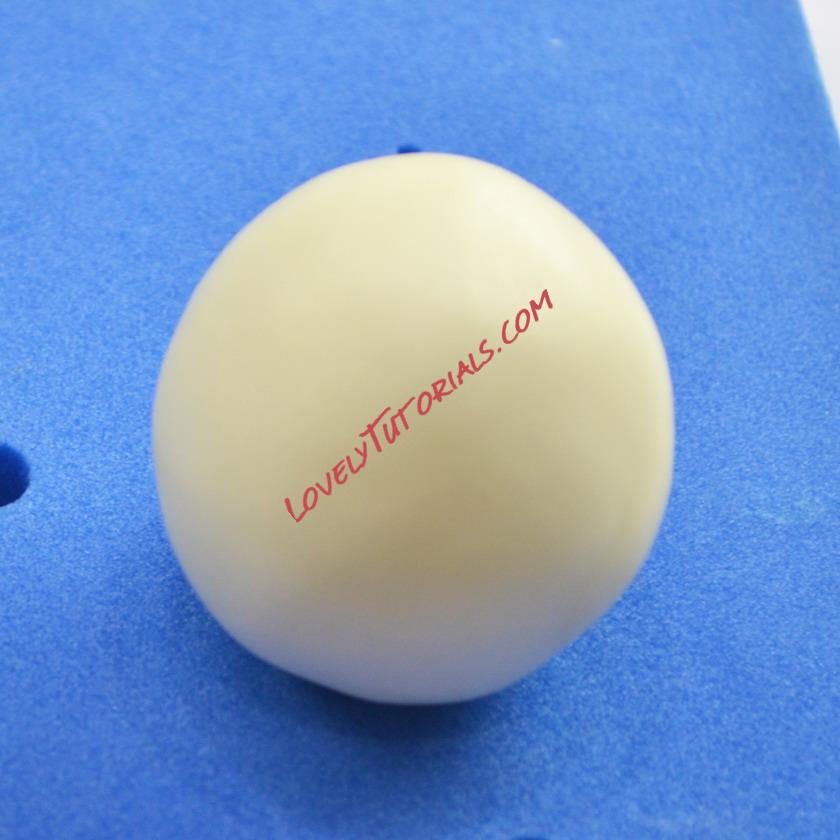
For the shirt take 85g of white fondant
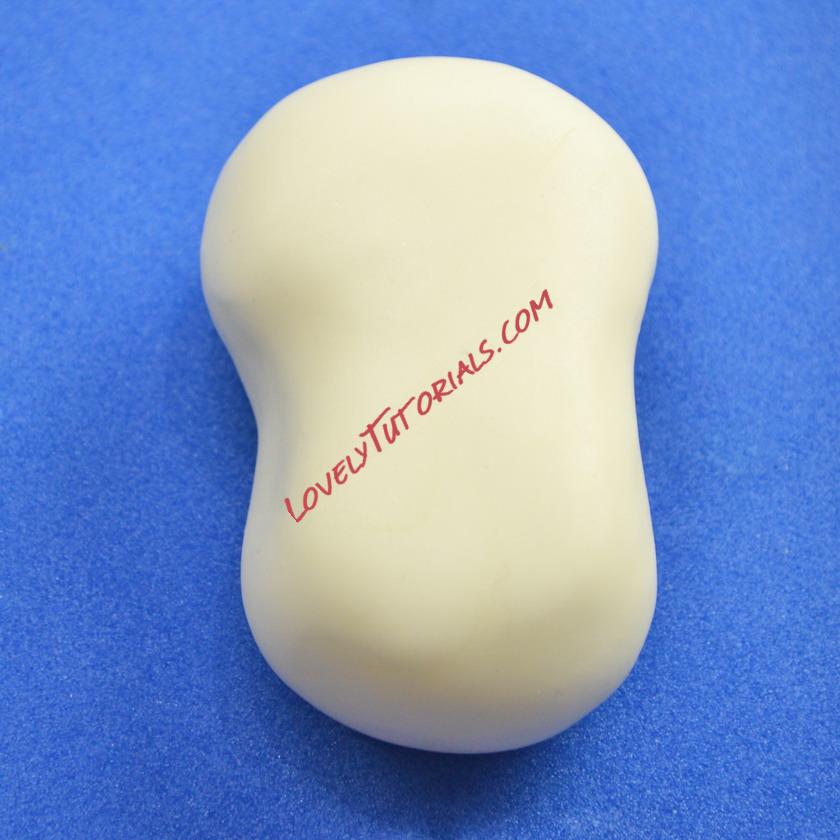
Gently roll an indent so that the top third is wider than the bottom
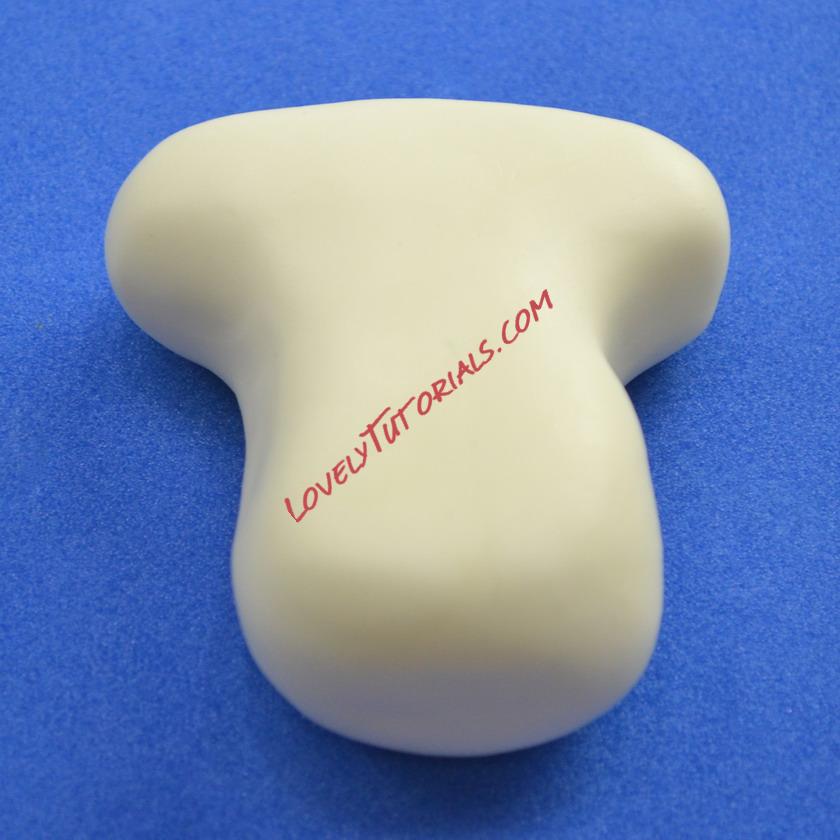
Begin to form the sleeve shapes
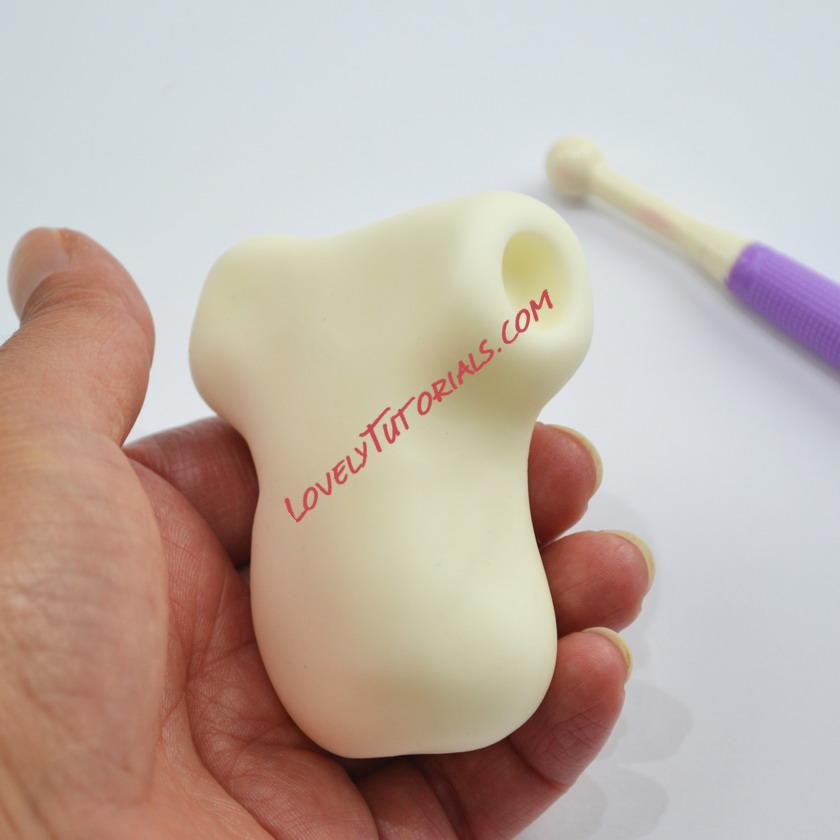
Use the ball tool to create an indent on each sleeve
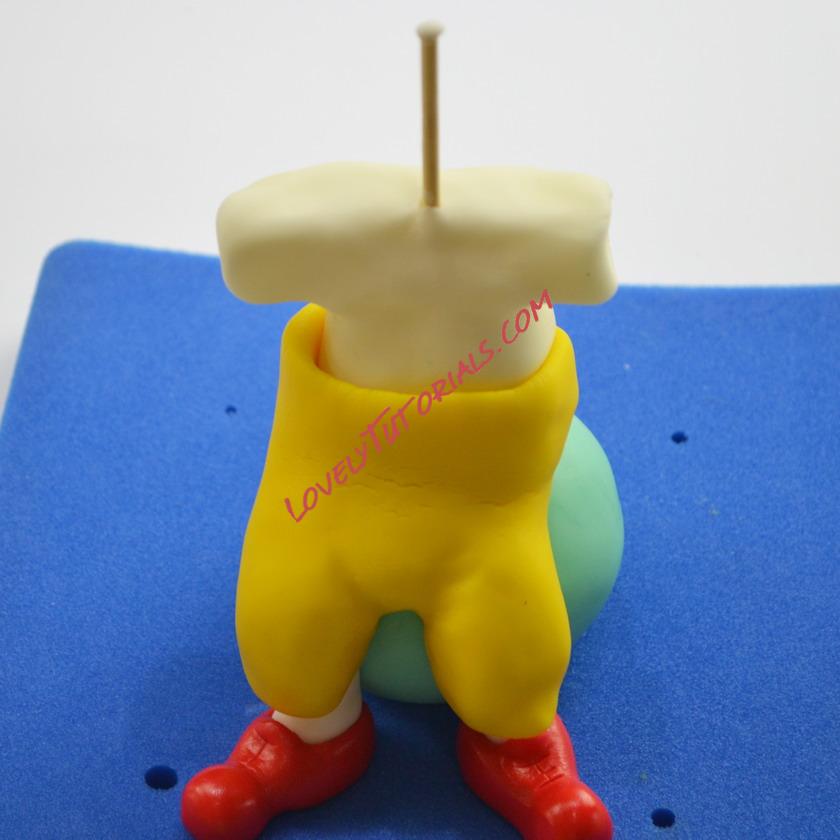
Moisten the bottom of the shirt with water or sugar glue and then feed it down the supporting dowel, then secure the waistband around the shirt
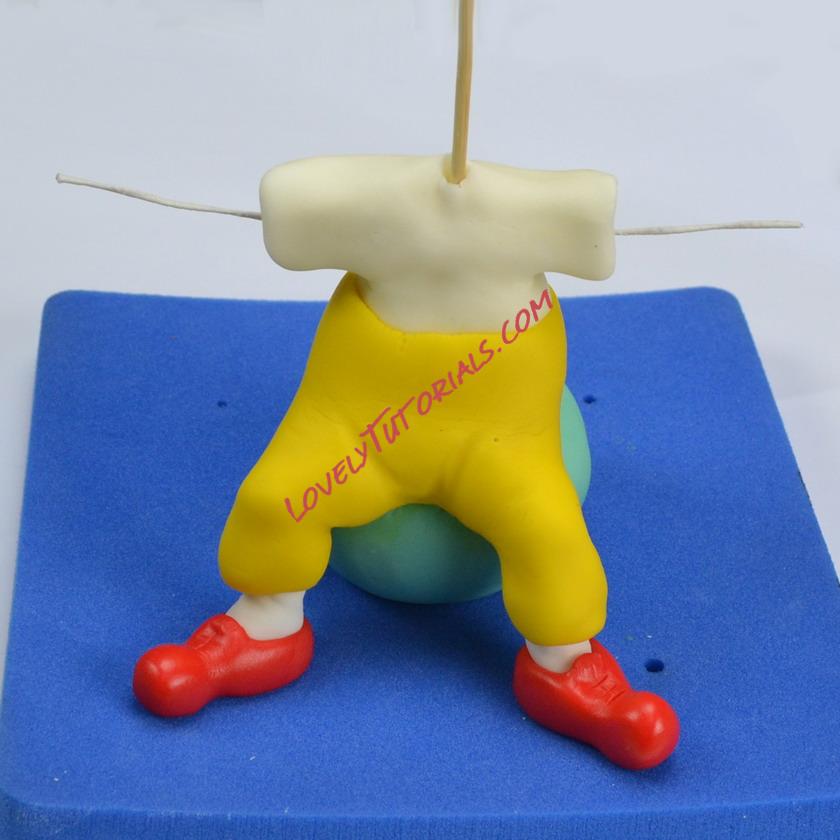
Feed some flower wire (about 15.5cm long) through the sleeves. (You can use another dowel, but flower wire gives you more freedom to position the arms.)
Arms
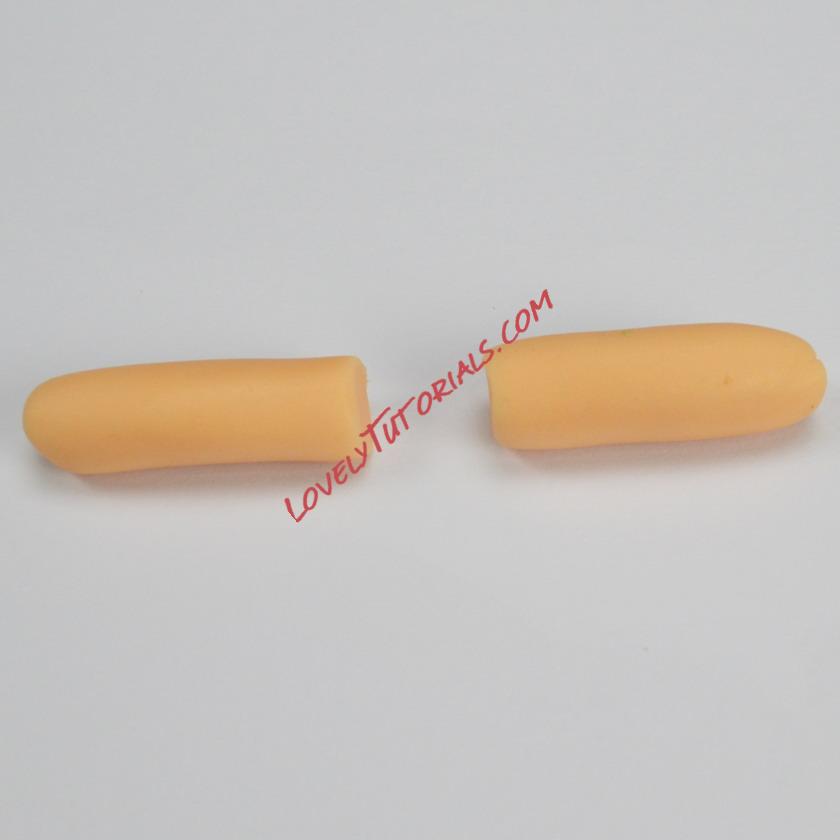
Take 4g flesh coloured fondant, roll into a sausage and cut in two to make the arms
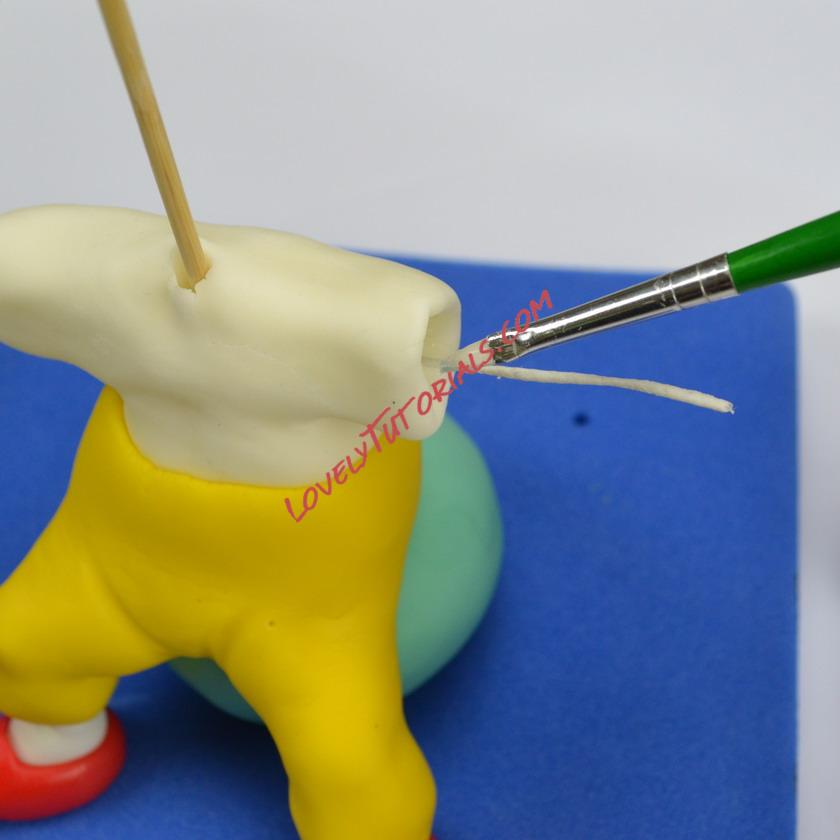
Use a little water or sugar glue in each arm hole
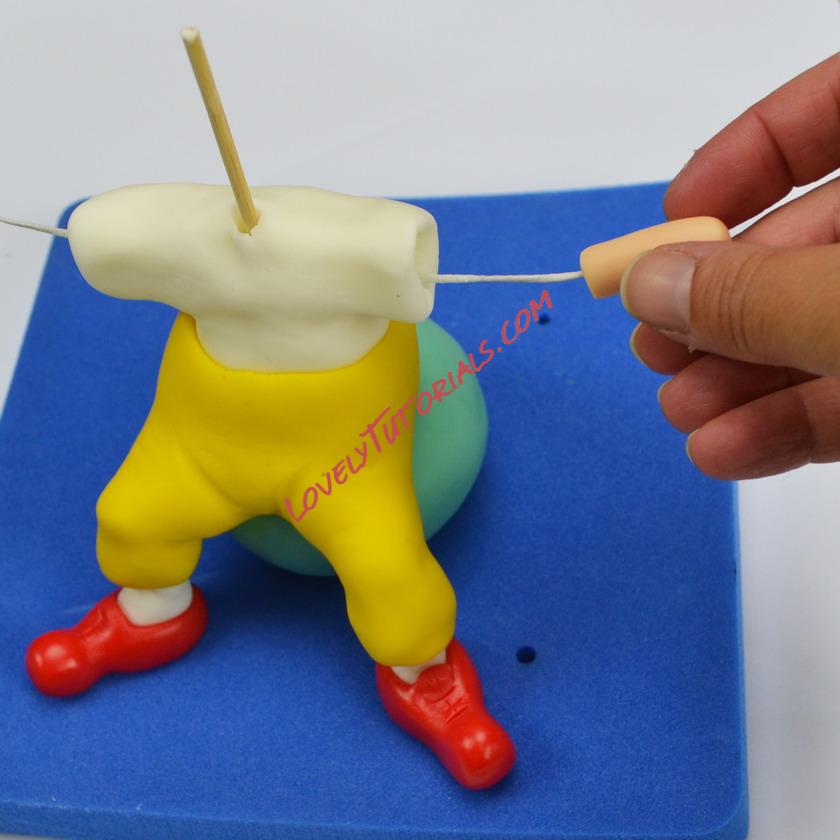
Feed the arms down the flower wire
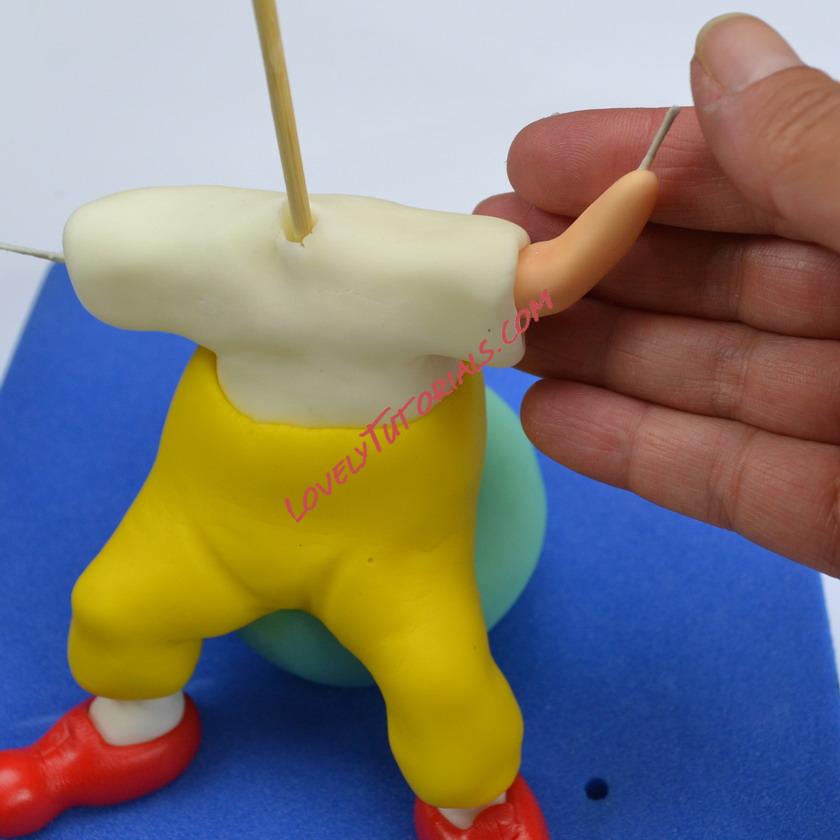
Position them as you want them
Fancy Bits ;
*Tip – To make ruffles you can also use a frill tool or a cocktail stick. Flower Paste (Gum Paste) is always a nicer material to work with when creating ruffles.
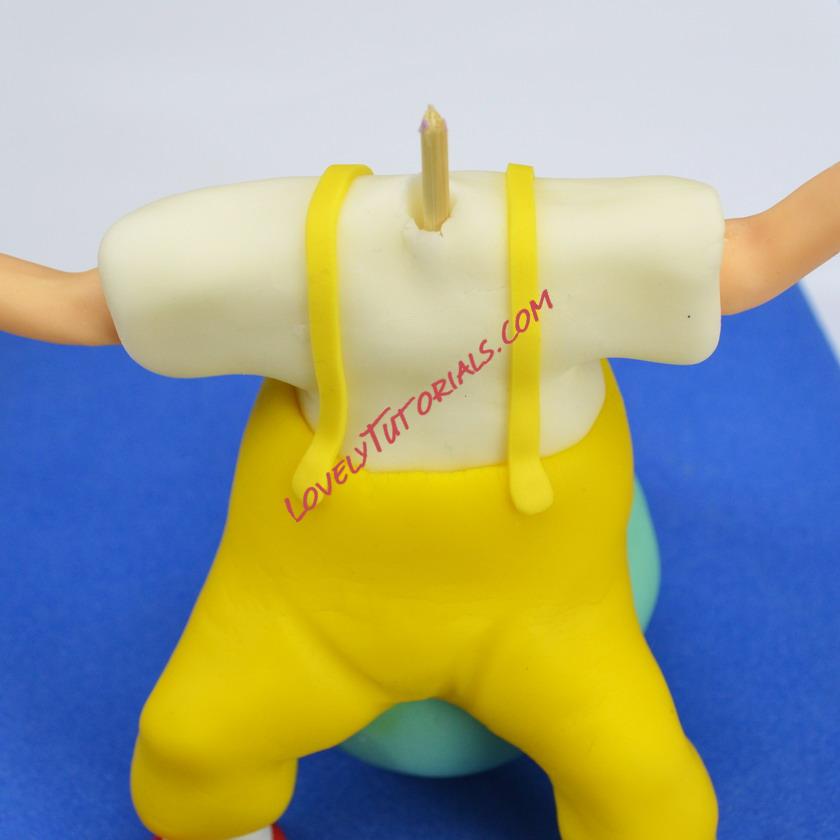
Use two yellow strips to make the braces
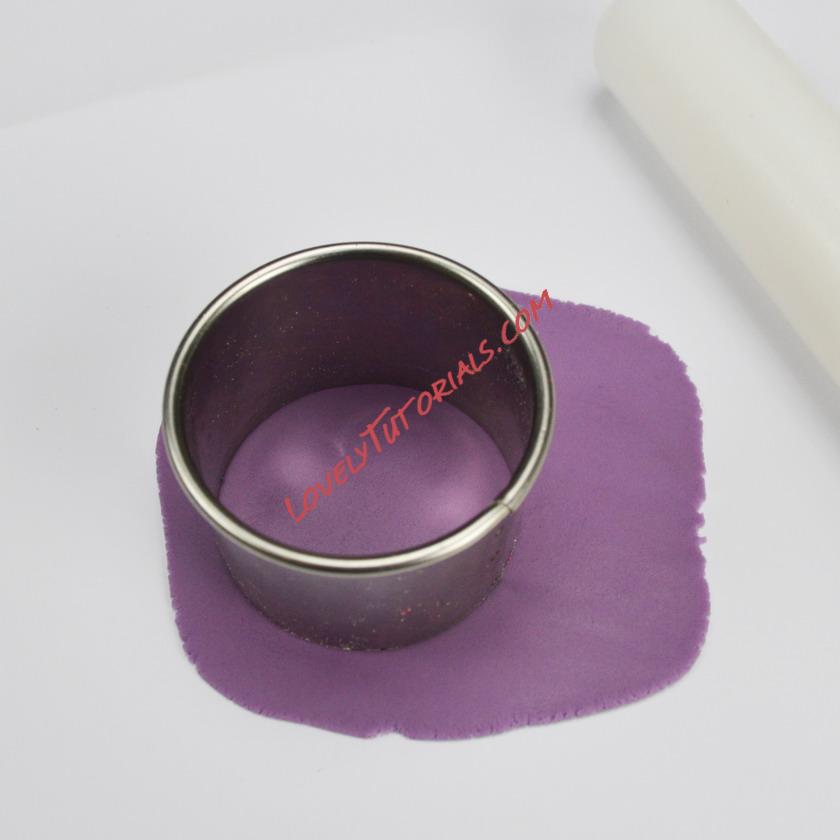
For the neck ruffle, roll out some purple sugar paste and cut out 2 circles (about 4 cm diameter)
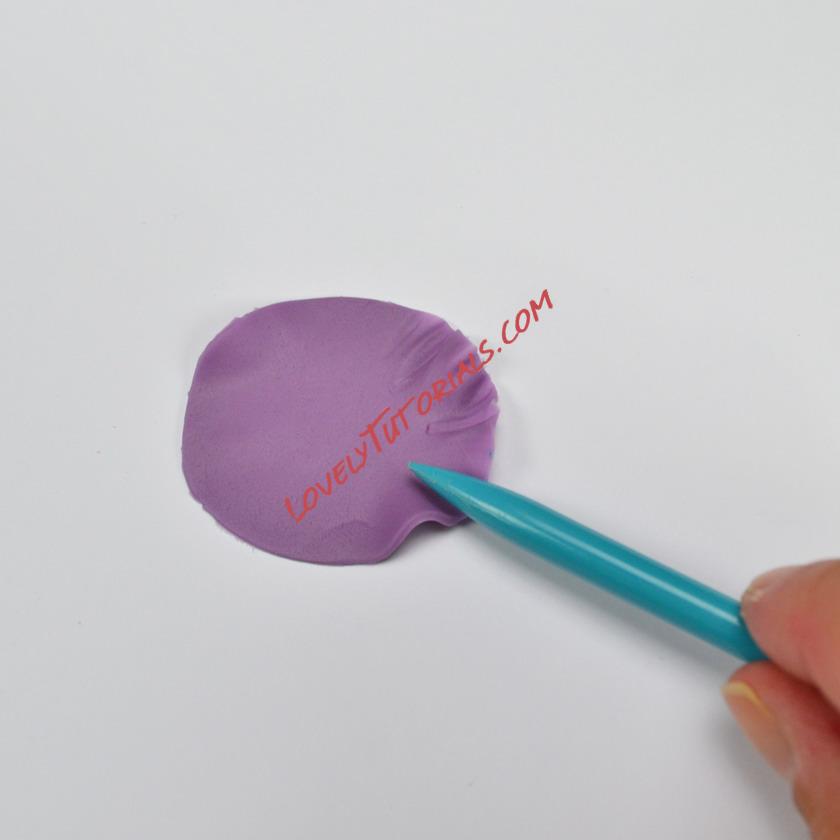
Use a pointed tool (or a cocktail stick) to create ruffles around the edges by rocking it back and forth
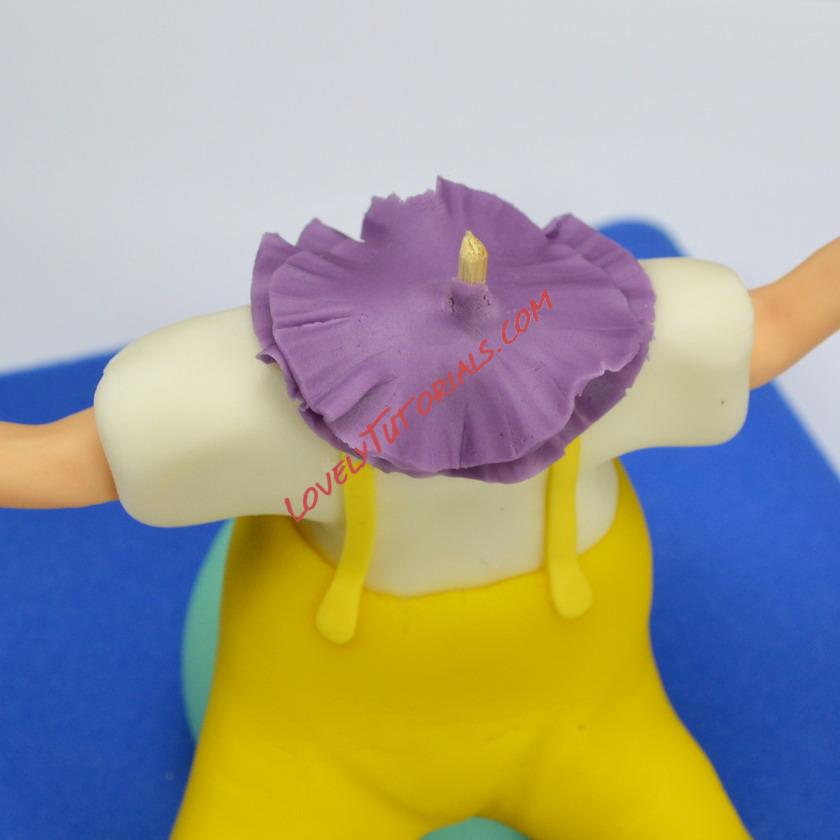
1. Feed them over the dowel and stick to the shoulders. At this point cut the dowel to make sure you have just enough dowel to support the head
Face
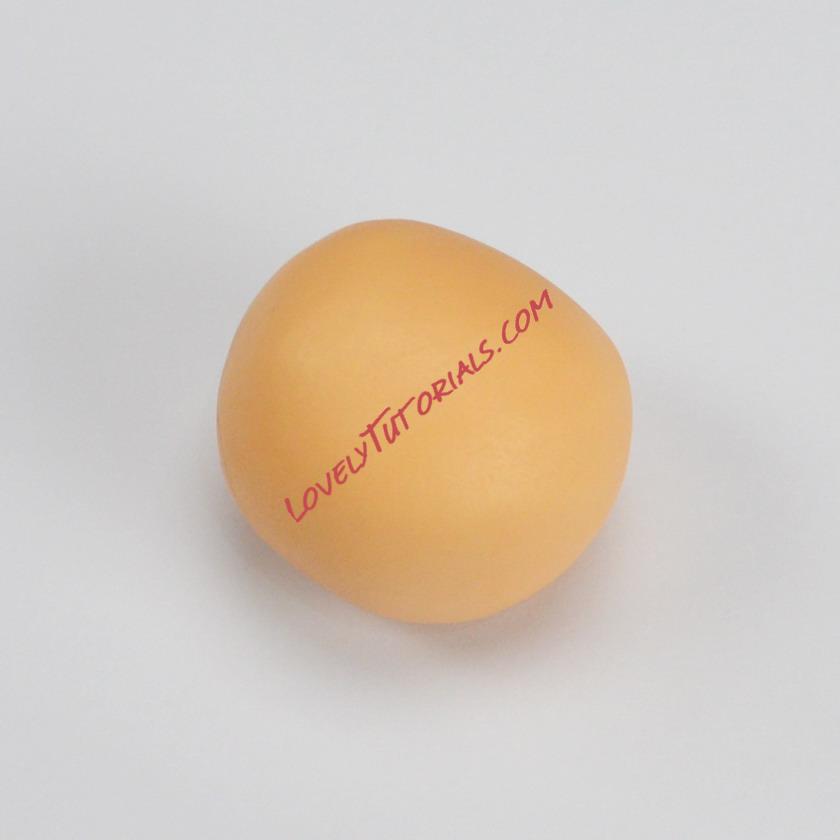
For the head, Roll 18g flesh coloured fondant
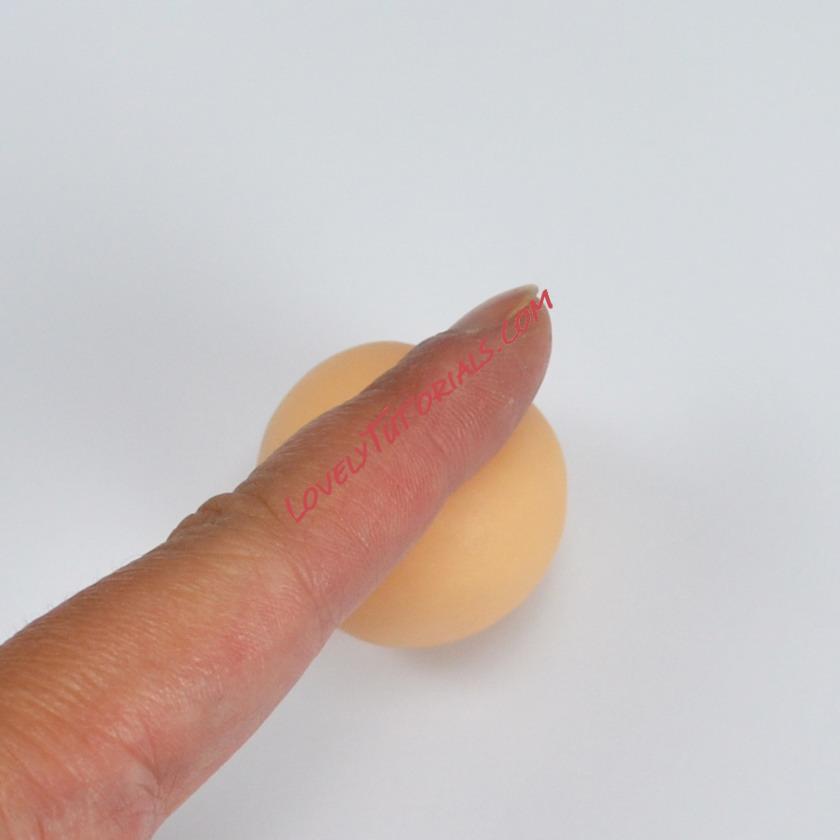
Use your finger to create a dent just above the centre point
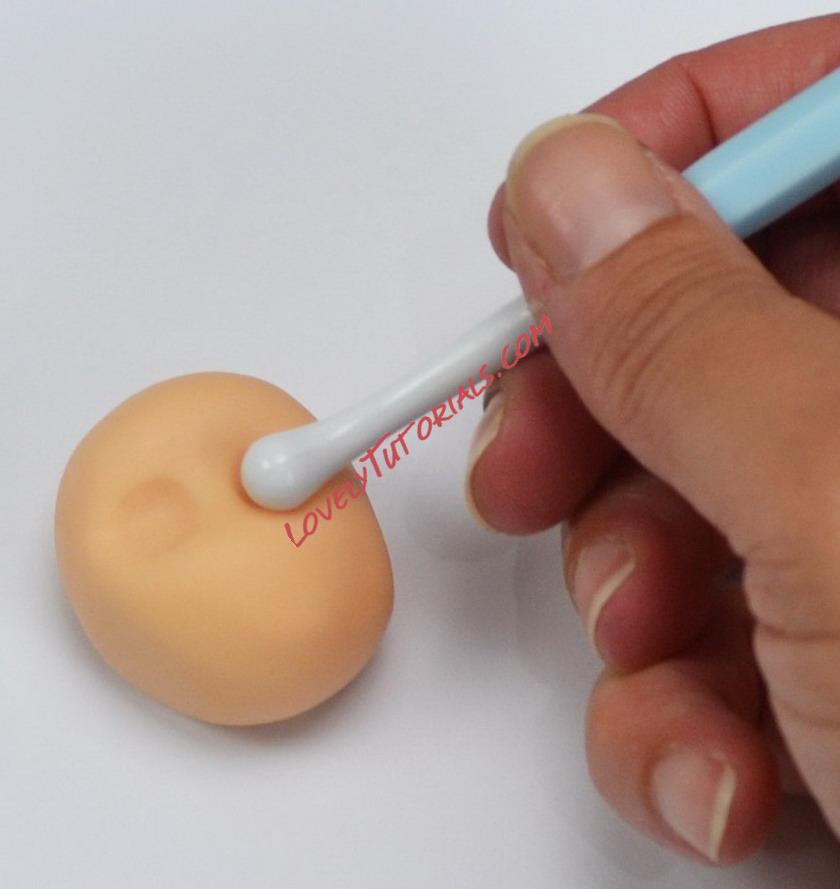
Use a ball tool to indent two eye sockets
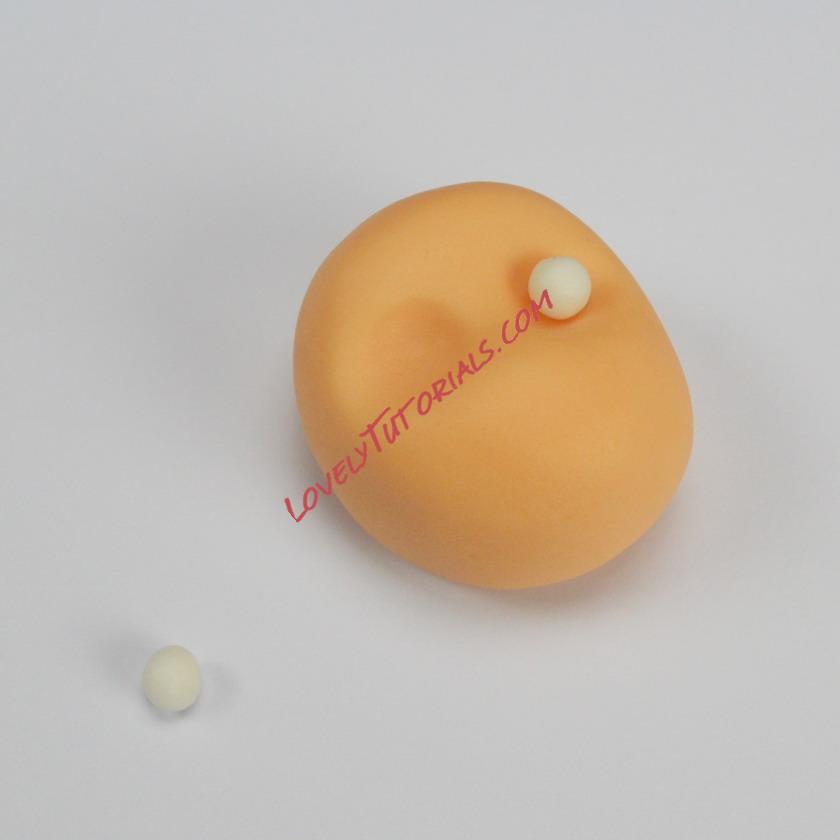
Roll a small amount of white fondant and press into each eye socket
*Tip – If you struggle to keep the back of the head from flattening, try cupping in your hand or you can find out how to make your own head-cradle in my Craftsy Class
Face Features
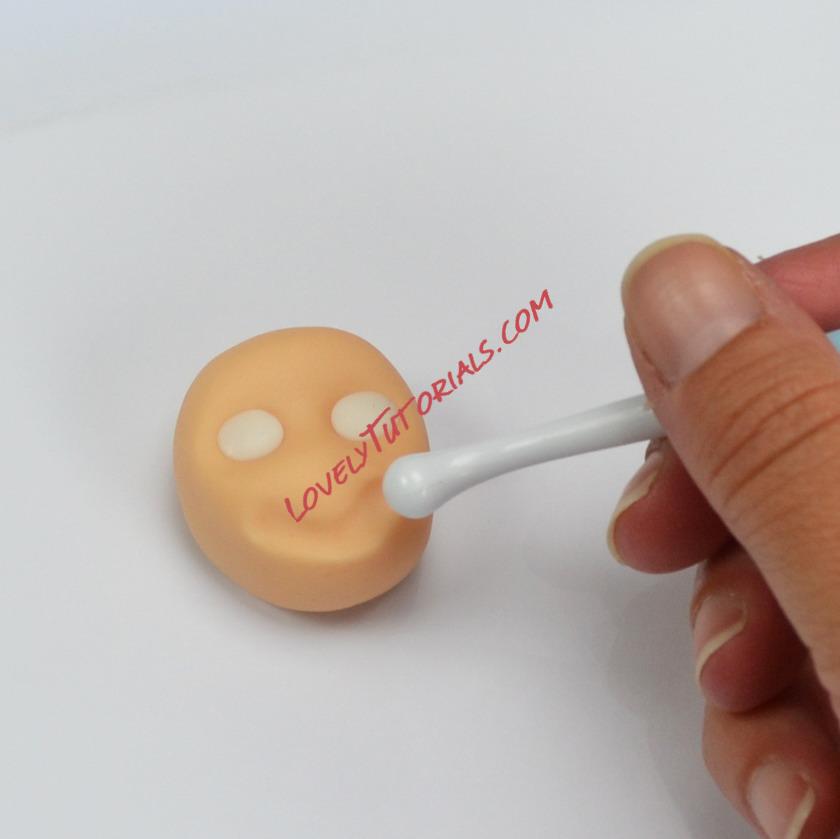
Indent a space for the mouth with the ball tool
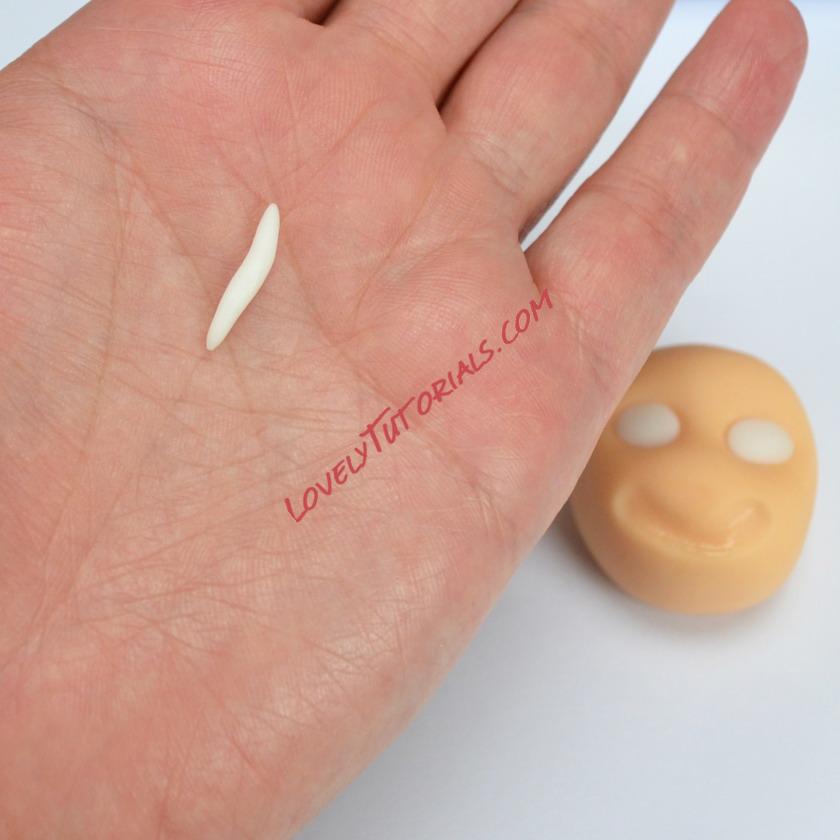
Roll a small amount of white fondant for the mouth
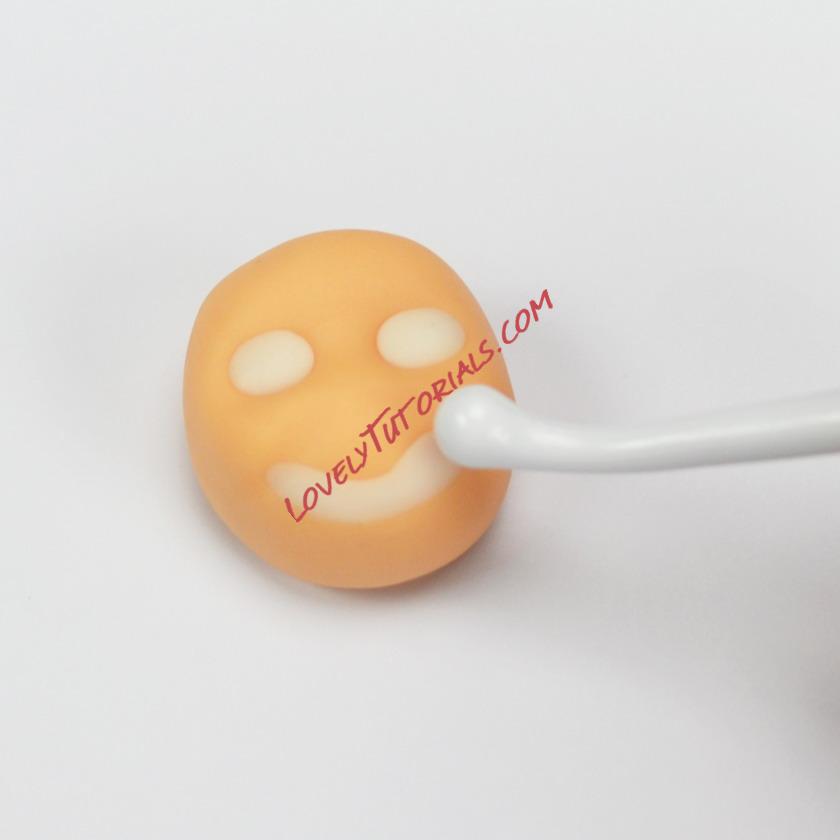
Smooth it into the mouth
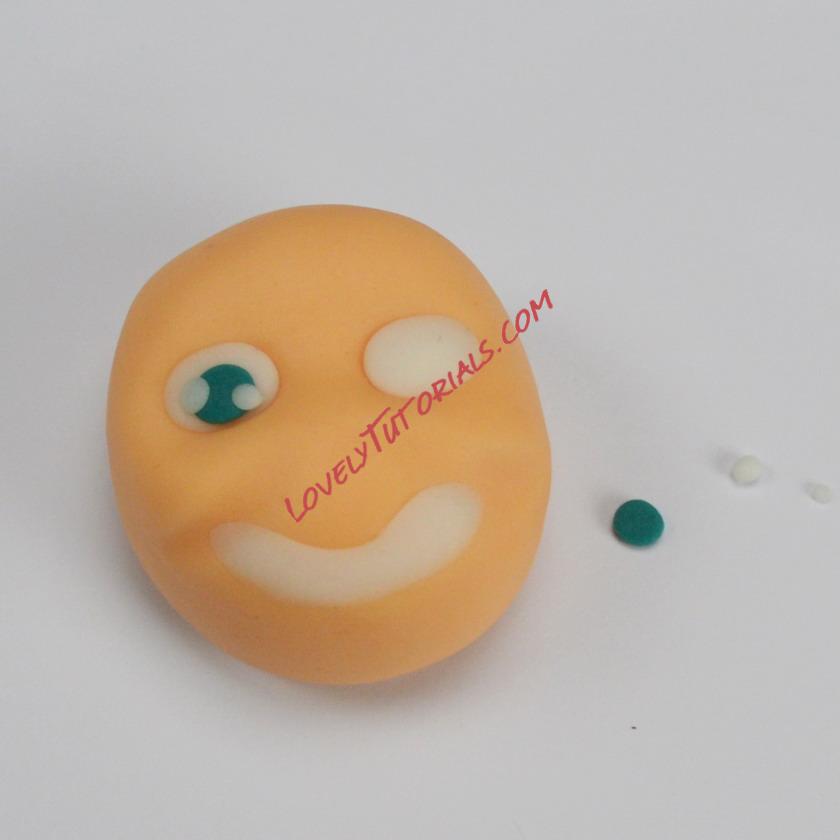
Add a small ball of eye colour and a tiny white ball or two for highlights
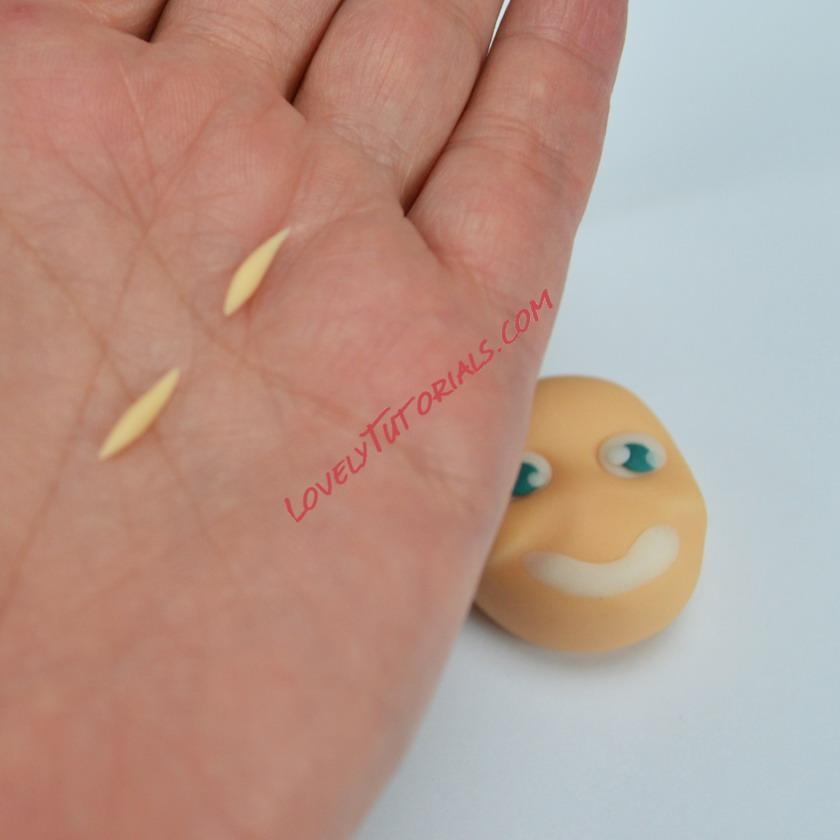
Two small sausages of flesh colour for the eyelids
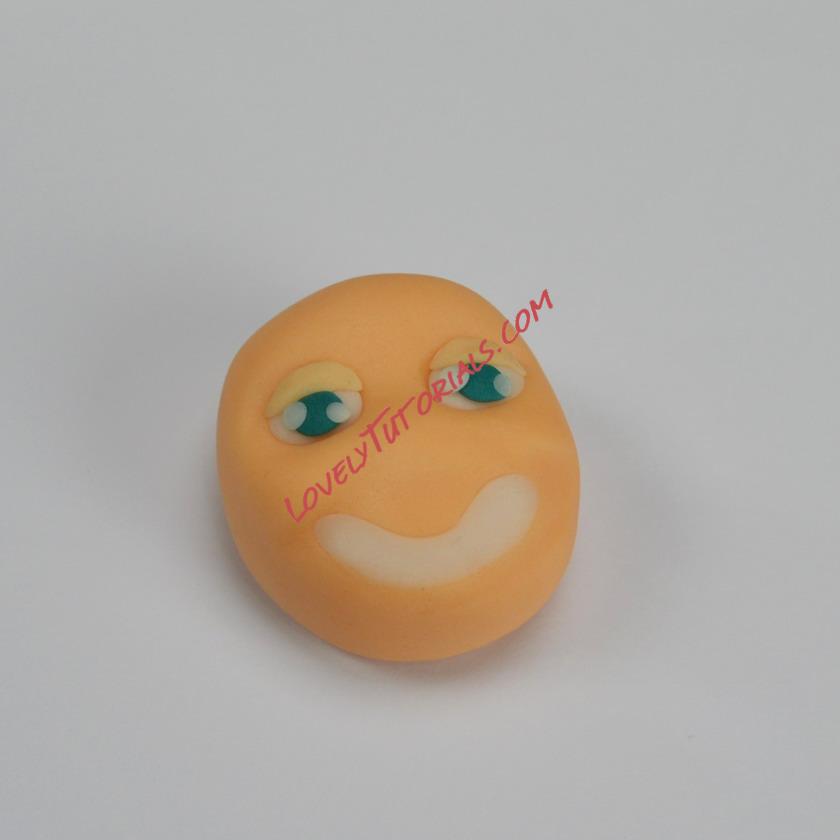
Just place over the top of the eyes
Face Details
*Tip – If you suffer from a shaky hand you might prefer to add the black details using flower paste (gum paste). Roll very very thin and use a scalpel to trip off a pointed end and stick to the face using sugar glue.
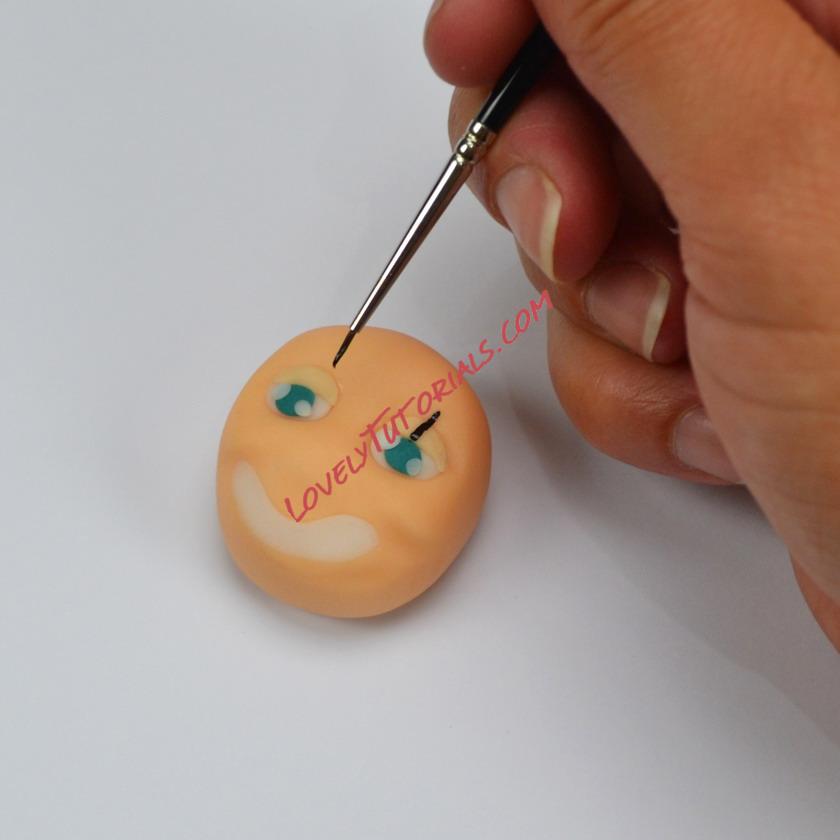
Use a little black food colouring to paint the eye make up
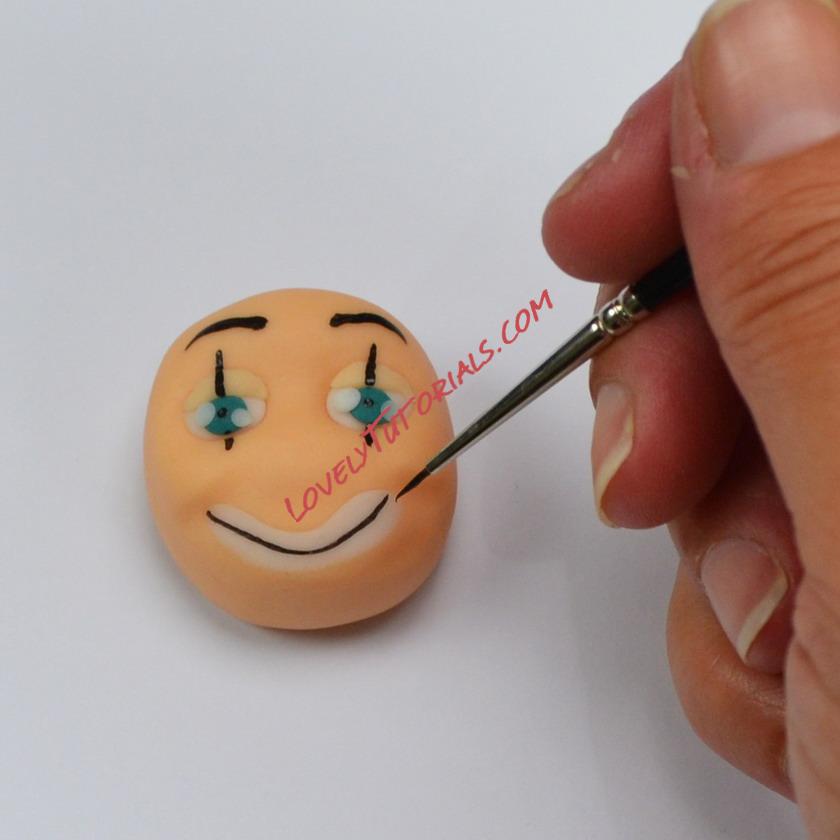
And the eyebrows ….and the mouth
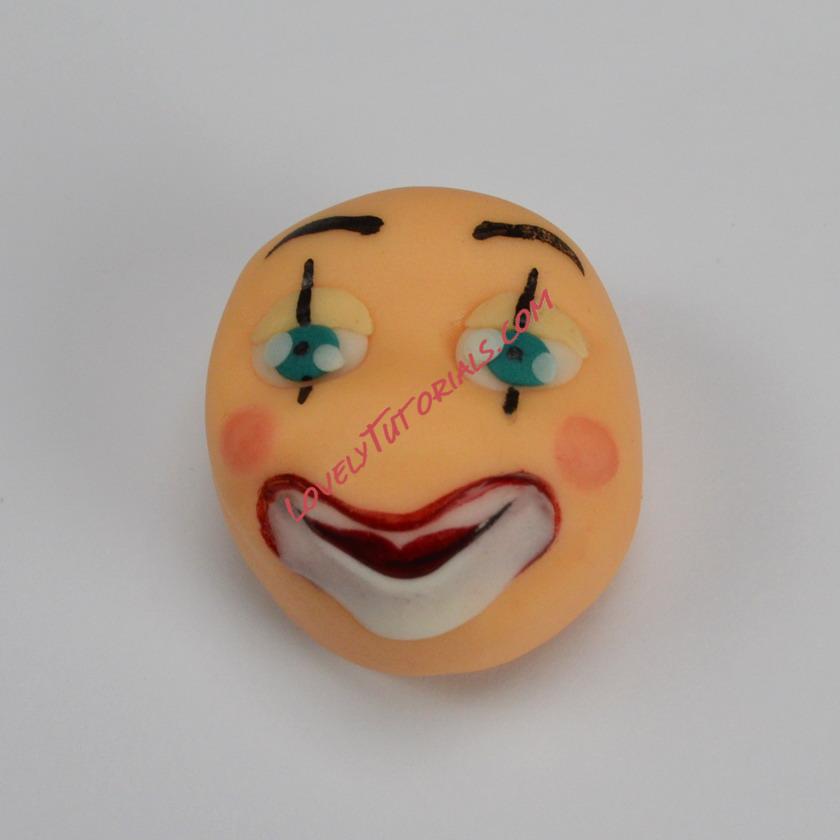
Rosy cheeks and lips….in fact….you can use your imagination. All clown faces are different.
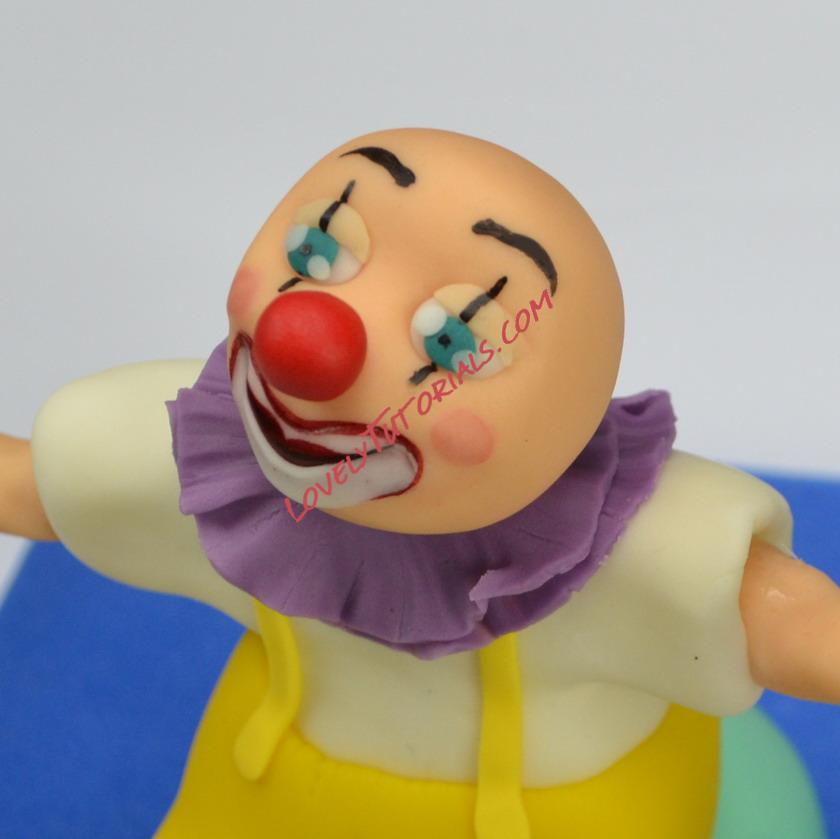
A red nose to finish it off. Position the head on the dowel with a little sugar glue
Hands
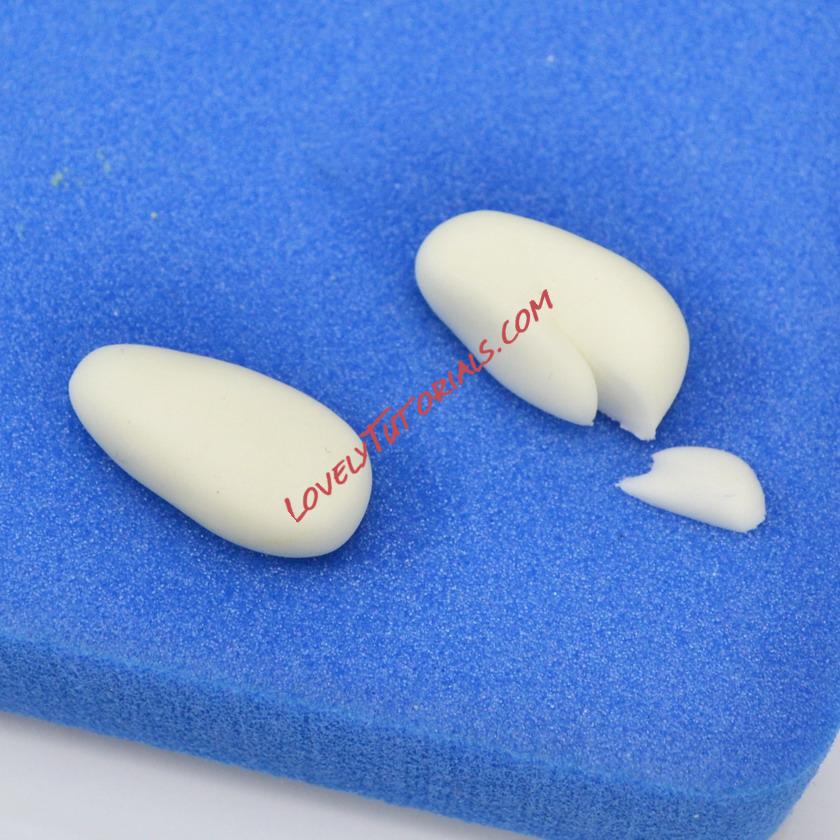
For the gloves take 2g white fondant and split into two. Roll into a long egg shape and cut out a triangle to form the thumb
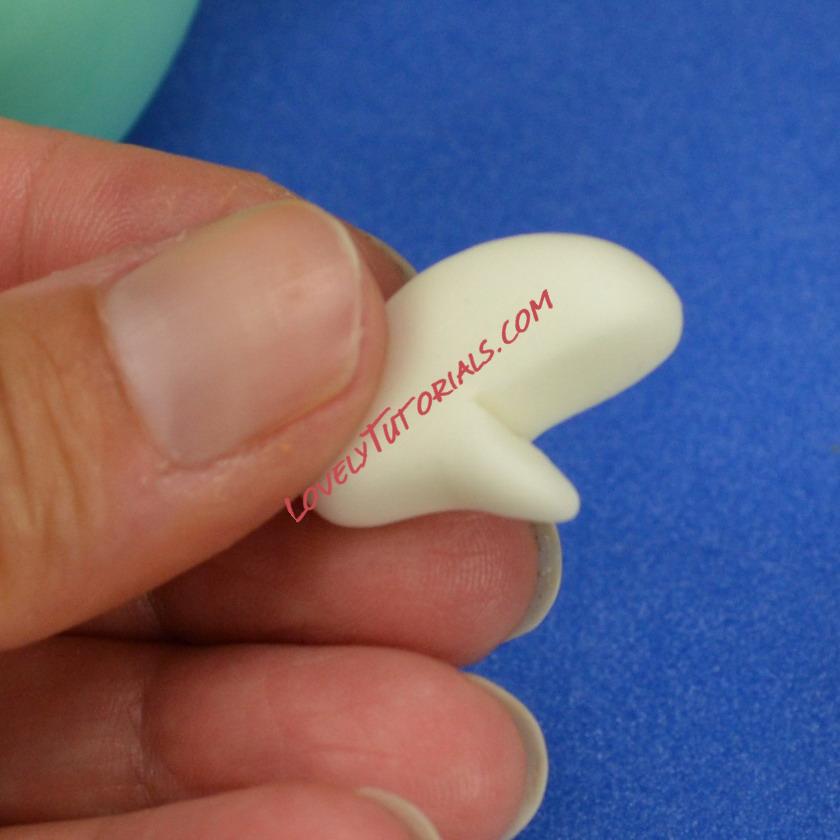
Use your fingers to round the edges
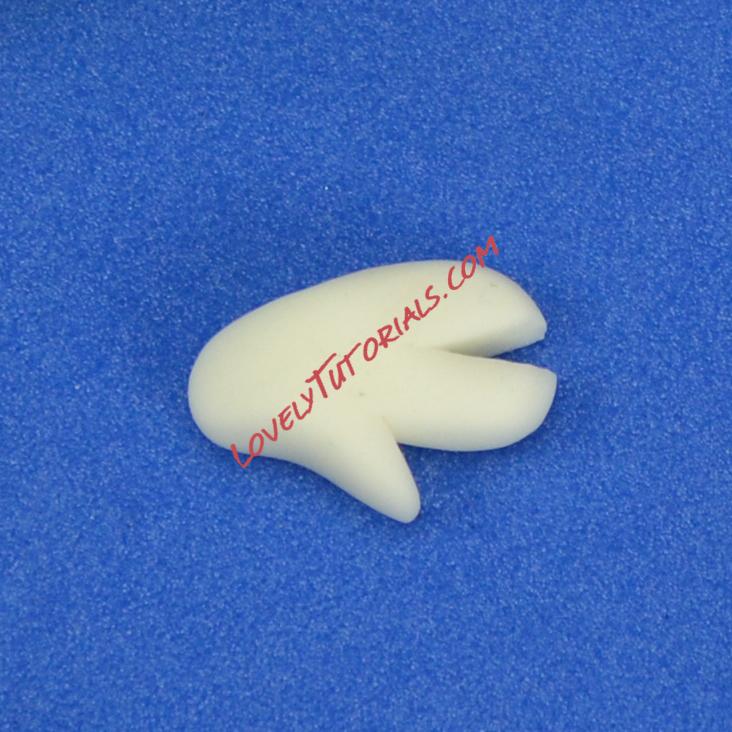
Cut a line down the middle of the finger section
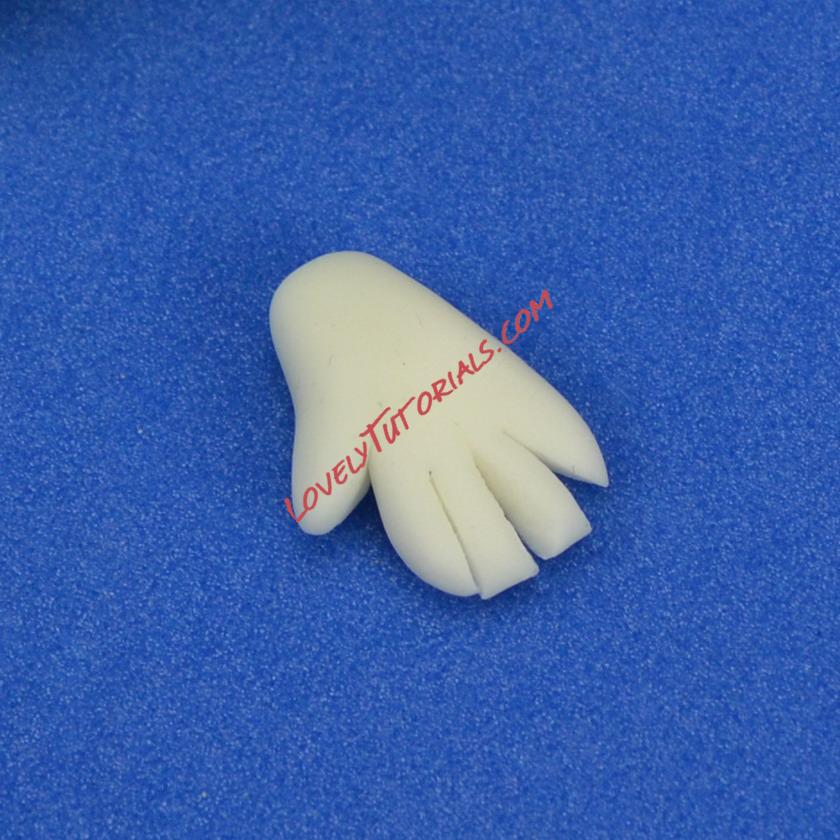
Then split each section again
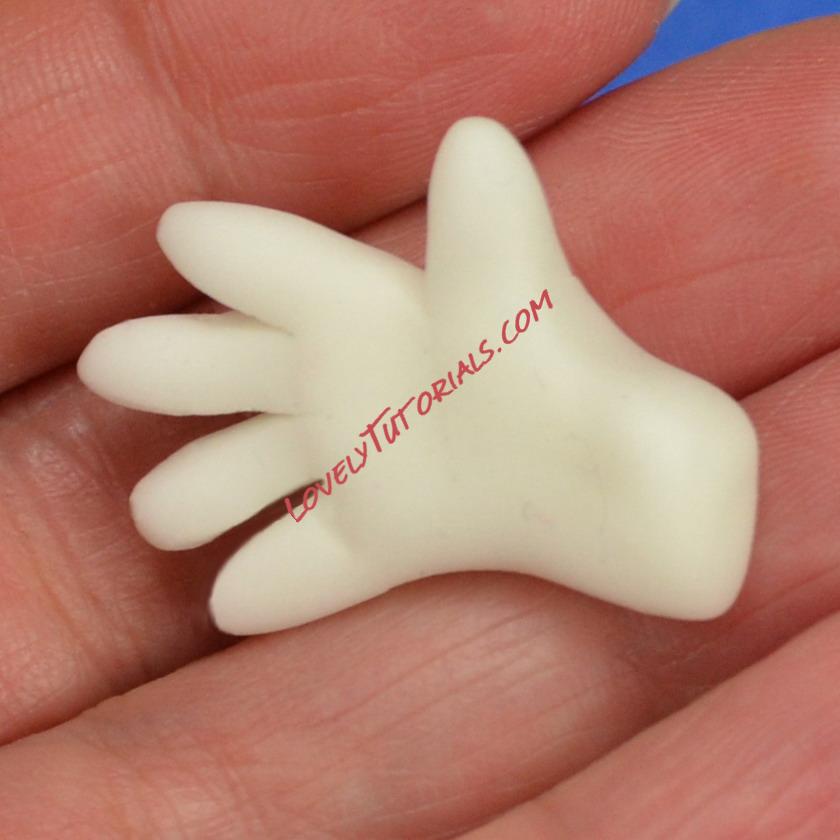
Use your fingers to smooth the edges
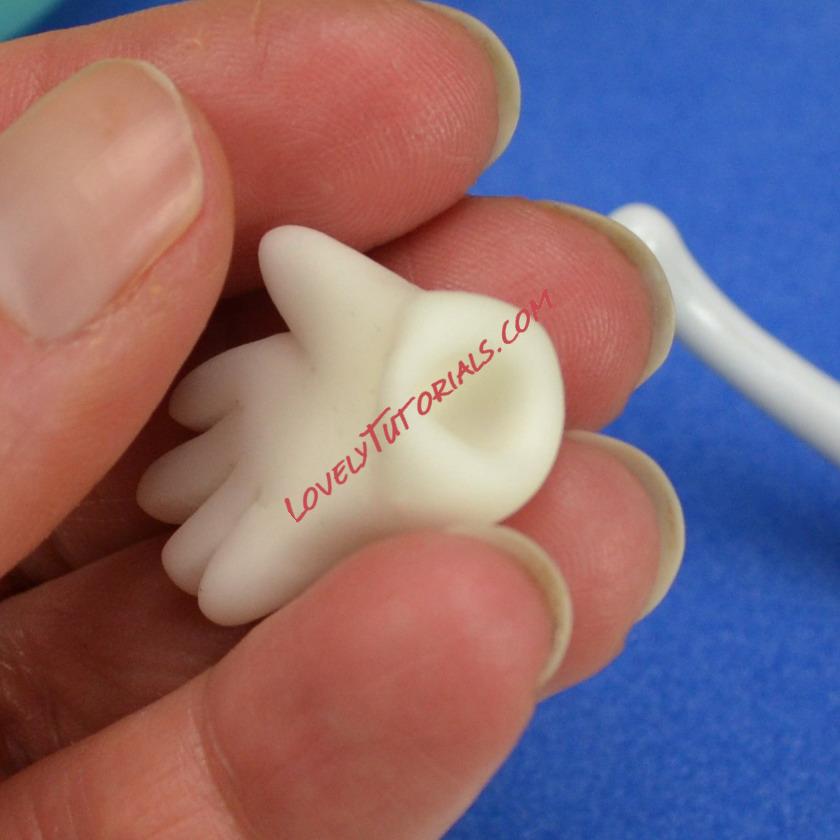
With the ball tool make an indent for the wrists
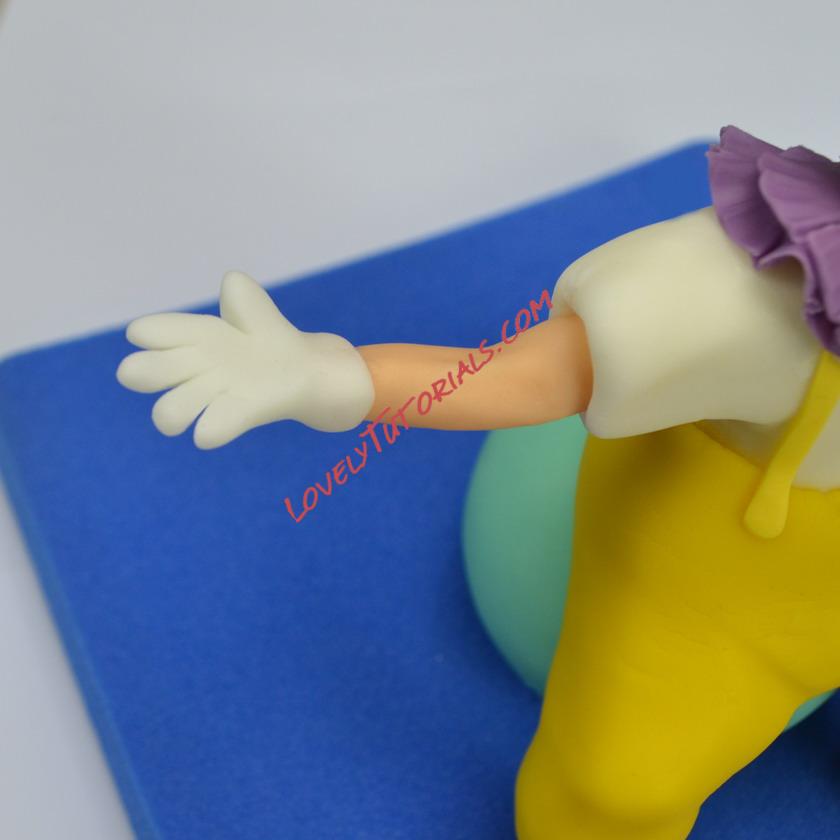
Use a little sugar glue to fix the gloves on each wrist
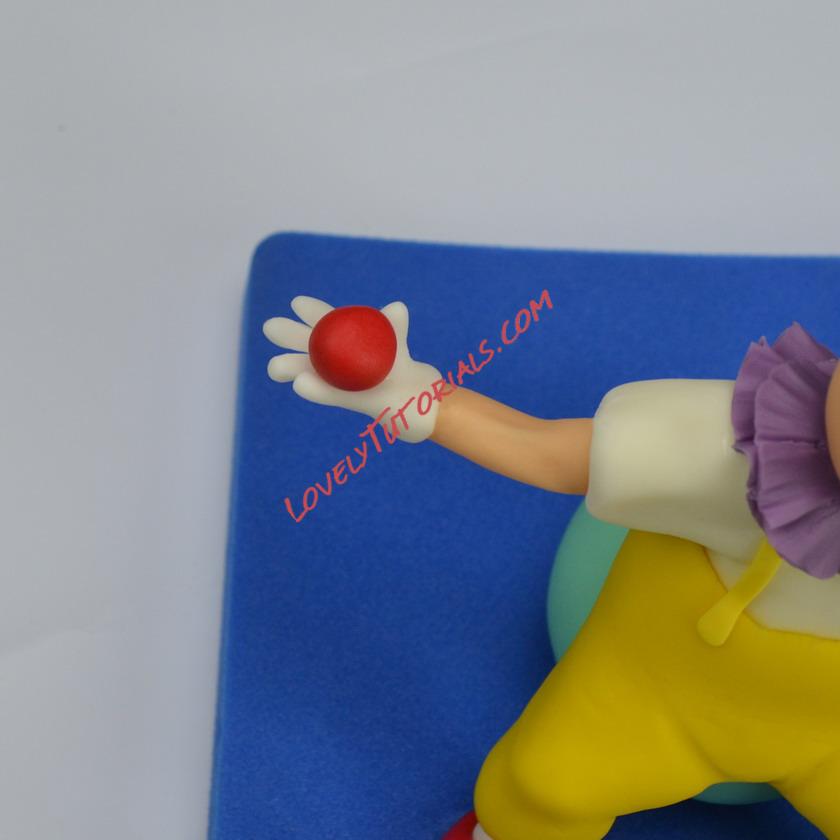
Add a juggling ball (or a club….or a whatever you fancy
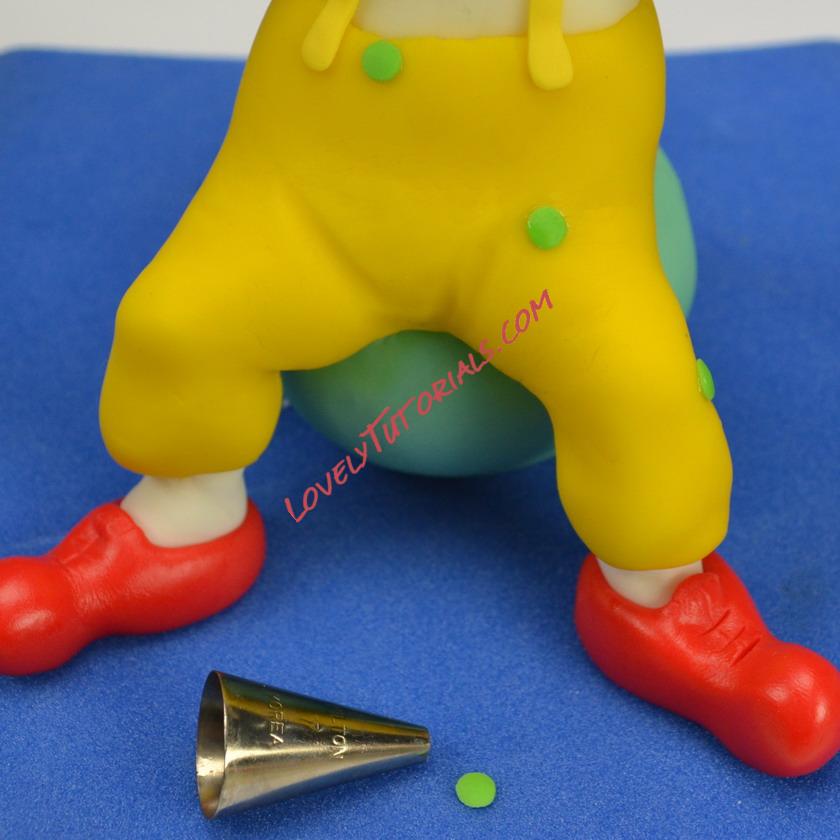
Use a piping nozzle to cut out the spots and attach them with a little water or sugar glue. Don’t forget the buttons for the braces
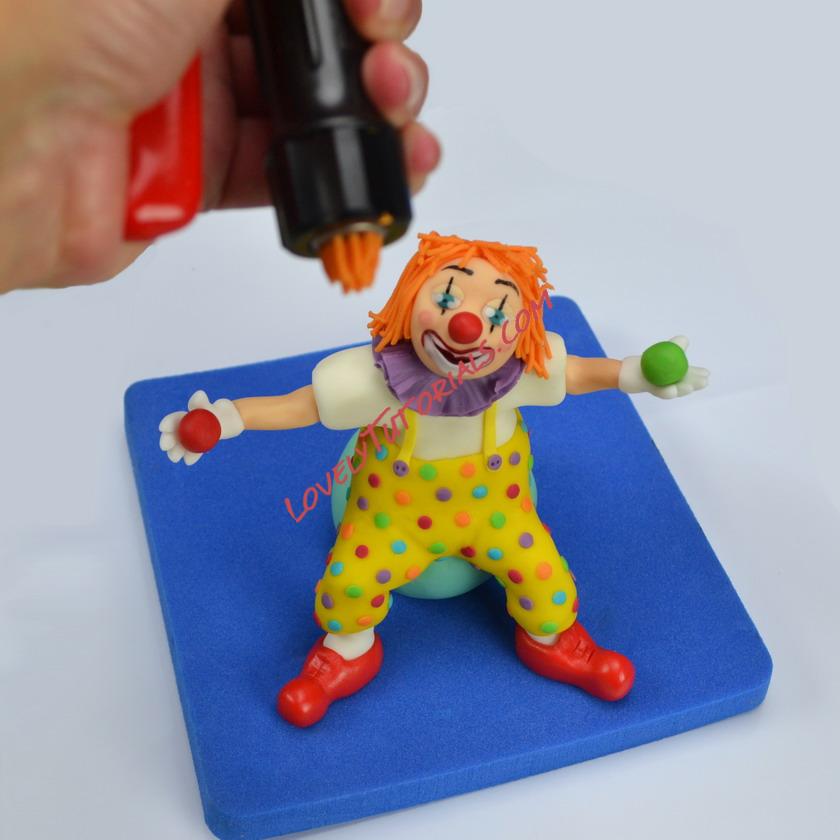
You can use an extruder to make the hair….or just roll out fondant if you haven’t got an extruder
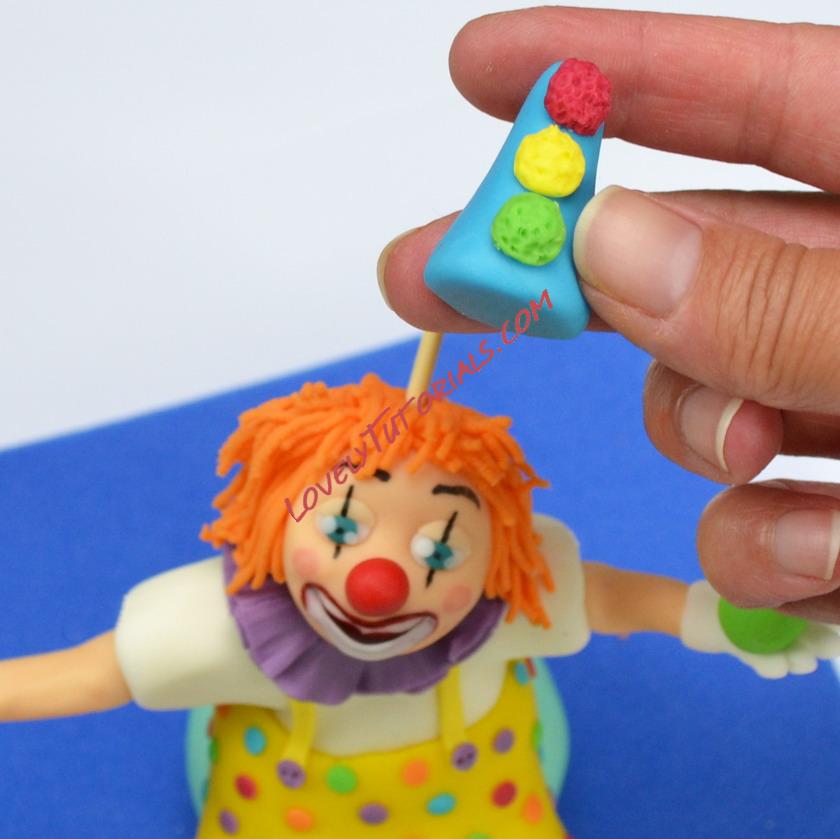
A cone shaped hat with coloured pompoms finishes him off. You might need to use a little dowel (or pice of spaghetti) to make sure that it is secure
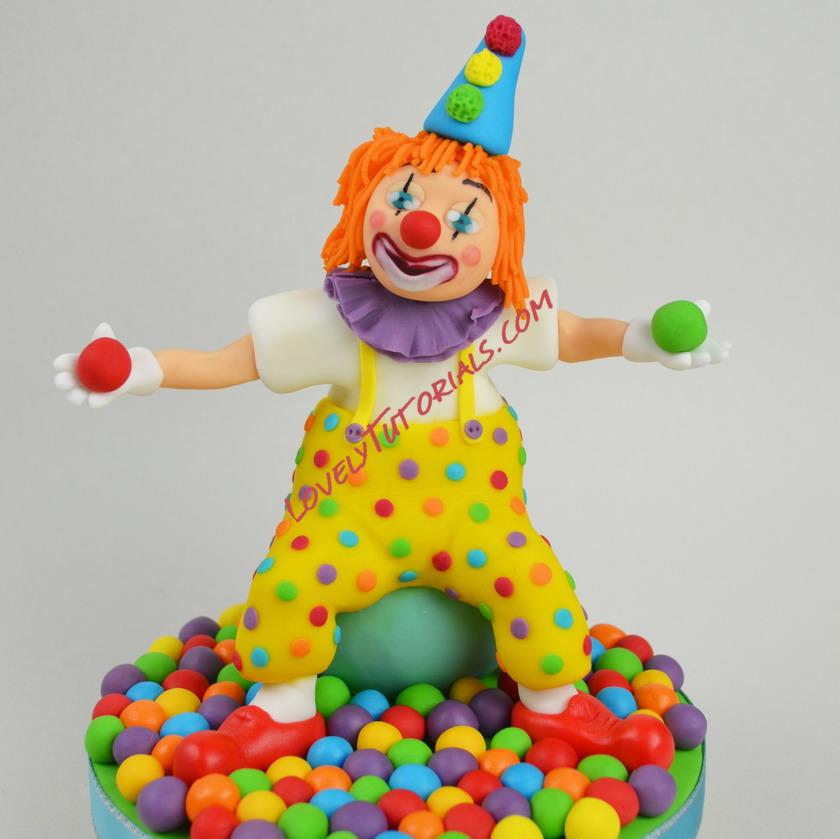
Ta Dah!


