Огромная благодарность Автору Andrea Lloyd за Мастер-класс
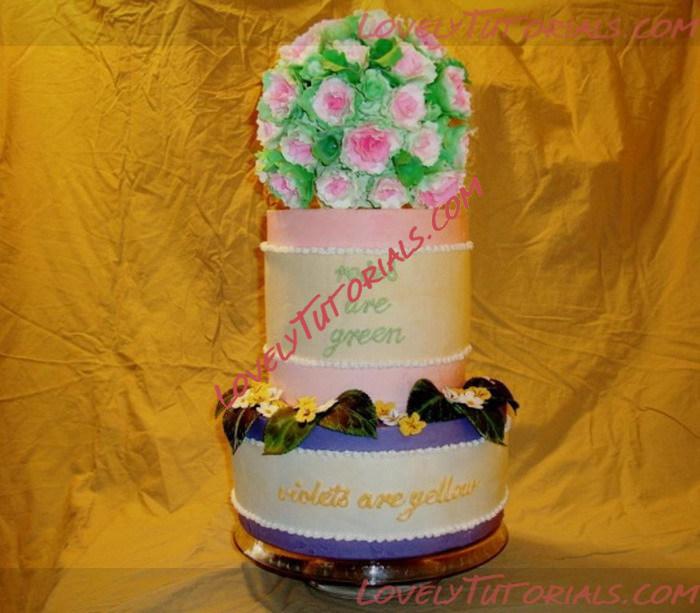
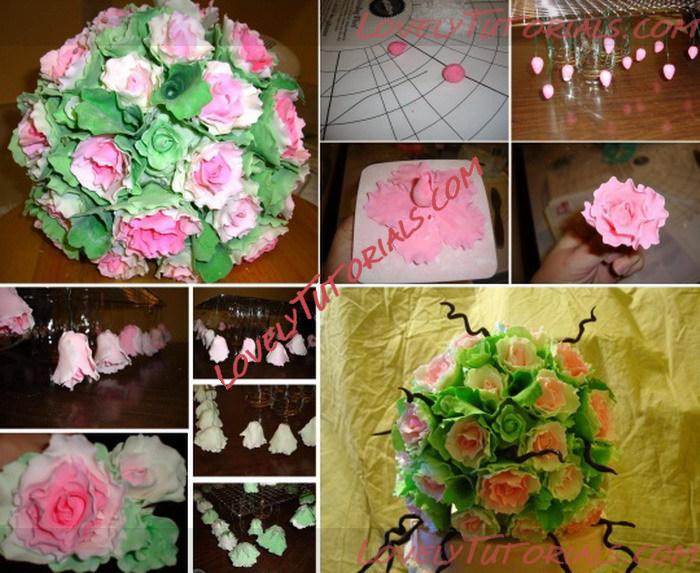
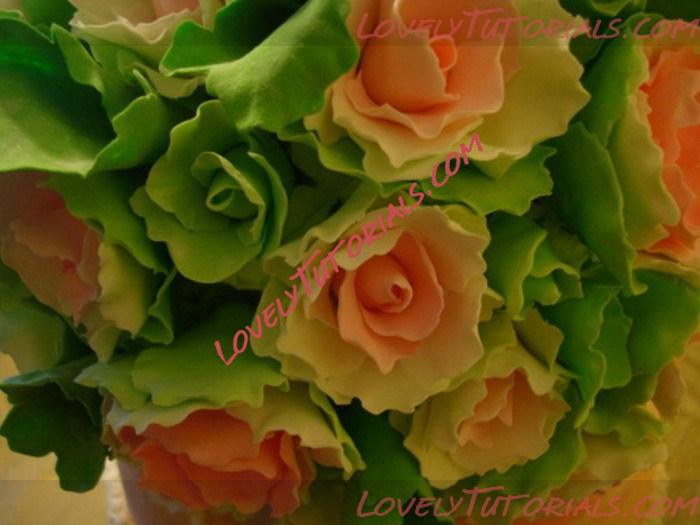
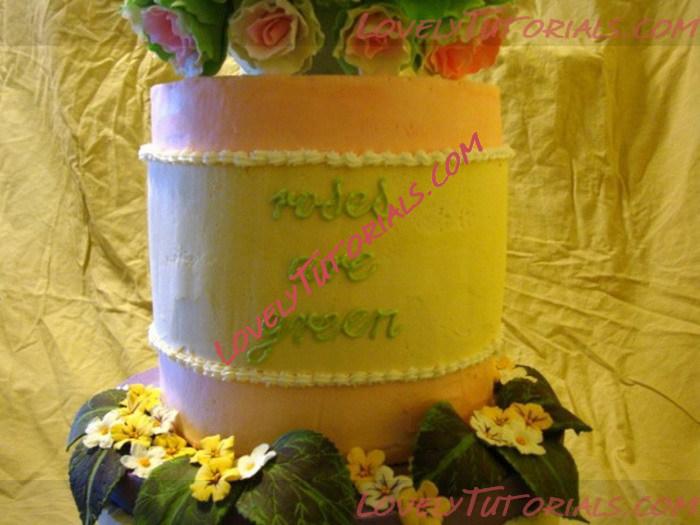
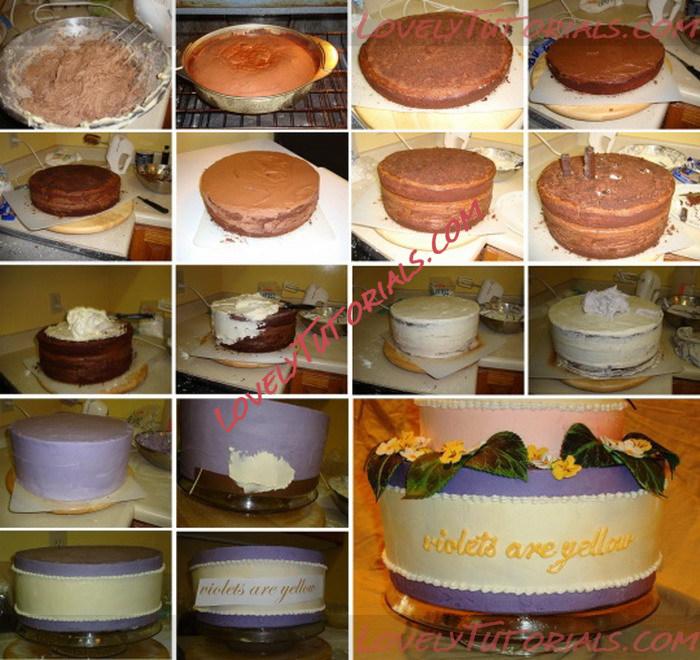
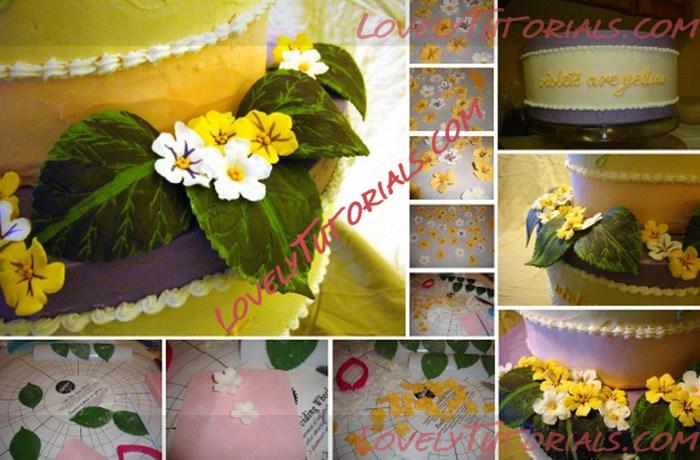
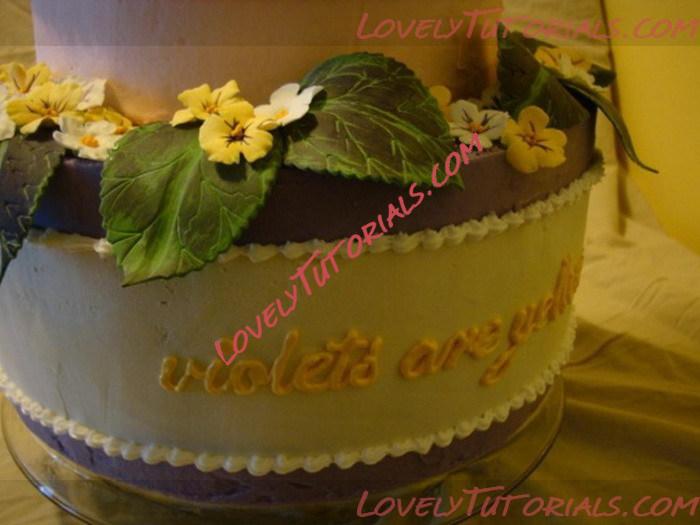
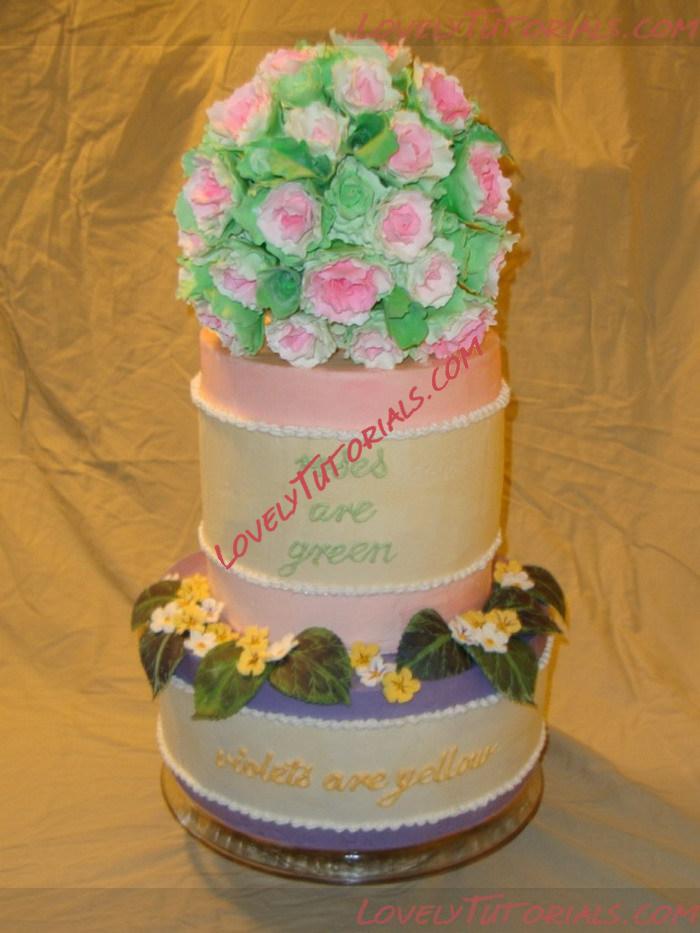
The roses and violets are made of gum paste. The only inedible part of the whole cake is the floral wire in the roses. The roses kept falling off the wire while I was making them so I assumed that I could pull it out when they were done – but it wouldn’t come out once they were dry. So the floral wire was left in, but not by choice

The flowers took several hours to make. It was the first time I made any flowers from gum paste and the first time to make more than one rose. I made large and small roses that had pink centers gradually fading to white and then green. I also made several rose buds that were just green. I had about 28 roses in total and made up a few green freesias to fill in any gaps. I was pretty surprised that this was only enough flowers to fill the front of the bouquet! So for my entry photo there were only flowers on the front.
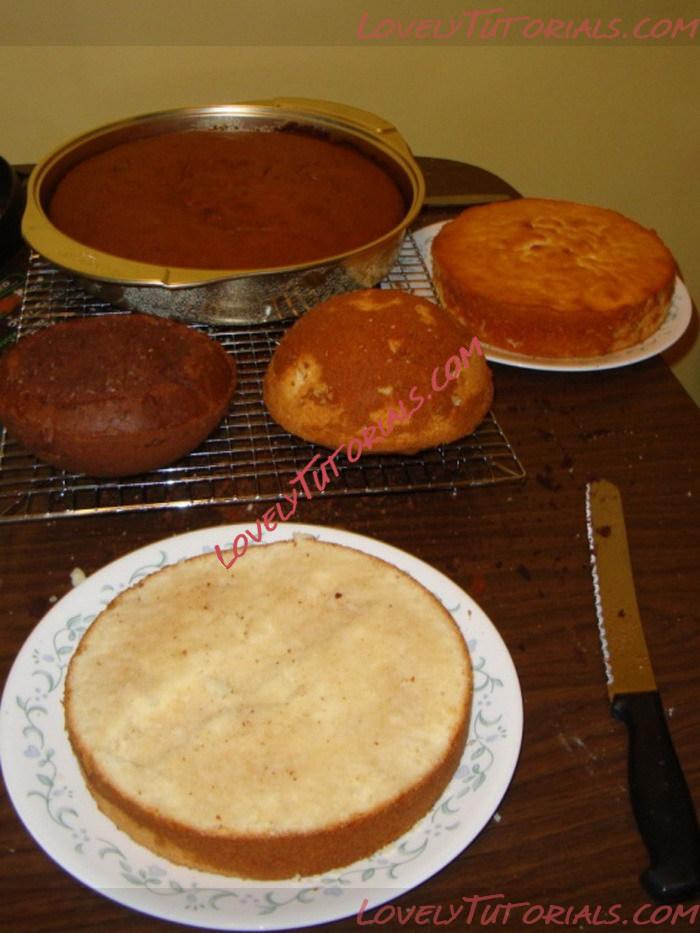
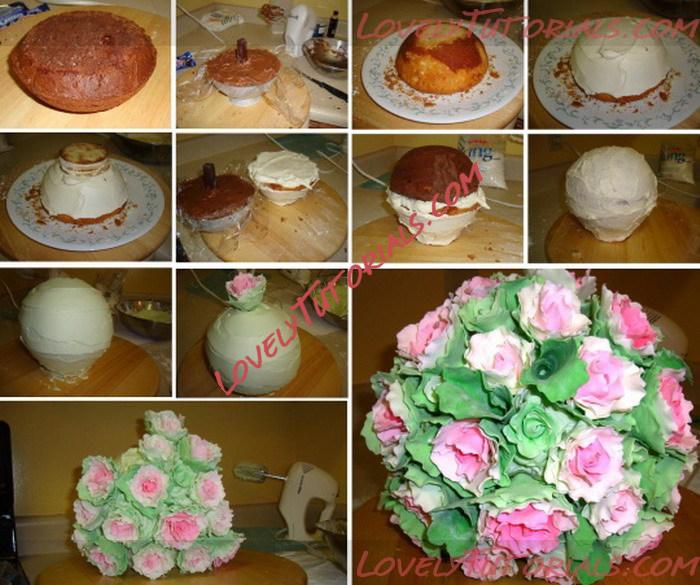
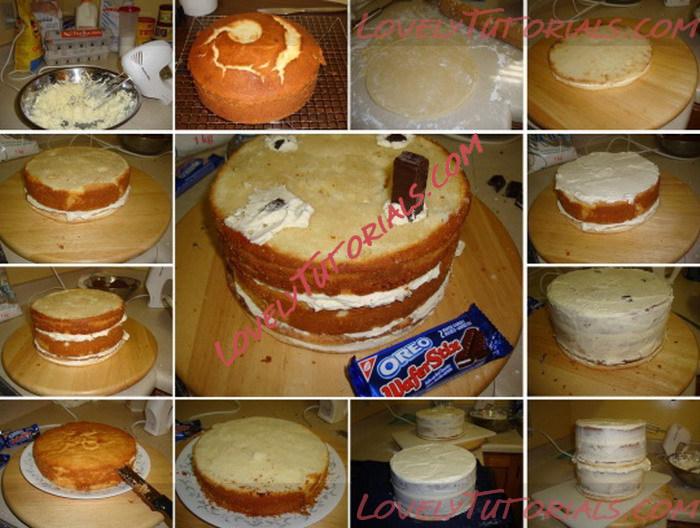
To make the entire cake edible, I used a cookie support system. I made sugar cookie cake circles for the bases of the 8” round and 6” ball cakes. To give the bouquet a bit more height, I glued 3 sugar cookies together (with buttercream) as the base of the ball. The 8” round cake was also 8” tall, so I split it into two 4” tall sections. Each section had 2 sugar cookie bases glued together with buttercream. I used oreo cookie wafer sticks inserted in the tiers (instead of dowels) to support the weight of the tiers above. I used a whole box of them in the cake.
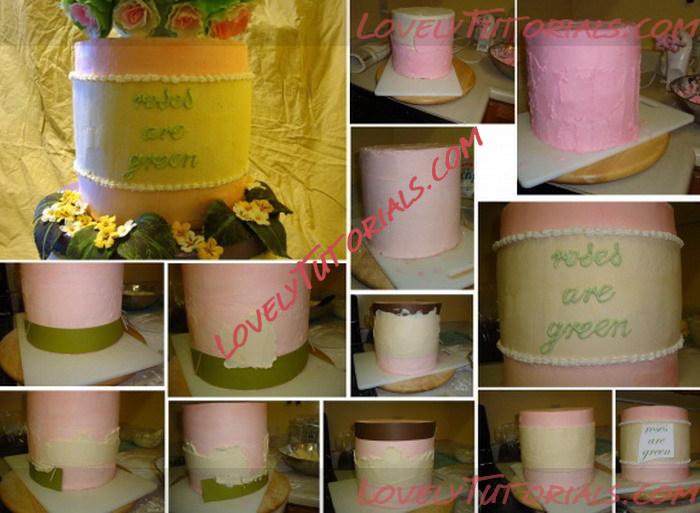
I made the lower 13” tier chocolate cake, the middle 8” tier vanilla cake, and the 6” ball tier was half chocolate and half vanilla. I decided to ice the whole cake in buttercream rather than cover it in fondant. (I originally planned to make the ribbons around the cake out of fondant. I made a batch of marshmallow fondant, rolled and cut it, and wrapped it around the cake. It looked terrible because I just couldn’t get it on straight. I tried piping a royal icing border around it but that looked even worse. So I scraped it all off and started over again.) To make the ribbons around the cake: I wrapped some cardstock around the cake in the places I didn’t want to see ribbon, and then spread buttercream in between. When I pulled off the paper it left a nice straight edge. I finished it off with a little royal icing border and then added the writing in royal icing.
I wanted to have some crazy twigs in the bouquet so I made some from modeling chocolate. It ended up looking a little too harsh because of the dark color contrast so I didn’t keep them on the cake.
For the final cake that I delivered to a party, I made some white roses and freesias to fill in the rest of the bouquet. It seemed like no matter how many I made it wouldn’t fill the bouquet so I ended up cutting the ball in half. I also changed the writing on the cake for the event.


