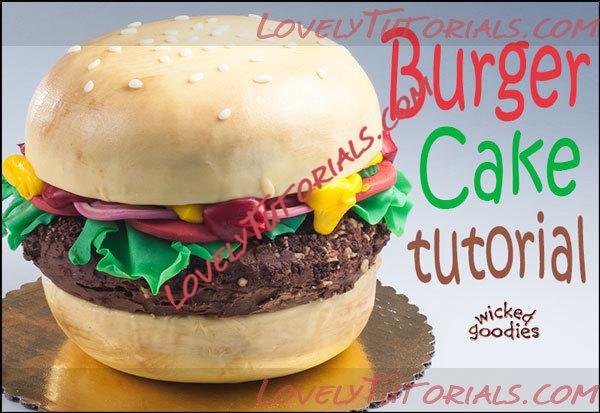
The illusion of the
hamburger cake or
cheeseburger cake is that it causes people to salivate for a juicy grilled beef patty that turns out to be nutty chocolate cake. I used modeling chocolate with a little fondant to decorate this cake but the same design could be done using just fondant (only then the lettuce would be harder to roll so thin).
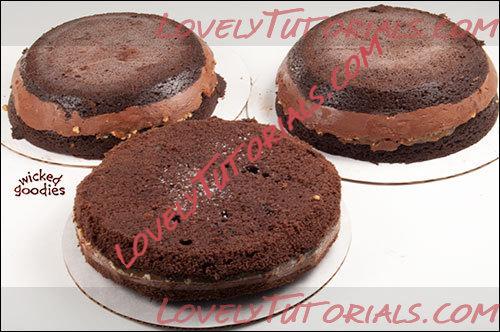
The above cakes were frozen for solid leverage since there is no infrastructure in this 3-tier design. Follow this link for my cake filling tutorial.
Items Needed
- Two 2” tall, 8” diameter half sphere cakes, leveled on top (above, top left and right)
- One 2” tall, 8” diameter cylinder cake, edges rounded (above, front)
- One 1” tall, 6” diameter disk of cake to raise the top bun
- Vanilla buttercream
- Chocolate buttercream
- Chopped dark chocolate
- Chopped nuts (I used pecans)
- Tan modeling chocolate + fondant (50:50)
- Green, red, purple, and white modeling chocolate
- Ball tool, part of this kit
- Foam shaping mat
- Rolled modeling chocolate equipment
- Red and yellow food coloring
- Cocoa powder
- Blush brush
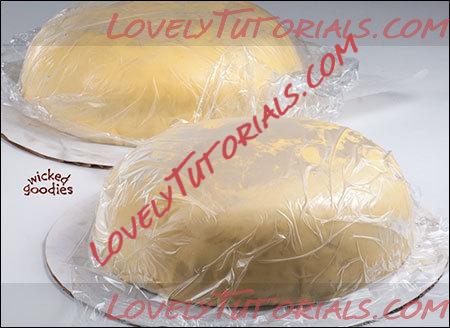
1. Crumb coat the top and bottom tier bun cakes with vanilla buttercream.
2. Combine 50:50 tan fondant and modeling chocolate (or use all fondant) and roll it out to 1/8” inch thickness. Cover each bun cake and trim away the excess.
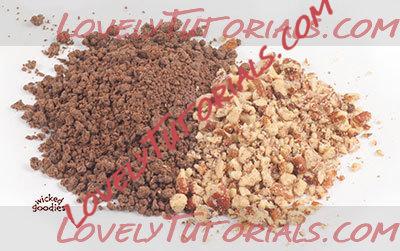
3. Chop up a small handful of dark chocolate and nuts using a knife or food processor. Mix them together in the bowl.
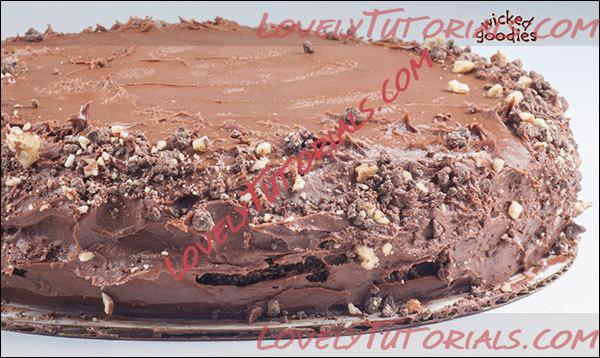
4. Frost the middle hamburger patty tier roughly with chocolate buttercream. It is important that the frosting job be haphazard and imperfect to convey the nooks and crannies of a ground beef burger.
5. Press the chocolate and nut mixture into the frosting around the sides of the hamburger tier. From a distance, this garnish will make the tier look more like a burger and from up close, it will remind people that it’s cake.
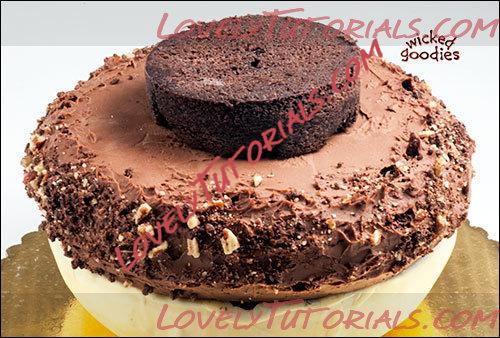
6. Add the 6” chunk of cake to the center of burger patty to make space around which the condiments can be piled.
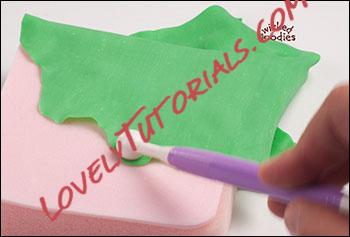
7. To create the lettuce, roll green modeling chocolate to 1/16” inch thickness and cut sheets with wavy edges. Atop a foam shaping mat, use the large end of a ball tool to rub the edges of the chocolate until it is as thin as lettuce. Only prepare one side of the chocolate lettuce sheets since only its edges will show out of the sides of the cake.
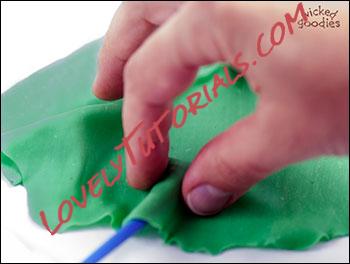
8. Use a pointed sculpting implement to ruffle the edge like lettuce.
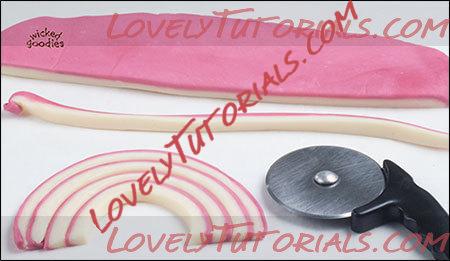
9. To make onion rings, roll out ¼” thick white modeling chocolate and cover it with a 1/16” thick sheet of purple modeling chocolate. Roll them gently with a plastic rolling pin to fuse them together.
10. With a roller cutter or long knife, cut strips the long way and turn them sideways to expose the dual colors. Face them so that they are purple-side-out. Wrap four or more strips in a concentric nesting formation like slices of onion.
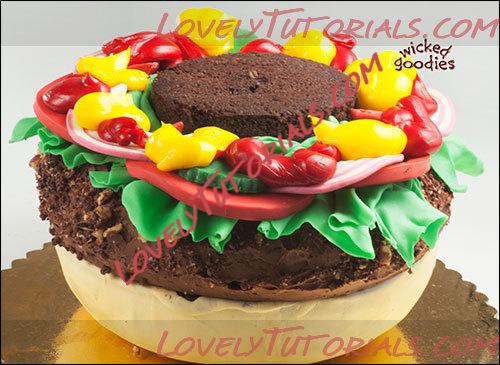
11. To make the tomatoes, roll out red modeling chocolate to ½” thickness and cut circles with large (3” diameter) round cutters. Cut the circles in half to make twice as many tomato slices since only the edges will show anyway.
12. To make pickles, roll out green modeling chocolate to ½” thickness and cut them with 1 ½” diameter fluted round cutters.
13. Add ketchup and mustard in the form of yellow and red buttercream.
14. Place the top bun on the cake. Using a blush brush, dust it with cocoa powder to give it a toasted look.
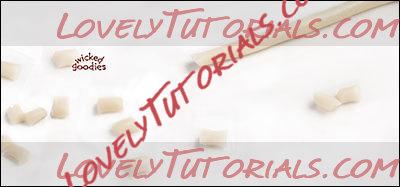
15. To make the sesame seeds, roll a small ball of white modeling chocolate into a 1/16” inch thick rope. Using a sharp knife, cut uniform-sized pieces from the rope. Roll each piece into an oval shape and press it flat into the top of the finished cake. Distribute them evenly.
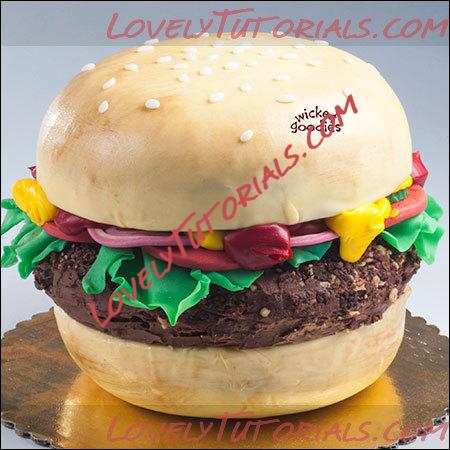
Here is another burger cake design of mine that’s four tiers high: a double double In-N-Out cheeseburger groom’s cake:
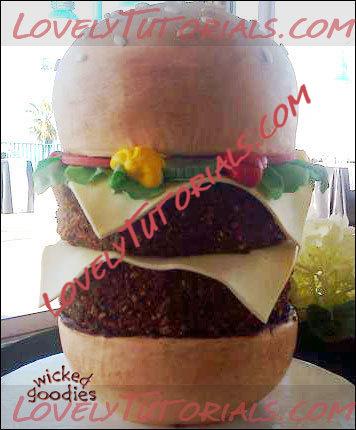
To make cheese for a
cheeseburger cake, roll out white modeling chocolate to 1/8” thickness and cut it into 8 ½” squares. Drape the squares over the burger patties during assembly.


