Cake Decorating Tutorials  (How To's) Tortas Paso a Paso
Cake Decorating Tutorials (How To's) Tortas Paso a Paso
Старый 16.09.2010, 07:29
Ariana Ariana вне форума
Администратор
Регистрация: 07.09.2010
Сообщений: 7,940
По умолчанию гербера,Gerbera V1
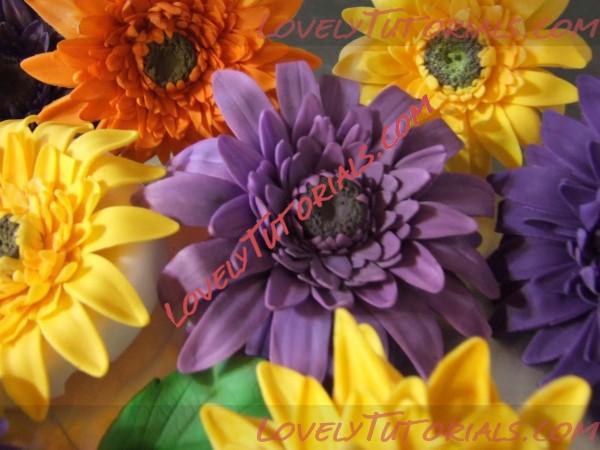
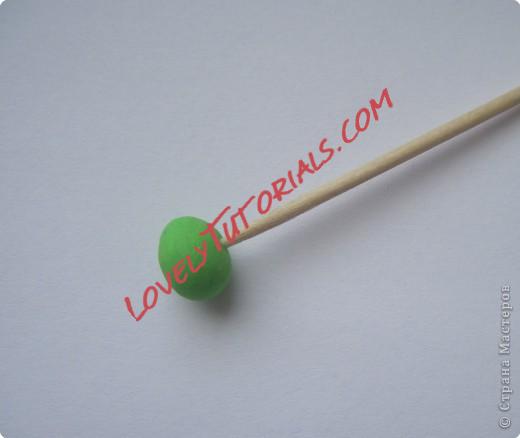
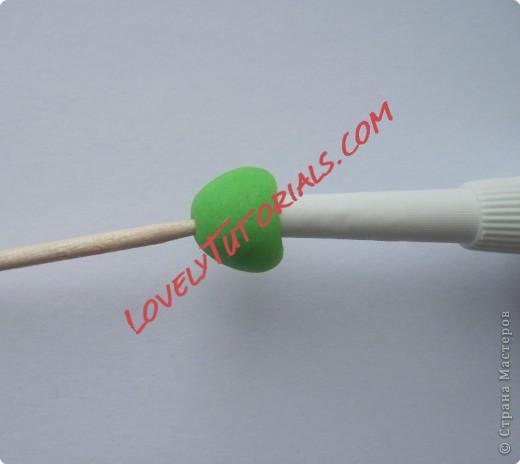
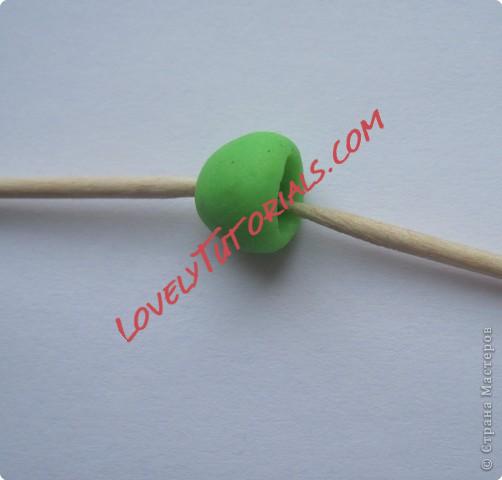
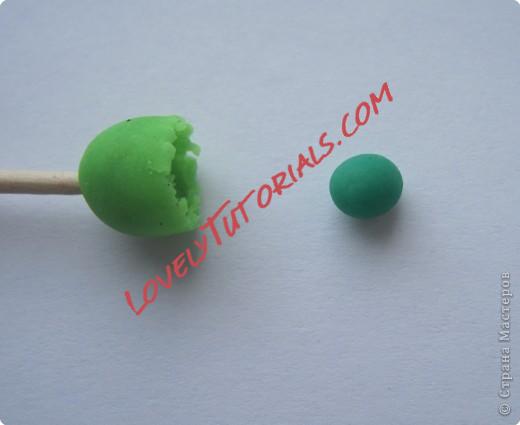
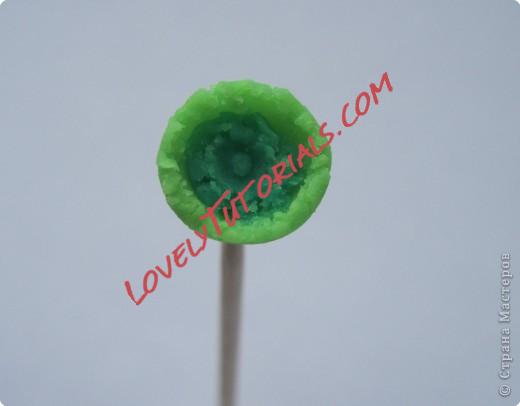
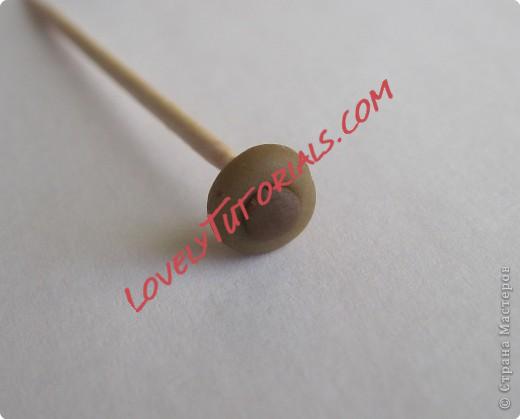
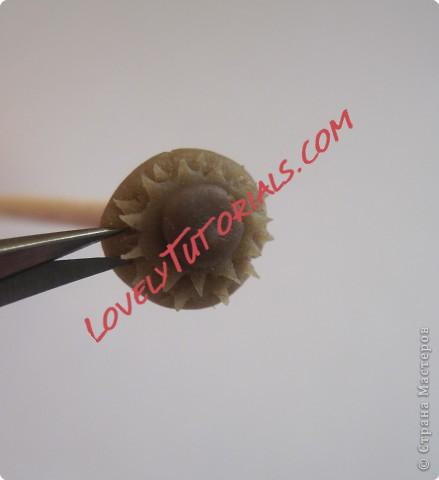
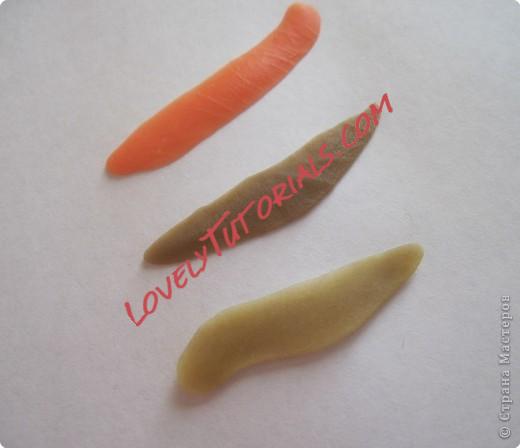
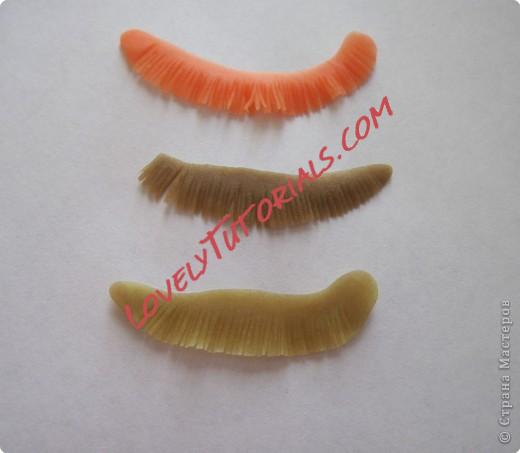
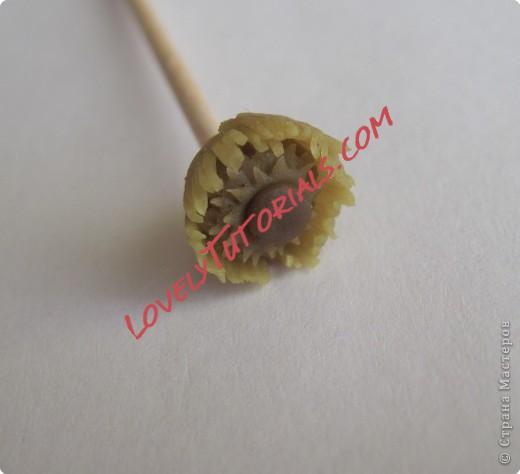
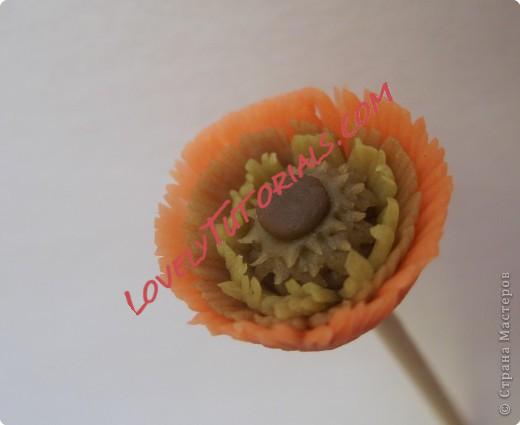
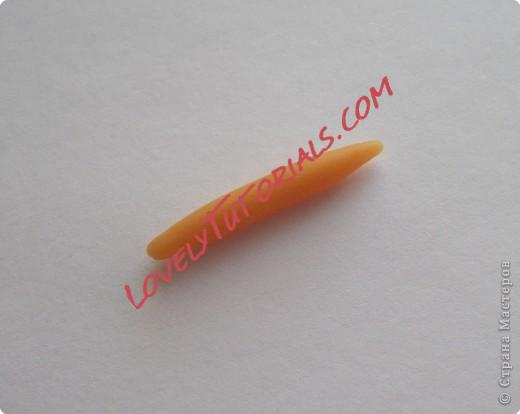
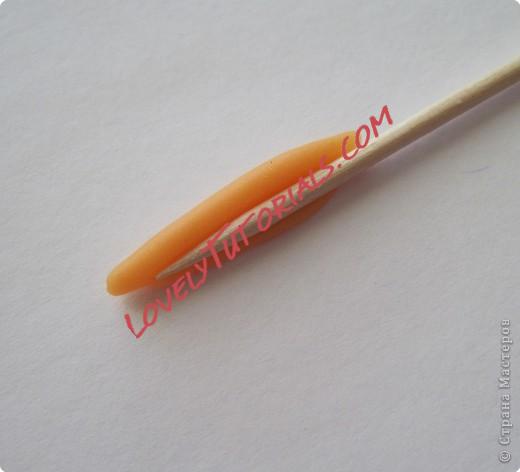
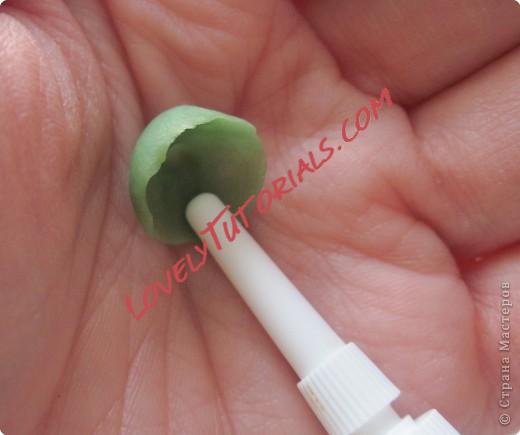
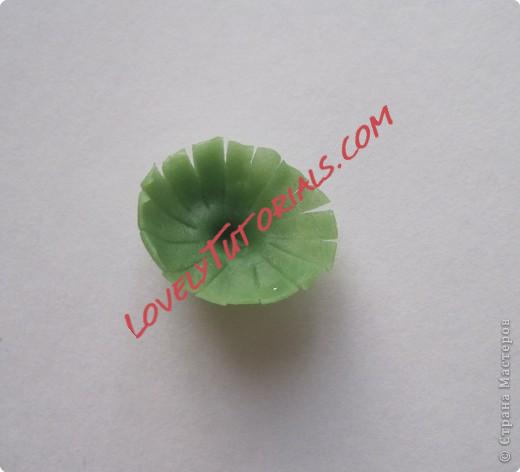
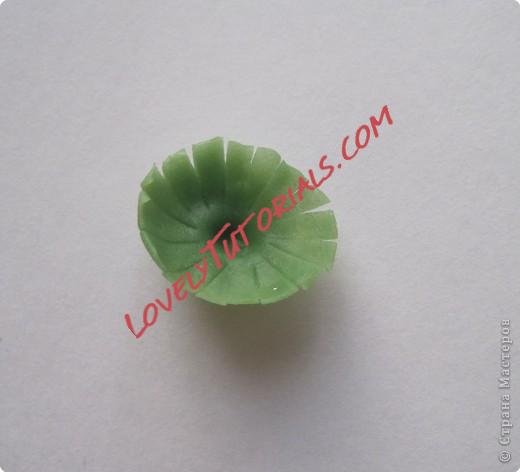
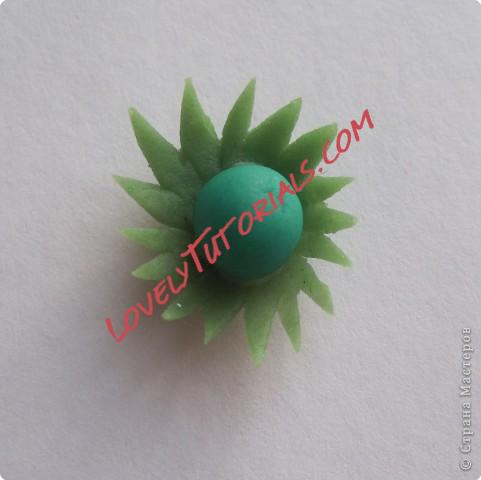
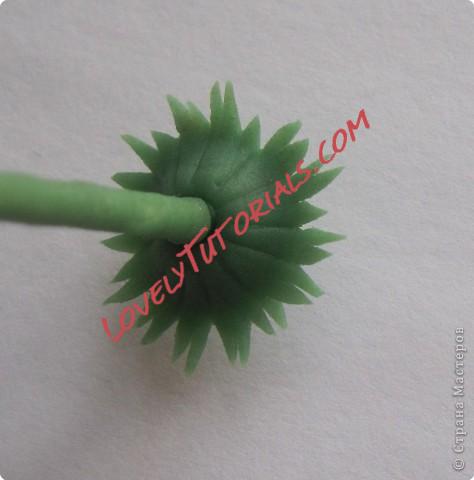
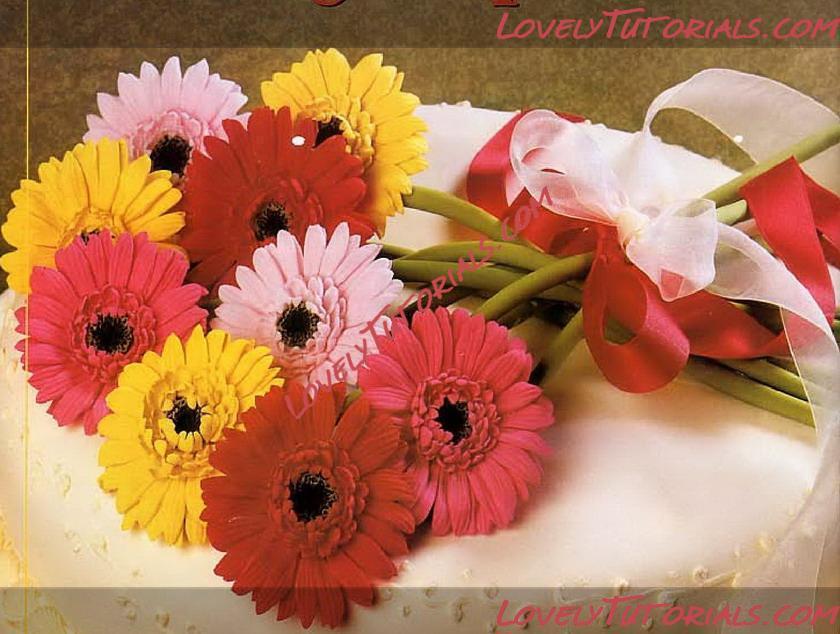
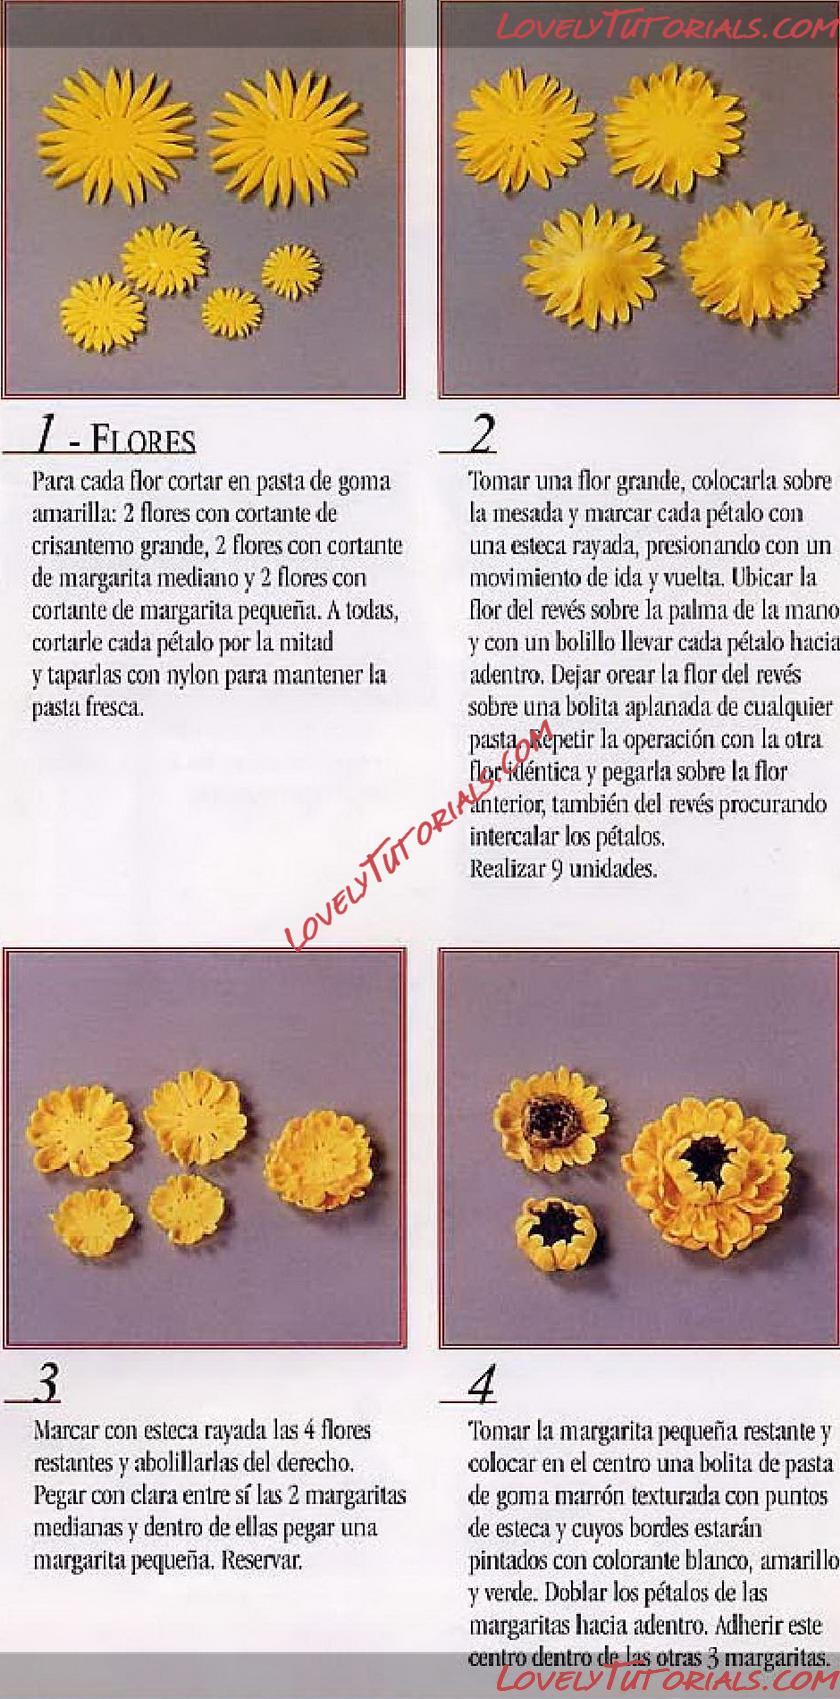
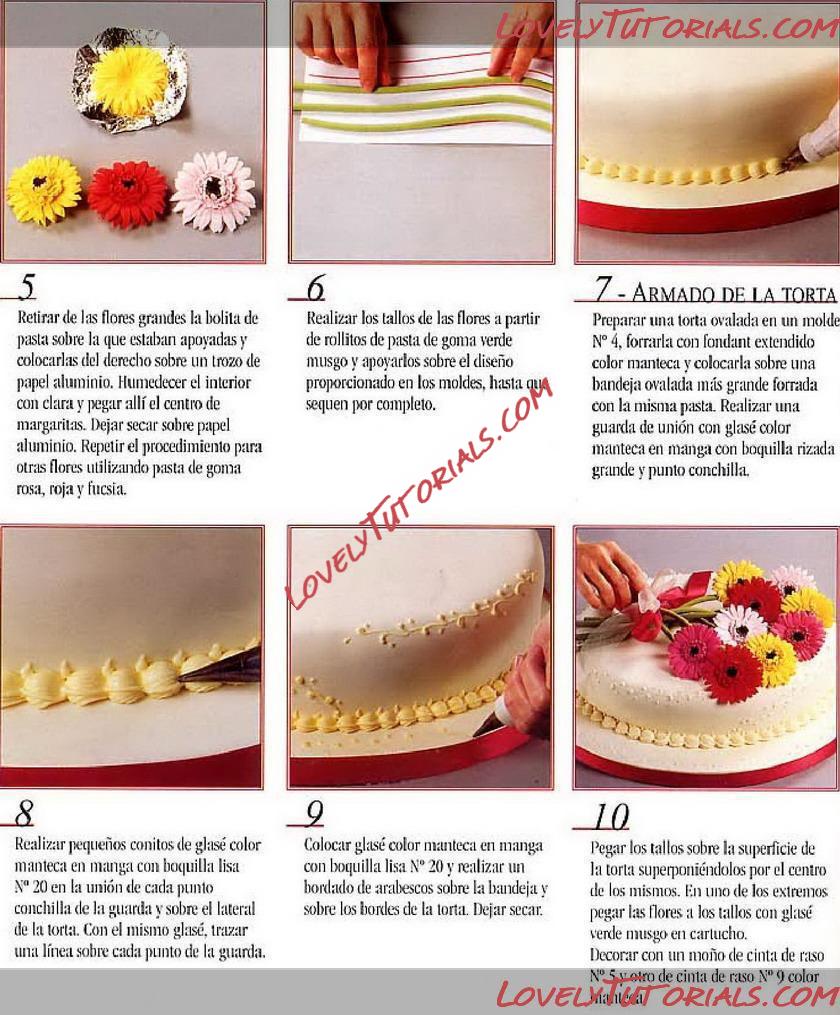
Сердцевинки для гербер от mariya-pryshhikova с сайта "Страна Мастеров", за что ей, большое спасибо.
Название: gerbera tutorial.JPG
Просмотров: 17

Размер: 25.3 Кб

Название: gerbera tutorial2.JPG
Просмотров: 15

Размер: 23.6 Кб

Название: gerbera tutorial3.JPG
Просмотров: 15

Размер: 29.6 Кб

Название: gerbera tutorial4.JPG
Просмотров: 15

Размер: 26.8 Кб

Название: gerbera tutorial5.JPG
Просмотров: 18

Размер: 27.8 Кб

Название: gerbera tutorial6.JPG
Просмотров: 14

Размер: 14.0 Кб

Название: gerbera tutorial7.JPG
Просмотров: 16

Размер: 23.4 Кб

Название: gerbera tutorial8.JPG
Просмотров: 16

Размер: 26.6 Кб

Название: gerbera tutorial9.JPG
Просмотров: 17

Размер: 17.2 Кб

Название: gerbera tutorial10.JPG
Просмотров: 16

Размер: 52.9 Кб
Старый 16.09.2010, 08:20
Ariana Ariana вне форума
Администратор
Регистрация: 07.09.2010
Сообщений: 7,940
По умолчанию гербера,Gerbera V2
гербера МК от mariya-pryshhikova с сайта "Страна Мастеров", за что ей, большое спасибо.
Название: gerbera tutorial.JPG
Просмотров: 17

Размер: 24.1 Кб

Название: gerbera tutorial2.JPG
Просмотров: 13

Размер: 23.9 Кб

Название: gerbera tutorial3.JPG
Просмотров: 18

Размер: 16.8 Кб

Название: gerbera tutorial4.JPG
Просмотров: 16

Размер: 31.9 Кб

Название: gerbera tutorial5.JPG
Просмотров: 15

Размер: 33.3 Кб

Название: gerbera tutorial6.JPG
Просмотров: 14

Размер: 27.9 Кб

Название: gerbera tutorial7.JPG
Просмотров: 17

Размер: 24.8 Кб

Название: gerbera tutorial8.JPG
Просмотров: 16

Размер: 27.7 Кб

Название: gerbera tutorial9.JPG
Просмотров: 18

Размер: 31.9 Кб

Название: gerbera tutorial10.JPG
Просмотров: 17

Размер: 34.6 Кб

Название: gerbera tutorial11.JPG
Просмотров: 19

Размер: 31.4 Кб

Название: gerbera tutorial12.JPG
Просмотров: 14

Размер: 31.4 Кб

Название: gerbera tutorial13.JPG
Просмотров: 18

Размер: 35.7 Кб

Название: gerbera tutorial14.JPG
Просмотров: 14

Размер: 34.8 Кб

Название: gerbera tutorial15.JPG
Просмотров: 14

Размер: 31.5 Кб
Старый 25.09.2010, 14:27
Ariana Ariana вне форума
Администратор
Регистрация: 07.09.2010
Сообщений: 7,940
По умолчанию гербера,Gerbera V3
Огромная благодарность bakingproject за Мастер-класс

I’m not good at remembering flower names. I like gardening but to identify the flowers, let alone to remember the scientific name is like going through the agony of taking my Biology exam all over again. This flower I’m making, it’s called Gerbera (that’s what the PME magazine says). It got me confused with sunflowers . Well, they look the same to me. Only thing the sunflower’s center is bigger. Thankfully, you could use this technique I’m going to show you to make both gerbera and sunflowers.
The cutter I’m using is from PME. Other items needed would be a wire, semolina flour, egg white, modelling tools, foam, black powdered colour, round cutter and a calyx cutter.
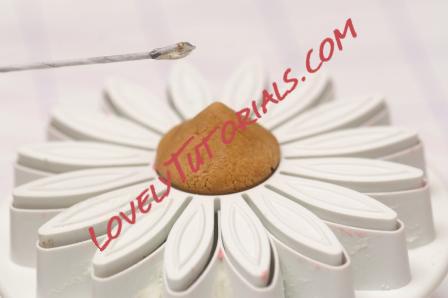
First, colour a small round piece of gumpaste brown. Mould it into a cone shape to fit the middle of the cutter. Take a hooked wire, dip it into egg white and insert into the cone.
Название: step1.JPG
Просмотров: 15

Размер: 51.0 Кб
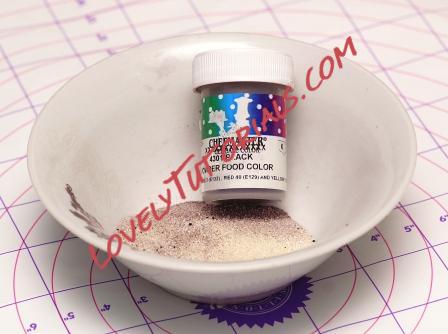
Prepare to make the gerbera’s center. Colour the semolina flour with some black powdered colour.
Название: step2.JPG
Просмотров: 16

Размер: 58.8 Кб
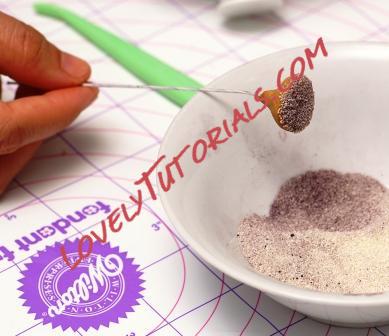
Dip the cone into egg white and smother it with the darkened semolina.
Название: step2.5.JPG
Просмотров: 20

Размер: 59.2 Кб
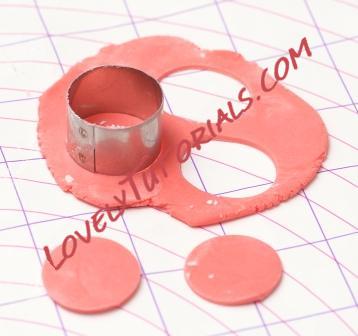
Colour the gumpaste. Cut out a few round shapes.
Название: step3.JPG
Просмотров: 17

Размер: 53.5 Кб
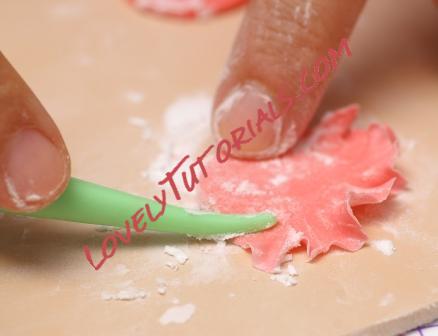
Frill the edges with the modelling tool. Smooth the edges outwards to thin it. Use lots of cornflour to avoid the gumpaste sticking and for easier frilling.
Название: step4.JPG
Просмотров: 15

Размер: 51.3 Кб
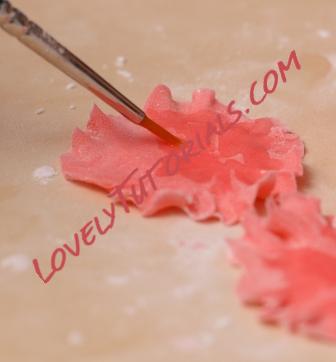
Make at least two. Then, brush the surface with egg white.
Название: step6.JPG
Просмотров: 14

Размер: 48.1 Кб
Slide it up to stick to the bottom of the cone.
Название: step7.JPG
Просмотров: 12

Размер: 51.5 Кб
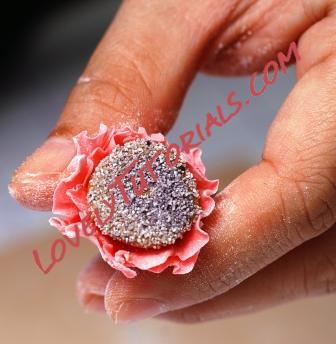
The gerbera’s center will look like this :
Название: step8.JPG
Просмотров: 13

Размер: 57.1 Кб
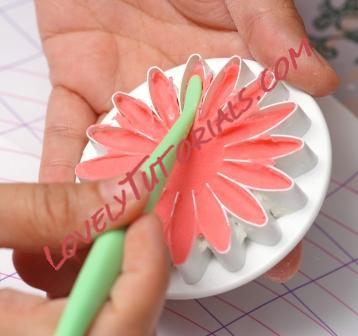
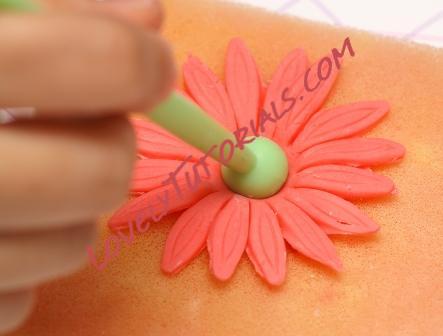
Now prepare the petals. Push in with the modelling tools to get the vein impression.
Название: step9.JPG
Просмотров: 13

Размер: 54.3 Кб
Thin the petals edges and then press the middle so it would curve up. You will need two layers of petal to make one gerbera flower.
Название: step10.JPG
Просмотров: 14

Размер: 53.6 Кб
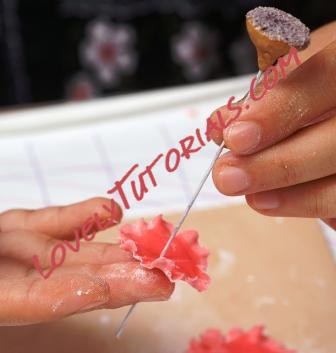
Brush with egg white and slide up the wire.
Название: step11.JPG
Просмотров: 16

Размер: 51.8 Кб
Then prepare the calyx.
Название: step12.JPG
Просмотров: 13

Размер: 55.3 Кб
Название: step13.JPG
Просмотров: 16

Размер: 54.2 Кб
Secure with a small round piece of green paste.
Название: step14.JPG
Просмотров: 14

Размер: 51.4 Кб
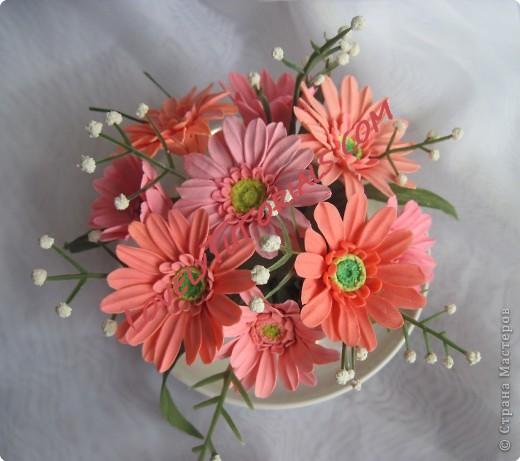
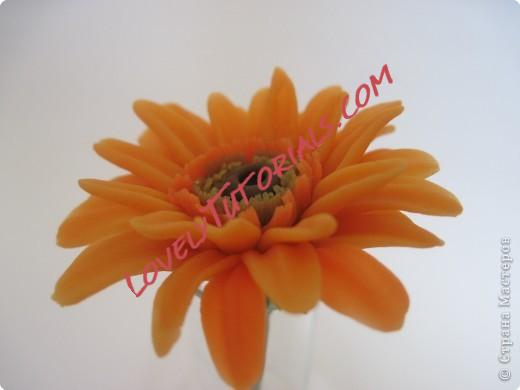
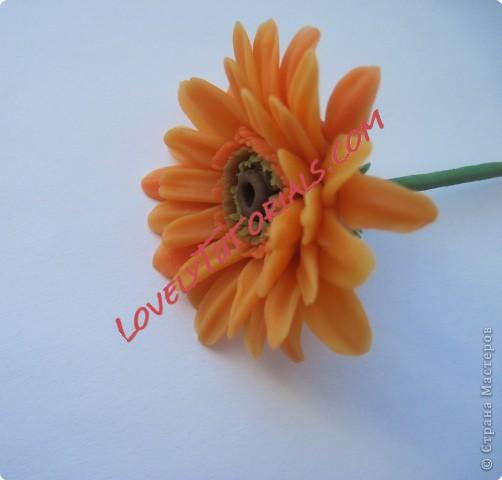
The flower is ready !
Название: gerbera.JPG
Просмотров: 13

Размер: 55.5 Кб
Старый 06.11.2011, 19:07
Ariana Ariana вне форума
Администратор
Регистрация: 07.09.2010
Сообщений: 7,940
По умолчанию
Огромная благодарность dailysweet88 за Мастер-класс
Название: gerbra flower tutorial.jpg
Просмотров: 0

Размер: 83.1 Кб

Название: gerbra flower tutorial 2.jpg
Просмотров: 3

Размер: 84.4 Кб

Название: gerbra flower tutorial 3.jpg
Просмотров: 4

Размер: 71.3 Кб

Название: gerbra flower tutorial 4.jpg
Просмотров: 3

Размер: 80.3 Кб

Название: gerbra flower tutorial 5.jpg
Просмотров: 3

Размер: 73.1 Кб

Название: gerbra flower tutorial 6.jpg
Просмотров: 2

Размер: 71.2 Кб

Название: gerbra flower tutorial 9_resize.jpg
Просмотров: 3

Размер: 52.6 Кб

Название: gerbra flower tutorial 10_resize.jpg
Просмотров: 1

Размер: 72.9 Кб

Название: gerbra flower tutorial 11_resize.jpg
Просмотров: 2

Размер: 50.2 Кб

Название: gerbra flower tutorial 12_resize.jpg
Просмотров: 1

Размер: 60.5 Кб

Название: gerbra flower tutorial 13_resize.jpg
Просмотров: 0

Размер: 71.3 Кб

Название: gerbra flower tutorial 14_resize.jpg
Просмотров: 1

Размер: 61.4 Кб

Название: gerbra flower tutorial 15_resize.jpg
Просмотров: 2

Размер: 57.6 Кб

Название: gerbra flower tutorial 16_resize.jpg
Просмотров: 2

Размер: 60.3 Кб

Название: gerbra flower tutorial 17_resize.jpg
Просмотров: 3

Размер: 74.6 Кб

Название: gerbra flower tutorial 18_resize.jpg
Просмотров: 1

Размер: 69.7 Кб

Название: gerbra flower tutorial 19_resize.jpg
Просмотров: 2

Размер: 74.2 Кб

Название: gerbra flower tutorial 20_resize.jpg
Просмотров: 3

Размер: 72.6 Кб

Название: gerbra flower tutorial 21_resize.jpg
Просмотров: 2

Размер: 73.6 Кб

Название: gerbra flower tutorial 22_resize.jpg
Просмотров: 1

Размер: 54.0 Кб

Название: gerbra flower tutorial 23_resize.jpg
Просмотров: 2

Размер: 64.9 Кб

Название: gerbra flower tutorial 24_resize.jpg
Просмотров: 0

Размер: 69.4 Кб

Название: gerbra flower tutorial 25_resize.jpg
Просмотров: 0

Размер: 50.0 Кб

Название: gerbra flower tutorial 26_resize.jpg
Просмотров: 1

Размер: 77.3 Кб

Название: gerbra flower tutorial 27_resize.jpg
Просмотров: 1

Размер: 84.8 Кб

Название: gerbra flower tutorial 28_resize.jpg
Просмотров: 0

Размер: 81.3 Кб

Название: gerbra flower tutorial 29_resize.jpg
Просмотров: 1

Размер: 80.6 Кб

Название: gerbra flower tutorial 30_resize.jpg
Просмотров: 4

Размер: 61.7 Кб

Название: gerbra flower tutorial 31_resize.jpg
Просмотров: 6

Размер: 64.0 Кб

Название: gerbra flower tutorial 7.jpg
Просмотров: 0

Размер: 66.8 Кб
Старый 22.04.2012, 19:42
Ariana Ariana вне форума
Администратор
Регистрация: 07.09.2010
Сообщений: 7,940
По умолчанию
Огромная благодарность Автору ? за МК
Название: 1.jpg
Просмотров: 10

Размер: 78.8 Кб

Название: 2.jpg
Просмотров: 16

Размер: 236.9 Кб

Название: 3.jpg
Просмотров: 9

Размер: 152.6 Кб

Название: 4.jpg
Просмотров: 1

Размер: 45.2 Кб
Старый 23.04.2012, 07:44
Ariana Ariana вне форума
Администратор
Регистрация: 07.09.2010
Сообщений: 7,940
По умолчанию
Огромная благодарность dailysweet88 за Мастер-класс
Название: type=w2.jpg
Просмотров: 1

Размер: 48.6 Кб

Название: type=w2-0.jpg
Просмотров: 1

Размер: 46.0 Кб

Название: type=w2-2.jpg
Просмотров: 1

Размер: 43.3 Кб

Название: type=w2-3.jpg
Просмотров: 0

Размер: 44.3 Кб

Название: type=w2-4_resize.jpg
Просмотров: 0

Размер: 37.9 Кб

Название: type=w2-5_resize.jpg
Просмотров: 2

Размер: 33.4 Кб

Название: type=w2-6_resize.jpg
Просмотров: 0

Размер: 37.2 Кб

Название: type=w2-7_resize.jpg
Просмотров: 1

Размер: 39.8 Кб

Название: type=w2-8_resize.jpg
Просмотров: 0

Размер: 37.2 Кб

Название: type=w2-9_resize.jpg
Просмотров: 0

Размер: 38.6 Кб

Название: type=w2-10_resize.jpg
Просмотров: 0

Размер: 39.1 Кб

Название: type=w2-11_resize.jpg
Просмотров: 1

Размер: 34.9 Кб
Старый 30.05.2012, 20:12
Ariana Ariana вне форума
Администратор
Регистрация: 07.09.2010
Сообщений: 7,940
По умолчанию Gerbera Daisy TutorialGerbera Daisy Tutorial
Огромная благодарность Kellig за Мастер-класс

Название: 1.jpg
Просмотров: 1

Размер: 67.3 Кб
This Gerbera Daisy Tutorial will teach you how to make lifelike sugar Gerber Daisies quick and easy!
List of Materials

  • Clean Styrofoam egg carton
  • Torch or lighter
  • Wilton small flower former
  • Rolling pin with pink rings
  • Thin foam
  • 1 small ball of gum paste for center in your choice of color
  • and 1 medium ball of gum paste for petals in your choice of color
  • Small scissors
  • Ball tool and Veiner
  • Paint brush
  • Gum glue or vodka
  • 6” piece of wire
  • The small Daisy cutters are from the first Wilton 32 piece flower making set
  • The other larger cutters are from the new flower cutter set
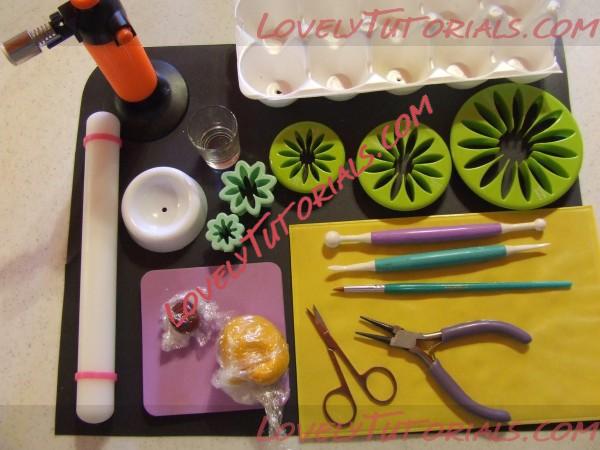
Название: 2.jpg
Просмотров: 0

Размер: 66.7 Кб
This is a picture of the supply list.
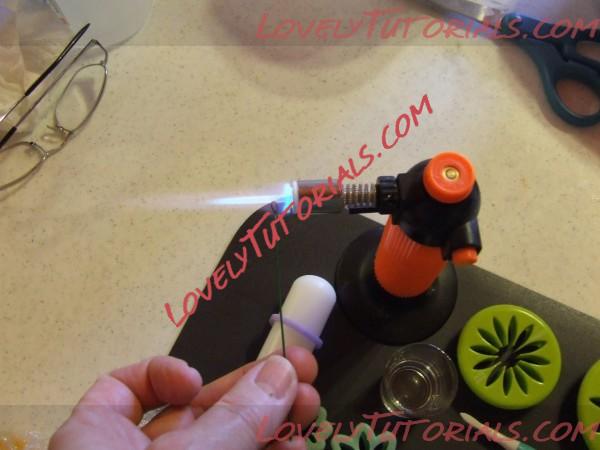
Название: 3.jpg
Просмотров: 0

Размер: 52.2 Кб
Form center for flower by rolling it into a ball then lightly smash it down the center with your finger to from a disk shape. It should be about ¾ of an inch in diameter. With you small scissor snip into the ball to make it look like the center of a daisy.
When I make a heavy flower that needs to hang upside down, I use a lighter or a torch to get my wire hot, so that the gum paste will melt around it. Carefully, and slowly, push the hot wire through the center of the disk, being very careful not to push it through too far and burn your fingers. Do this at your own risk!!! Hot sugar keeps burning for a long time if you get it on you.
Set aside to let cool and set.
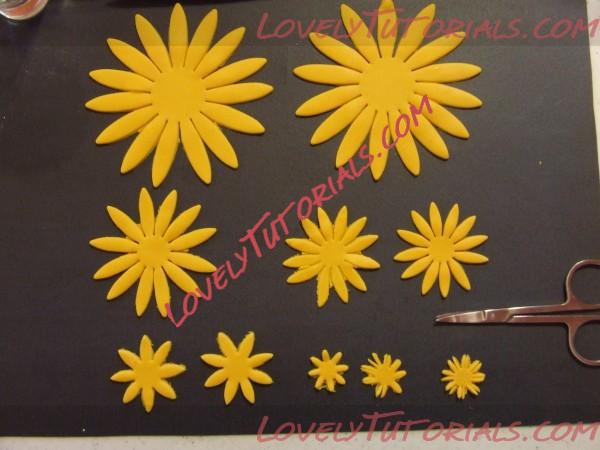
Название: 4.jpg
Просмотров: 0

Размер: 61.3 Кб
1. Cut out the following Daisy shapes
2. Largest new cutter, cut 2
3. Medium new cutter, cut 1
4. Small new cutter, cut 2
5. Largest cutter from old set, cut 2
6. Small cutter from old set, cut 3
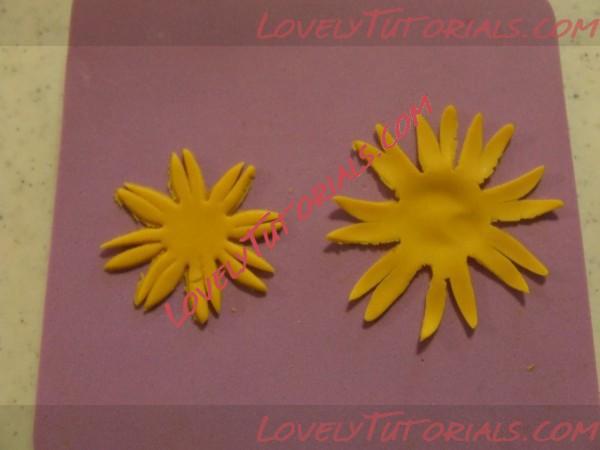
Название: 5.jpg
Просмотров: 0

Размер: 38.4 Кб
Snip petals -numbers 4 and 5 from the list above- in half so instead of 8 petals you have 16. Use a ball tool to thin and soften edges. You don’t have to be too particular as you will only see the tips of these petals. Continue to do the same with the larger petals (#5 from the list above)
Paint a small amount of gum glue or vodka on the wired center and a little on each of the petals and wrap both small flowers (#5) around the flower center disk
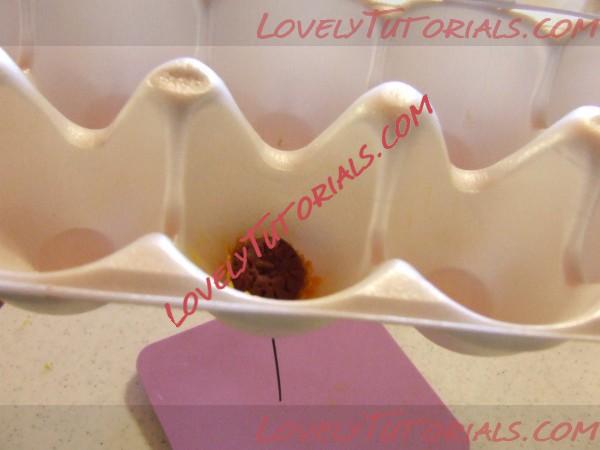
Название: 6.jpg
Просмотров: 0

Размер: 39.1 Кб
Poke wire in center of the cup of an egg carton to dry for approximately 10 to 15 minutes. I formed all my centers at once, and then used the ones I did first that were dryer.
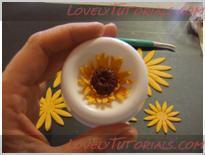
Название: 7.jpg
Просмотров: 0

Размер: 7.0 Кб
Follow the same procedure for snipping and thinning the next size (#4), but instead of putting them in the egg carton put them in the flower former.
Set aside to dry and set.
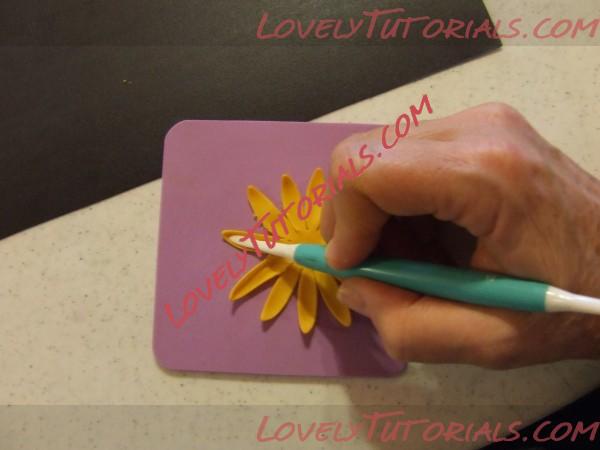
Название: 8.jpg
Просмотров: 1

Размер: 40.5 Кб
Soften and thin the rest of the cut out flowers, don’t snip any of the larger petals.
Using the veining tool go around the outside edges of each petal, this is the secret to making them look realistic, because it pops up the edges and centers of each petal.
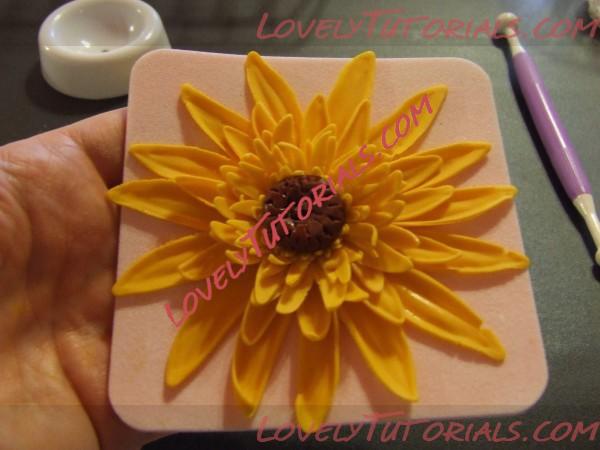
Название: 9.jpg
Просмотров: 0

Размер: 55.6 Кб
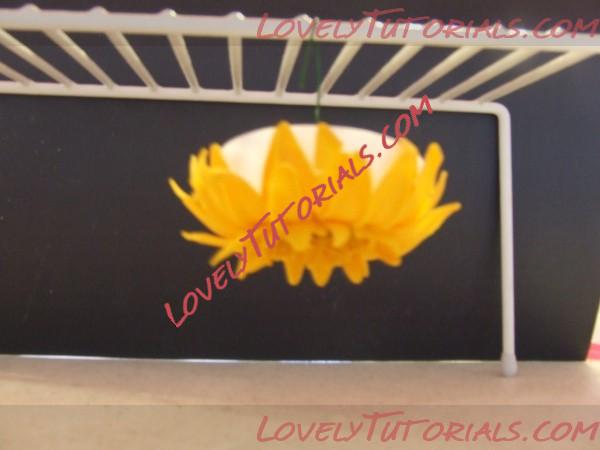
Place the flower cutout on the center of thin pink foam pad, which has a hole in the center for the wire. Use a small amount of gum glue on the petals and then slide it up and attach it to the flower, alternating the petals. Follow the same procedure until all the petals are attached to your flower.
Название: 10.jpg
Просмотров: 0

Размер: 40.3 Кб
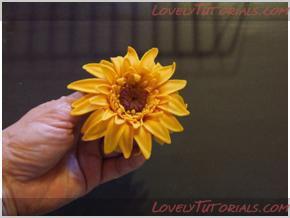
Dry it on the small white flower former over night. The petals will look wilted and flat, but after the flower has dried for about 24 hours you will hang it upside down and gravity will make it look more alive.
Название: 11.jpg
Просмотров: 0

Размер: 8.3 Кб
This one looks kind of rough, as it took me longer to make (because I was taking one handed pictures) so the petals dried out and cracked.
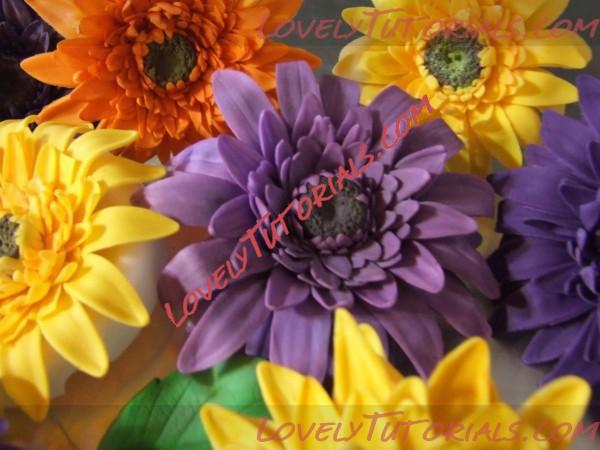
I used some petal dust on my first ones to highlight and darken the shadows.
If this tutorial is not clear or if you have questions please feel free to PM me.
Thanks!
Kelli
Название: 12.jpg
Просмотров: 0

Размер: 67.3 Кб
anlegget, anläggning, armado de los ramos, arranjo, artesanatos passo a passo, augalas, baking, biljka, bitki, blad, blade, blader, bladeren, blatt, bloem, bloemen, blomma, blommor, blomst, blomster, blume, blumen, blüten, blütenpaste, blätter, boeket, bouquet, buchet, buket, bukett, bukiet, buquê, cake decorating, cake decorating techniques, cerâmica plástica, chiodi di garofano, clavo de olor, clous de girofle, cloves, cold porcelain, cold porcelain figurines, cold porcelain flowers, confeitando bolos, csokor, cukrinių gėlių, curso completo de flores, curso de modelado, cvijet, cvijeće, decoracion de pasteles, decoración de tortas, decorare le torte, decorazioni, deko fondant, dekorace na dort, dekoracija, dekoracije, dekorasyon, dekorácie, el abc del armado de ramos, feuille, feuilles, fimo, fimo flowers, fiore, fiori, fleurs, floare, flogistica, flor, floral inspirations, flores, flores azucar, flores e folhas, flori, floristics, floristik, floristikk, floristique, florística, flower, flower paste, flowering plants, flowers, flowers on a wire, foglia, foglie, folha, folhas, folhas pintadas, fondan, fondant, fondente, fotopostup, frunze, gerbera, gerbera tutorial, gum pasta, gum paste, gum paste flowers, gumpaste, gumpaste flowers class, gėlė, gėlės, hand painting, handmade, handmodelliert, hideg porcelán, hladno porculan, hoja, hojas, how to, how tцветы на проволоке, impianto, kaldt porselen, kallt porslin, kalt porzellan, kasvi, kolde porcelæn, koud porselein, kukka, kukkakimppu, kukkia, kvetina, kvety, květina, květiny, kwiat, kwiaty, kylmä posliini, kytica, lapai, lapas, leaf, leaves, lehdet, lehti, levelek, levél, list, listí, lišće, liście, liść, lístia, making sugar flowers, mazzo, modellierpaste, modelləşdirmə, modelovanie, modelování, modelowanie, montando, motivtorten, nelken, növény, oasis o esponja de floristeria, pap, paso a paso, passo a passo, passo-a-passo, pasta flexible, pflanze, plant, planta, plante, plantes, plantă, pocelana fria, polymer clay, polymer clay flowers tutorial, porcelaine froide, porcelana fria, porcelana fría, porcellana fredda, postup klinček, postupak za ukrasavanje, puokštė, ramo, rastlina, rece porţelan, rododendron, rostlina, roślina, schritt für schritt anleitung, schritt-für-schritt, sculpey flowers, sculpting, simple, soğuk porselen, stamens, steg for steg, step by step, step-by-step, strauß, studený porcelán, styrofoam, sugar cane flowers, sugar cloves, sugar flower, sugar flowers, sugar flowers for cake decorating, sugar paste flowers, sugarcraft, sugarpaste, sukker art, tecnicas de decoracion, tecniche, thai flowers, torte, torte decorate, torten dekorieren, torti, trin for trin, trin-for-trin, trinn for trinn, tutorial, tutorijal, ukrašavanje torti, uputstvo za dekoraciju, virág, virágok, wedding cake, wedding cakes, wire, yaprak, yapraklar, zimno porcelany, zuckerblumen, ดอกไม้, सजा केक, मॉडलिंग, モデル, çiçek, çiçek modelleme, šalto porceliano, 建模, 裝飾蛋糕, 진달?, κρύα πορσελάνη, μπουκέτο, αζαλέα, ζέρμπερες, λουλούδι, λουλούδια, τα φύλλα, φύλλα, φυτό, кветка, кветкі, квіти, квітка, куст, гвоздика, гербер, гербери, гербера, полимерная глина, полевые цветы, пошагово, природа, мк, моделиране, майстер-класи, маршмеллоу, мастика, мастер-класс, азалия, азалія, букет, завод, листа, листья, листя, лепим цветы, лепка, ліплення, лісце, рослина, растение, растения, украшение тортов, украшение торта, свадебный торт, сахарная мастика, сахарный клей, уроки прикрашання, студен порцелан, торт, фимо, флористика, флора, холодного порцеляни, холодного фарфора, холодный фарфор, халоднага фарфору, цветок, цветочная паста, цвете, цветя, цветы, цветы из полимерной глины, цветы из холодного фарфора, цветы на торт, шаг за шагом


©2022 Lovely Tutorials
Content Relevant URLs by vBSEO