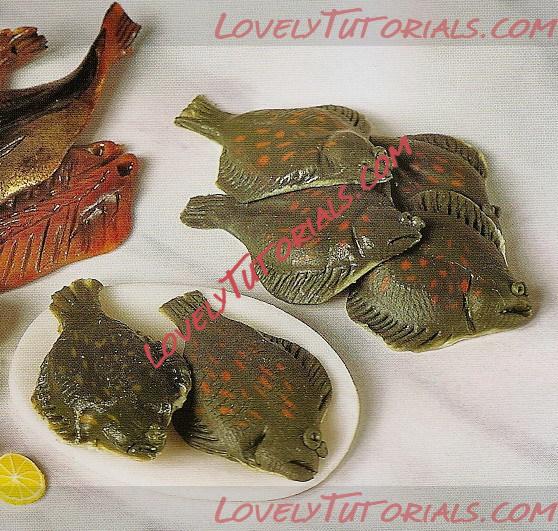
Огромная благодарность
Angie Scarr за Мастер-класс


Method
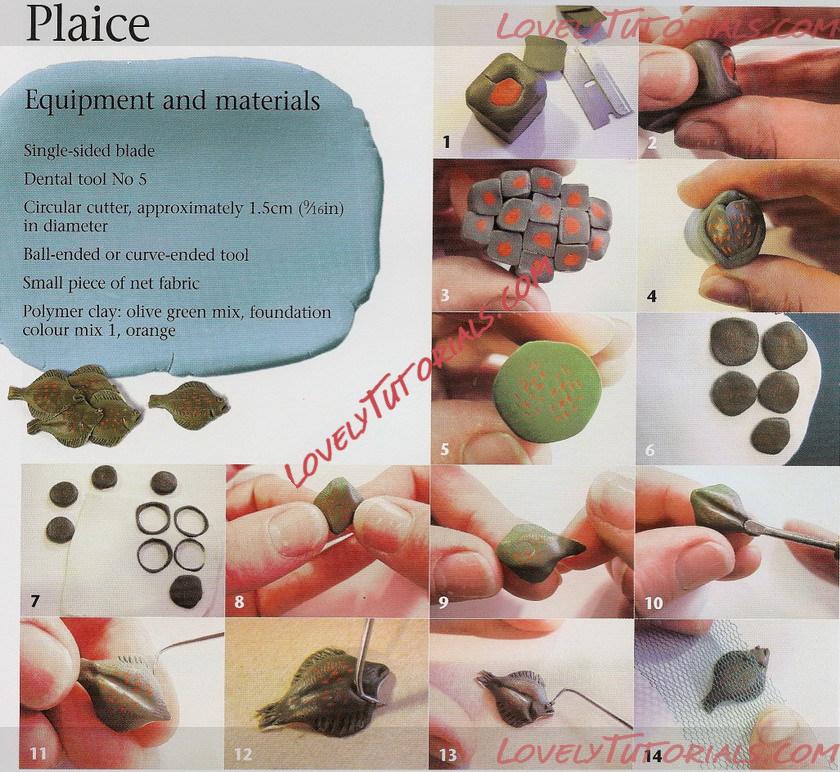
1 Wrap a small cylinder of orange clay with a thicker sheet of olive green and neatly join, cutting away the excess.
Cut off the edges of the cylinder to square it off. This is so that the cylinder in the middle does not distort as you build up the spotted cane.
2 Lengthen the section by squeezing and stretching as you did with the bananas (see page 75).
3 Build up a cane like a brick wall. This one has 14 pieces.
4 .Since we need a few more spots, lengthen the cylinder again and cut in half so you can join the two halves together to form a single cane with twice as many spots. Wrap the cane in a little extta olive green clay.
5 Lengthen the clay cylinder to approximately 1.5cm in diameter.
6 Cut slices from the cane cylinder and position them on a ready-made strip of white clay, rolled to about 2mm thick.
7 Press the circles down a little so the clay slicks together and your cutter fits just inside the circle. Cut out with your circular cutter.
8 Gently squeeze the edges to flatten into fin shapes.
9 Lengthen the nose and tail
ends a little more.
10 Run a curve-ended or
ball-ended tool down the back to form a little indentation.
11 Fottti the fins on the fish
with your dental tool.
12 Now work the features. Form a curve just behind the fish's head for gills and then create a down-turned mouth.
13 Eyes on a flatfish are on the same side. Make two tiny balls of clay and position them with your dental tool, making a small hole in each.
14 To give your fish a scaly texture, take a piece of net fabric and stretch it tightly across the plaice. Once hardened, varnish your plaice with a thin coat of semi-gloss or a matt/gloss mix.


