–û–≥―Ä–Ψ–Φ–Ϋ–Α―è –±–Μ–Α–≥–Ψ–¥–Α―Ä–Ϋ–Ψ―¹―²―¨ Lacey Todd –Ζ–Α –€–Α―¹―²–Β―Ä-–Κ–Μ–Α―¹―¹
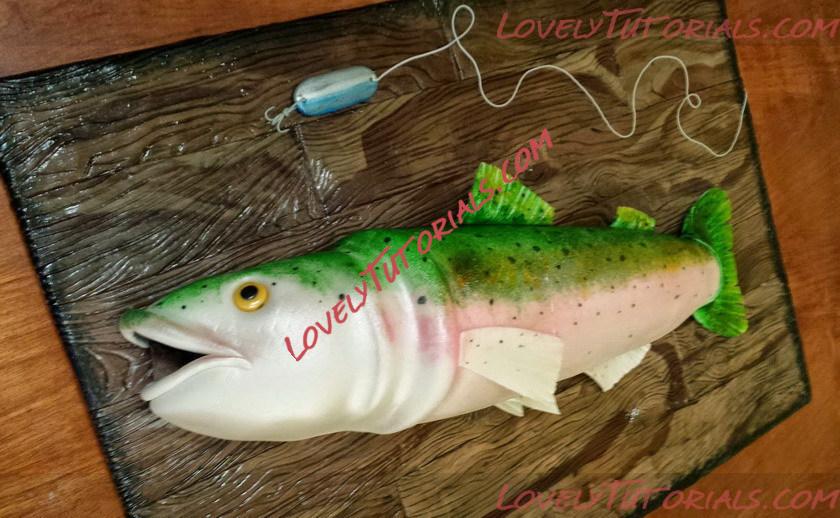
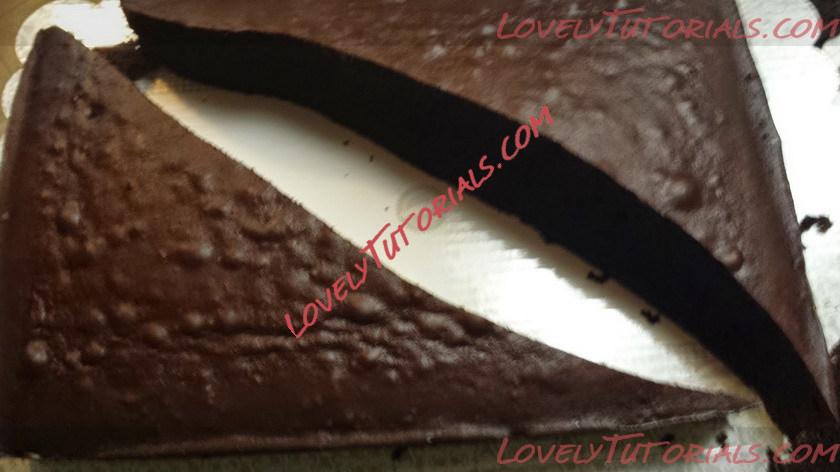
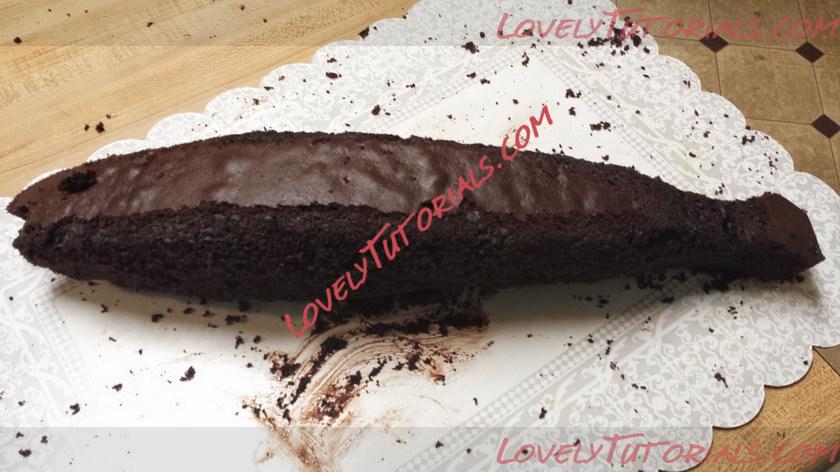
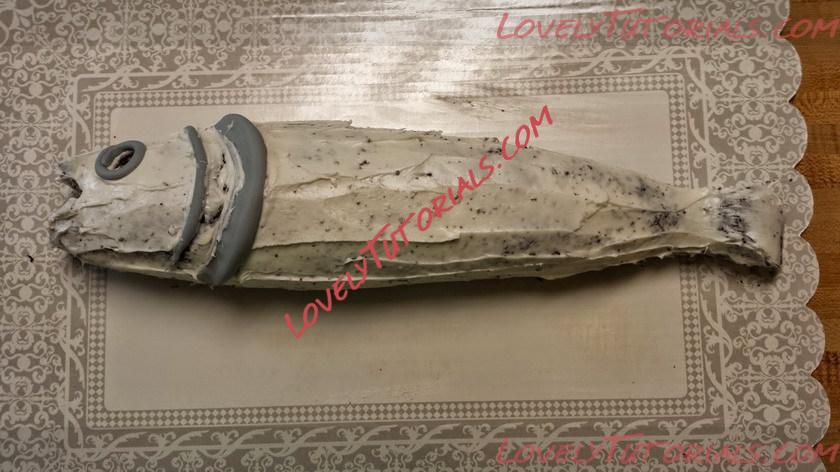
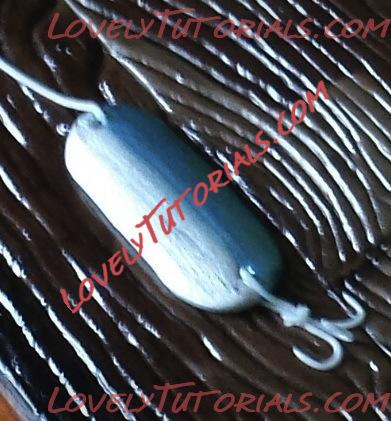
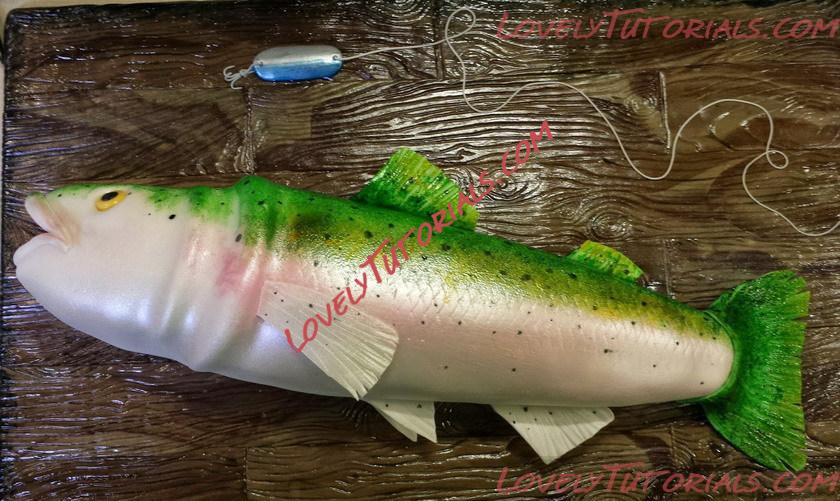
I used a 15x11 inch sheet cake pan and about 12 cups of chocolate cake batter to make this cake and the corresponding βÄ€bait bucketsβÄù (cake cups). This was about two cups more batter than my βÄ€Baking BibleβÄù recommended for the pan, but I increased the time by about 10 minutes, and it ended up producing a dense, thick cake. While my cake was baking and cooling, I worked on the board so that it would have time to harden before placing the cake on top.
The Board
My goal for this cake board was to make it look like the fish had just been caught and thrown upon an old camp countertop, ready to be cleaned and filleted. There are some simple variations to my technique that could produce a smooth plaque surface, if you want your cake to look more like a trophy fish on a plaque, or one of those creepy talking fish that people sometimes hang on their walls (Those things creep me out!).
Materials:
19x14 inch cake board
white fondant
brown gel food coloring
piping gel, lemon extract, or some other substance that can be used to paint with gel food coloring
wood grain impression mat/roller (optional)
edible glaze spray (optional)
chocolate fondant (optional)
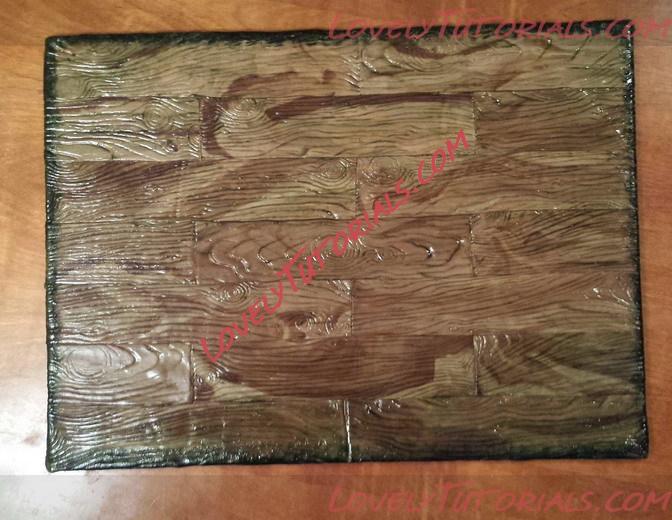
To decorate this board, I used a 19x14 inch cake board for the foundation. I began by covering the board with foil (since I wanted to reuse the board), and then brushed a thin layer of vegetable shortening over the top and sides of the board.
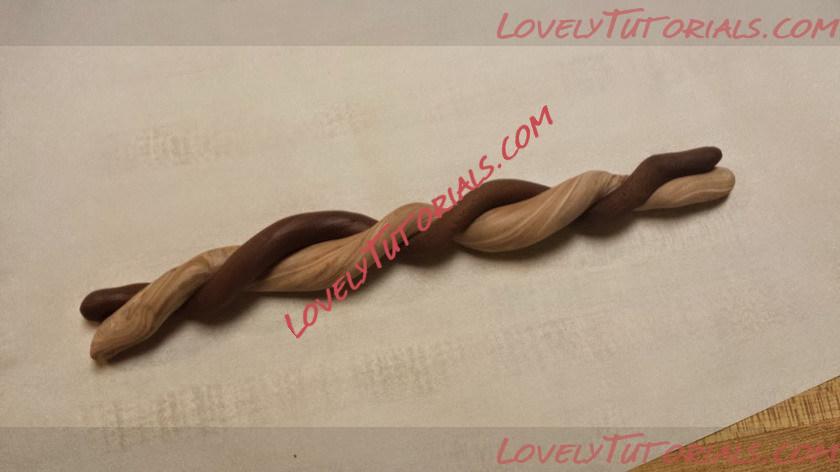
I used a little bit of brown food coloring and mixed it with my white fondant, so that it was slightly marbled. Then I took some chocolate fondant and rolled both pieces into long, snake-like sections. I twisted them together, pulled/stretched the fondant a few times, and then rolled it out.
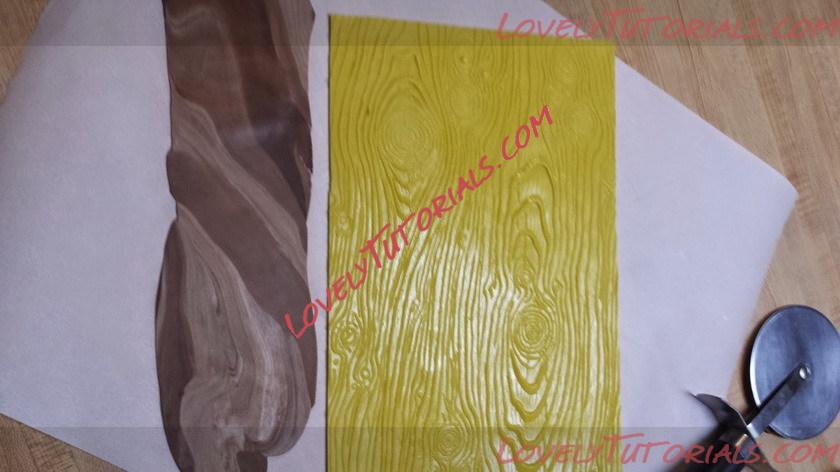
I used a wood grain impression mat (which I ordered from aftosa.com) and pressed it down onto the marbled fondant, trying to match the knots of the wood grain with the darker sections of fondant. If you donβÄôt have an impression mat, you could easily score the fondant with a sharp knife, creating random curved lines (the wood grain), or you can skip this step if you want a smooth wooden surface.
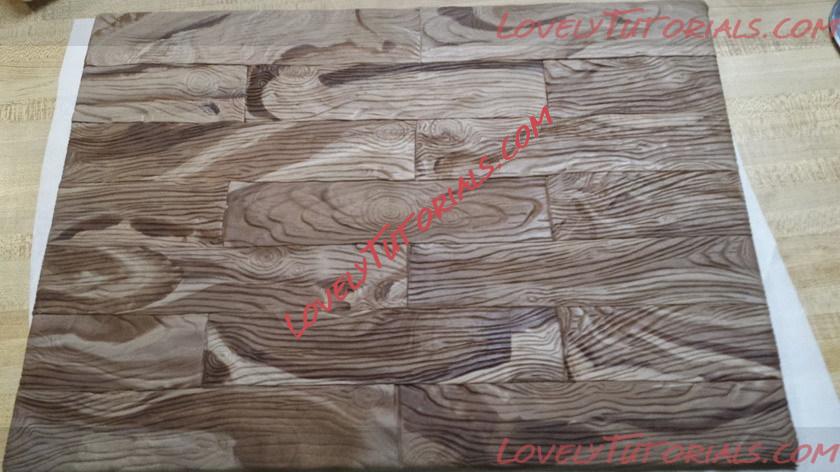
Once youβÄôre happy with the texture of the fondant, cut the βÄ€boardsβÄù to your preferred length/width. Mine were around two inches wide, and the length was 9.5 inches for the longer boards, and 4.75 inches for the shorter boards (this doesnβÄôt have to be precise, since the fondant is stretchable). I added each board right after I finished making it so that the fondant was still pliable. This allowed me to stretch it down over the edges. Once I covered the entire board, I rotated it several times to make sure that there were no shiny pieces of foil peeking through the cracks. Wherever I saw foil, I just pushed the boards together, since the fondant was still fairly pliable.
I considered leaving the board this way, but then I decided that I wanted the grooves to have a little bit more definition, and I wanted it to be shiny, as though the wood had been lacquered. To achieve this effect, I mixed a small amount of black and brown gel food coloring with some piping gel and painted it over the entire board. (I probably would have used lemon extract instead of piping gel for this part, but I ran out... Oh well.) To make the board look super shiny, I sprayed it with edible clear glaze, which is probably one of my favorite products (IβÄôm always looking for reasons to use it). I left the board out to dry over night, and in the morning, it was smooth and firm... and shiny, of course!
The Cake
Materials:
12 cups of cake batter
15x11 inch sheet cake pan
cardstock, cardboard, or stiff paper (if, like me, youβÄôre not confident in your ability to cut a basic fish shape out of cake)
white fondant
gel food coloring (green, black, yellow, and pink)
paintbrush and sponge
piping gel
gum paste (if you use non-hardening fondant)
edible pearl spray, pearl dust, or pearl paint
fish scale impression mat (optional)
edible glaze spray (optional)
Once the cake had been baked and cooled, I removed the cake from the pan and cut out the fish. I didnβÄôt bother to level it, since the rounded top actually worked to my advantage.
I have no artistic ability... none, whatsoever. I can barely draw stick people, which means that drawing/cutting out a fish was absolutely out of the question, so I Googled βÄ€trout drawing,βÄù and stumbled upon this image:
http://commons.wikimedia.org/wiki/Fi...nbow_Trout.jpg
Since I didnβÄôt have the capability of printing the picture to be the exact size of the cake pan, I ended up taping two pieces of cardstock paper together to be the size of my pan, and then I brought the paper to school so that I could project and trace the image onto the paper. YouβÄôre probably thinking that this is ridiculous, since the basic outline of a fish is pretty simple, but I really truly cannot draw. I traced the fish outline diagonally across the paper so that I could use it to cut the maximum amount of cake.
Once I got home, I cut out the cardstock fish template, laid it on the cake, and cut around the template with a serrated knife. The cake that I used was fairly dense, so I didnβÄôt have any problems with it crumbling as I cut, but if you choose to make a less dense cake, you may want to freeze it for a couple of hours and then cut it while its frozen. Once I had the basic fish shape cut out, I returned the remaining cake to the pan to be used later for the βÄ€bait buckets.βÄù Then I used my fish template to cut out a piece of cardboard to use under my cake (I cut the cardboard a little bit smaller than the original template so that the cardboard wouldnβÄôt stick out from under my cake). I ended up leaving a solid piece of cardboard under the head instead of cutting away the mouth, since this seemed like the weakest part of the cake. I covered the cardboard with frosting and put the cake on top.
Next, I used my knife to round the edges, all the way around the fish. Looking at it from all different angles helped me to see whether there were any strange lumps or divots that needed fixing. Then I poked a hole where I wanted the eye to go, and covered the cake with frosting. Since the cake was a little bit crumbly, I melted my frosting in the microwave for a few seconds for easier application. This prevented it from pulling the cake apart while spreading the frosting.
In the picture of the model cake that I liked, I noticed gill ridges. To create these ridges, I rolled two pieces of fondant (one thick and one thin) and stuck them onto the cake in a crescent shape. I rolled an additional piece to accentuate the eye cavity. In hindsight, I could have added the lips at this time as well, but I ended up attaching them later. Now onto the fun part: covering the fish with fondant!
This was the part that was the most fun, but also the part that I was most stressed out about. I wasnβÄôt sure whether the imperfections would show through the fondant, but I was able to roll my fondant out to a normal thickness without the little lumps and bumps from the cake showing through.
I had a difficult time deciding whether I wanted this fish to have scales. I have never noticed scales on a trout, since they look so smooth, but from what I have read, they do have fine scales. So in the end, I decided that I wanted scales on the top half of the body. I rolled the fondant out and used my fish scale impression mat only on the top half. I pressed down lightly so that the scales would not be very pronounced. (If you want scales but donβÄôt have an impression mat, you could press half of a round frosting tip into the fondant to create little crescent scales).
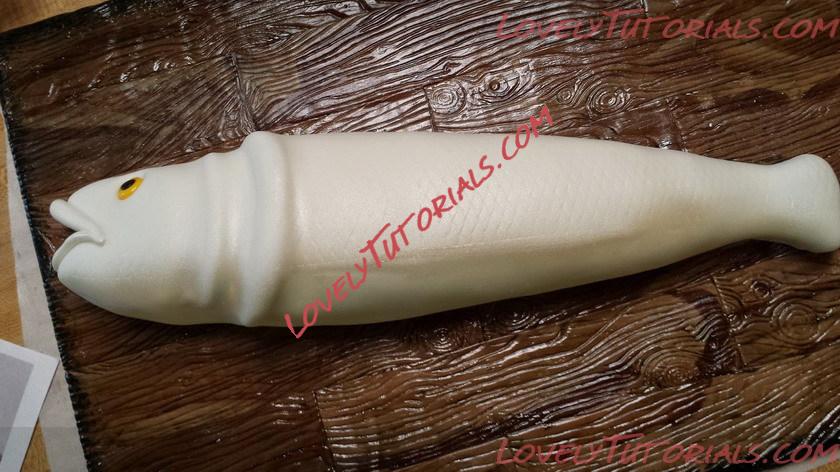
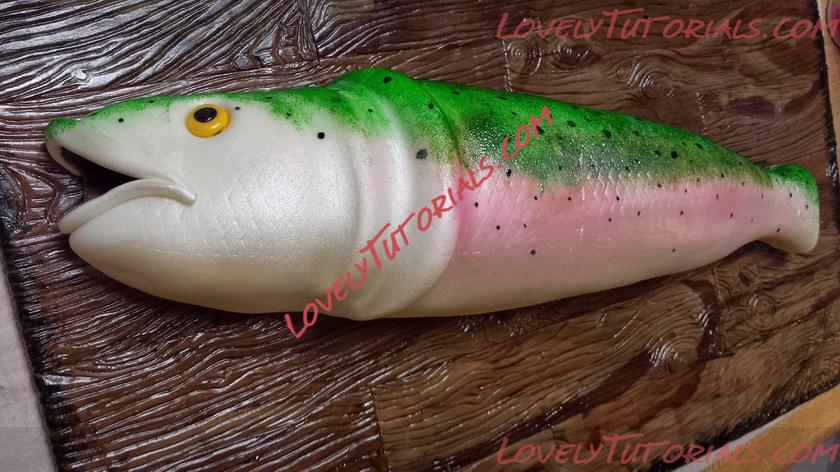
Then I used my rolling pin to lift the fondant onto the fish and smoothed it out with my hands. In places where the scales were more prominent, I smoothed them out a little bit with my hands. I also tucked the fondant under the bottom of the fish as well as I could. I carefully worked the fondant into the fishβÄôs mouth and eye socket, and worked it in around the gills. Then I tinted a small piece of fondant yellow and rolled it into a ball for the eye. I added a small circle of black fondant to the eye (you could just paint it on, if you would prefer), and I sprayed it with edible glaze to make it shiny (painting it with piping gel would also achieve this effect). It was at this point that I realized that I forgot to add the fishβÄôs lips before I covered it with fondant, so I rolled out to pieces of fondant and shaped them around the fishβÄôs mouth, securing them with piping gel. Then I sprayed the under side/belly with edible pearl spray (luster dust would work for this), waited a few minutes for it to dry, and transferred my naked fish onto the cake board.
Next, I began painting the fish. I used a little bit of piping gel and tinted it with black food coloring and then carefully painted the inside of the mouth. Then, I put three separate dollops of piping gel on a plate and colored one very light pink, one green, and one yellow. I cut my sponge into three pieces (one for each color) and sponged the green coloring on the top and back of the fish. Then I sponged the pink along the side of the fish, just below the green. I used the yellow to blend the pink and the green. If you have an airbrush, you could use that instead of the sponge... IβÄôm sure it would be much easier. IβÄôve been trying to convince my husband to buy me an airbrush for my birthday. :-) While the βÄ€paintβÄù was drying, I mixed some black food coloring with some lemon extract and then I painted some spots on the fish. For the smaller spots, I used a toothpick.
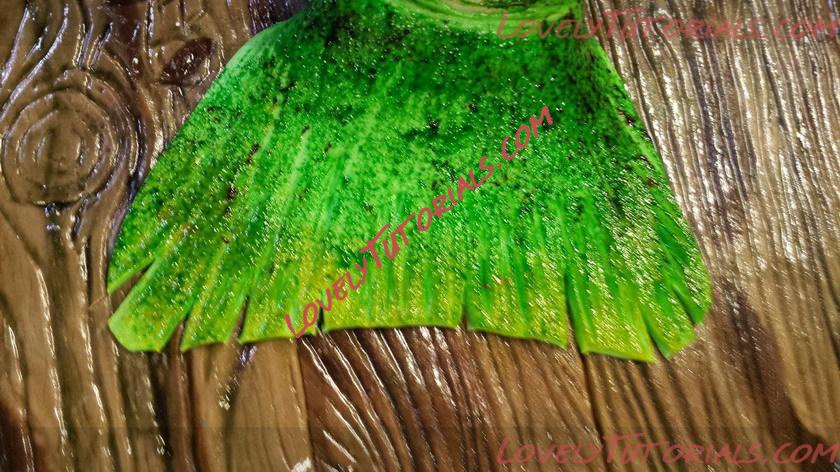
The last pieces that I added were the fins. I decided to use gumpaste for the fins instead of fondant, since the type of fondant that I was using stays soft for a long time. Believe it or not, I opted to freehand the fins instead of using a template! I rolled the fondant fairly thin, cut out the tail fin, checked to see how it would fit, and then made modifications. Once I got the size and shape right, I used a toothpick to press ridges into the fin and I used a knife to cut little wedges out of the end of the fin. Then I sponged some green paint onto the base and center of the fin, and yellow paint onto the tip, and attached it to the fish with piping gel. I ended up removing the last inch or so of the body (the part that kind of looked like the handle of a baseball bat) because it looked a little funny with the tail fin.
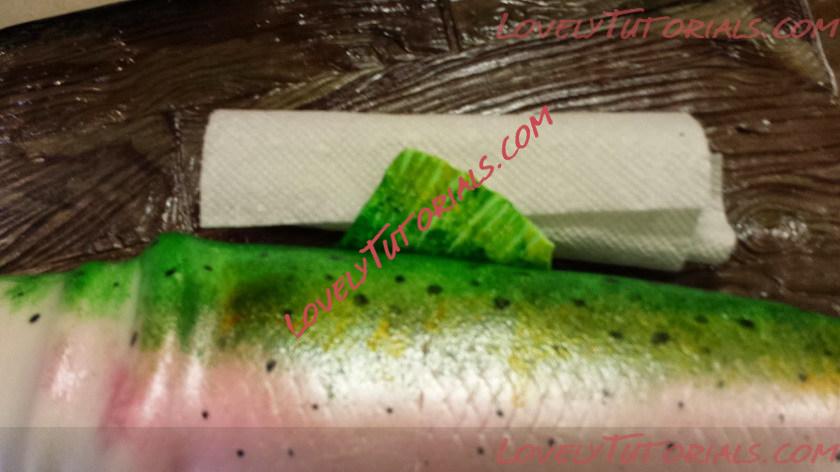
I created, painted, and attached the rest of the fins in the same manner. I left an extra bit of gumpaste on the fins that were going onto the top and bottom of the fish so that I had enough to fold under and stick the fins to the fish. I used rolled up pieces of paper towel under the fins to keep them in place until they had hardened. Once they were all in place and the paint had had time to dry, I used a toothpick to paint small dots on each fin. Then I sprayed one last coat of pearl spray over the white parts of the fish, and a coat of the clear glaze spray over the colored part of the fish.


