The Good Dinosaur Cake tutorial
МК торт "Хороший динозавр" -
Огромная благодарность Partyrama за Мастер-класс
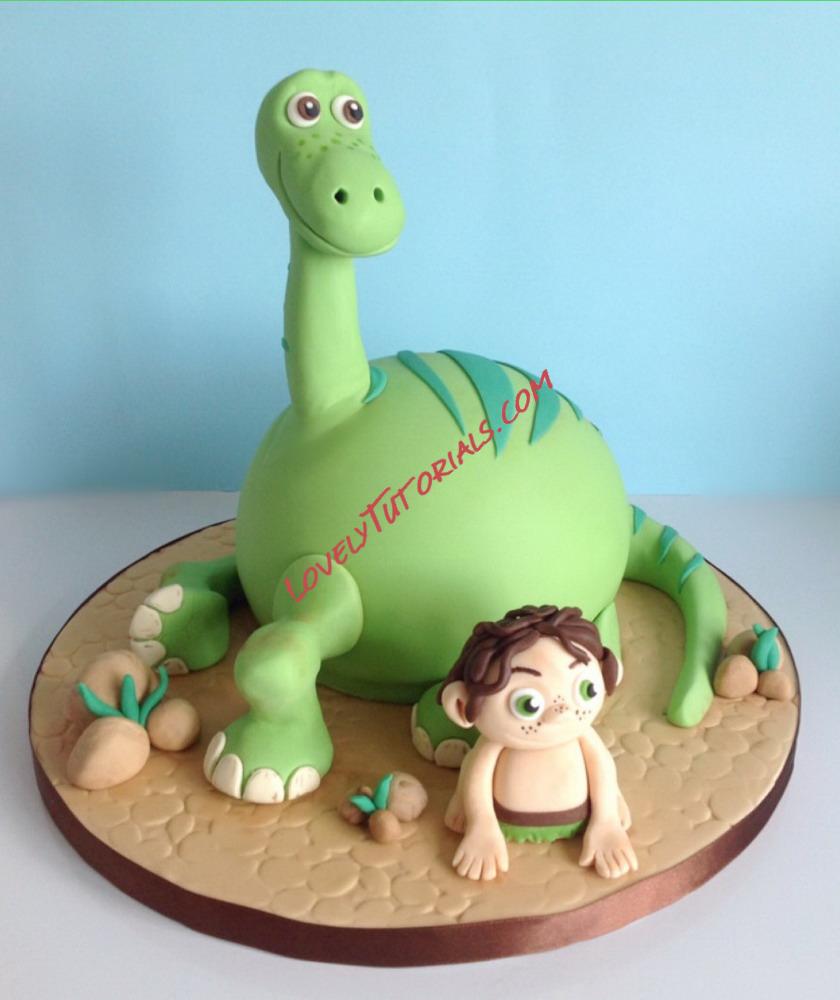 Ingredients
Vanilla sponge cake (Arlo’s body):
- 300g unsalted butter, softened
- 300g caster sugar
- 300g self-raising flour
- 5 large eggs
- 1 tsp vanilla extract
- Green vanilla buttercream ingredients:
- 250g unsalted butter, softened
- 500g icing sugar
- 1 tsp vanilla extract
- Green food colouring gel
- 6” ball cake tin (it comes as two halves)
Spot’s body and general decorating:
- Ready to use sugar paste (fondant) in:
- 750g green
- 250g brown
- 250g white
- 50g brown
- 50g black
- 50g darker green
- Brown and green food colouring pens
- Tylo powder
- 10” cake board
- Bamboo skewer
- A piece of dry spaghetti
Preparing the cake board
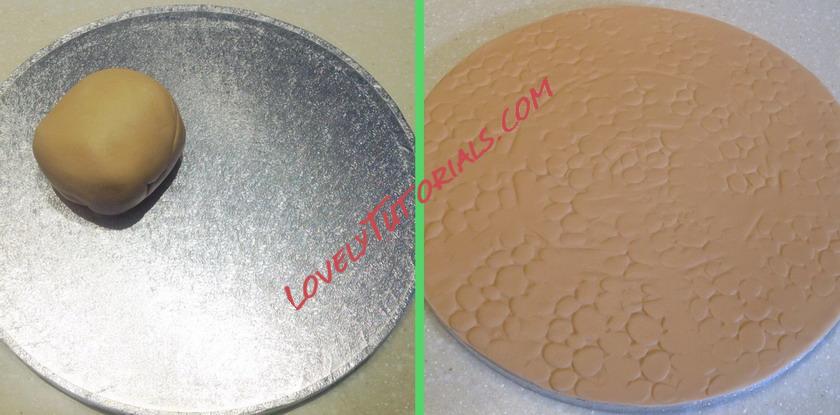
Roll out your brown fondant into a circle just a bit larger than your 10” cake board and trim around the edge. I used a cobblestone impression mat to create the stony effect but you can create a similar look if you go over the fondant with the end of a straw or small rounded cutter and gently press onto the surface. Keep the trimmings in sealed sandwich bags as you can use them later for making pebbles and Spot.
 Making Arlo’s body
Preheat your oven to 160°C Fan/180°C/Gas Mark 4.
Place the two ball tins on their support rings onto a flat baking tray. Grease the tins well with butter or baking spray.
Cream together the sugar, butter and vanilla extract until pale and fluffy using a stand mixer or electric hand mixer. Then add one egg at a time with a spoonful of the flour to prevent it curdling on medium speed. Finally, add the rest of the flour on low speed until it’s all combined, but be careful not to overmix it!
Fill the 2 tins about three-quarters full and bake in the oven for approximately 25 minutes or until golden and the top of the sponge springs back when you press it. I had enough mixture left over for a few cupcakes!
Carefully remove the cakes from the oven and leave in the tins until nearly cool before turning out and allowing to cool completely on a cooling rack. This is when it’s important to have greased the tins well so you don’t leave half the cake stuck to the tin.
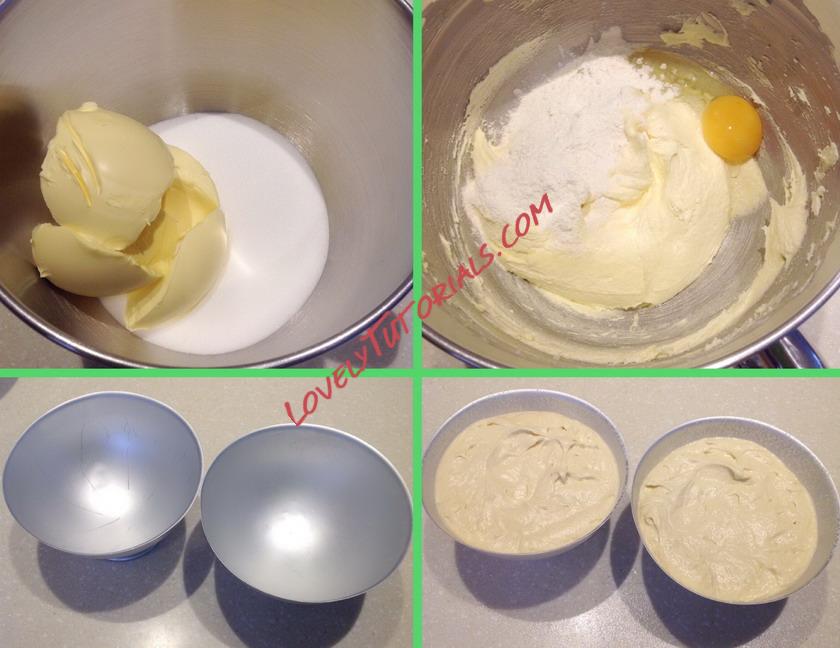
Whilst the cakes are cooling, you can make the buttercream.
Making the green buttercream
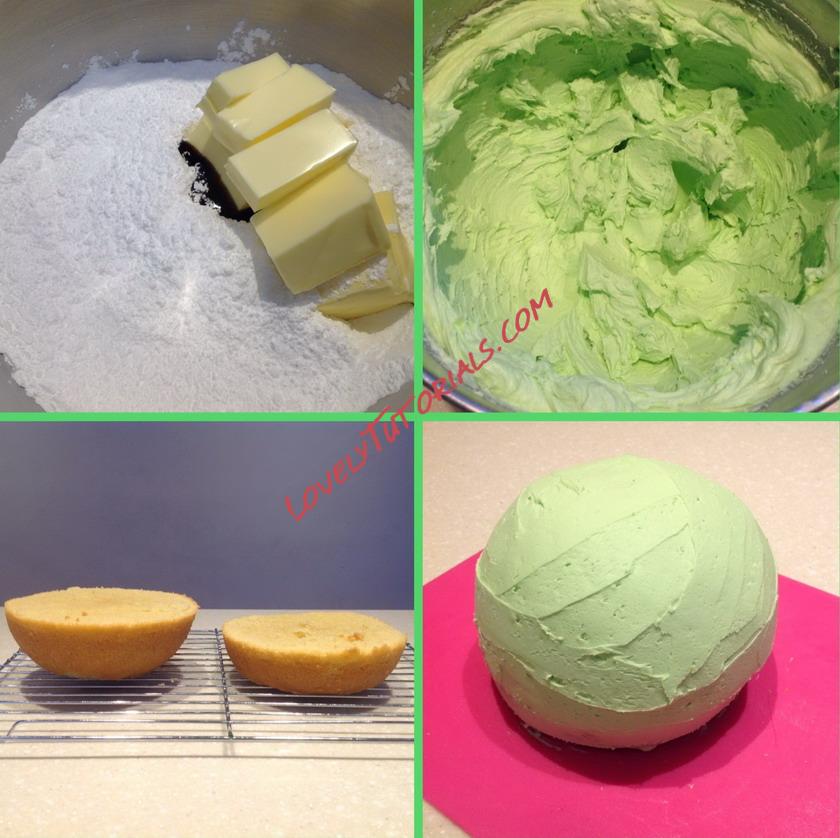
Cream the butter, icing sugar and vanilla extract in your mixer until light in colour and add a couple of tablespoons of hot boiled water. Remember to start on a very slow speed and gradually increase. Add a small amount of green food colouring gel to get the shade you want – a little goes a long way!
Assembling the cooled cake is really easy. Trim the top of one cake half so it is level with the other cake, trim the top and then trim the rounded base from the bottom.
Sandwich the two halves together with the green buttercream, placing the larger rounded half on top. (It would have looked cool to add a sprinkle of chocolate chips in the middle here, but I didn’t think of that until afterwards!)
Now cover your cake body in a layer of buttercream using a palette knife. Chill in the fridge for about 20 minutes and then apply a second coat of buttercream. Pop it back in the fridge while you prepare the green fondant.
 Covering Arlo’s body
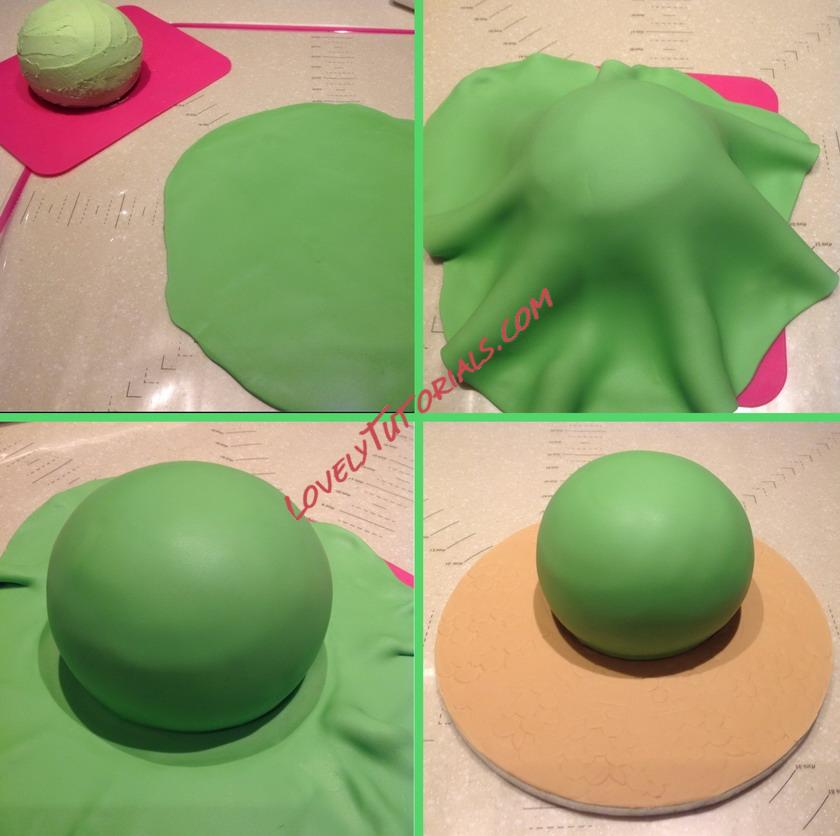
Roll out your green fondant into a large circle and lift over the cake. Smooth down and lift the ‘skirt’ of the fondant outward to avoid pleats. Trim around the base of the cake and smooth over the body with your hands. Place the cake onto your cake board, just off the centre towards the back but leaving enough room for Arlo’s legs at the back as well. Secure it to the cake board using some of the buttercream.
To make edible glue, add half a teaspoon of Tylo powder to a ramekin of cooled boiled water and mix well until you reach a gel-like consistency.
Making Arlo’s legs
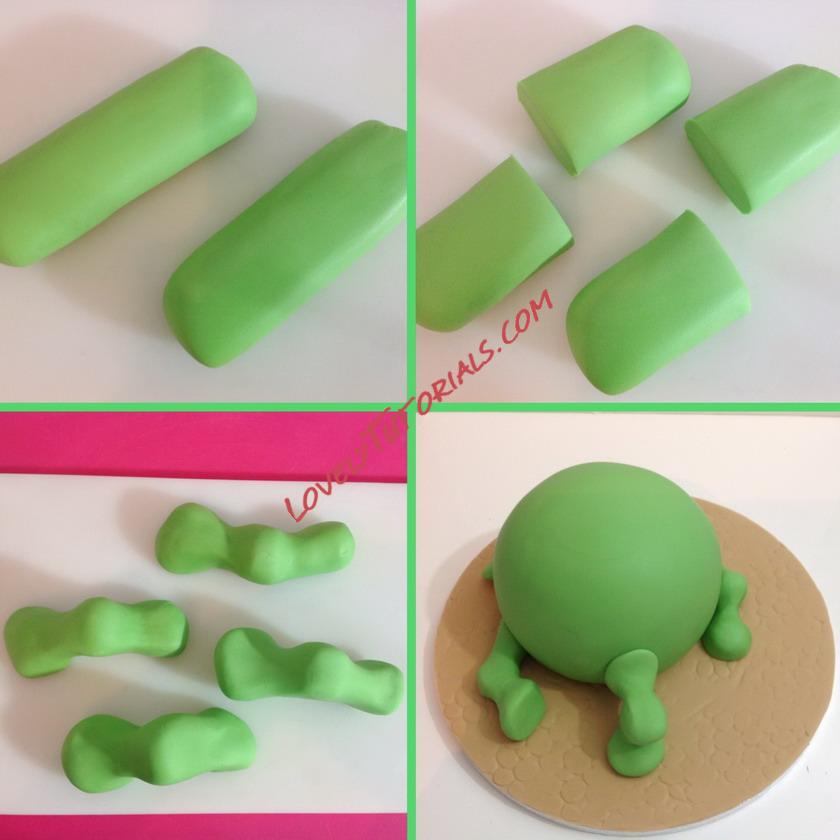
Add half a teaspoon of Tylo powder to the rest of your green fondant (about 300g) and knead well. This will make it a bit firmer and enable it to hold its shape. Keep it wrapped in a sandwich bag and remove one piece at a time to work on.
Roll approximately one third of the fondant into two sausage shapes and cut each in half to create four legs.
Taking one piece at a time, roll each into a sausage shape that is thicker at one end. Hold in the palm of your hand and roll back and forth using two fingers to create Arlo’s knobbly knees in the middle. Bend into the position you want and attach to the body and board using a brush and a little edible glue. I decided to put the legs flat at the back and have one turned in and one bent knee at the front, but of course it’s up to you!
Making Arlo’s neck, tail and toenails
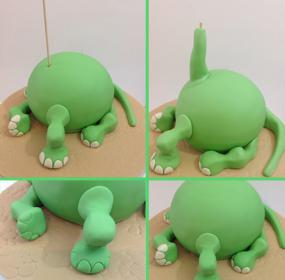
Push the sharp end of the bamboo skewer straight down through the cake into the cake board, gently but firmly, taking care not to break it*. Roll a long sausage of green fondant and push over the skewer to form the neck, mould into shape and attach to the body with a touch of edible glue. Leave about an inch of skewer exposed at the top to attach the head. The neck needs a few hours to dry before attaching the head to keep its shape.
Mark out the toenails or claws with the edge of a round cutter and mix a tiny bit of brown fondant with white to make an ivory colour. Cut out the claws and attach with the edible glue.
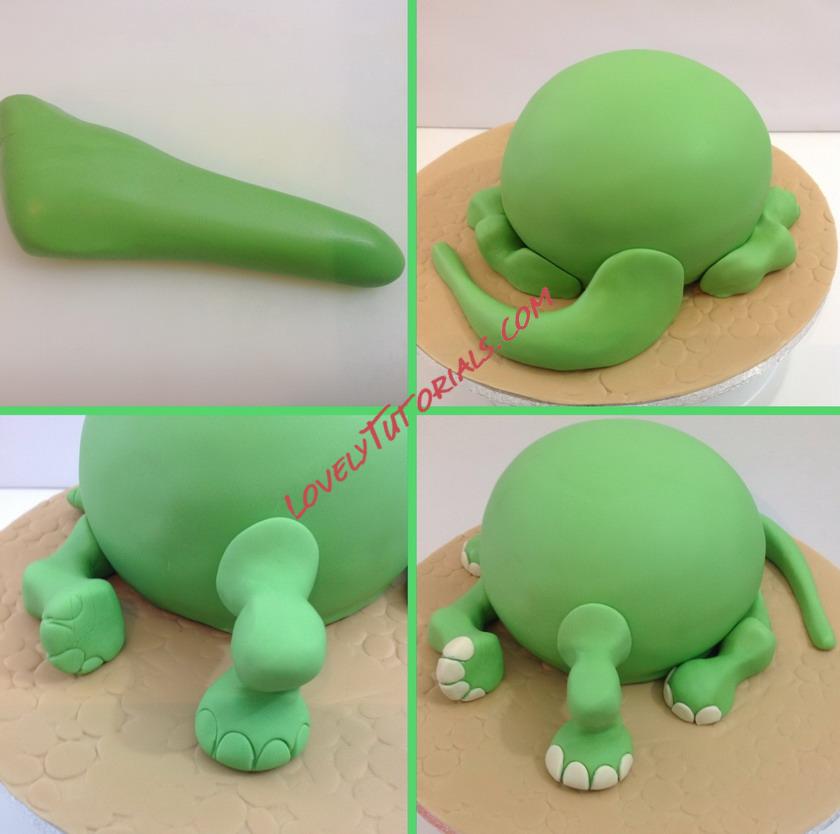
For the tail, roll another sausage shape with one end rolled down into a thin point. Keep the other end thick. Smooth into shape, attach the thicker end to the back of his body and curl the tail around to the front on the board.
*Don’t forget to carefully remove the bamboo skewer before serving the cake
Making Arlo’s head and face
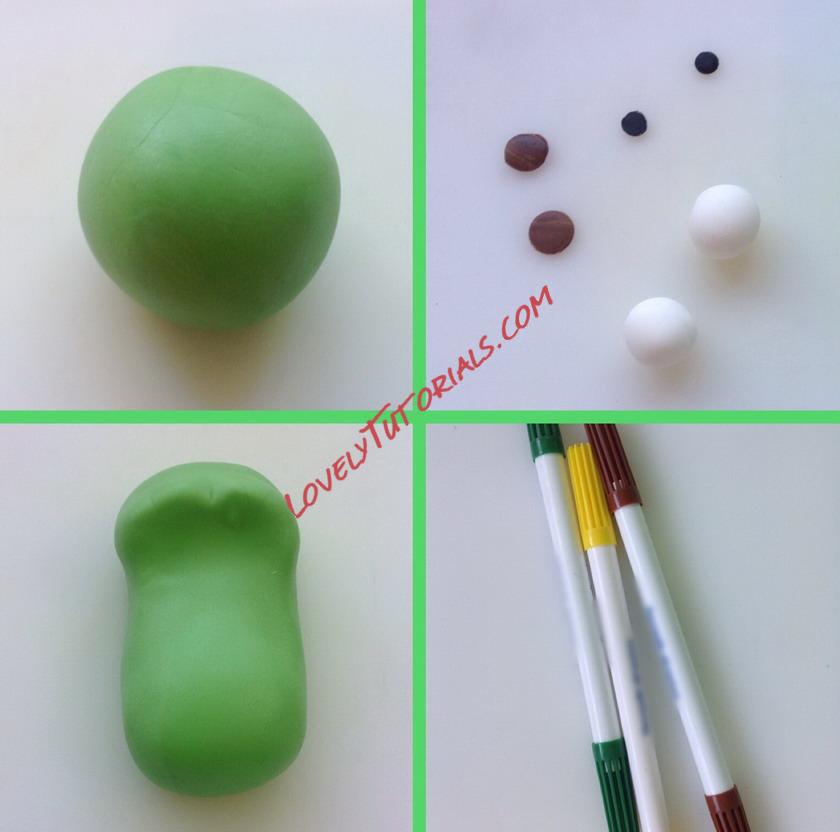
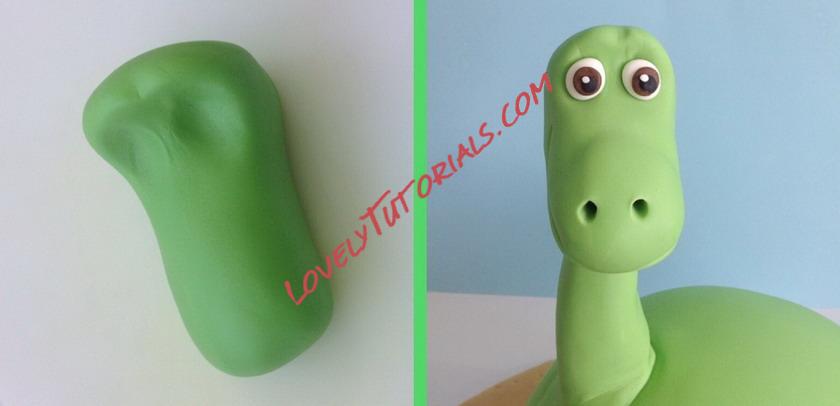
Roll a ball of green fondant into another sausage in the palm of your hand to stop it having a flat bottom and push up on one end to create the head and eyes shapes. Mark up the eye sockets with your finger tip. Roll out a ball of white for the eyes then add a circle of brown, a smaller circle of black and a dot of white. Using a cocktail stick, give Arlo a couple of nostrils, and using the sugarcraft knife or circle/oval cutter, carefully mark out a wide smile.
When you are happy the neck is dry, attach the head to the top of the skewer using a little edible glue. You will need to hold it in place for a few minutes until it is dry.
Making Spot
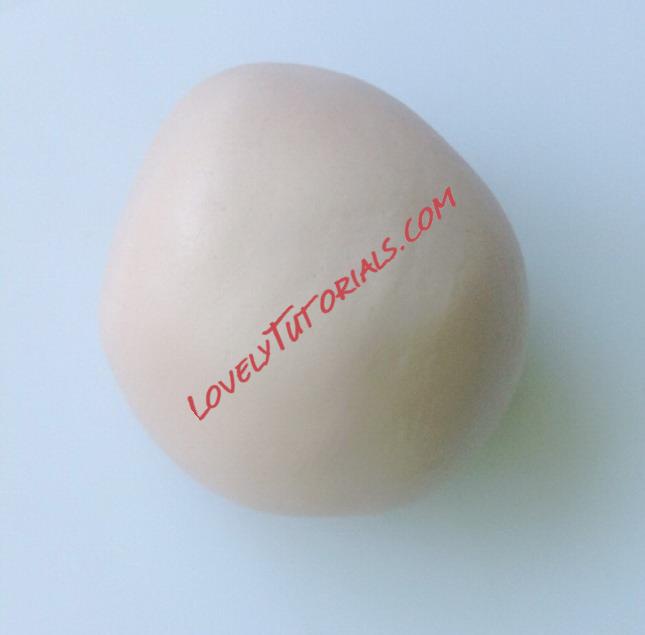
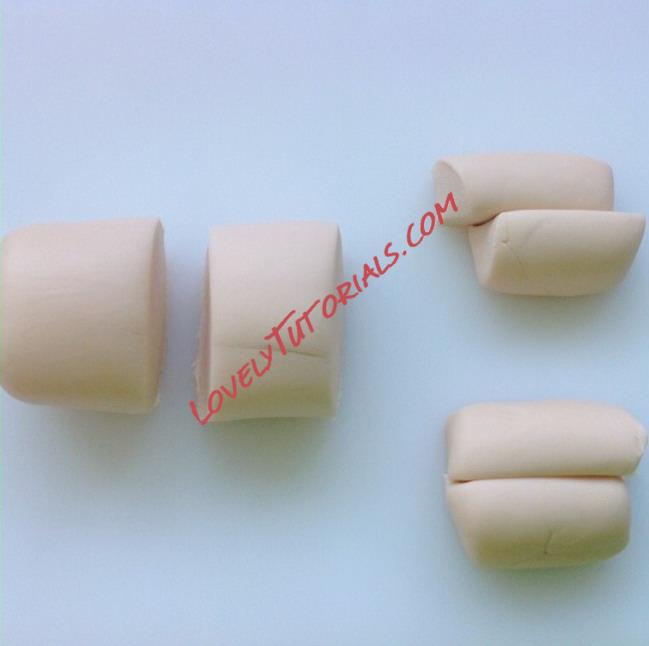
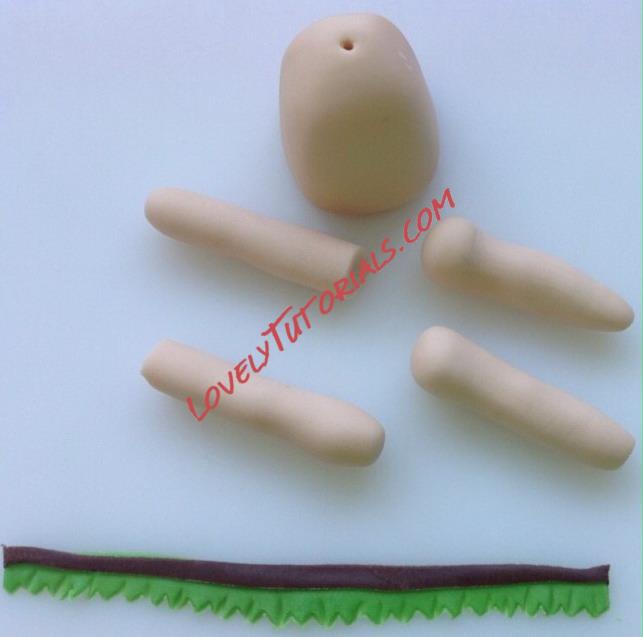
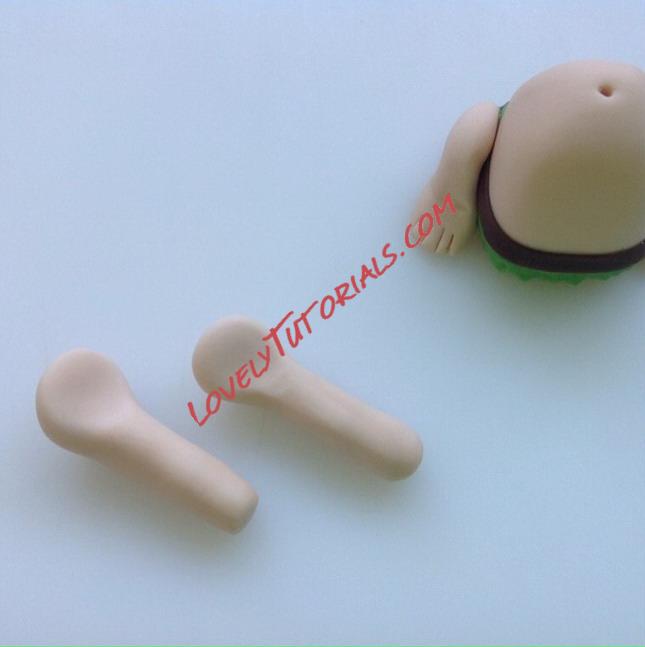
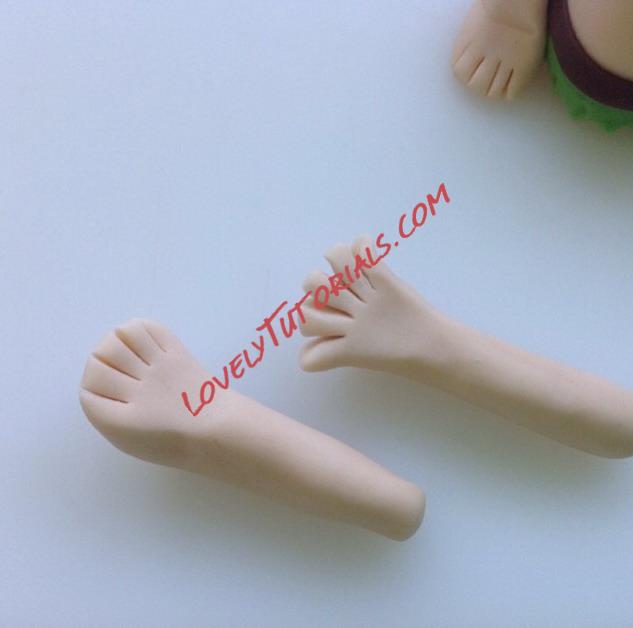
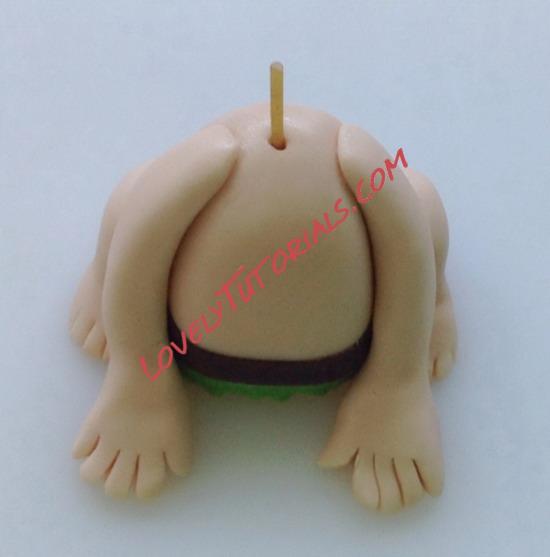
Take a ball of white fondant and add a little brown fondant to create a flesh tone (you can also use a flesh food colouring gel), add a little Tylo powder and knead well.
Roll the ball into a sausage shape and cut out a third for the head, a third for the body and cut the last piece into four to make the arms and legs.
Shape one piece into a ‘flat bottomed egg shape’ for the body. Make a Spot a loincloth by cutting a thin strip of brown and a thin ragged edge strip of green and attach around the base of the body.
Making Spot’s arms and legs
Taking the four smaller pieces, roll out four spoon shapes and carefully cut fingers and toes using a sugarcraft knife.
Bend the legs into a crouching position and attach to the base of the body on each side.
Attach the arms with hands on the floor to the top of the body at the sides in front of the legs.
Push in a length of dry spaghetti to support the head, leaving about an inch exposed.
Making Spot’s head and face
>
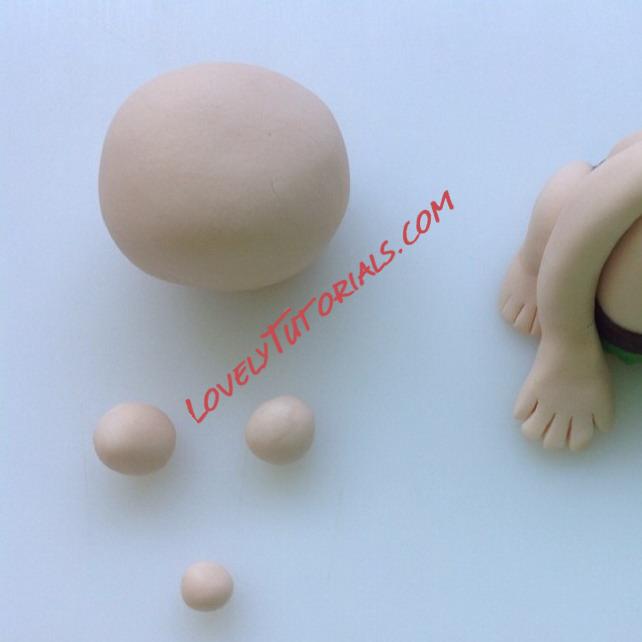
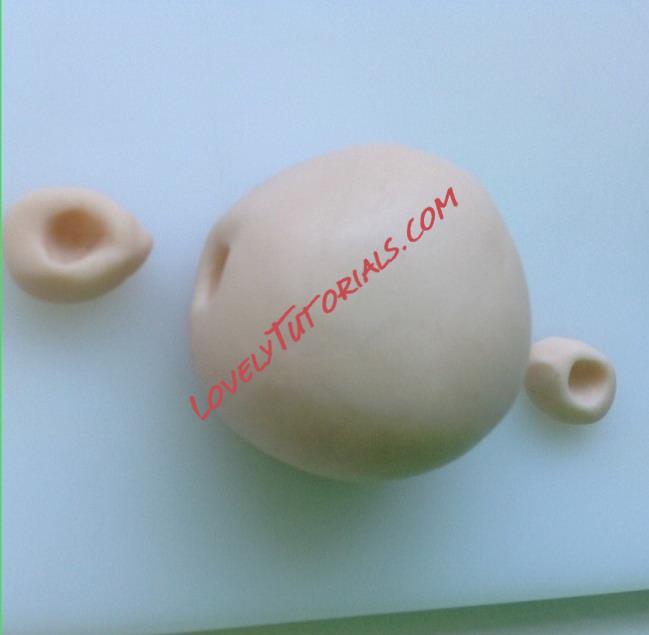
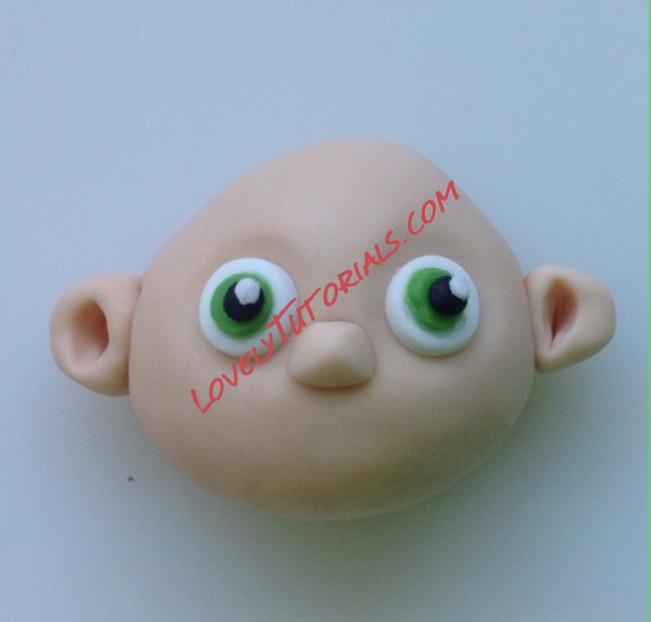

Using the final piece of fondant, roll a large ball along with two smaller balls for his ears and a tiny ball for his nose.
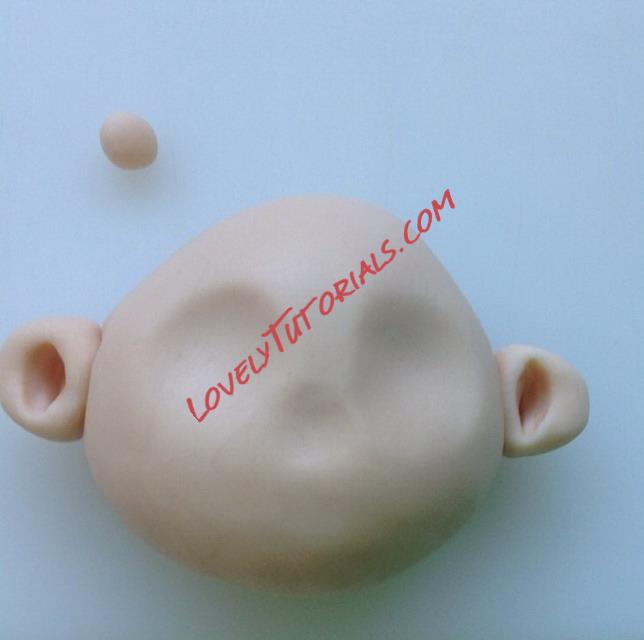
Make a dent in each ear and using edible glue attach to each side of the head.
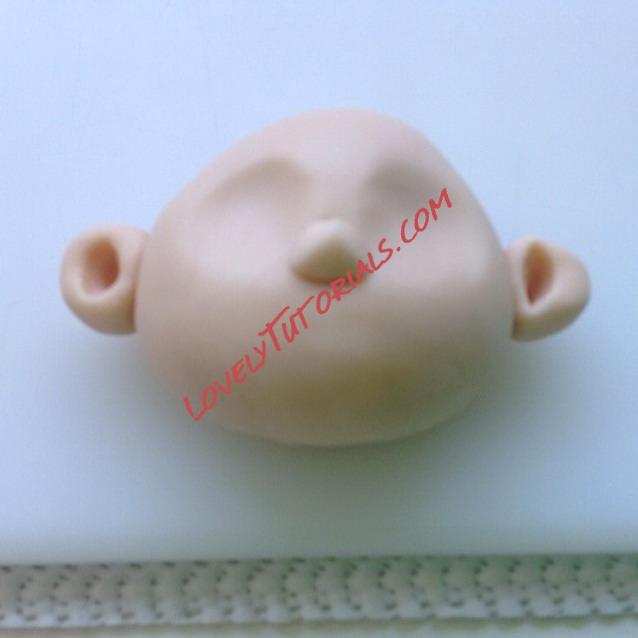
Using your fingers create two eye sockets and attach the nose and the bottom point between the two.
Make the eyes in the same way as Arlo’s but make Spot’s eyes green. Using a sugarcraft knife or a circle cutter, carefully carve out his cheeky grin.
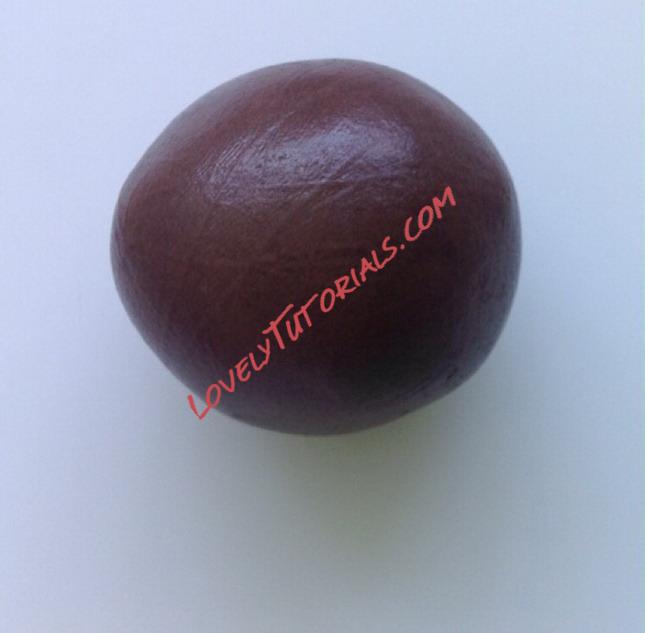
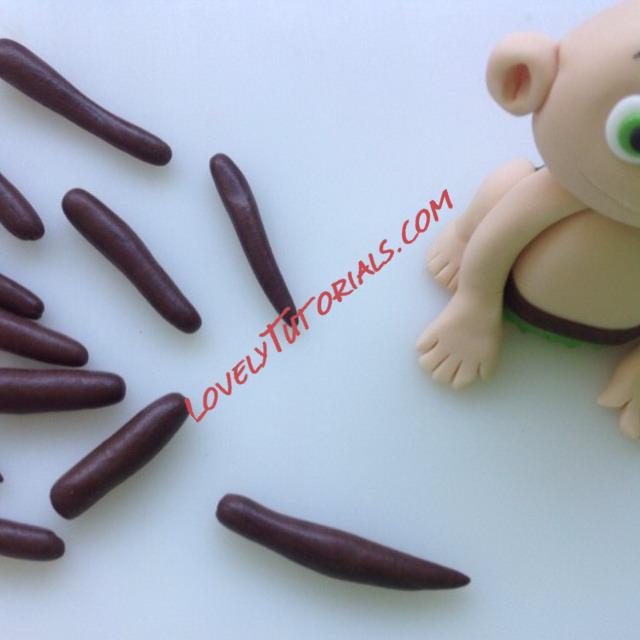
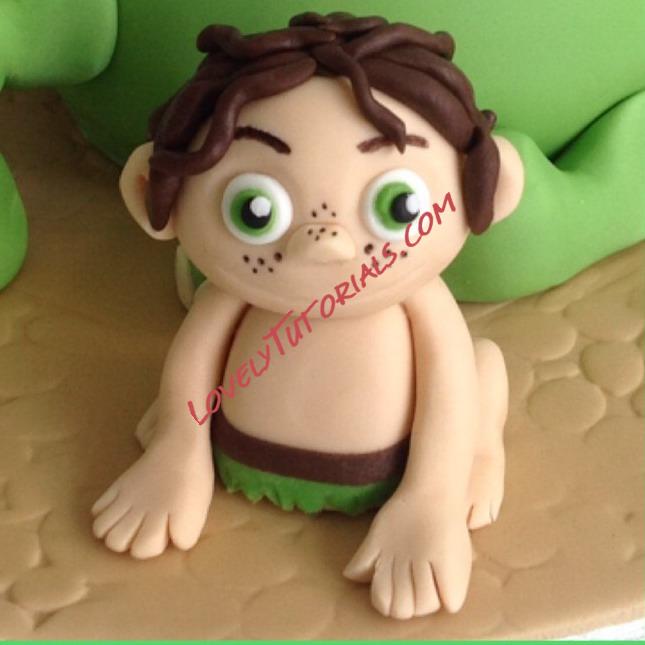
Roll out and twist strands of brown fondant and attach to Spot’s head to create his scruffy hair look.
When he has dried for a while, you can add eyebrows and freckles with a brown edible food colour pen. You can also add a few freckles to Arlo’s nose using the green pen while you’re at it.
Attach Spot to the board in front of Arlo using a touch of edible glue.
Adding the finishing touches
There are a few last touches you can make before you can devour your dinosaur cake!
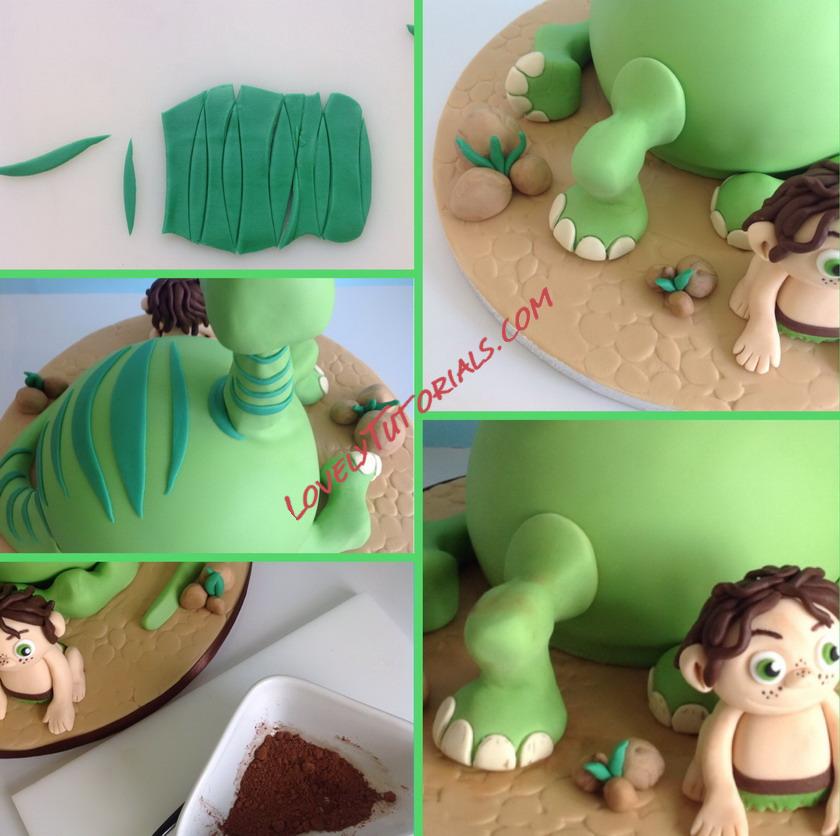
Roll out a small amount of darker green fondant and cut curved stripes. Attach smaller ones to the back of Arlo’s neck, getting bigger over his back and smaller again down his tail.
Mix a tiny piece of brown with the leftover brown to create a marbled stone effect and add a few stone shapes to the board. Place a few twists of darker green fondant between the stone to look like grass.
Lastly, use a small brush to dust a tiny amount of cocoa powder over Arlo’s knees, Spot’s forehead, chest, hands and feet and across the board to give the whole thing a dusty feel.


 Ingredients


