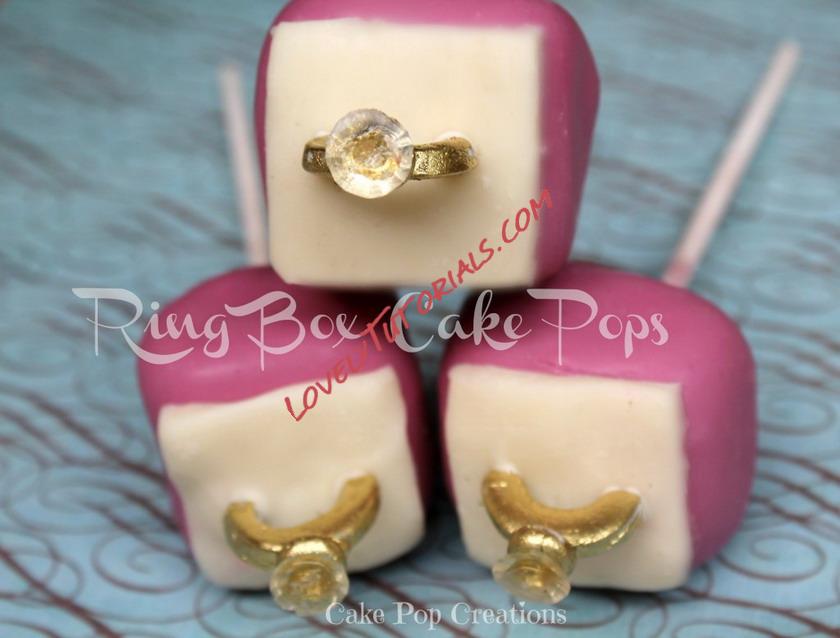
Огромная благодарность cakepopcreations за Мастер-класс
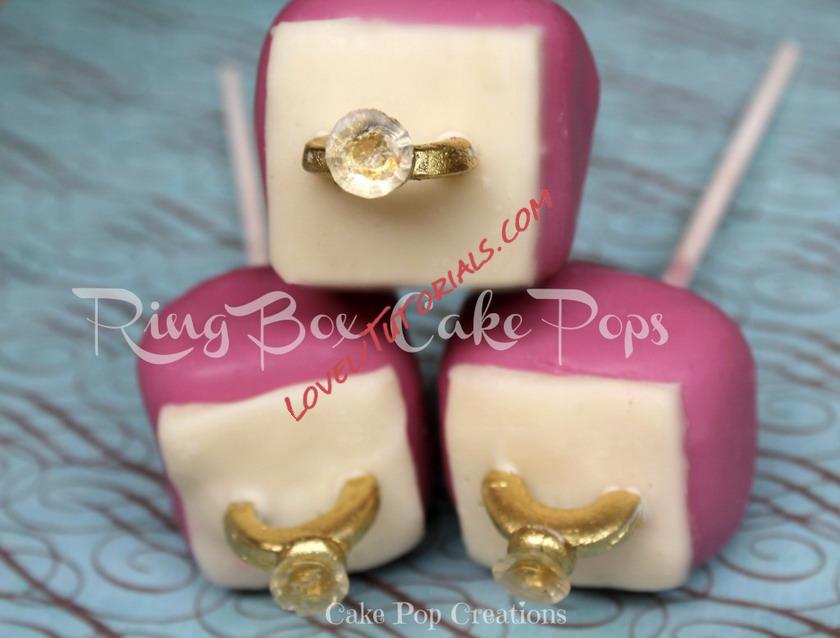
Ring Box Cake Pops Tutorial
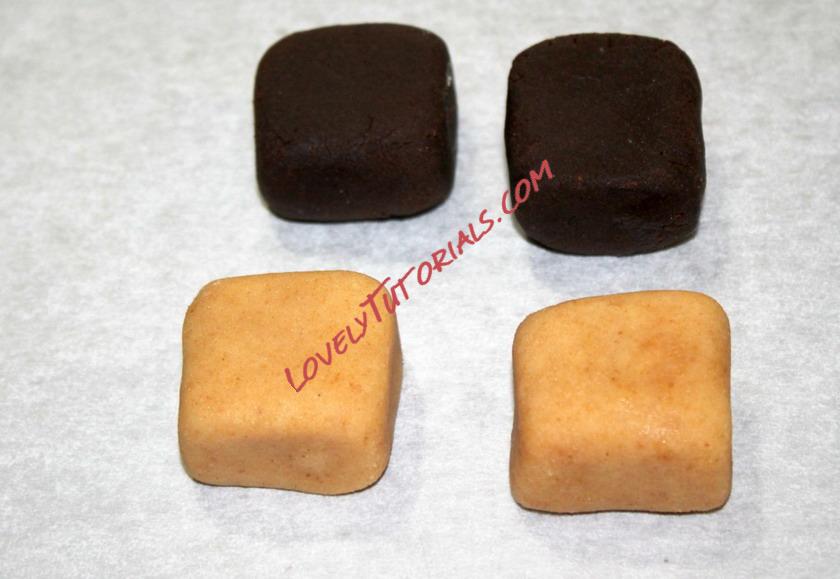
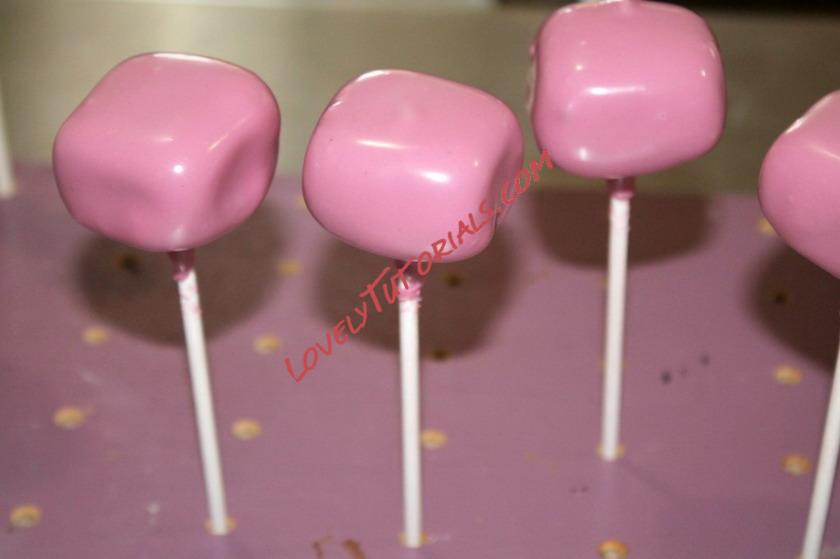
You need to shape your cake balls into a square shape, you can use a square cutter if you find this easier.
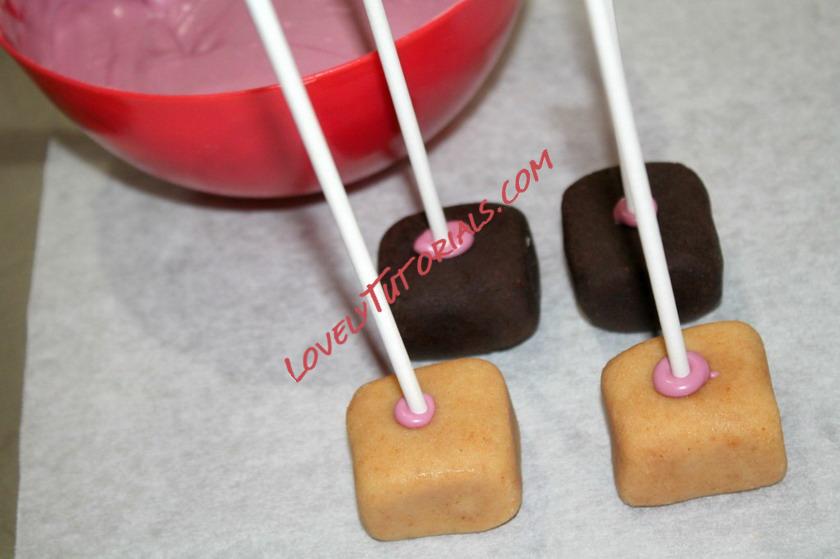
Melt your chocolate and insert your lollipop sticks. I find it easier to do this when they are still upside down on the baking sheet as then it tends to be more level.
Dip your boxes into chocolate and leave to set completely.
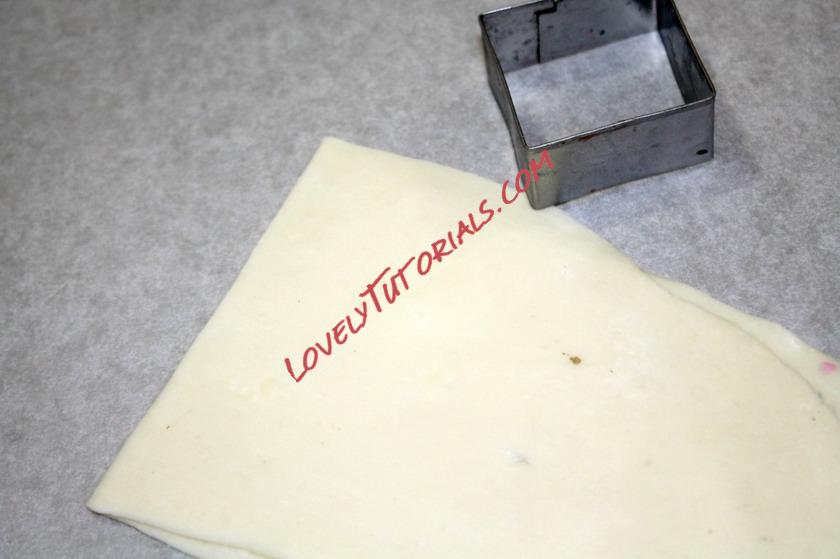
Roll out some modelling chocolate or fondant, double it over and use a square cutter to cut out a cushion for your rings to sit on.
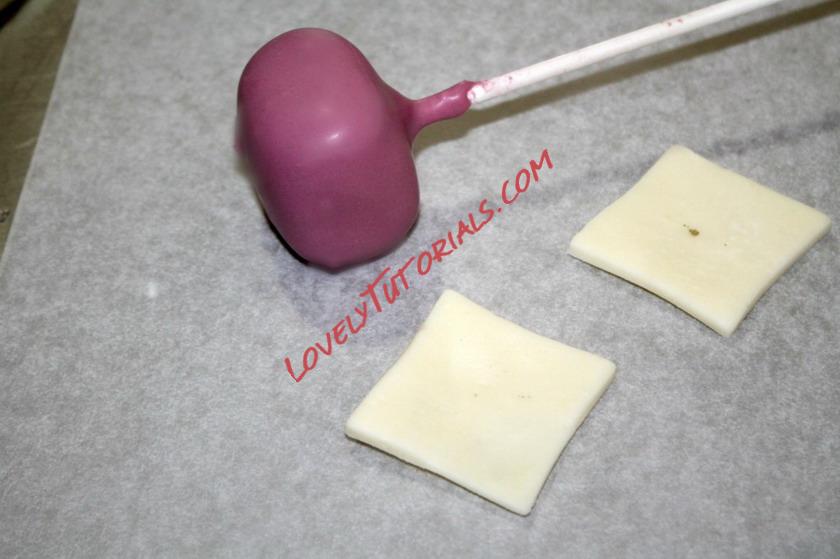
You can tidy up any rough edges with a sharp knife but be careful not to cut into the chocolate covering.
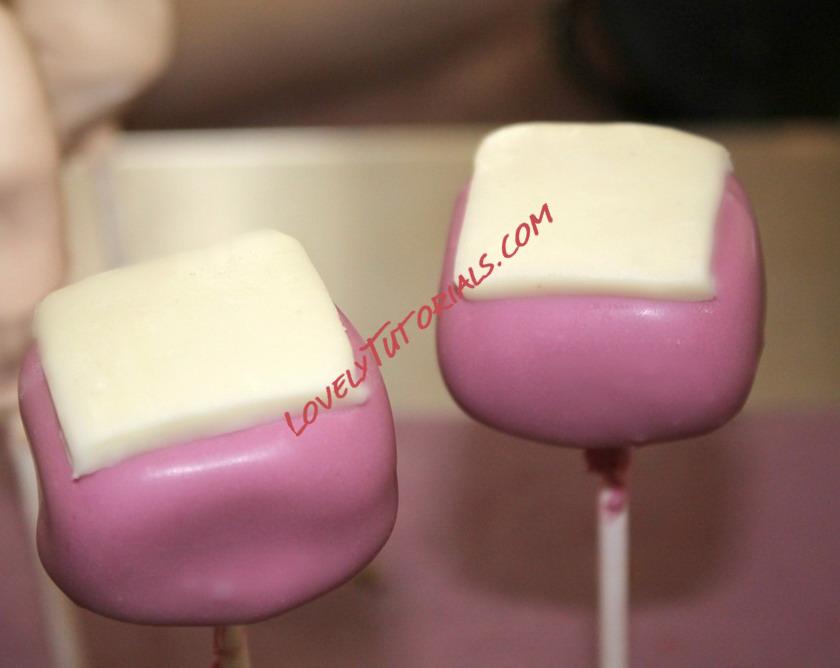
Although I would normally use modelling chocolate to make the rings, the ridiculously hot & humid weather meant Gum paste was the only option.
Roll out your gum paste quite a bit thicker than you normally would and cut out a circle and then using a smaller cutter cut out the middle. Using a sharp knife cut off the bottom to create a half ring.
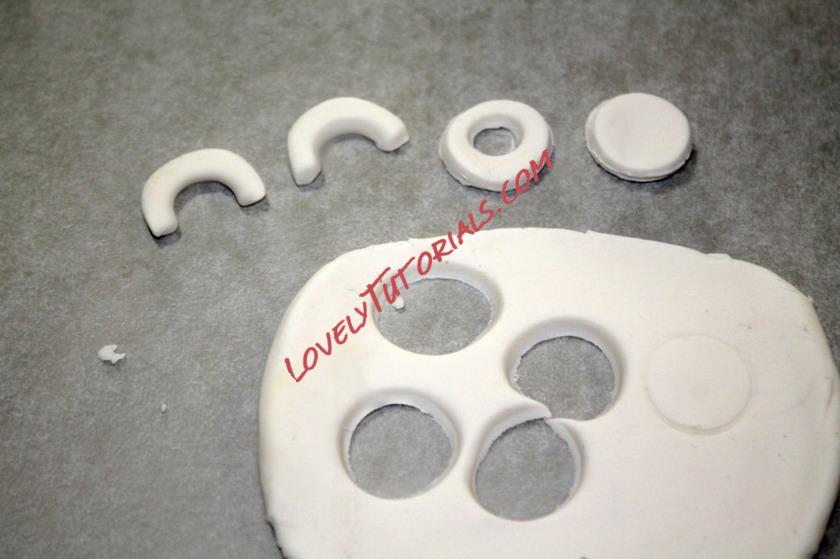
Smooth all around the edges to get rid of any jagged edges and dust with gold or silver luster dust.
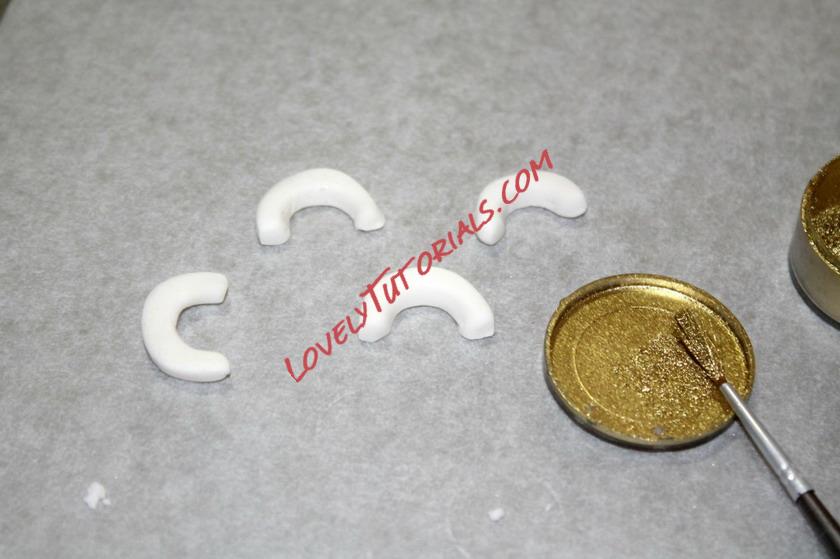
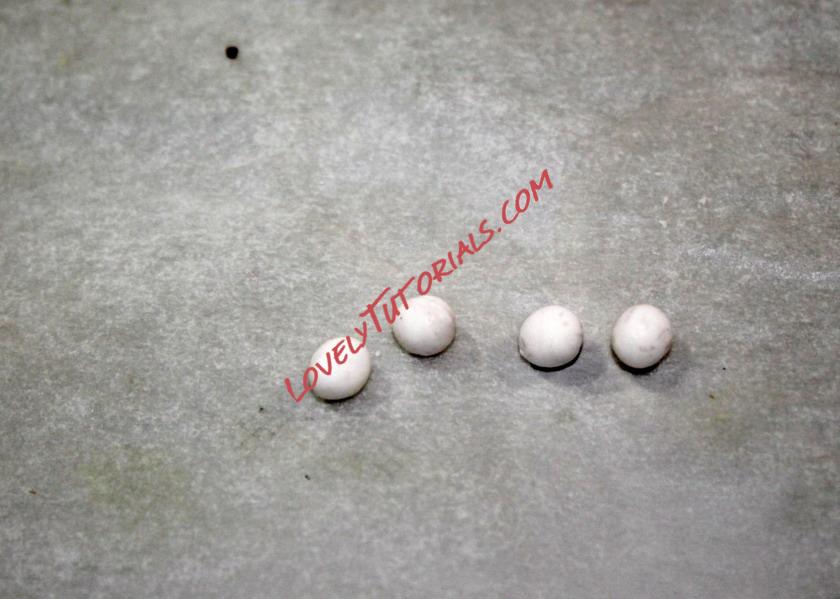
Leave these to harden overnight. Next make some small round balls, use some sugar glue to attach to your hardened rings. Once attached make a small indentation with the end of a rounded paint brush or lollipop stick and dust with luster dust. These will seat your gems as the gems I was using had quite a defined pint on the bottom of them!
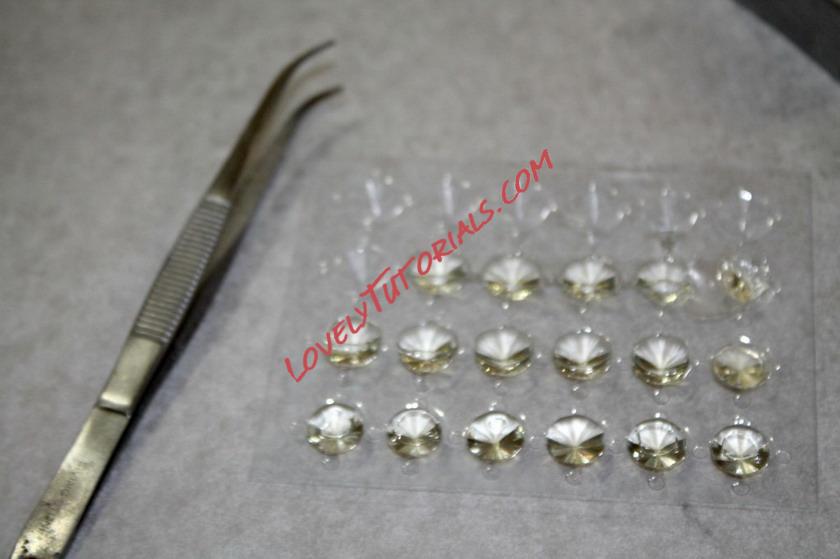
Dab a little sugar glue onto the ring setting and using tweezers place your edible gem on. These gems are made from gelatin as I find the Isomalt go cloudy in humidty.
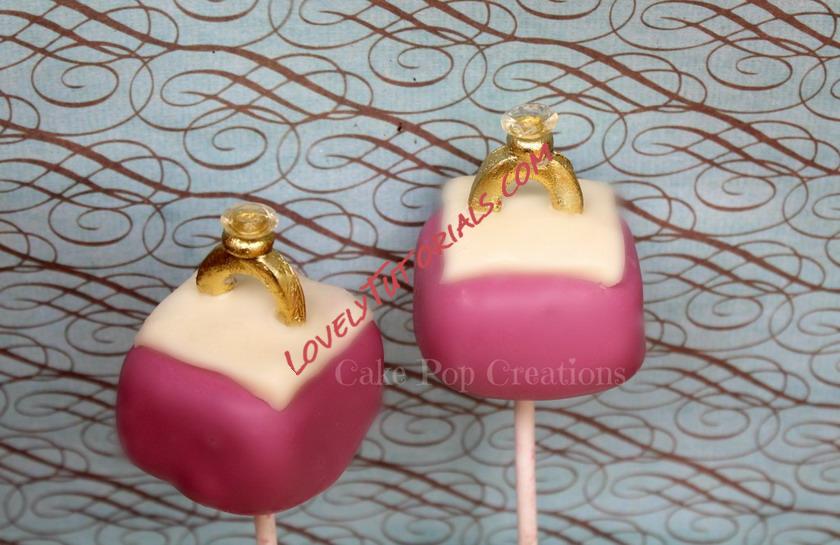
A great idea for Engagement parties, Valentines Day or Weddings!
