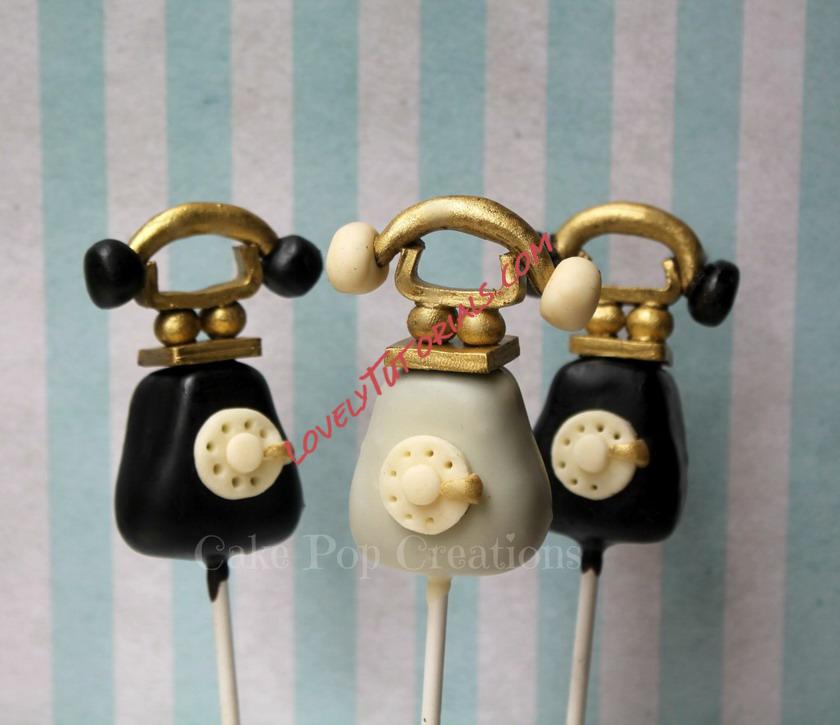
Огромная благодарность cakepopcreations за Мастер-класс
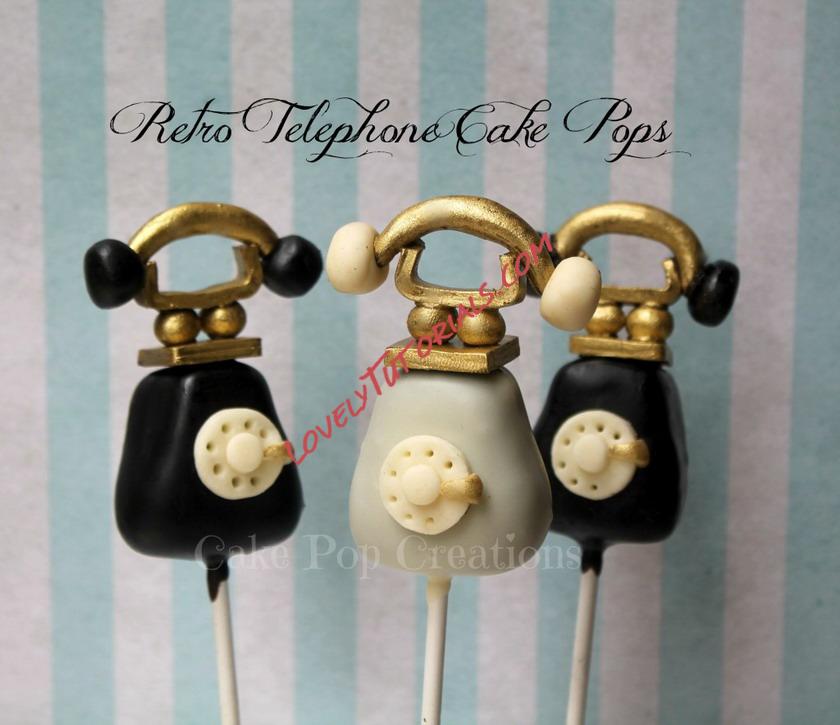
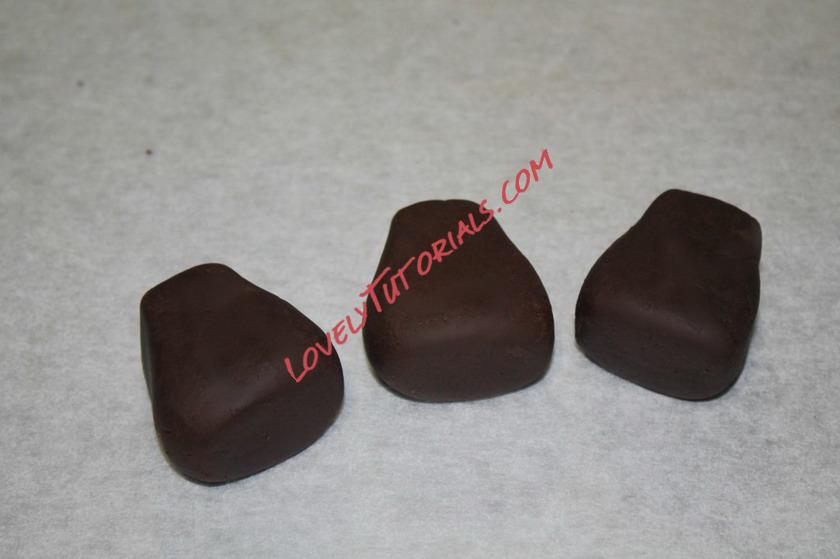
For this retro Telephone Cake Pop Tutorial you need to shape your cake balls into a tapered square kind of shape.
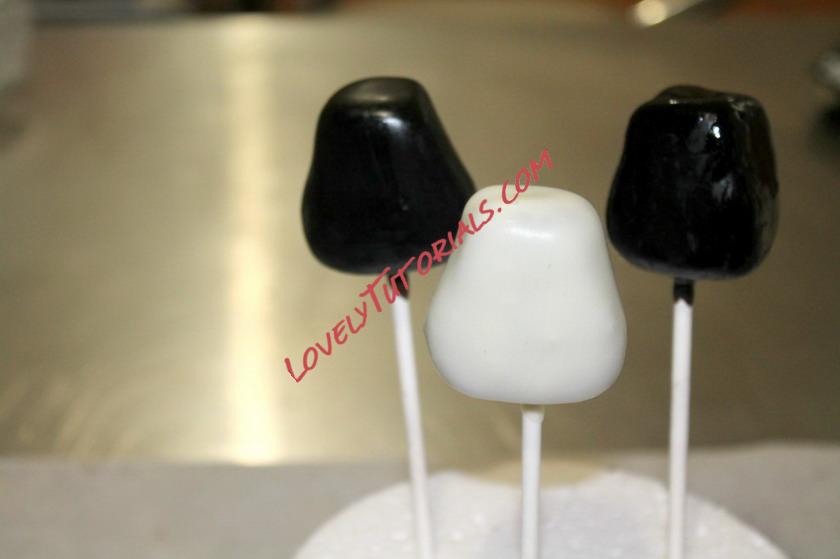
Insert your cake pop sticks and once they are set dip into chocolate.
I have used a dark chocolate modelling chocolate for this tutorial but you can use any medium you are comfortable with e.g fondant, gum paste etc.
Roll out modelling chocolate either using a pasta machine or rolling pin and gather together cutters to make the base plate, bells, handset, ear pieces and dialer. I choose to “bling” my accessories with some Rolkem Super Gold Dust.
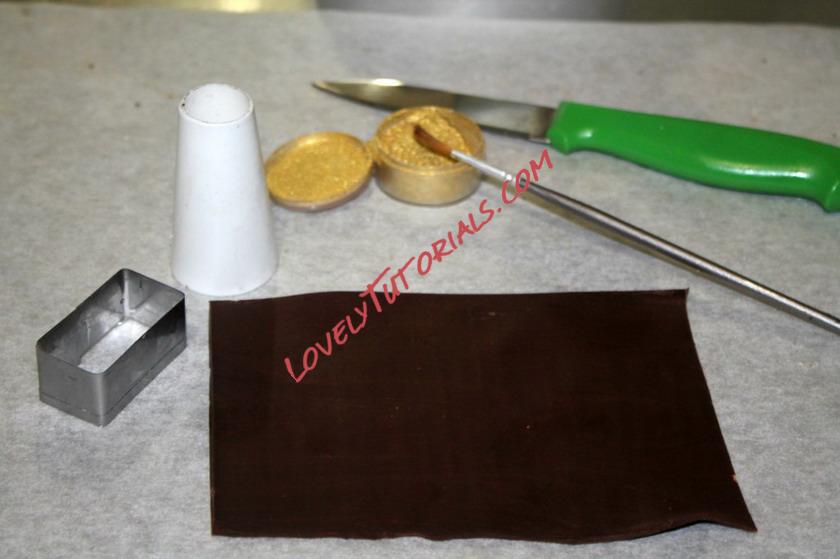
I folded over my modelling chocolate to create a double layer for extra thickness.
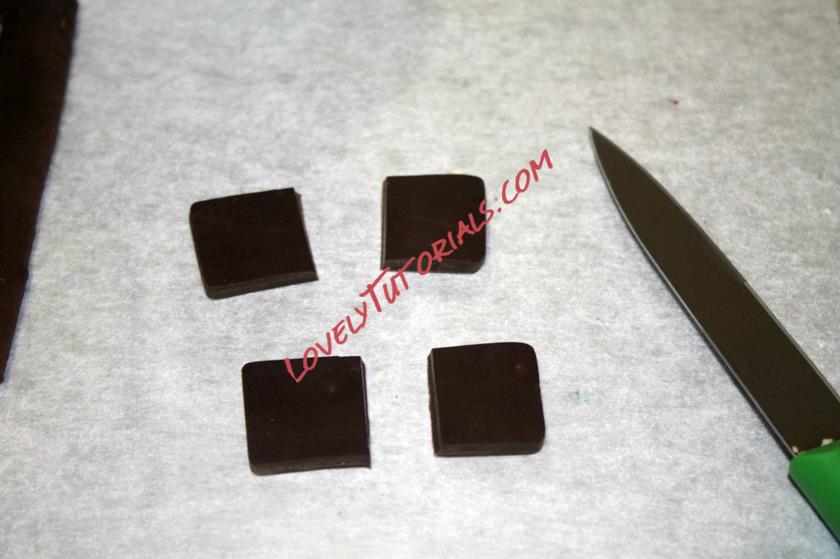
Cut out 3 squares for your base plate.
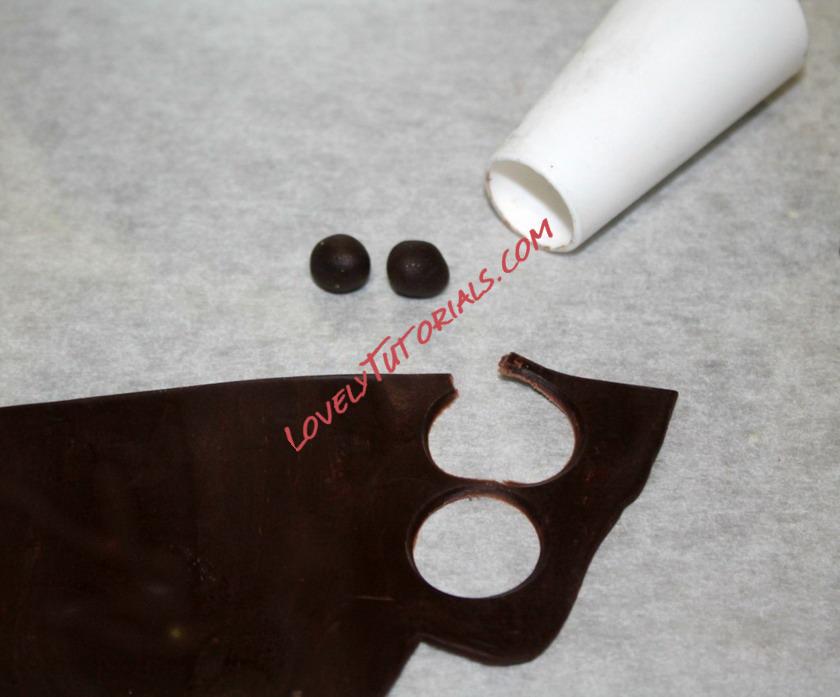
Next using a small circle cutter, (I use a plastic icing tip) cut out the bells and roll into a small ball.
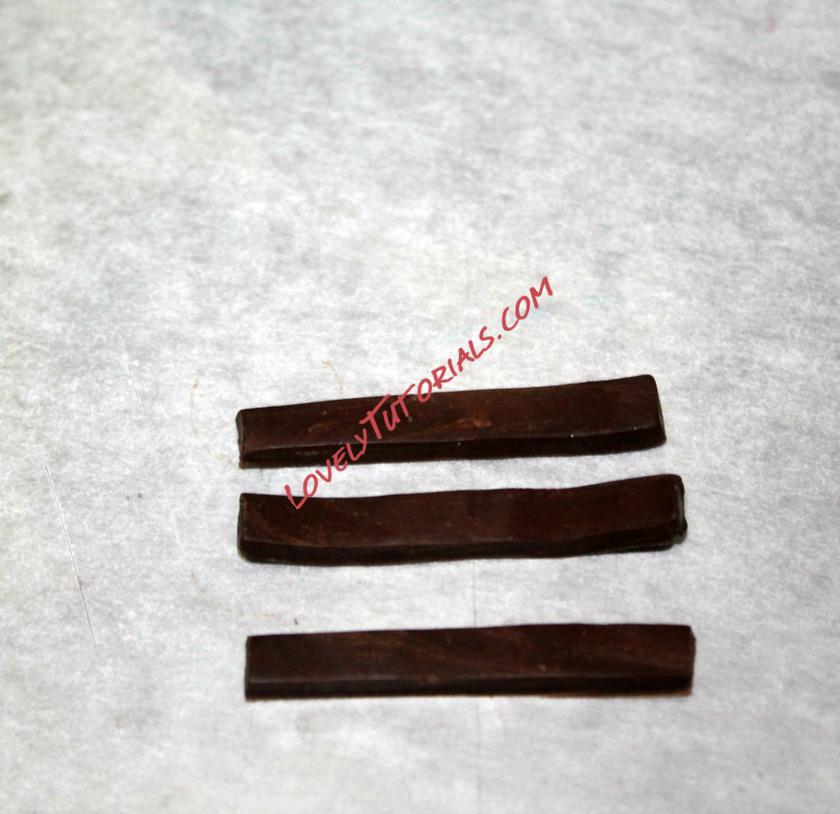
Now cut some straight strips to create the cradle or receivers that the handset sits in. Bend up each end of these strips to create the cradle.
Using a larger circle cutter cut out circles and shape into a handset.
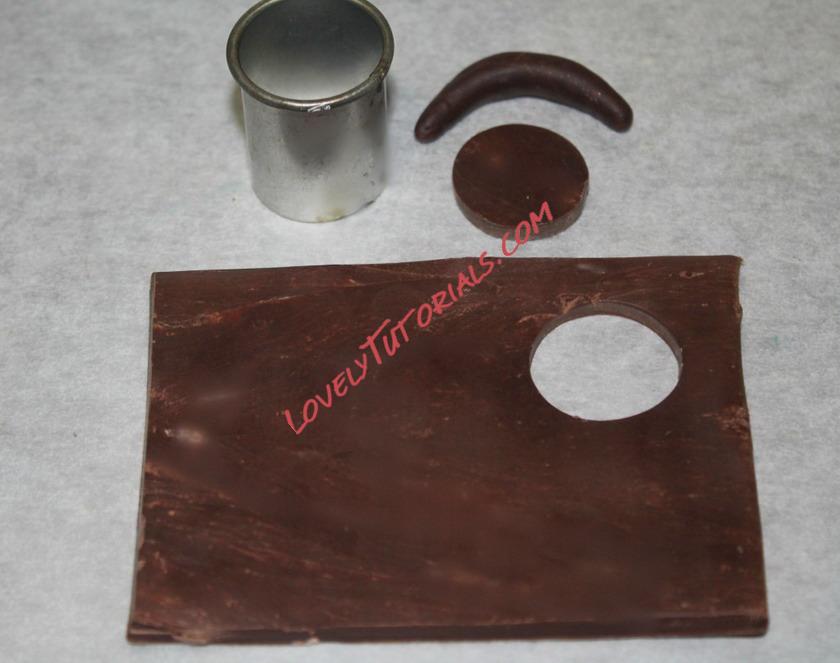
Using the same circle cutter as the handset cut out 2 circles which need to be shaped to create the ear pieces. Attach to you curved headset with a dab of melted chocolate.
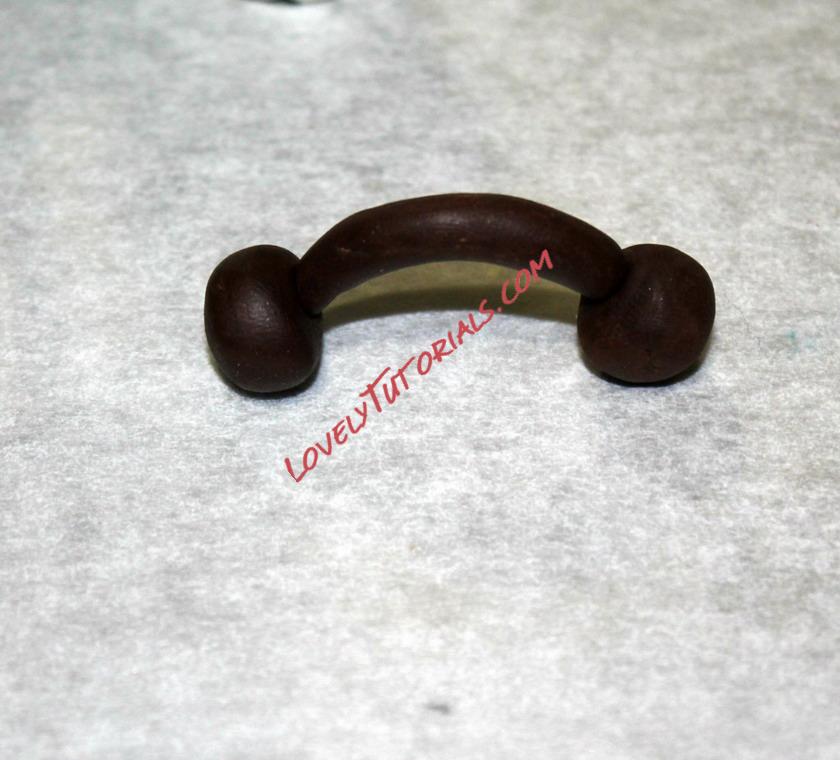
Now it is time to assemble all your pieces together and dust/paint your pieces. Attach each piece together with a dab of melted chocolate.
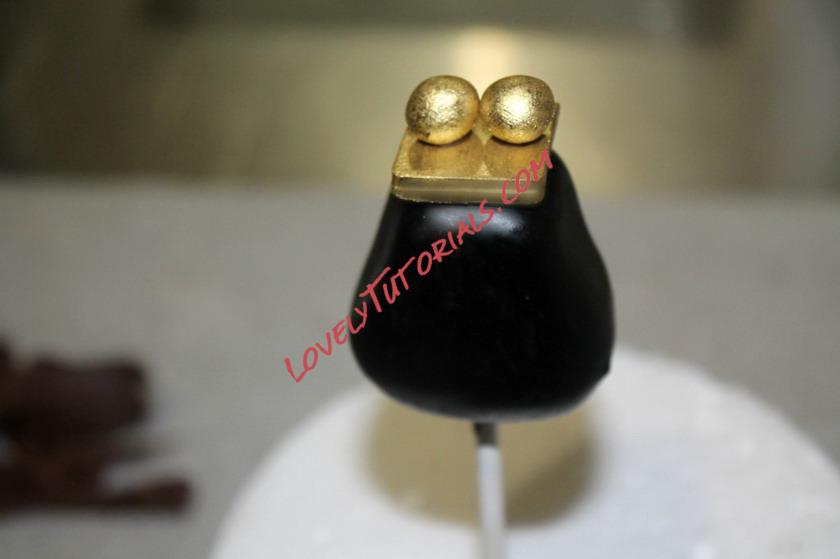
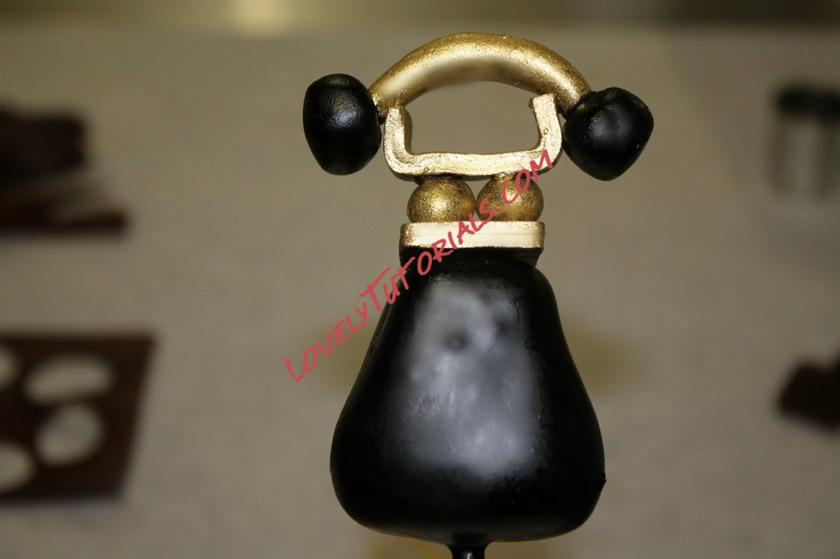
Take some white chocolate and cut out some small circles to make the dailer.
As an added detail you can mold a small piece on the right side of the dialer and dust gold and add a small piece in the centre of the dialer.
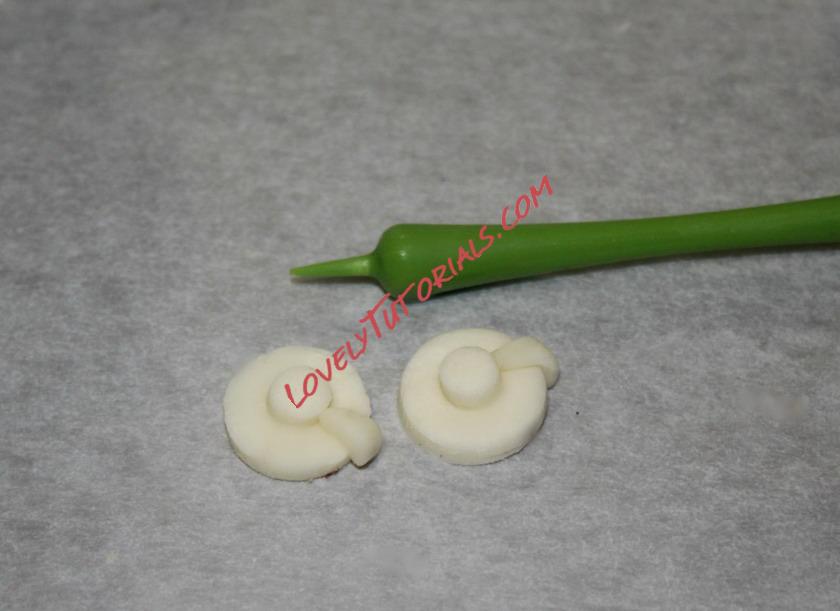
Use a tool to poke holes in the dialer, this is easier if you attach to the cake pop first.
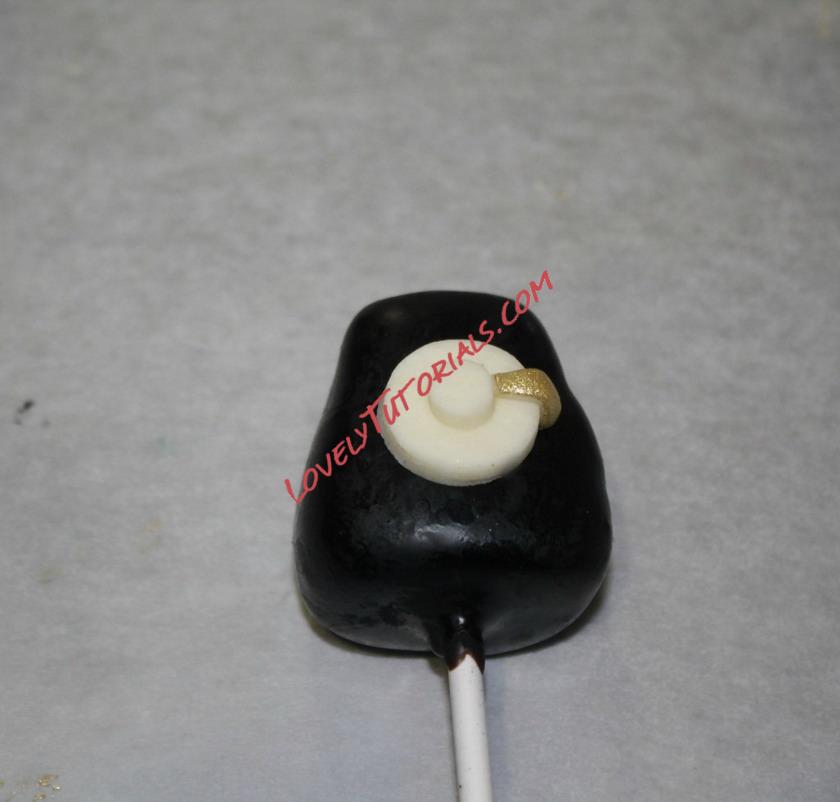
There are no hard and fast rules on what size cutters you should use for each stage. Just eyeball what you think is a right size! It does seem to be a bit fiddle but once you have done one, the next come together a lot easier and faster.
