Огромная благодарность Kris Galicia Brown за Мастер-класс
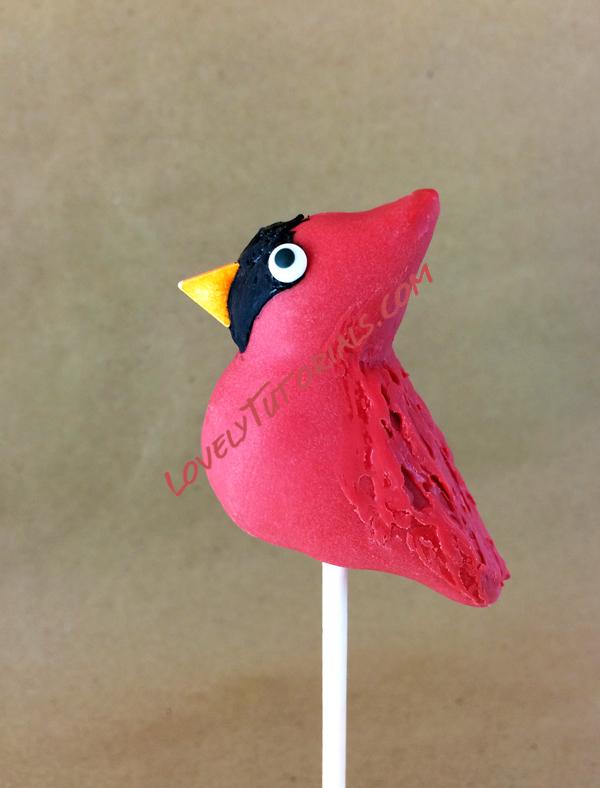 You’ll need:
- Cake pop dough, ready for shaping
- Red candy coating
- Black candy coating (about a dozen wafers for piping)
- Paramount Crystals
- Lollipop sticks
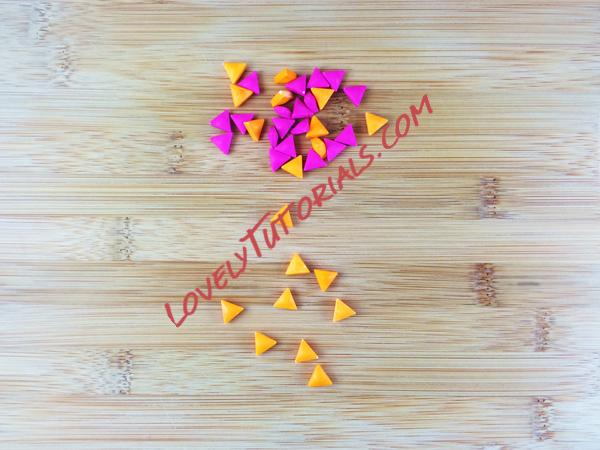
- Orange triangle sprinkles from Wilton’s Animal Sprinkle Set (Orange starburst may be substituted)
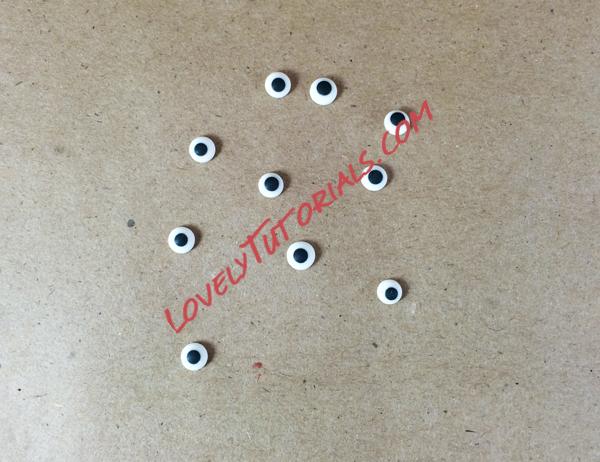
- Eye sprinkles
- Angled tweezers (optional)
- Toothpicks
- Wax paper
- Ziplock bag
- Cake pop stand or styrofoam block
Line your work surface with wax paper.
Shaping the cardinals
My secret to developing cake pops is to break down the subject into simple shapes.
To get familiarized with making and shaping cake pop dough, please refer to this
dough-making and shaping tutorial.
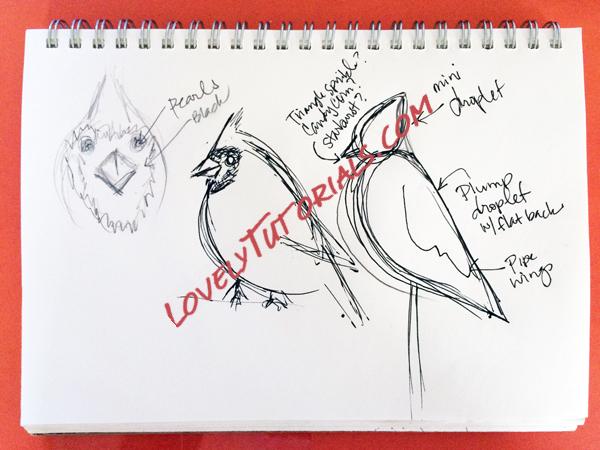
I sketched out a cardinal and then broke it down into shapes, specifically two droplets; one full portion (one scoop) creates the body and half of a scoop creates the cardinal’s head and funky hairstyle.
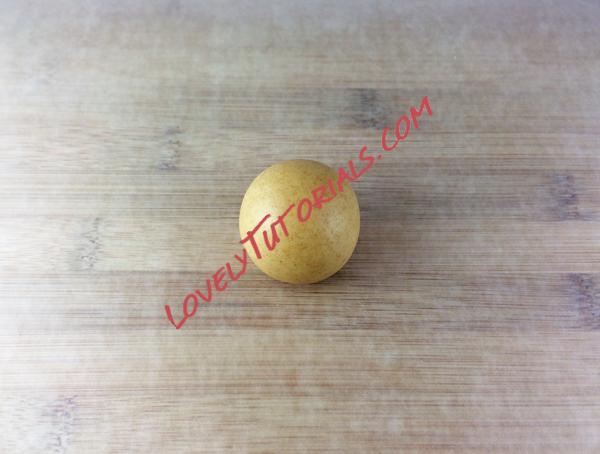 Step 1:
To start, use a cookie scoop to portion the cake pop dough.
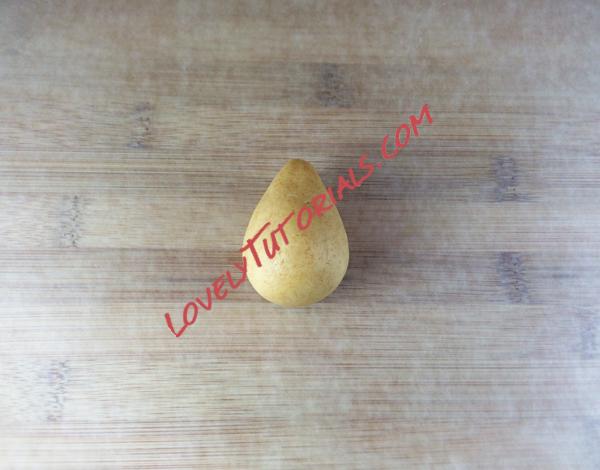 Step 2:
Roll the dough into a ball then into a droplet.
 Step 3:
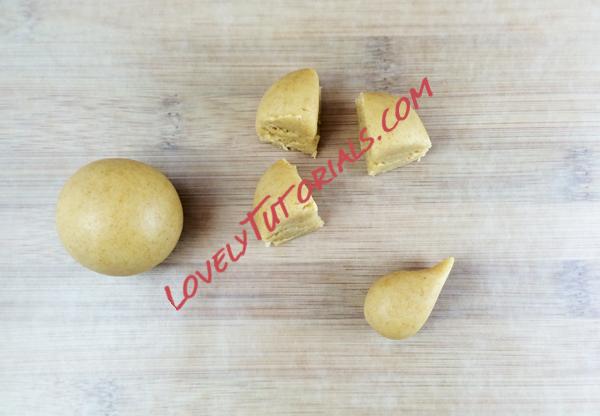
Lay the droplet on it’s side and gently press it flat against your work surface so that one side of the droplet is flat and squared off. It should resemble the shape of a whistle. This will be the body and tail.
 Step 4:
Scoop another portion of cake pop dough and cut it in quarters. Roll each quarter in the same fashion as the body; into a droplet and then into a whistle shape. These will make the heads. Note: one portion of cake pop dough will equal four heads.
Step 5:
Repeat for all pieces and refrigerate for at least 10 minutes.
Coating the birds
While all the pieces are chilling in the fridge, use this time to gather materials, like sticks, toothpicks, sprinkles and cake pop stand. Please refer to this tutorial if you need a review or
tips on handling candy coating and dipping. These birds will require two dips. I will explain this detail further within the steps.
Step 1:
Remove pieces from the refrigerator and let sit at room temperature as you melt the candy coating.
 Step 2:
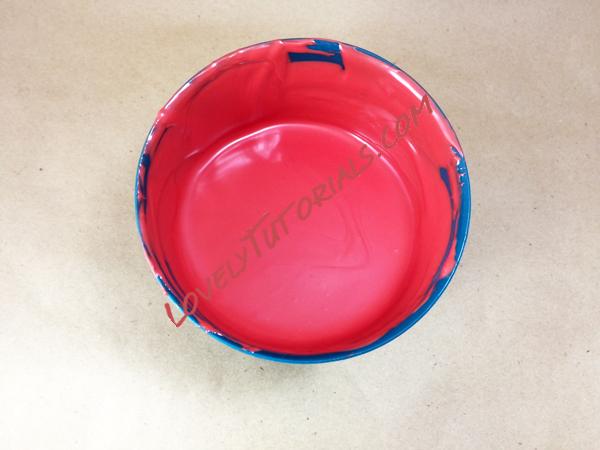
Melt red candy coating in a microwave-safe bowl. I prefer silicone bowls or plastic bowls or cups that hold at least one fluid cup. Do this by microwaving the wafers for 1 minute at 50% power. Stir. Then microwave at 30-second (50% power) intervals, stirring after every interval, until melted. Use Paramount Crystals to thin out the candy coating if needed. Set aside and let rest for a few minutes.
Tip: Red candy coating is sometimes a difficult color to work with. Add a few white wafers (which has a more elastic-like consistency) to the bowl of red. The depth of the color will not be compromised and it will help the overall texture.
 Step 3:
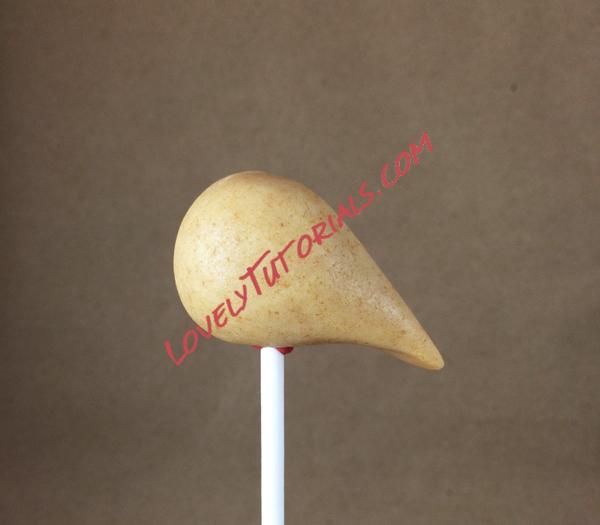
Dip ⅓ inch of a cake pop stick into candy coating and push into the bottom of the bodies at an angle, until it’s about halfway through. Do this for the remaining pieces.
 Step 4:
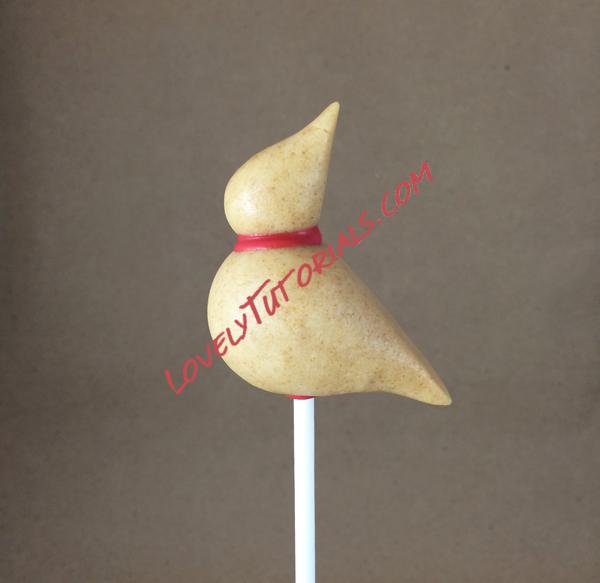
Use the candy coating to “glue” the heads onto the bodies. it’s ok to be liberal with the amount of coating you use to have it stick properly. Do this for all the birds and let sit for a couple of minutes until the candy has set and hardened.
 Step 5:
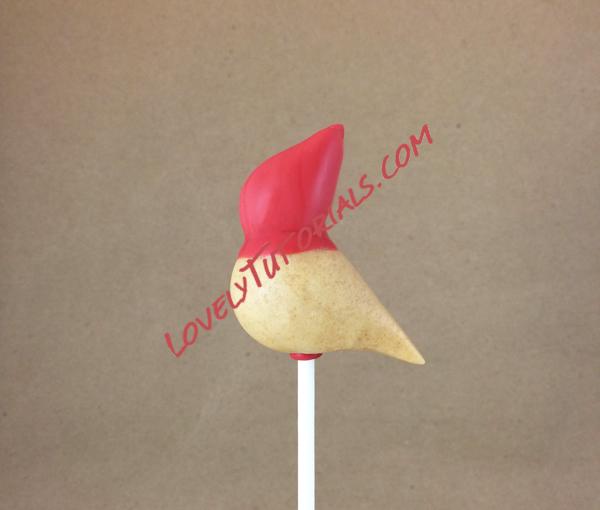
The first dip you’ll do is a partial dip, with the head only, up to the neck portion where the two cake pieces meet. The goal is to fill that neck space and fatten up the head a bit. Place on the cake pop stand and let dry. Do this for all the birds.
 Step 6:
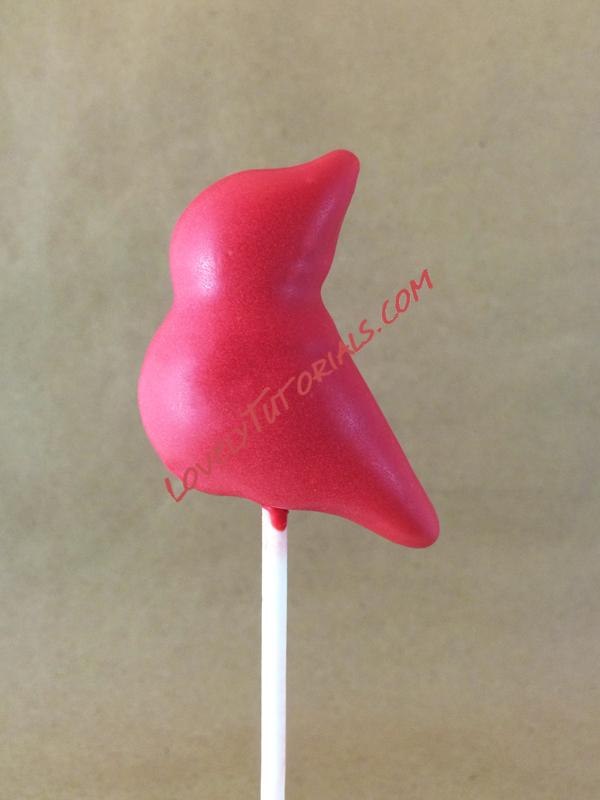
Dip the entire cake pop in the red coating. Gently shake off the excess coating. Place on stand and let dry completely.
Decorating the cardinals
Step 1:
Melt the black candy wafers and place in a ziplock bag. You’ll be using this to pipe by snipping the tip of the corner of the bag. If at anytime you find that the candy coating is hardening, microwave the bag for 5-10 seconds at 50% power to soften again. Do this as needed.
 Step 2:
Pipe the front facial area of the cardinal. The use of a toothpick helps to spread the coating. Immediately attach the beak by gently pressing it in while the coating is still wet.
Tip: Orange Starburst can be substituted for the beaks. Use a sharp knife to cut each Starburst into quarters and then cutting the quarters diagonally in half to make triangular pieces.
 Step 3:
Quickly place eyes on the sides along the edge of the black. A pair of angled tweezers can be used to place the eyes onto the cake pops. Repeat for all the birds.
Tip: Eye sprinkles can be found in cake decorating supply shops. You can also pipe a white dollop and a black pupil within it.
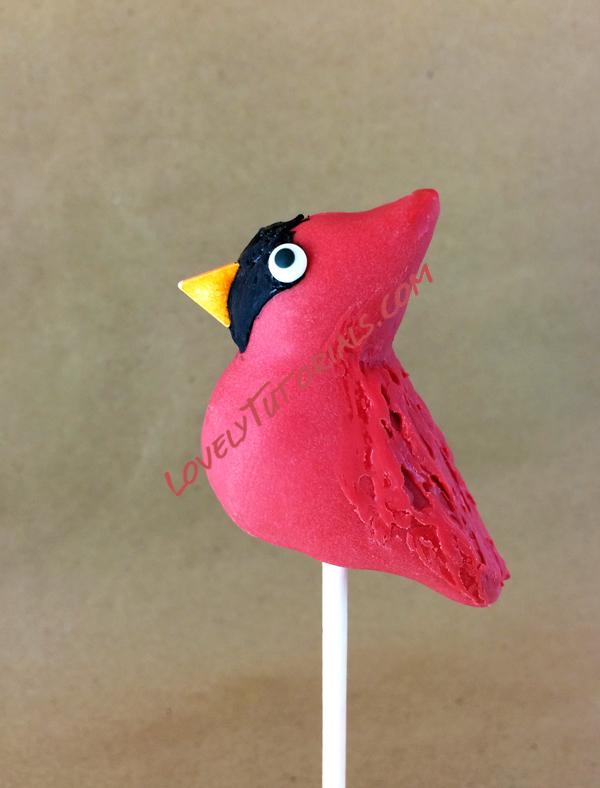 Step 4:
Use the remaining red coating to texturize along the back of the cardinal to suggest wings. Place on stand and let dry completely.


