Огромная благодарность Автору Rose за Мастер-класс
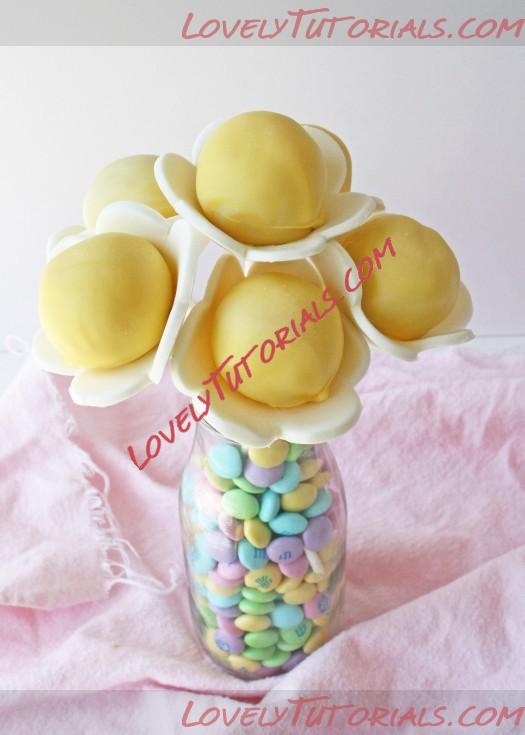
Happy Spring!! I want to start by telling you how I was inspired to do this bouquet of Spring Flower Cake Pops. Then I’ll tell you how to make them!
You see, I’ve always loved abstract art and particularly “pop art”. So I had an idea to do these cake pops which were partially inspired by a painting of abstract flowers or “pop art”. And I thought it was even better that my cake “pops” were based on “pop” art flowers!
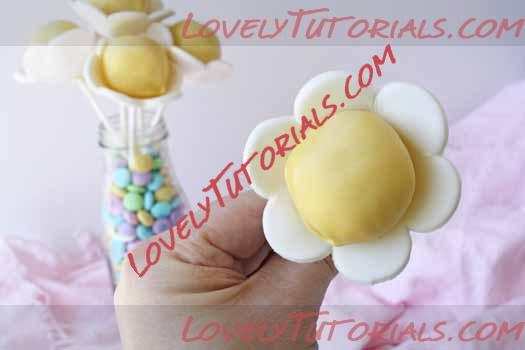
Isn’t that a fun play on words? Pop Art Spring Flower Cake Pops? No? Too much? Oh well

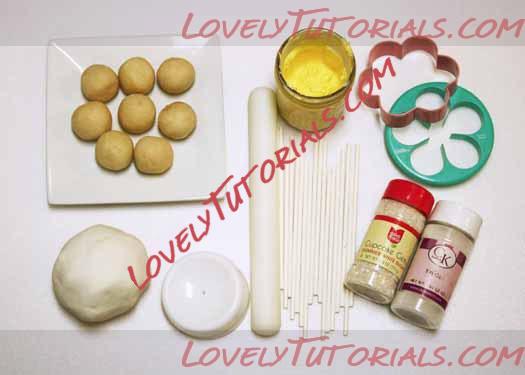 Here’s what you’ll need to make these simple flower cake pops:
Cake Ball Dough rolled into balls (about 1.25 inches)
Yellow Candy Melts (or white chocolate colored yellow)
Lollipop Sticks
Flower Forming Cups
Small Rolling Pin
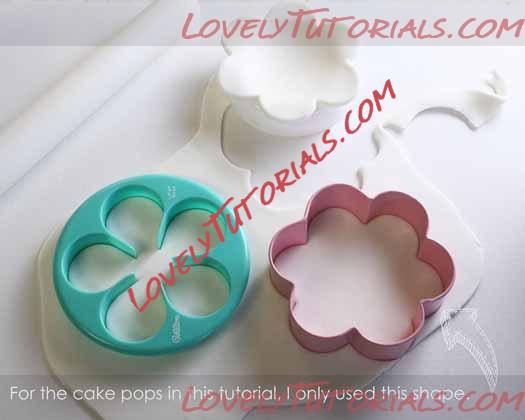
Flower Shaped Cookie Cutter
Tylose Powder
White fondant
Small Paint Brush (not pictured)
White Sanding Sugar (optional)
Step 1:
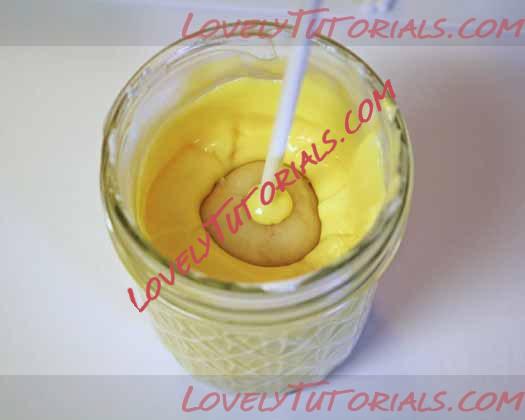
Dip your cake pop stick into the melted chocolate and insert it into the cake ball.
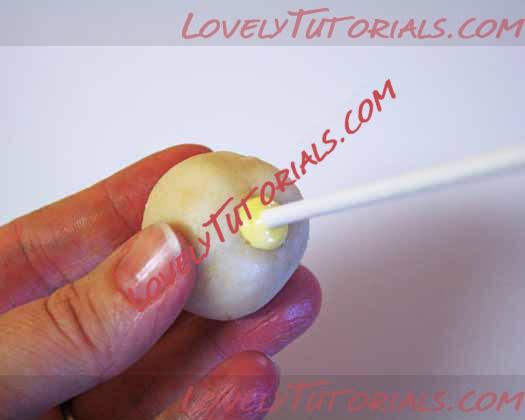 Step 2:
Dip the entire cake pop into the chocolate until well coated.
 Step 3
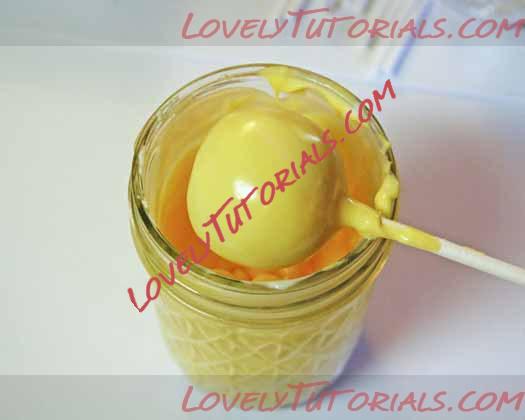
Tap the hand holding the cake pop stick until all the excess chocolate drips off.
 Step 4:
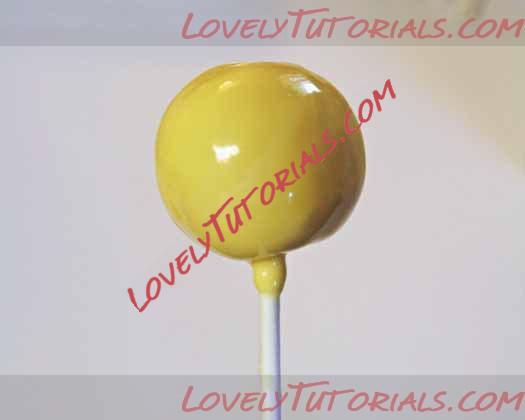
Place the cake pop in a Styrofoam block to dry.
While the cake pops dry, we’re going to make the flower petals.
Step 5:
Sprinkle Tylose powder over your fondant and knead it in. I use approximately 1 teaspoon of Tylose per 1 pound of fondant.
Step 6:
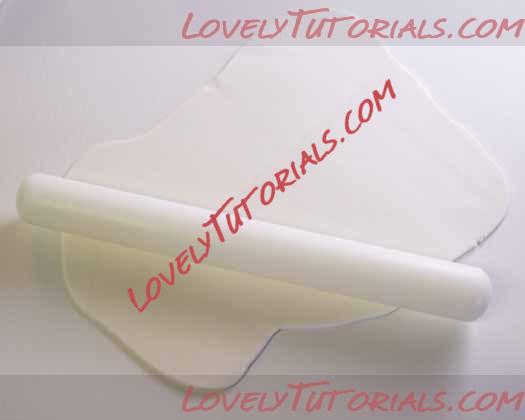
Roll out the fondant until it’s pretty thin (2-3mm).
 Step 7:
Cut out your flower shapes and place them in the flower forming cups. I ended up not liking the rose shapes for these cake pops and I used the more basic flower shape.
 Step 8:
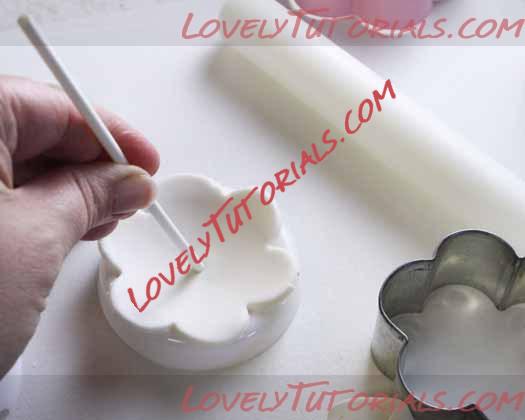
Use a lollipop stick to poke a hole in the center of each flower.
 Step 9:
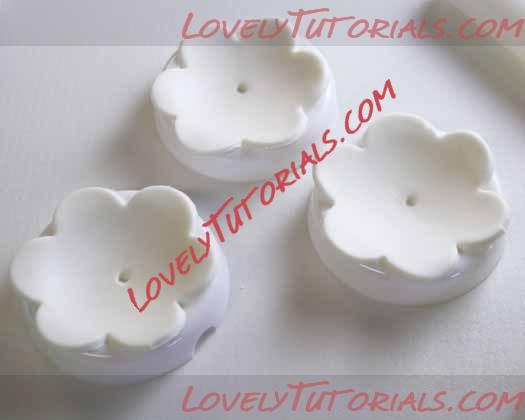
Allow the flower shapes to dry/harden for at least 10-15 minutes. You don’t want them completely hard, but a little stiff so they’ll hold shape.
 Once cake pops and the flowers have dried for a little while, we’re going to assemble them!
Step 10:
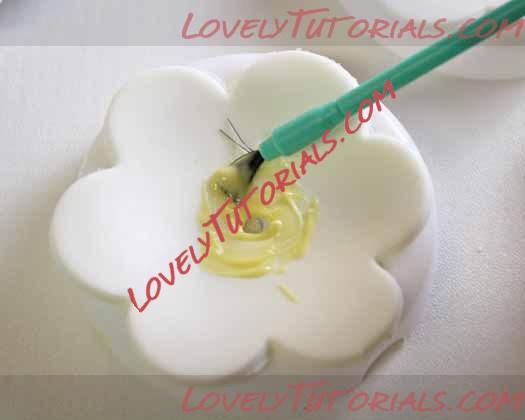
Start by using the paint brush to paint a little melted chocolate onto the center of each flower.
 Step 11:
Working quickly before the chocolate sets, slide the flower up the lollipop stick to the cake ball.
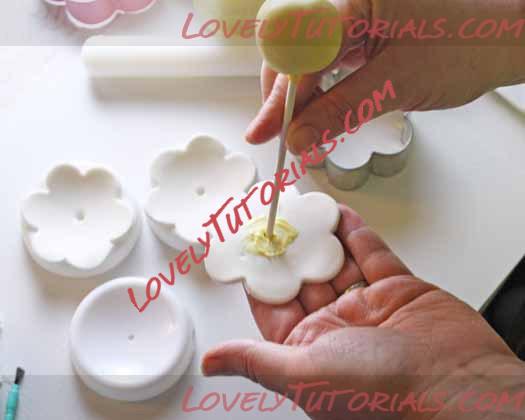 Step 12:
Gently shape the flower around the bottom of the cake pop so that it sticks, but not bending too much or it’ll break.
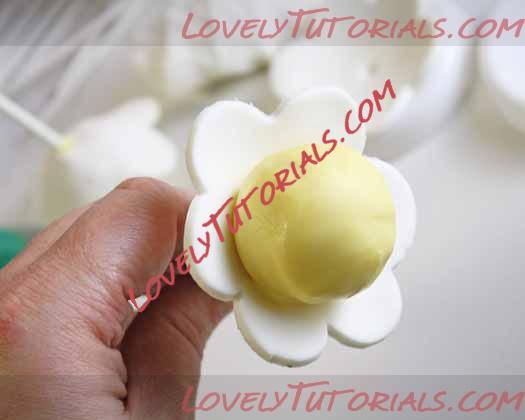 You don’t need to bend it much – we’re going to let gravity help out with getting it more flower-shaped!
Step 13:
Now flip the cake pops upside down and let them “stand” upside down in the flower forming cups or on a clean mat.
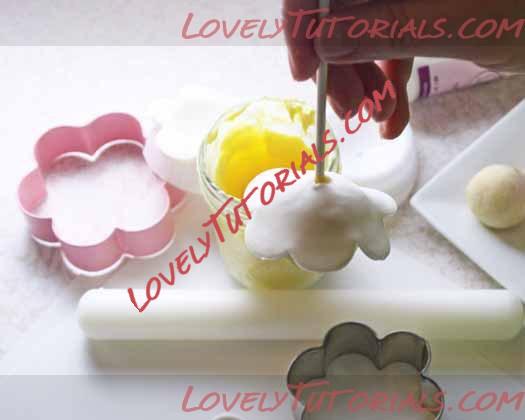
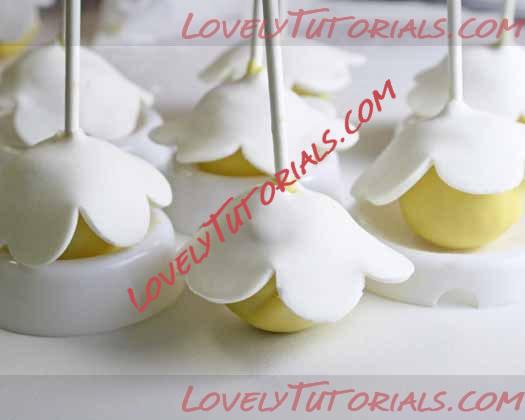 Step 14:
Let these dry for at least an hour. With the flowers upside down, the petals will naturally shape around the cake ball and because of the tylose in the fondant, they will hold their shape once dry!
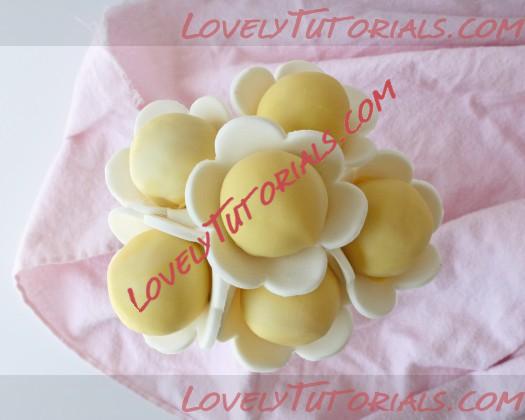
I arranged them into a small face to make a simple, but super cute cake pop bouquet!
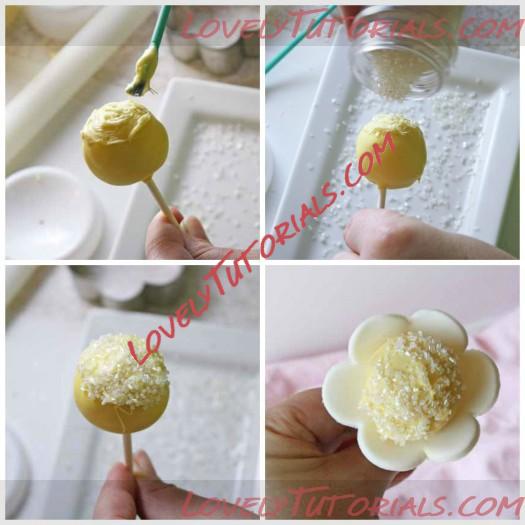 Optional:
If you want to add a little extra bling to your flowers, after the cake pops are dry, you can paint a little chocolate on the top of the flowers and sprinkle on some sanding sugar. Let them dry for a minute then follow the remaining steps to assemble!
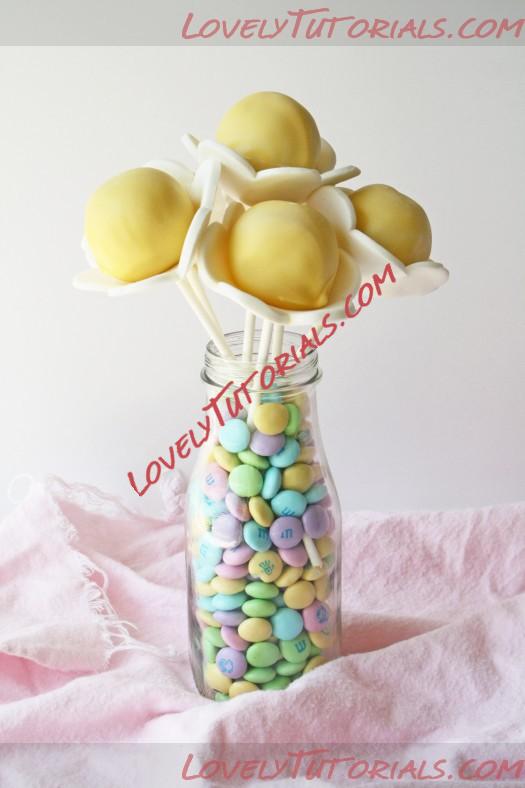
Assemble a bouquet in a vase filled with candy and you’ve got an easy and adorable (edible) centerpiece!


