Огромная благодарность Автору sweetsugarbelle за Мастер-класс

Now let’s decorate!
Begin a few days in advance by using thicker flood icing that I refer to as
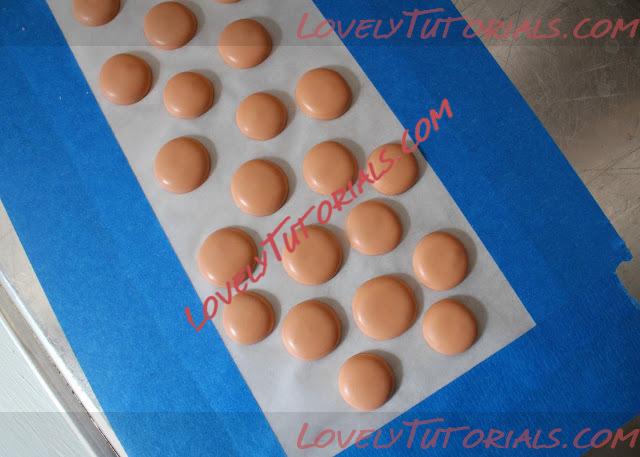
20-second icing to make round royal icing transfers. To do this, tape wax or parchment paper onto a cookie sheet, pipe out several flesh colored rounds, and let dry overnight or longer. For more information on this technique click
HERE.

If you need a little help with fleshtone, I also have a helpful article that can be viewed
HERE.
To decorate these cookies you will need:
- green piping and flood icing
- brown piping and flood icing
- red 20-second icing
- stiff white piping icing
- flesh colored transfers
- black food color marker
- large red candy beads
- icing in the hair color of each family member
To make these cookies, follow the steps below…

- Outline the cookie with green and brown icing (as shown).
- Fill the green portion or the tree.
- Carefully drop face transfers onto wet green icing.
- Use tweezers to drop red candy beads {ornaments} onto the wet green icing.
Let the cookies dry overight. The next day follow these steps…

- Fill the trunk with brown flood icing.
- Use a black food color marker to add faces to the transfers.
- Add hair to each family member, leaving them bald on top to make room for Santa hats. This ALWAYS gives me the giggles.
- Use red 20-second icing to add hats to each family member.

Finally, let the hats dry then add fur to the hats and add a personal message. For the cap I used a #13 tip and for the writing a PME #1.5.

Let the cookies dry completely then package them for family and friends.


