Cake Decorating Tutorials  (How To's) Tortas Paso a Paso
Cake Decorating Tutorials (How To's) Tortas Paso a Paso
Вернуться   Cake Decorating Tutorials (How To's) Tortas Paso a Paso > Cake Decorating Tutorials > Clothing Accessories Jewelry Cake Tutorials
Перезагрузить страницу МК торт "Футболка со слоном " -Elephant T-shirt cake tutorial
Старый 30.01.2015, 09:49
Arishenka Arishenka вне форума
Администратор
Регистрация: 28.01.2015
Сообщений: 567
По умолчанию МК торт "Футболка со слоном " -Elephant T-shirt cake tutorial
Огромная благодарность Naomi Thomson за Мастер-класс
Название: 0.jpg
Просмотров: 1

Размер: 185.0 Кб

Название: 1.jpg
Просмотров: 0

Размер: 103.8 Кб

Название: 2.jpg
Просмотров: 0

Размер: 59.4 Кб

Название: 3.jpg
Просмотров: 0

Размер: 92.8 Кб

Название: 4.jpg
Просмотров: 0

Размер: 53.2 Кб

Название: 5.jpg
Просмотров: 1

Размер: 108.8 Кб

Название: 6.jpg
Просмотров: 0

Размер: 160.2 Кб

Название: 7.jpg
Просмотров: 0

Размер: 48.1 Кб

Название: 8.jpg
Просмотров: 0

Размер: 43.5 Кб

Название: 9.jpg
Просмотров: 0

Размер: 40.8 Кб

Название: 10.jpg
Просмотров: 0

Размер: 48.5 Кб

Название: 11.jpg
Просмотров: 0

Размер: 66.7 Кб

Название: 12.jpg
Просмотров: 0

Размер: 47.0 Кб

Название: 13.jpg
Просмотров: 0

Размер: 155.7 Кб

Название: 14.jpg
Просмотров: 0

Размер: 77.6 Кб

Название: 15.jpg
Просмотров: 0

Размер: 79.0 Кб

Название: 16.jpg
Просмотров: 0

Размер: 64.5 Кб

Название: 17.jpg
Просмотров: 0

Размер: 72.3 Кб

Название: 18.jpg
Просмотров: 0

Размер: 122.3 Кб

Название: 19.jpg
Просмотров: 0

Размер: 61.8 Кб

Название: 20.jpg
Просмотров: 0

Размер: 61.5 Кб

Название: 21.jpg
Просмотров: 0

Размер: 105.3 Кб

Название: 22.jpg
Просмотров: 0

Размер: 48.3 Кб

Название: 23.jpg
Просмотров: 0

Размер: 130.5 Кб

Название: 24.jpg
Просмотров: 0

Размер: 180.3 Кб

Название: 25.jpg
Просмотров: 0

Размер: 150.5 Кб

Название: 26.jpg
Просмотров: 0

Размер: 68.5 Кб

Название: 27.jpg
Просмотров: 0

Размер: 81.5 Кб

Название: 28.jpg
Просмотров: 0

Размер: 85.0 Кб

Название: 29.jpg
Просмотров: 0

Размер: 95.6 Кб

Название: 30.jpg
Просмотров: 0

Размер: 82.4 Кб

Название: 31.jpg
Просмотров: 0

Размер: 74.0 Кб

Название: 32.jpg
Просмотров: 0

Размер: 171.3 Кб

Название: 33.jpg
Просмотров: 0

Размер: 70.0 Кб

Название: 34.jpg
Просмотров: 0

Размер: 78.9 Кб

Название: 35.jpg
Просмотров: 0

Размер: 65.6 Кб

Название: 36.jpg
Просмотров: 0

Размер: 68.6 Кб

Название: 37.jpg
Просмотров: 0

Размер: 57.6 Кб

Название: 38.jpg
Просмотров: 0

Размер: 60.1 Кб

Название: 39.jpg
Просмотров: 0

Размер: 50.4 Кб

Название: 40.jpg
Просмотров: 0

Размер: 56.3 Кб

Название: 41.jpg
Просмотров: 0

Размер: 134.3 Кб

Название: 42.jpg
Просмотров: 0

Размер: 120.4 Кб

Название: 43.jpg
Просмотров: 1

Размер: 138.4 Кб

Название: 44.jpg
Просмотров: 0

Размер: 113.9 Кб

Название: 45.jpg
Просмотров: 0

Размер: 118.7 Кб

Название: 46.jpg
Просмотров: 0

Размер: 74.6 Кб

Название: 47.jpg
Просмотров: 0

Размер: 55.0 Кб

Название: 48.jpg
Просмотров: 0

Размер: 184.5 Кб

Название: 49.jpg
Просмотров: 0

Размер: 88.1 Кб

Название: 50.jpg
Просмотров: 0

Размер: 85.7 Кб

Название: 51.jpg
Просмотров: 0

Размер: 203.0 Кб

Название: 52.jpg
Просмотров: 0

Размер: 87.6 Кб

Название: 53.jpg
Просмотров: 0

Размер: 70.6 Кб

Название: 54.jpg
Просмотров: 0

Размер: 85.1 Кб

Название: 55.jpg
Просмотров: 0

Размер: 81.9 Кб

Название: 56.jpg
Просмотров: 0

Размер: 96.2 Кб

Название: 57.jpg
Просмотров: 0

Размер: 68.1 Кб

Название: 58.jpg
Просмотров: 0

Размер: 87.4 Кб

Название: 59.jpg
Просмотров: 0

Размер: 185.0 Кб


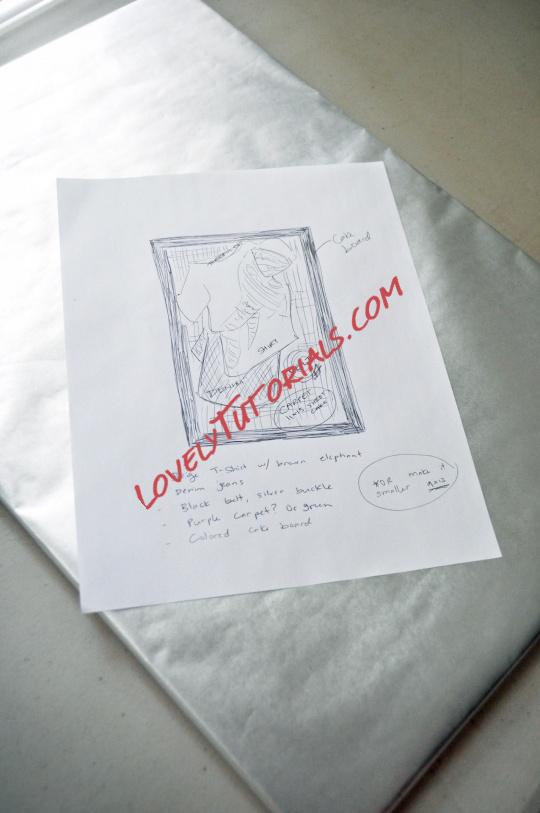
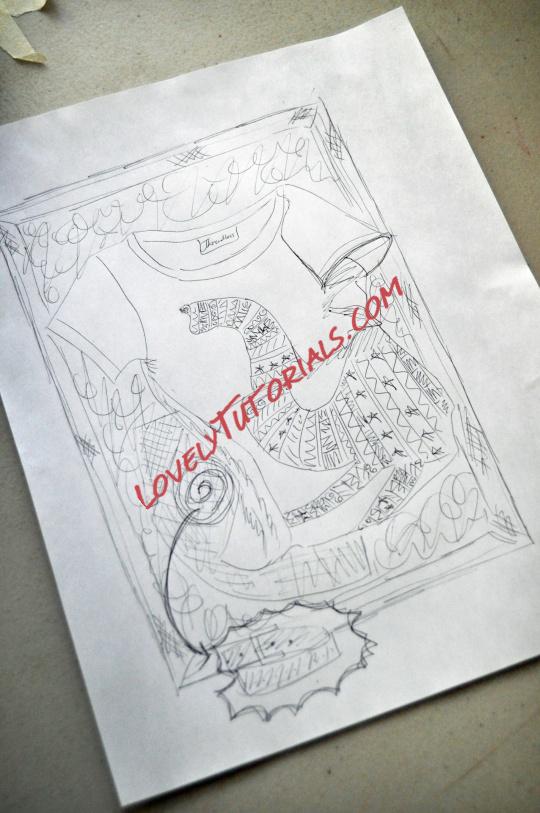
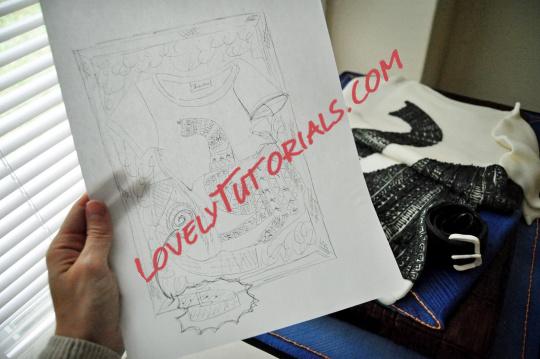
After choosing the design, I made a sketch, and then... Another sketch! The first one was a little messy. I made a few different decisions on how to create the cake as I went along, but pretty much stuck to my design.

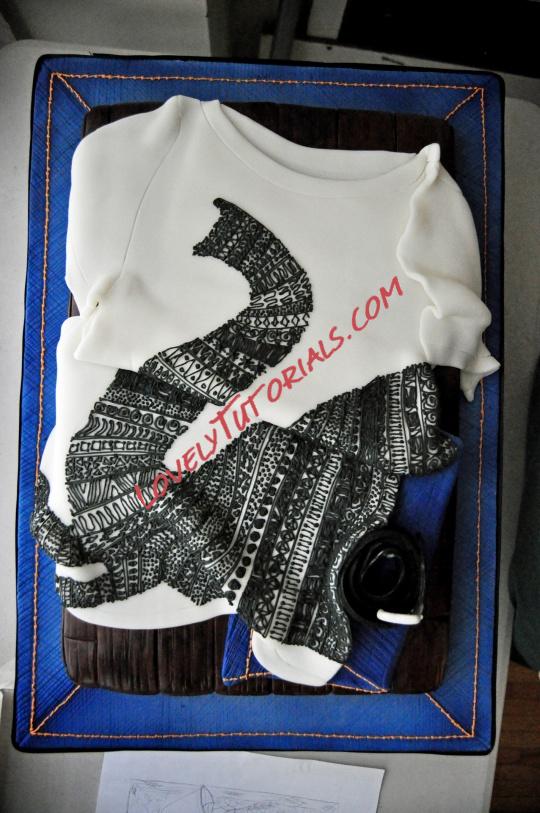
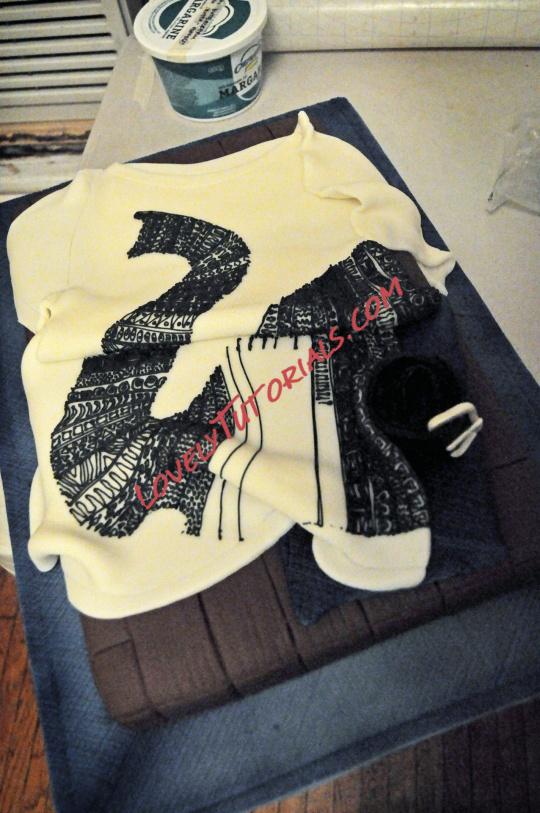
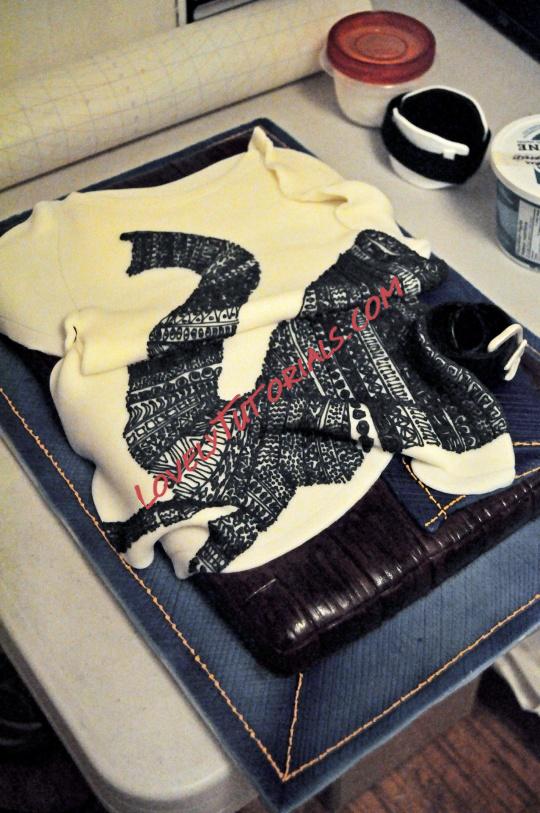
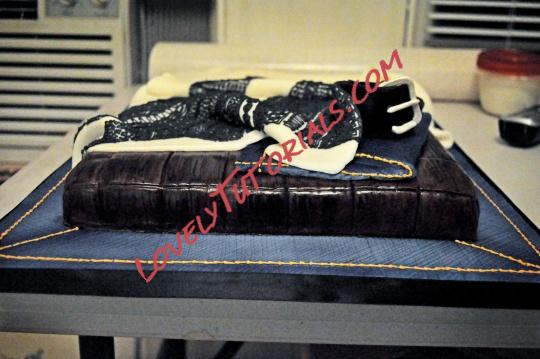
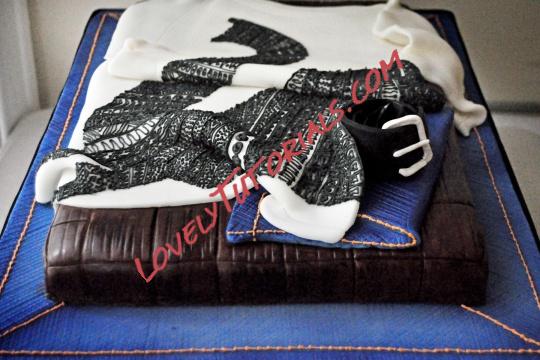
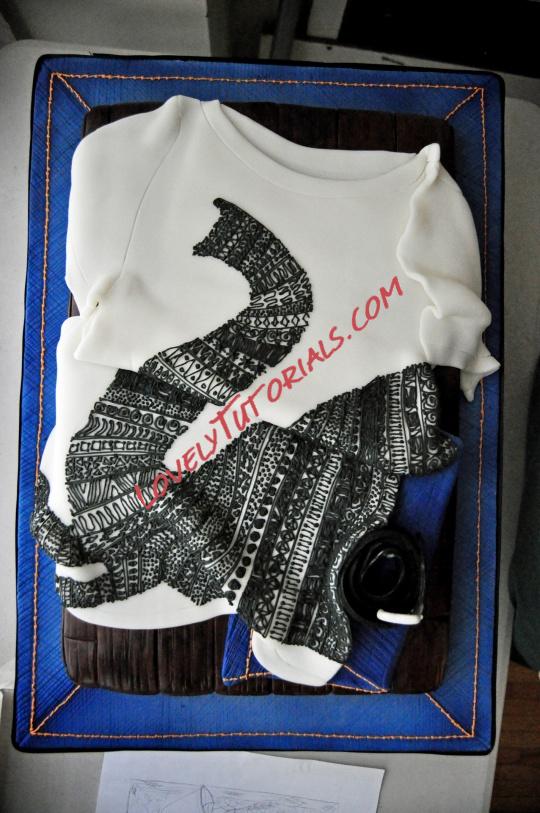
The design I created was basically to make an actual T-shirt as the cake. The thing is, knowing that would be mostly done with fondant, I needed some actual cake there... So I decided to make a small, light chocolate sponge cake which would be a "Wooden floor" on which the shirt would lay. The cake board is supposed to give the impression of blue jeans, and then I added a pair of jeans and a belt to the top of the design as well.

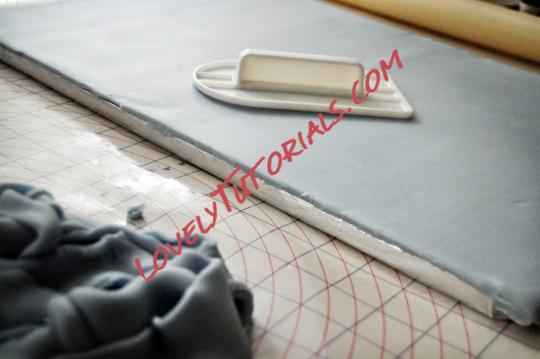
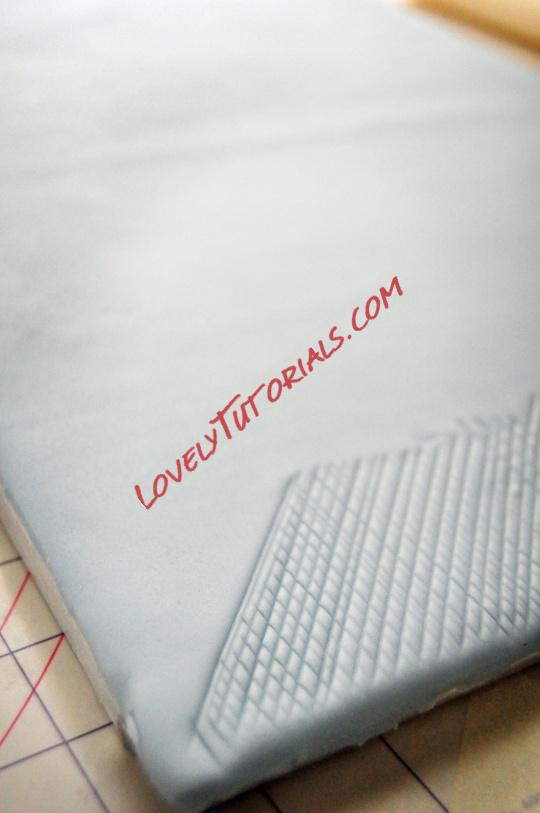
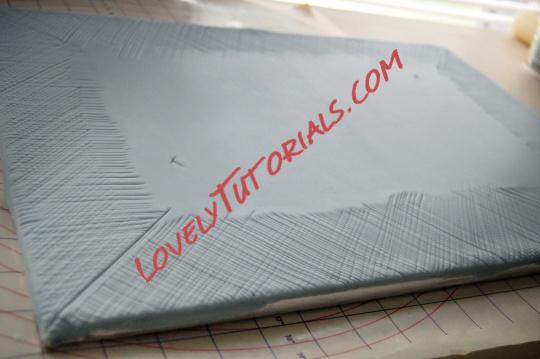
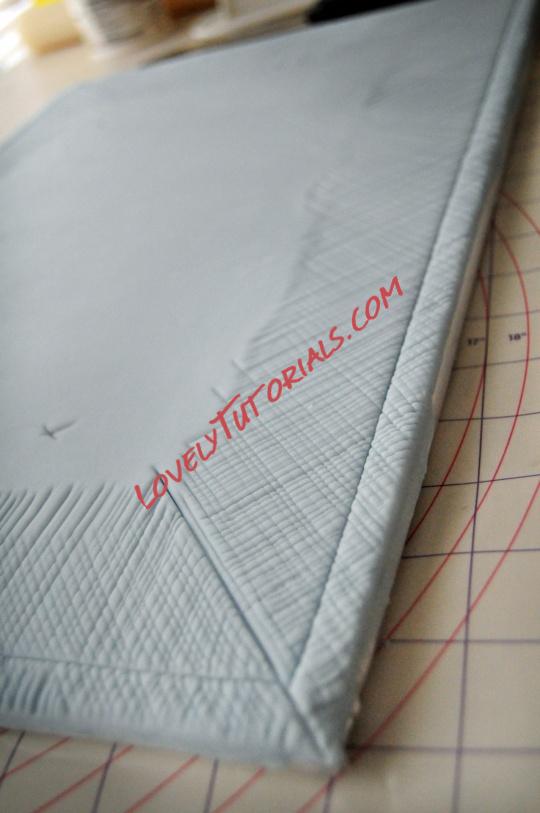
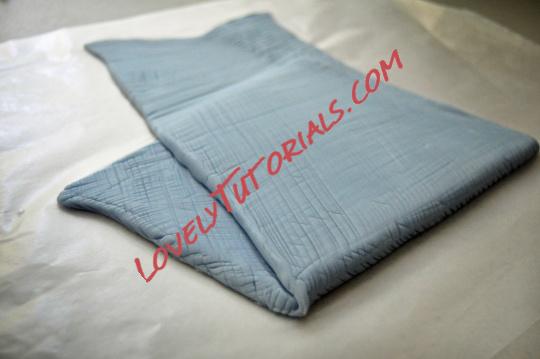
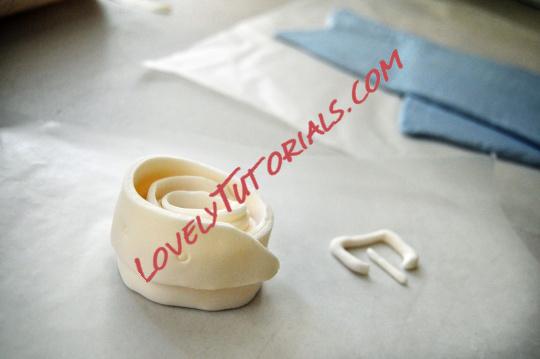
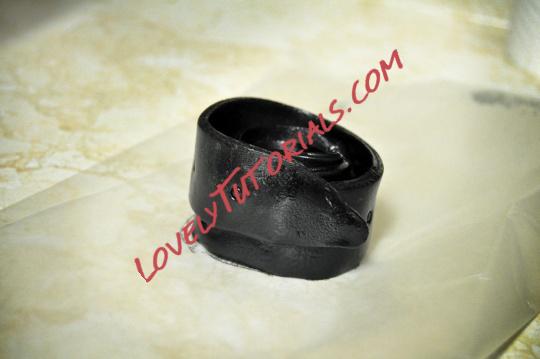
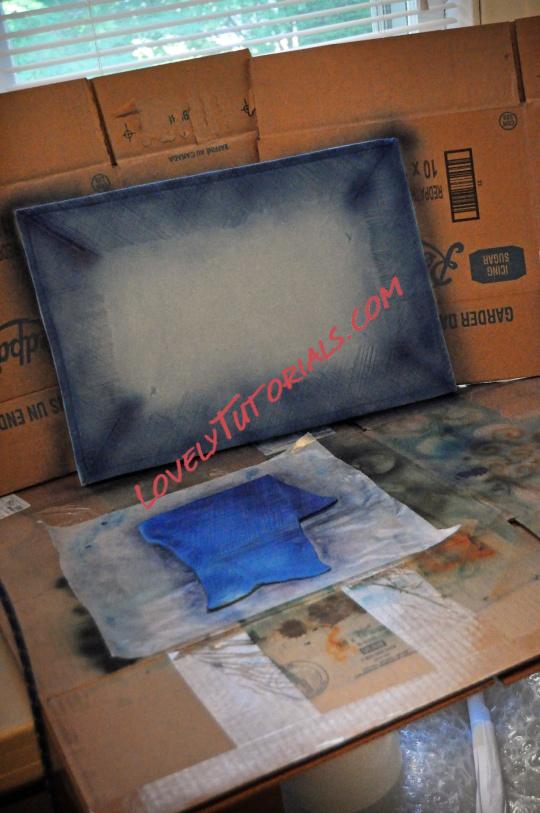
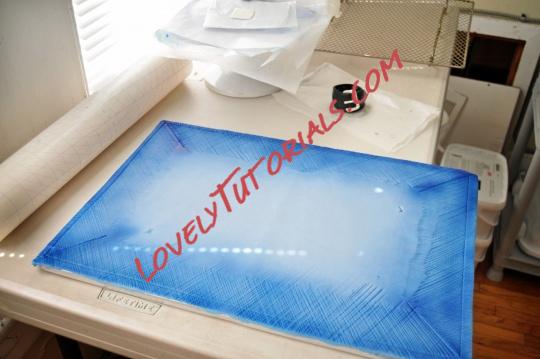
But I'm getting ahead of myself... Hehe... Start to finish! First thing I did, after the sketch, was making some chocolate buttercream, and put in the fridge. Next, I got to work on the cake board, blue jeans, and belt. I used a mixture of fondant and gum paste of the belt and buckle, and let those dry overnight. The cake board was done with blue fondant, which I textured by hand with a flat edged spatula. The blue jeans were done the same way as the board. I let these dry overnight as well.

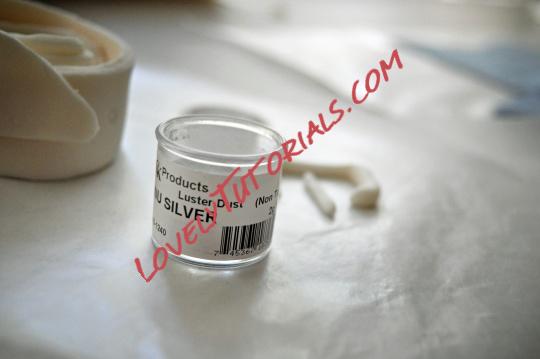
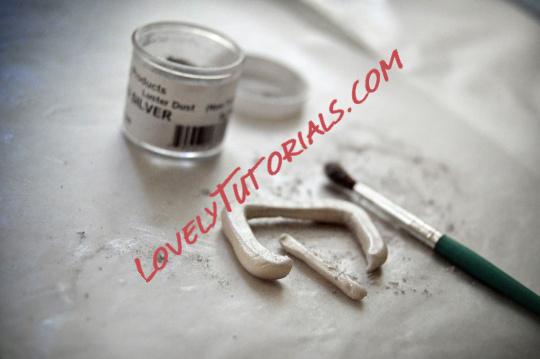
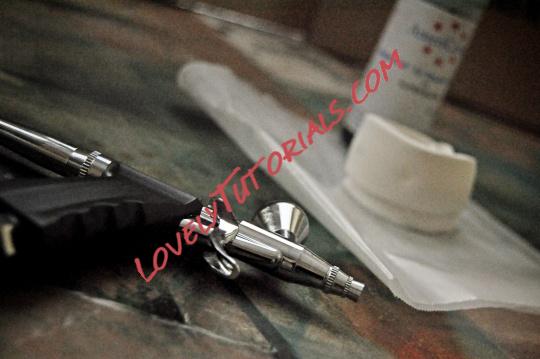
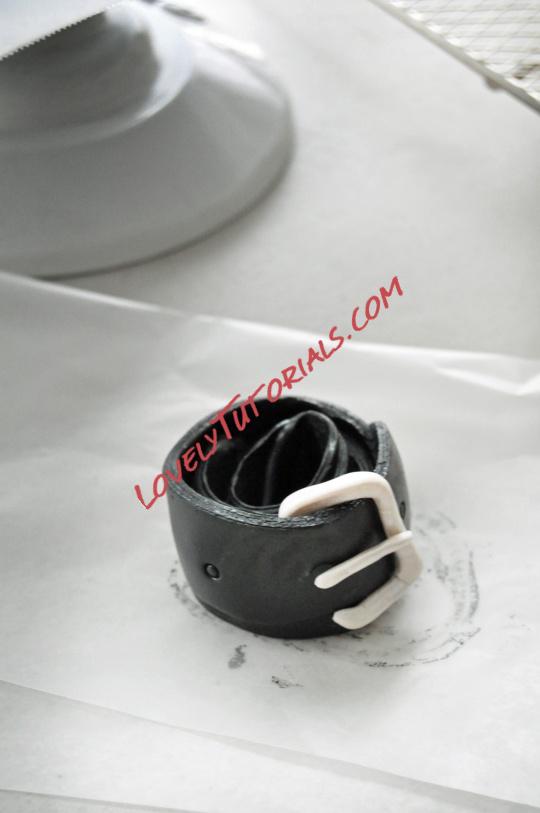
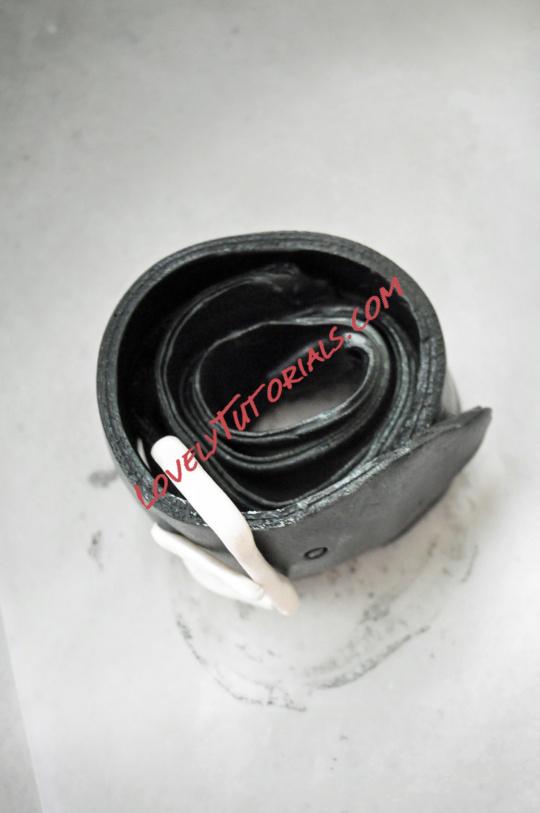
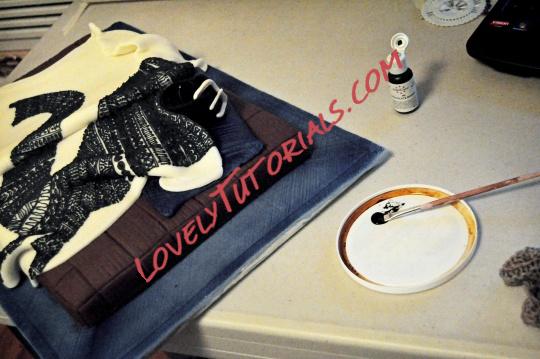
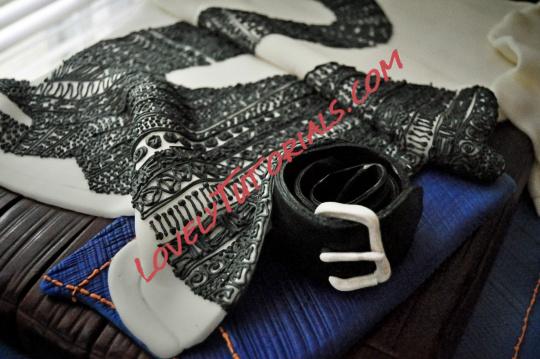
Once dry, I airbrushed the cake board and jeans with Royal Blue color. Then I set those aside to dry. The belt I airbrushed with black, and the buckle was dusted with silver lustre dust. I added the belt buckle once the rest of the belt was dry.

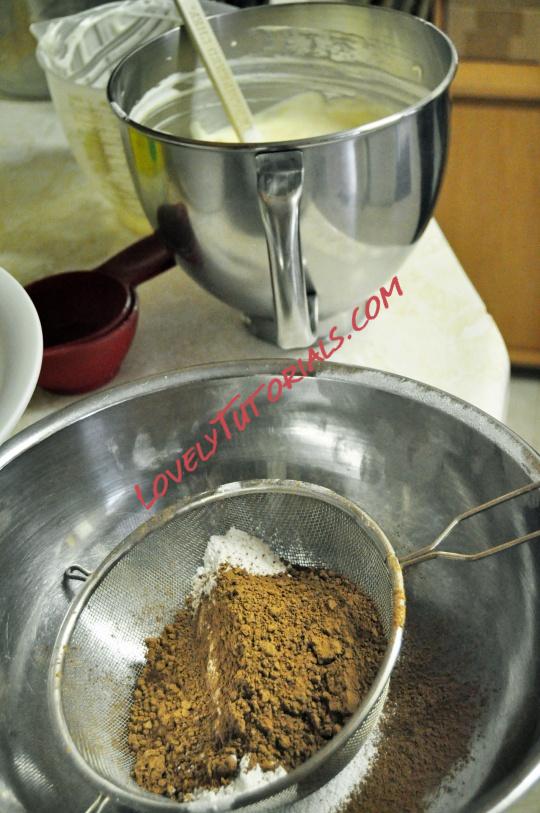
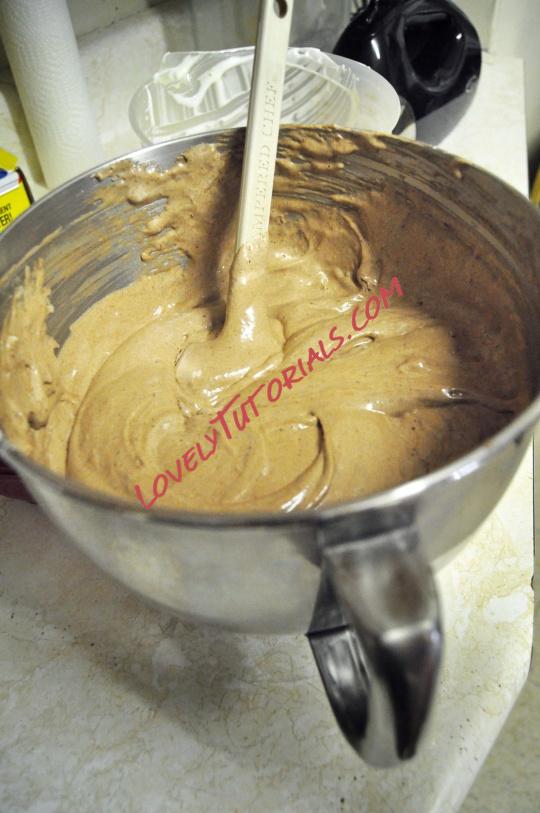
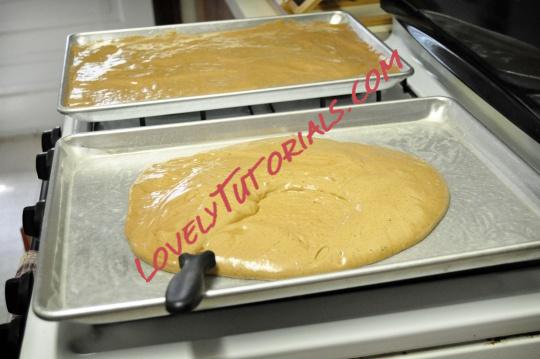
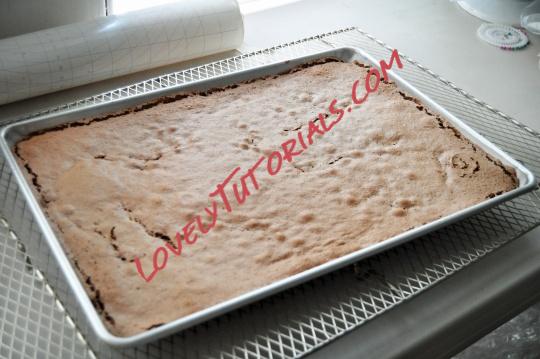
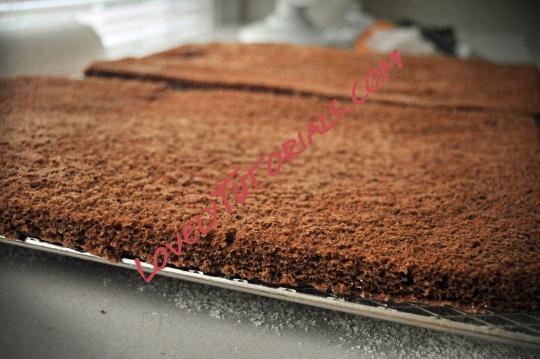
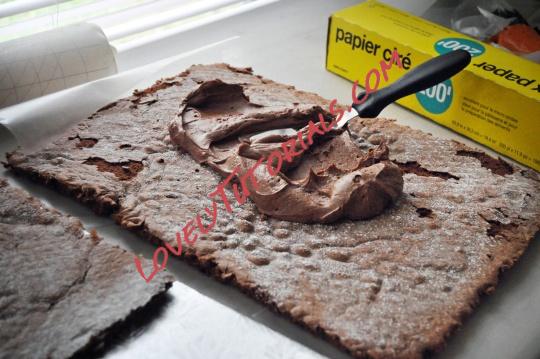
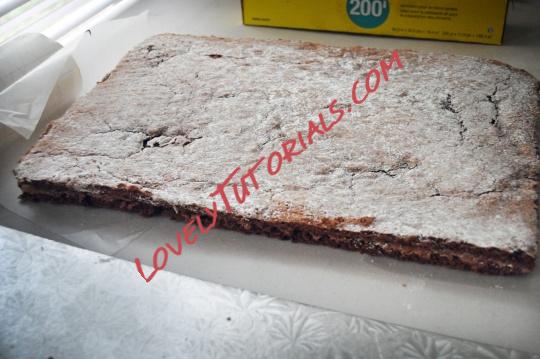
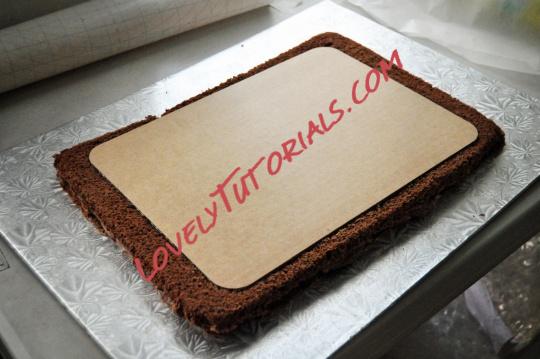
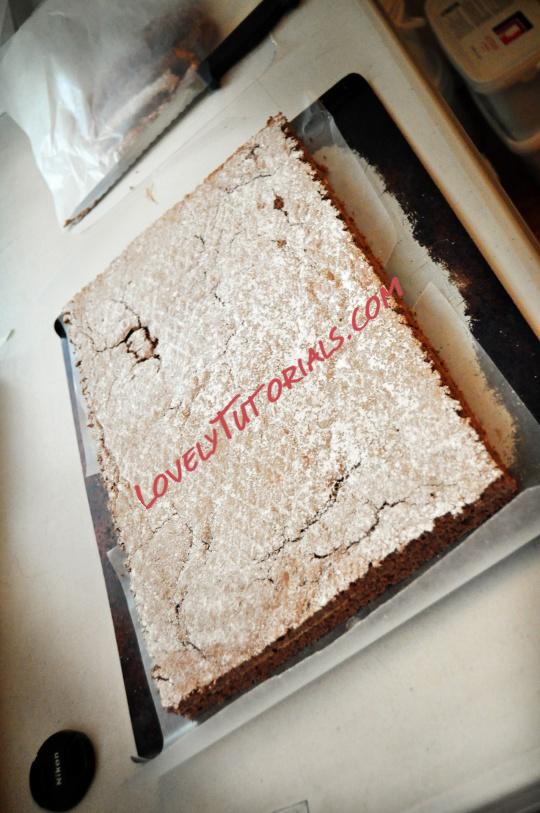
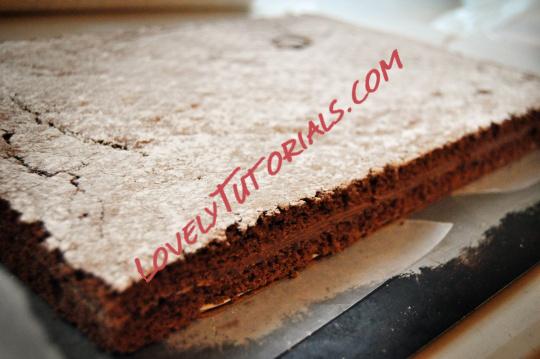
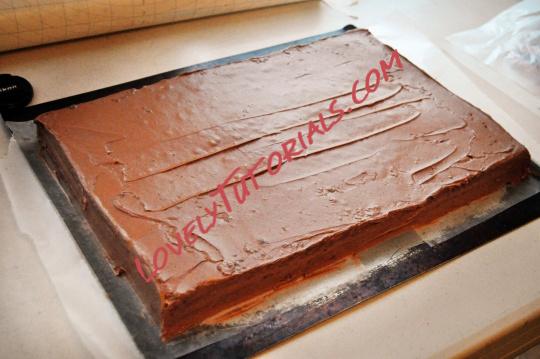
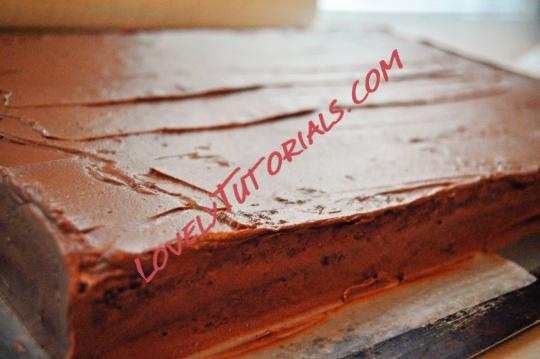
Next, I baked the cakes! I made two 10"x15" chocolate jelly roll cakes... I thought that would make nice, low cake. It did! One they were baked, I dusted them with icing sugar and turned them out to cool. After that, I filled the cakes with my chocolate buttercream and then used a cake board to measure how I wanted to trim the edges and make them straight. Then I crumb coated the cake, and stuck in in the fridge.

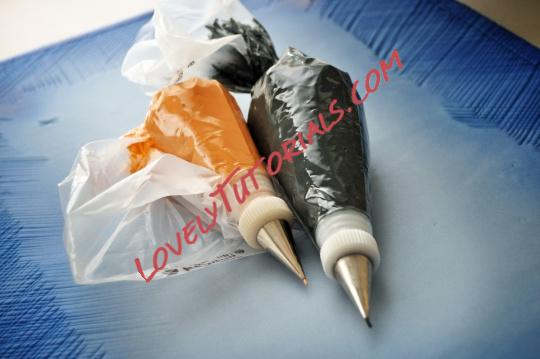
Then, I'm pretty sure the next thing I did was make some royal icing, which I colored some of to be orange (for the stitching on the jeans and cake board), and the rest to be black for the elephant pattern.

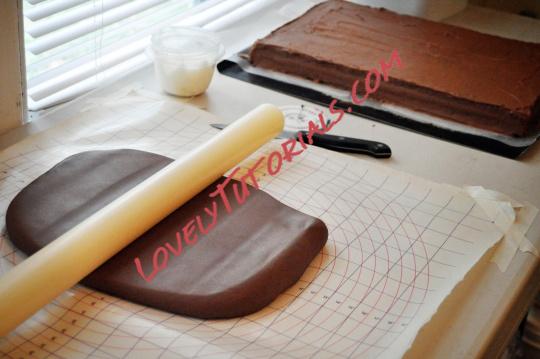
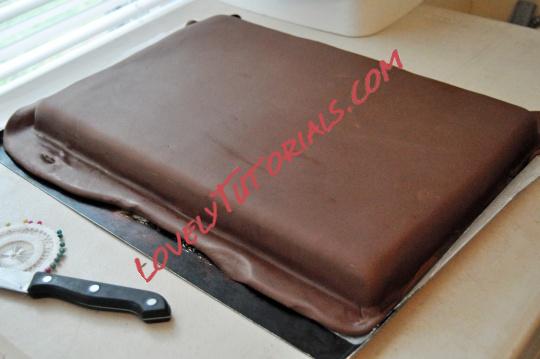
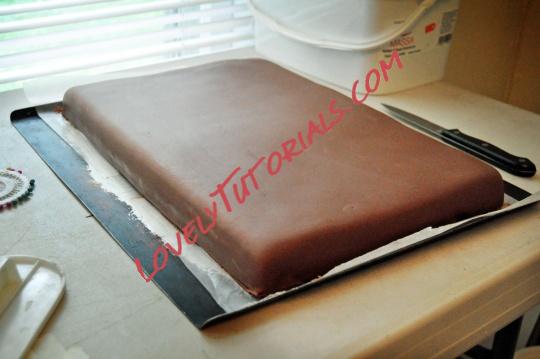
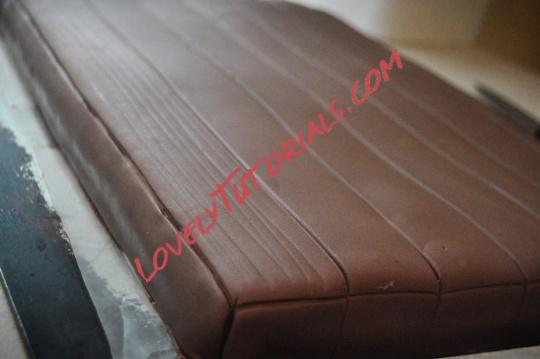
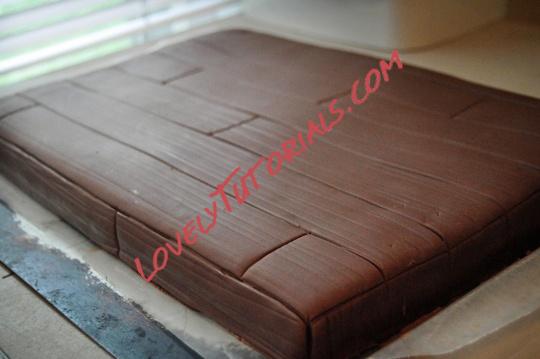
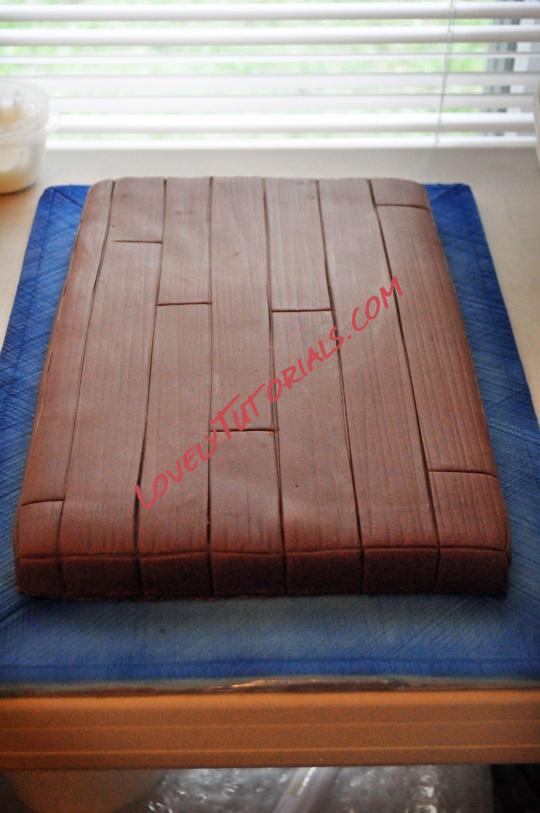
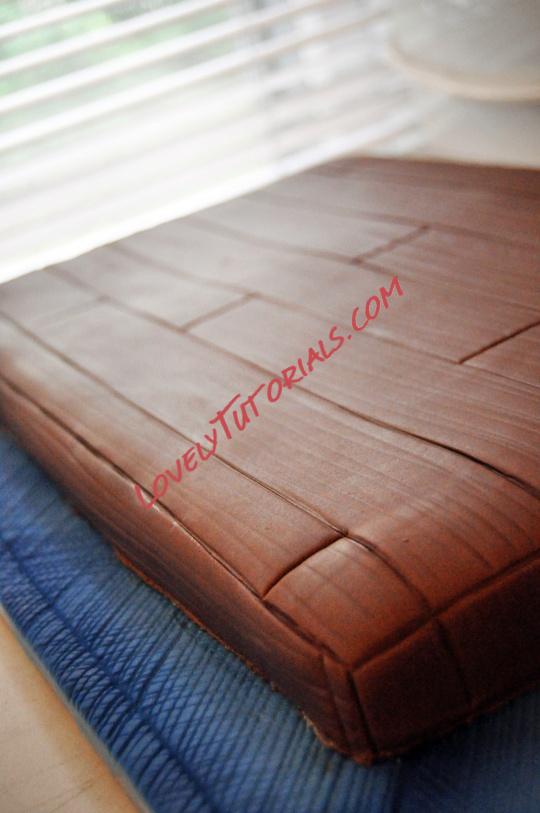
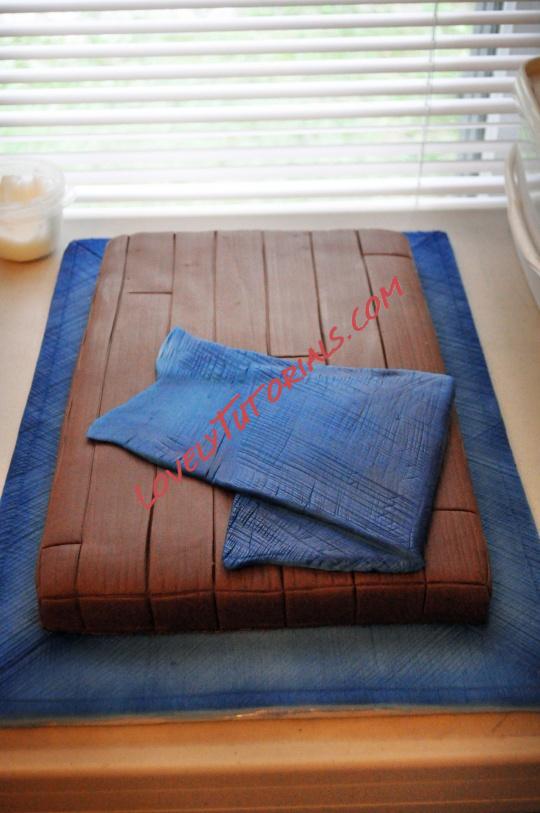
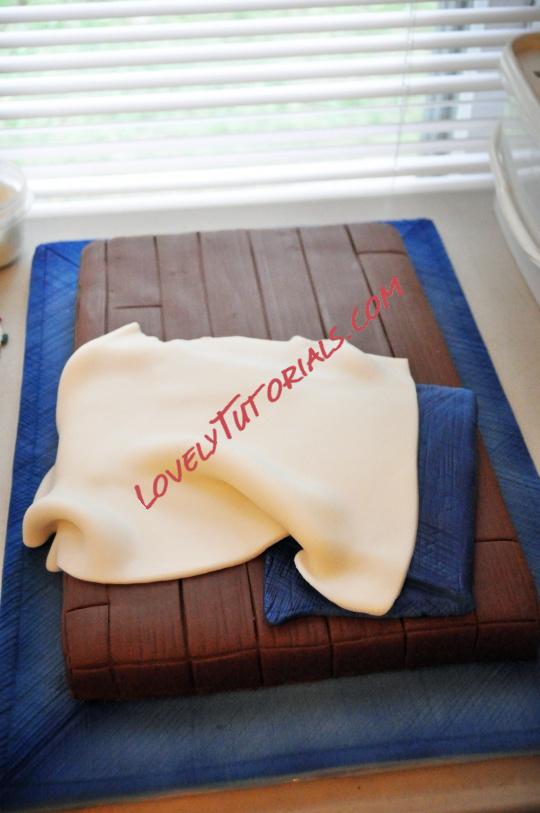
Then, chocolate fondant! I got my work surface ready, kneaded the fondant, and pulled out my cake and covered it. After trimming the excess, I used a knife to score the wooden slats in the chocolate fondant, and the back of the knife to hand-mark the impression of wood. Then I transferred the cake to my special cake board.

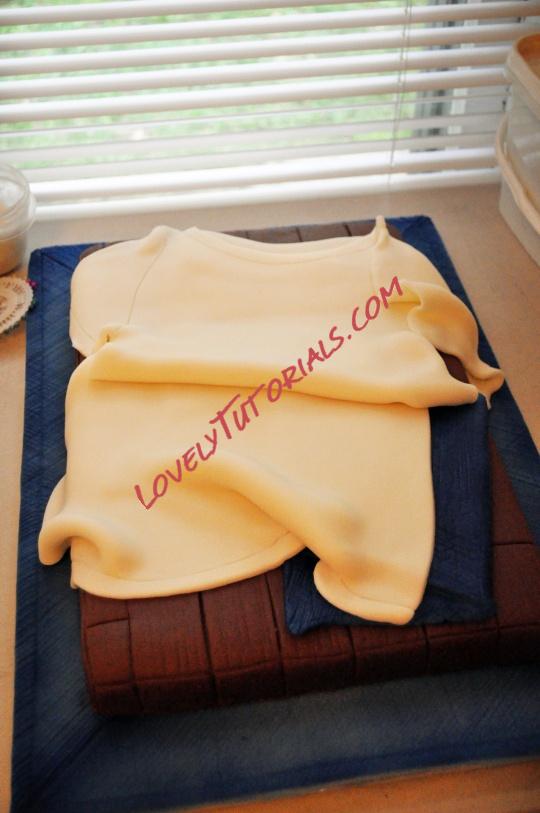
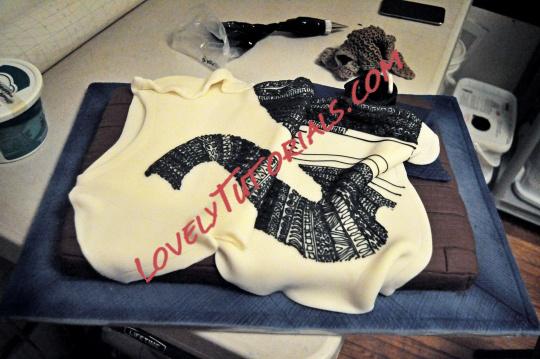
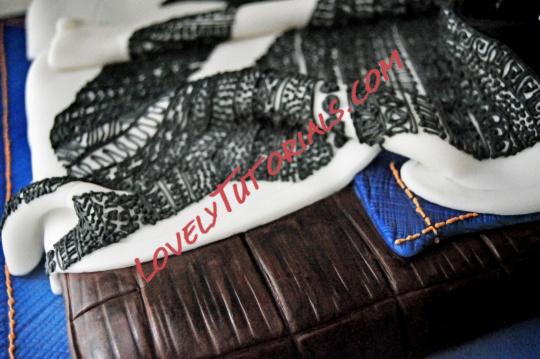
From there, I stuck the blue jeans on there with a bit of piping gel and got ready to start the shirt! I had made my T-shirt sketch to resemble a shirt of mine, which I crumpled up on the floor a bit to see how the folds would look. I did my best to duplicate that with the white fondant, for the shirt. The shirt was done in two pieces with plain white fondant. I wanted to write "Threadless" on the back of the shirt like a tag, but the neckline came up a little too high... I thought it would look weird if I stuck it on there. Plus, I didn't know if that would be allowed. So out that idea went.

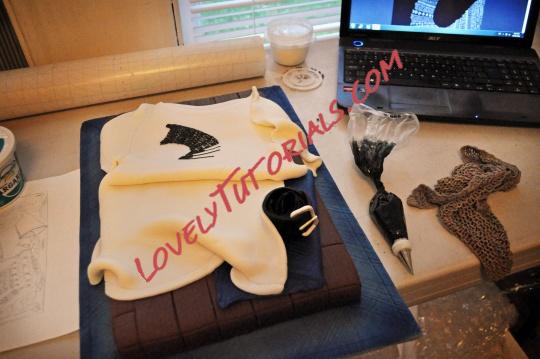
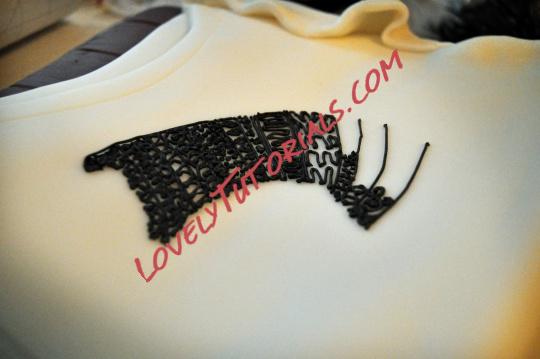
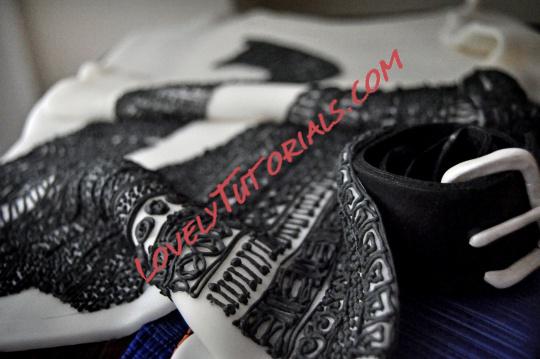
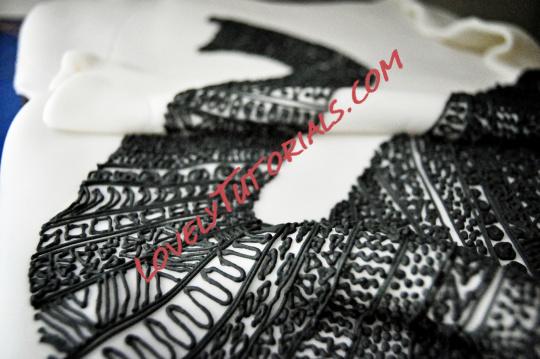
Next, I opened up my computer with the elephant design, and tried my very best to copy the patterns with black icing... and also tried my best to make sure the folds of the T-shirt affected the placement of the pattern. The piping took a very, very, very VERY long time. And my hands hurt like the dickens when I was done!
3d bizcocho, 3d bolo, 3d cake, 3d dort, 3d kage, 3d kager, 3d kake, 3d kek, 3d pastel, 3d tarta, 3d torta, 3d torte, 3d torti, 3d torty, 3d κέικ, addım-addım təlimat, adım, adım adım yönergeler, artesanatos passo a passo, bemutató, bolando bolos, cake decorating, cake decorating techniques, confeitando bolos, decoracion de pasteles, decoración de tortas, decorada en fondant, decorare le torte, decorazioni, deko fondant, dekorace na dort, dekoracija, dekoracije, dekorasyon, dekorácie, fender, fimo, flower paste, fondan, fondant, fondente, fondente di zucchero, fotopostup, foundant, gebak, glazuur, gum pasta, gum paste, gumpaste, hand-made, handmade, how to, how-to's, instrucţiuni, instrukcijas, instrukcje, jak na, kage dekoration, kagedekoration, kakebaking, korak, korak za korakom navodila, korak-po-korak upute, koristeet ja koristelu, krok, krok po kroku, krok za krokem, krok-za-krokem, las instrucciones, las técnicas, le tecniche, les techniques, lukie, marshmallow, masa flexible, master-class, master-klasse, master-klasy, meistras klasės, metodikas, mistr třídy, modeling paste, modelling past, motivtorten, návod, opplæringen, pamoka, pap, pas, pas-cu-pas, paso, paso a paso, passo, passo a passo, passo-a-passo, passo-passo le istruzioni, pasta de miel, postup na 3d torty, postupak za ukrasavanje, pâtisserie, schmelzend, schritt für schritt anleitung, schritt-für-schritt, schritt-für-schritt-anleitungen, shirt & tie cake how-to, stap, stap-voor-stap, stap-voor-stap instructies, steg for steg, steg-för-steg, steg-för-steg-instruktion, step, step by step, step-by-lépésre, step-by-step, step-by-step instructions, sugarcraft, sugarpaste, suikerglazuur, technieken, techniken, techniki, techniky, technikák, techniques, tecnicas de decoracion, tecniche, tehnici, tehnike, teknikker, teknikler, tips och trix, torte, torte decorate, torten dekorieren, torti, trin, trin for trin, trin-for-trin, trin-for-trin instruktioner, trinn, trinn for trinn, trinn-for-trinn-instruksjoner, tutorial, tutoriale, tutorias, tutorias/ideas para decorar los bizcochos, tutoriel, tutorijal, tårtbottnen, tårtor, técnicas, ukrašavanje torti, uputstvo za dekoraciju, zuckermasse, सजा केक, ट्यूटोरियल मास्टर वर्ग, कदम, कदम दर कदम निर्देश, तकनीक, étape, étape par étape les instructions, öğretici, žingsnis, žingsnis po žingsnio, 宗師級教程,一步,一步一步的指示 � �技術,udžbenik, 裝飾蛋糕, βήμα, βήμα προς βήμα οδηγίες, οδηγίες βήμα βήμα, παντεσπάνι art, τεχνικές, φροντιστήριο, инструкция, как сделать, крок за кроком, крок за крокам, покроково, пошагово, пошаговые фотки, пакрокава, миниатюра, мк, мк торт "рубашка с галстуком", майстор-класа урок, майстар-клас, майстер-клас, майстер-класи, маршмеллоу, мастика, мастер-класс, зд торт, зд торта, ручной работы, ручная работа, украшение тортов, сахарная мастика, уроки прикрашання, стъпка, стъпка по стъпка инструкции, техники, техника, техніка, туториал, туторіал, тэхніка, шаг за шагом, інструкцыя, інструкція


©2022 Lovely Tutorials
Content Relevant URLs by vBSEO