спасибо огромное автору за МК
Building the shoe
A few tricks for making a shoe from fondant!

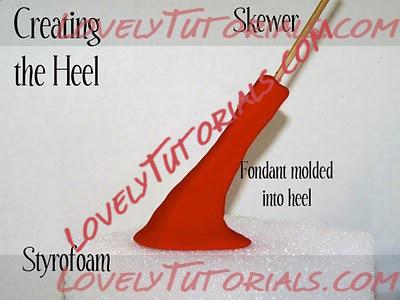
I started on the heel of the stiletto on Monday to allow enough drying time for the Saturday due date. I had originally planned to use gumpaste, but I ended up using fondant which I colored red. (Memo: WEAR GLOVES! I have been sporting some nice red hands for the past few days!). Since I was doing multiple things at once, the gumpaste was drying faster than time allowed. Plus, the heel I made out of fondant looked better (above photo is gumpaste heel).
If you look, I have a skewer in the heel to add support while drying which I also use to secure into the cake. The skewer is pressed into the styrofoam to keep the heel upright (or upside down if you want to get technical!)
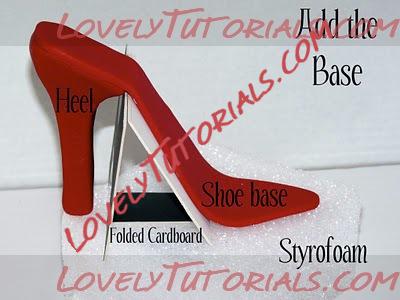
 On Wednesday I added the sole. P
hoto mat board is folded up make a support base. (You can use any strong cardboard that you have on hand). I have broken many shoes by touching them before they are dry, but this time I resisted the temptation and left it alone for 24 hours...Tick, Tock!

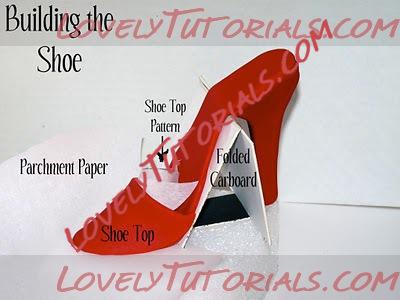
On Thursday it was time to add the shoe top. I usually will use rolled-up saran wrap to maintain the shape while drying, but it wasn't cooperating so I just rolled up the pattern I had made from parchment paper and stuck it inside the toe. Water is used to 'glue' the top to the sole. I didn't know if it was possible to glue the shoe to the styrofoam as well, so I slid a piece of parchment paper under the sole just in case.
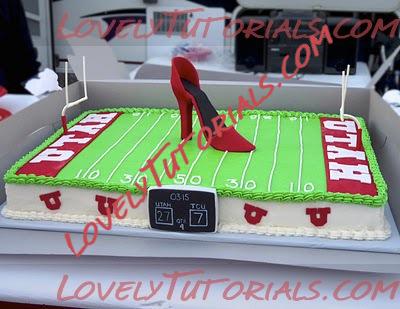
I added the back of the shoe and a black insole to the inside of the shoe. I usually add a bottom to the shoe and the heel but they ended up wanting the cake Friday night so I just painted the bottom of the heel black with food paste....cake decorating has a lot of last-minute changes!


