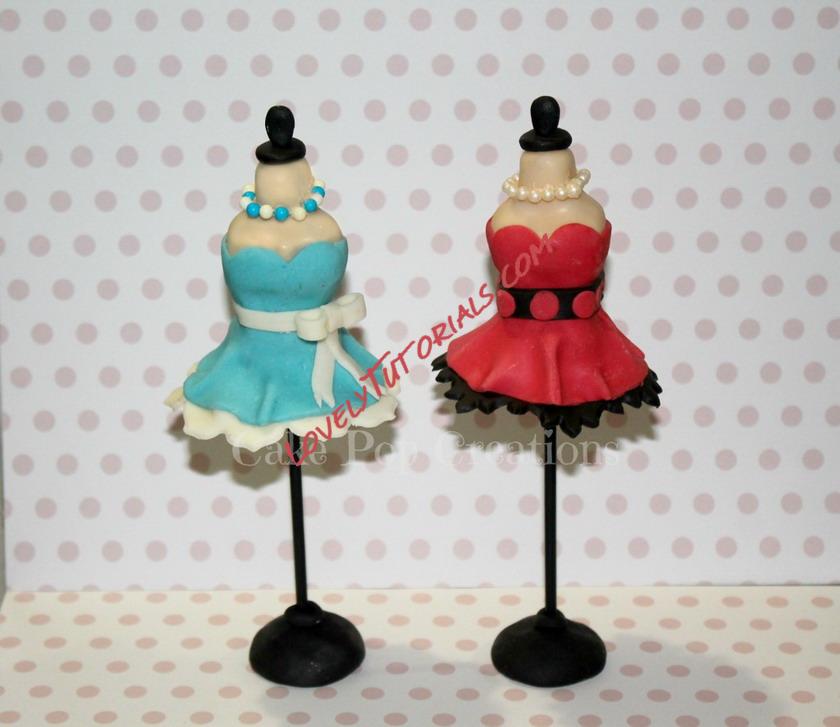
Огромная благодарность cakepopcreations за Мастер-класс
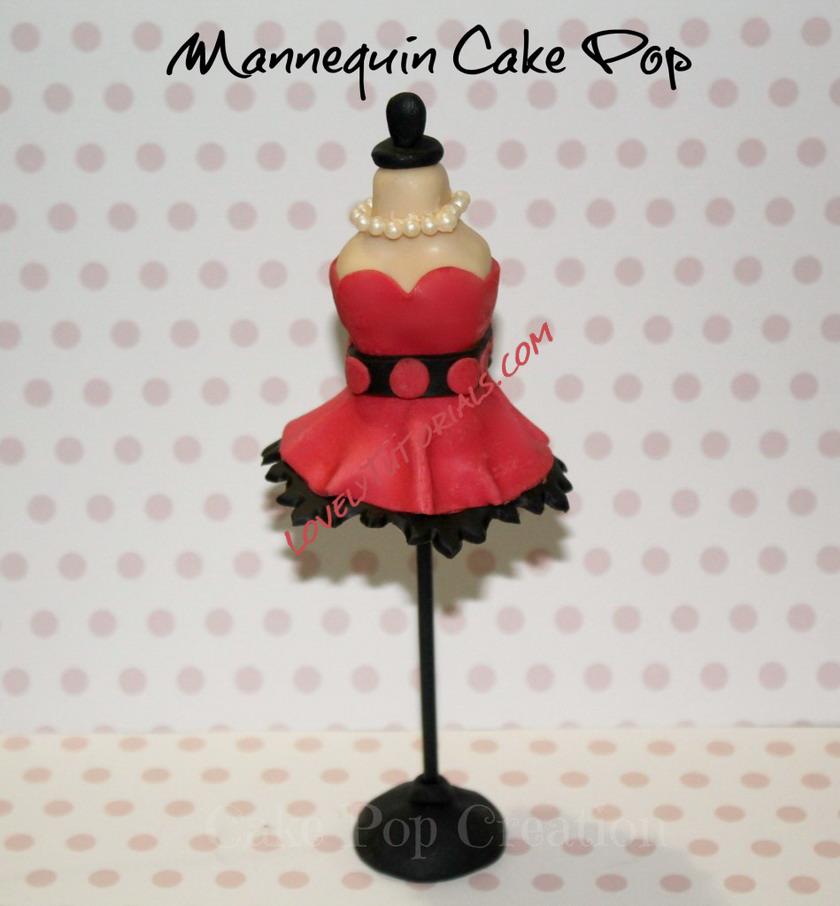
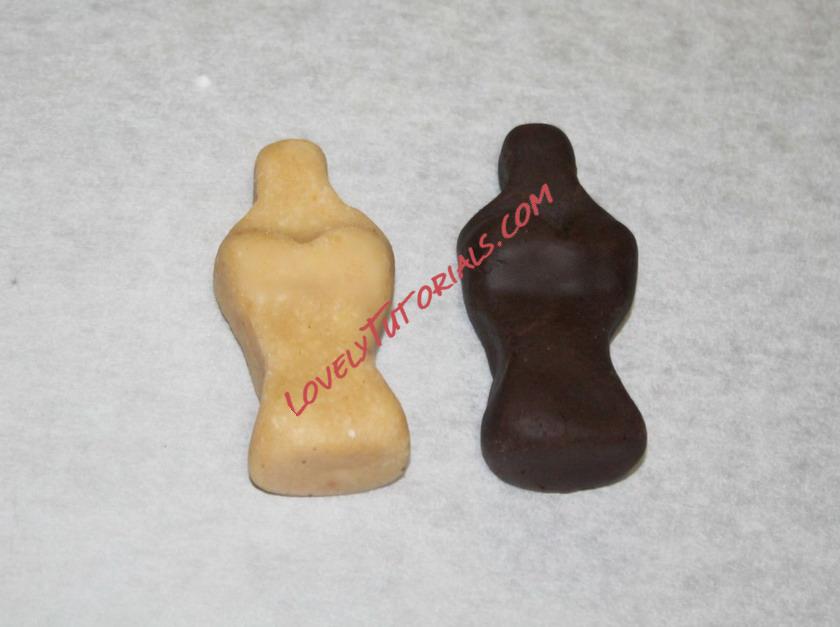
First you need to shape your cake balls into a torso shape and also create a bust area. Don’t forget that once you dip into chocolate you do lose quite a bit of definition to your shapes.
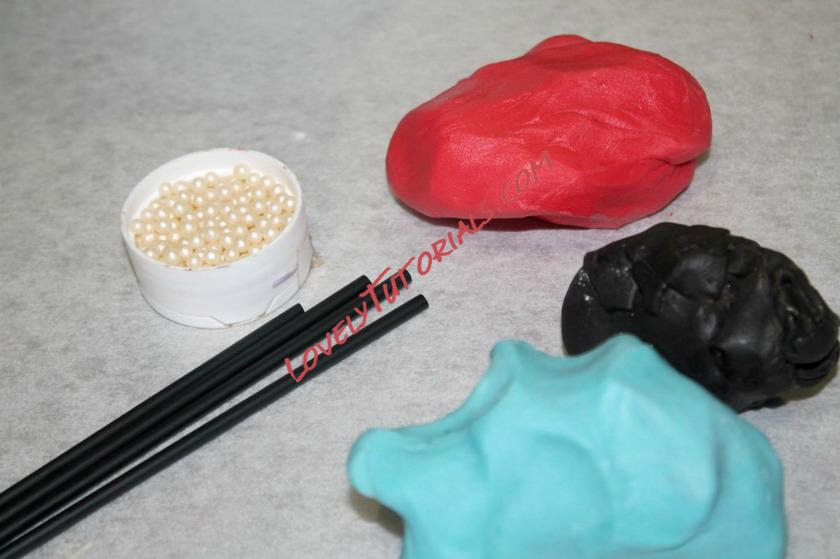
I have used black lollipop sticks for these cake pops so when they are completed they look like mini mannequin stands. Choose your colours of modeling chocolate or fondant, candy beads for the necklaces. Also you will need a small heart cutter, large & small circle cutter and a sharp knife/blade.
Insert the lollipop sticks into your cake pops with some melted chocolate so it forms a plug and keeps your cake pop secure.
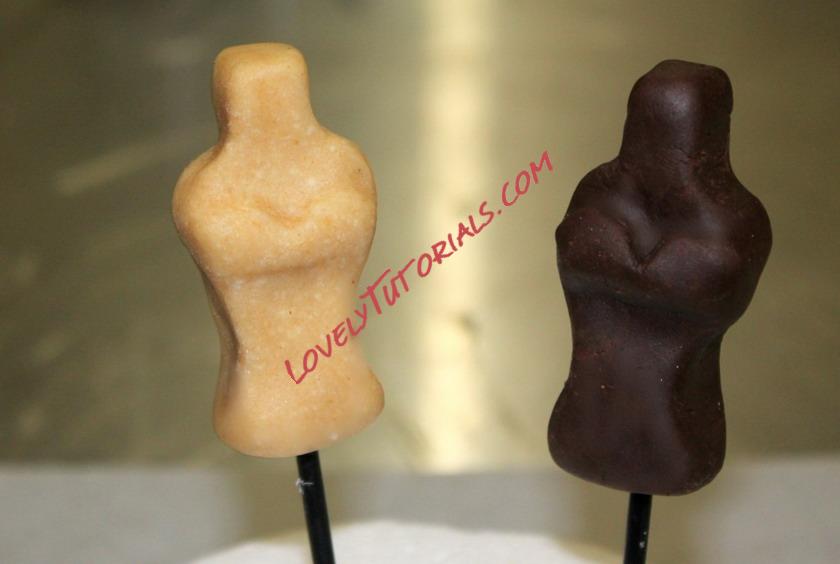
Dip your pops into flesh coloured chocolate and let excess chocolate drip away. Leave to dry.
I didn’t think you needed to see a picture of the dipped cake pops (I actually forgot to take one!!).
Next roll out your choice of colour for the dress. I can’t go past red for dresses or shoes, lounge suites or even kitchen cupboards….but I digress!
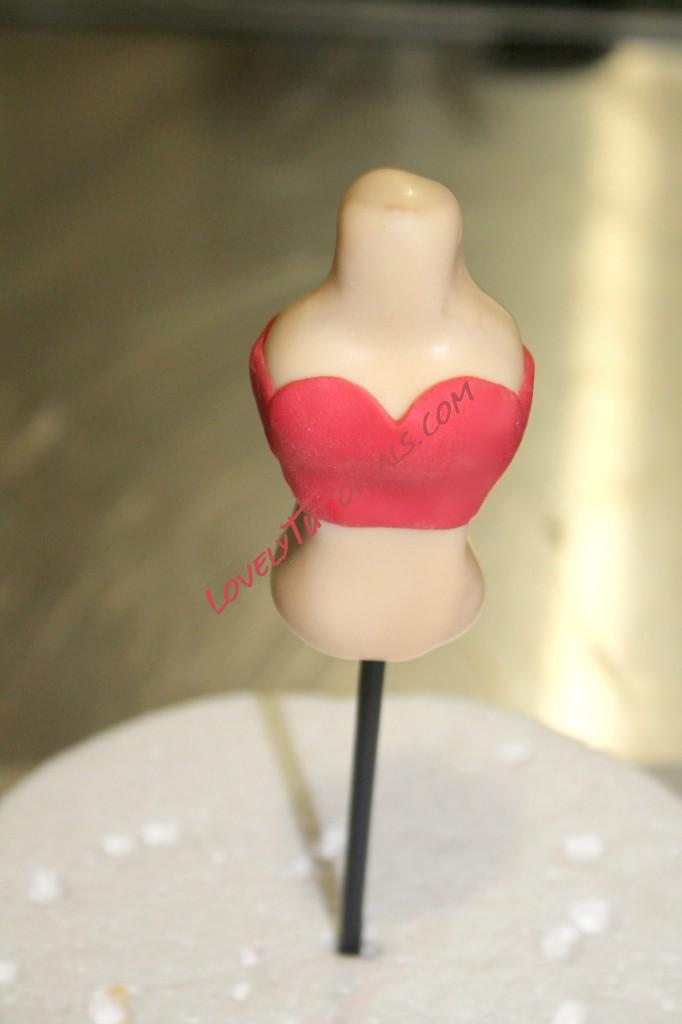
Cut out a heart shape to create the front of the bodice.
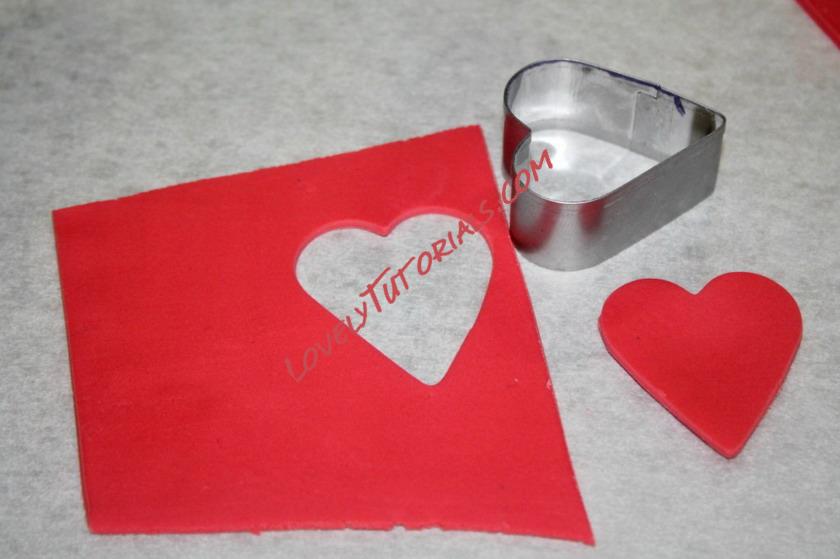
Trim off the pointed end of the heart.
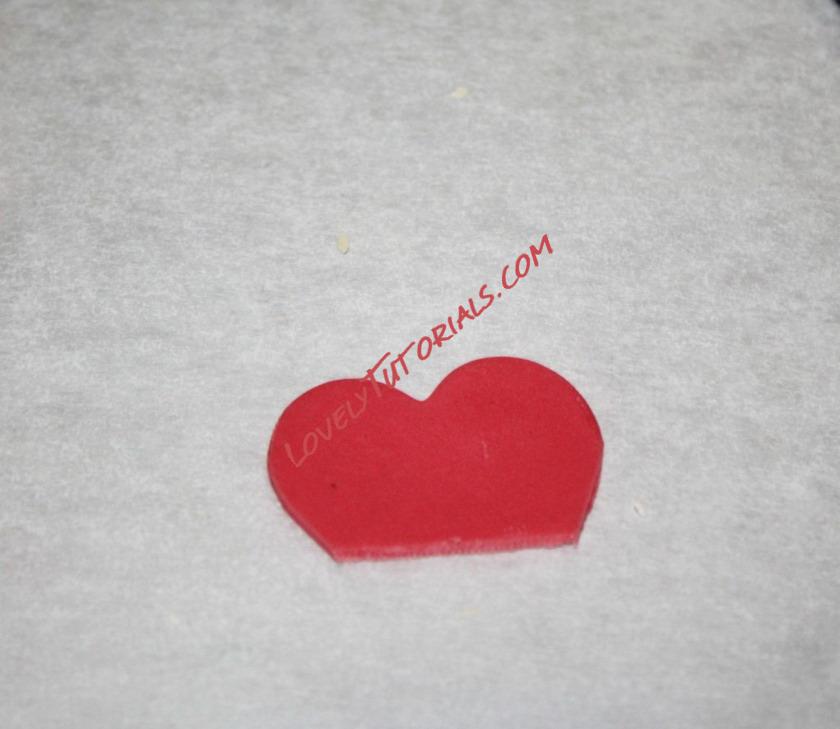
If you use modelling chocolate, you should just be able to to mould it to the cake pops without adding any dabs of melted chocolate. Smooth out any rough edges.
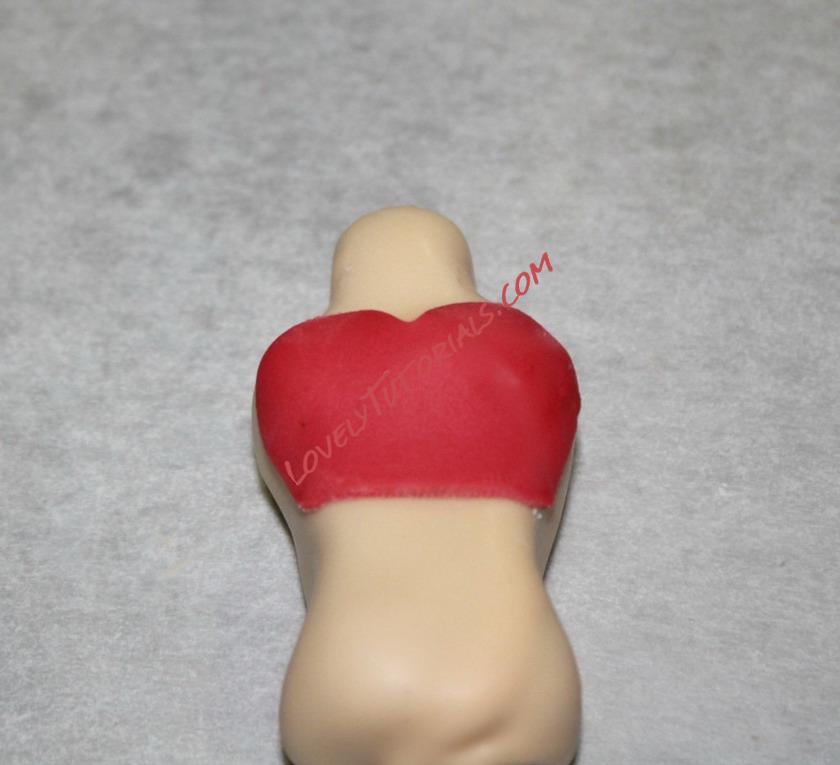
Next cut a strip to go around the back of the bodice.
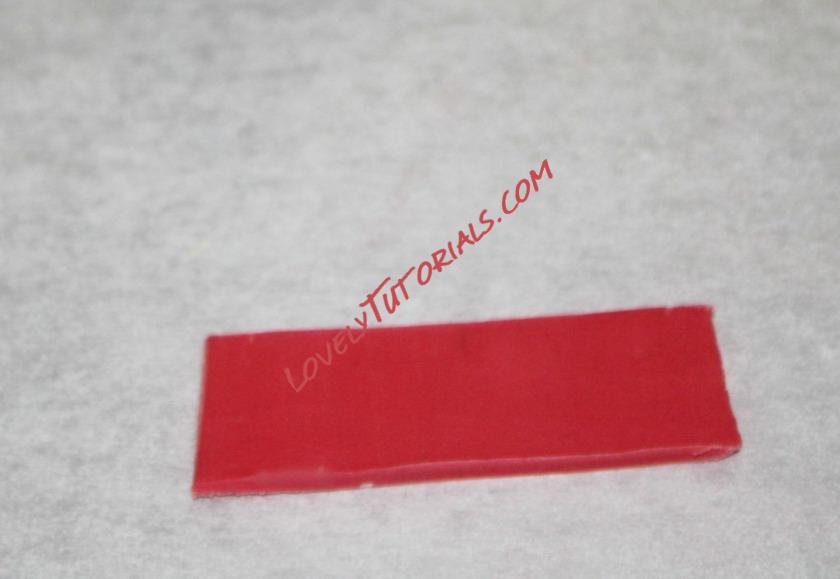
Wrap this around the back of the cake pop to form a complete bodice. Smooth the seams with your fingers.
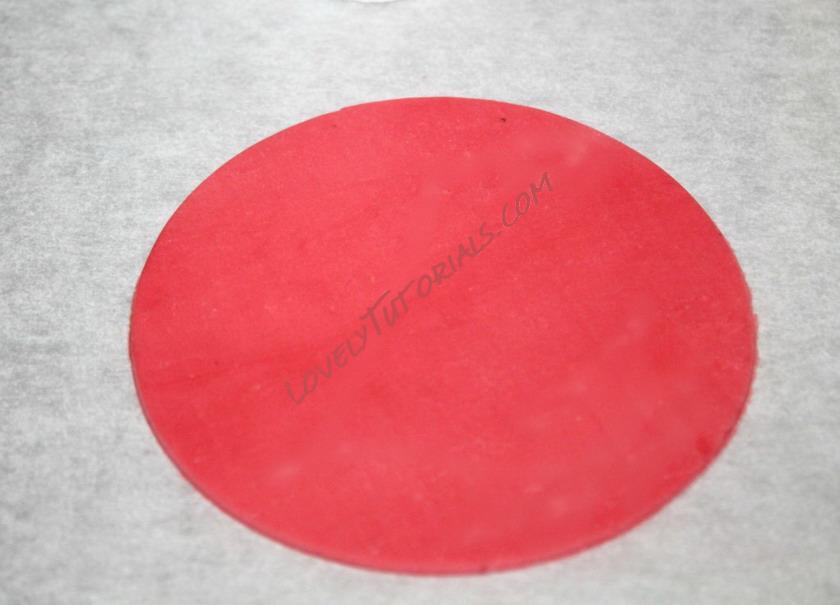
To create a nice full skirt with pleats, you will need a large circle cutter.
Using a small circle cutter, cut a hole in the centre and then cut an opening to enable you to wrap the skirt around the mannequin.
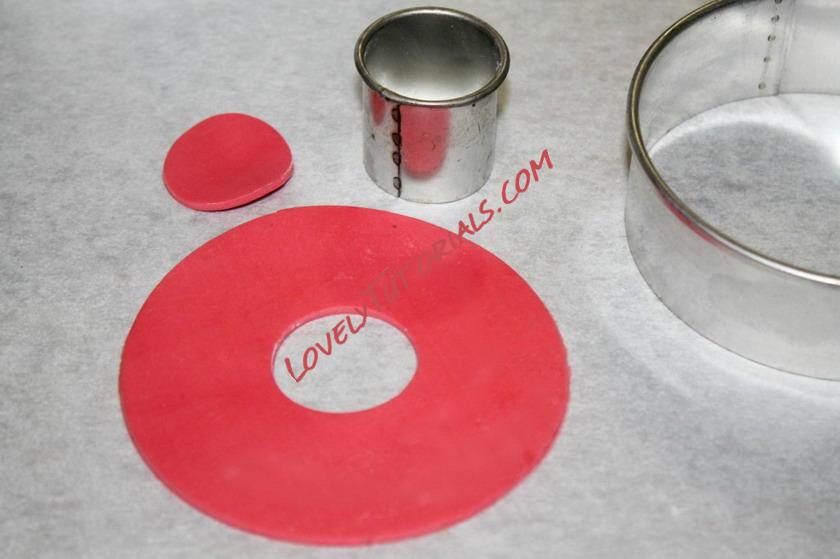
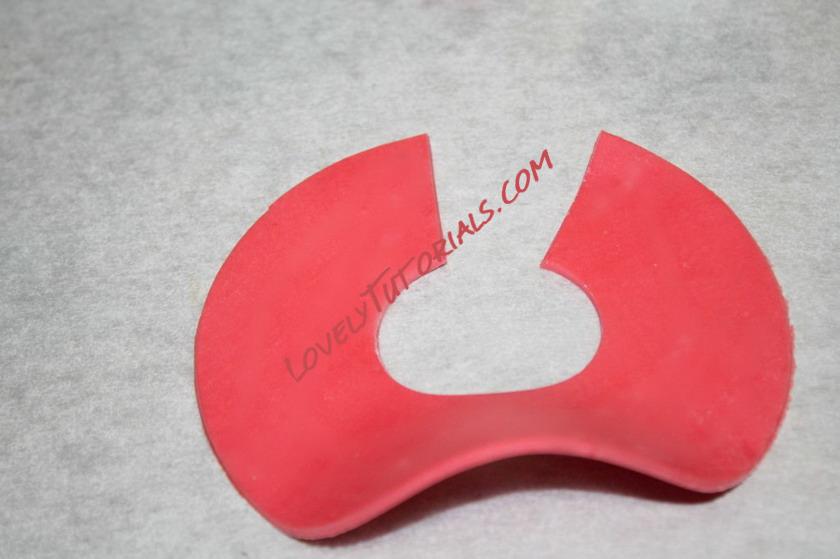
Don’t worry if you have a small gap between the skirt and the bodice as this will be covered by a belt. As you are wrapping around the circle, make sure to create little pleats in the skirt as you go.
Cut off any excess modelling chocolate at the join and smooth seam with fingertips.
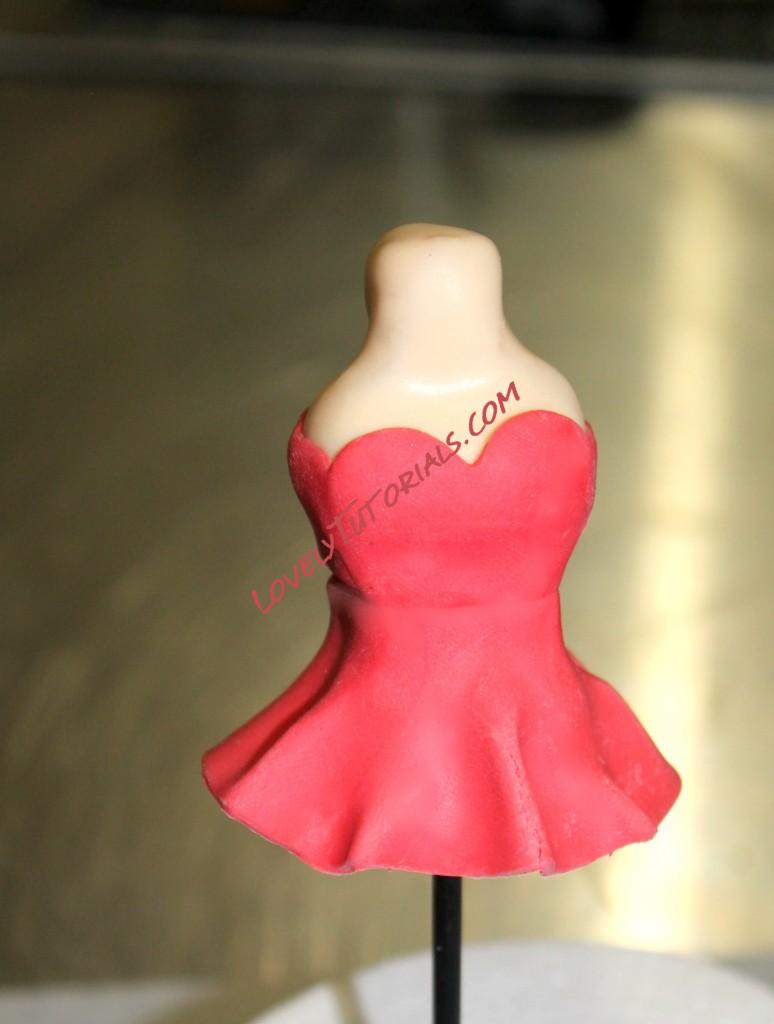
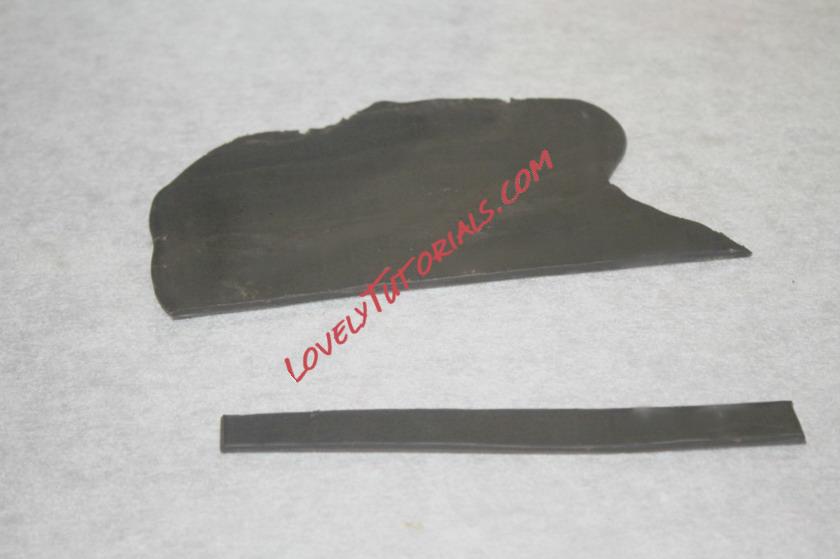
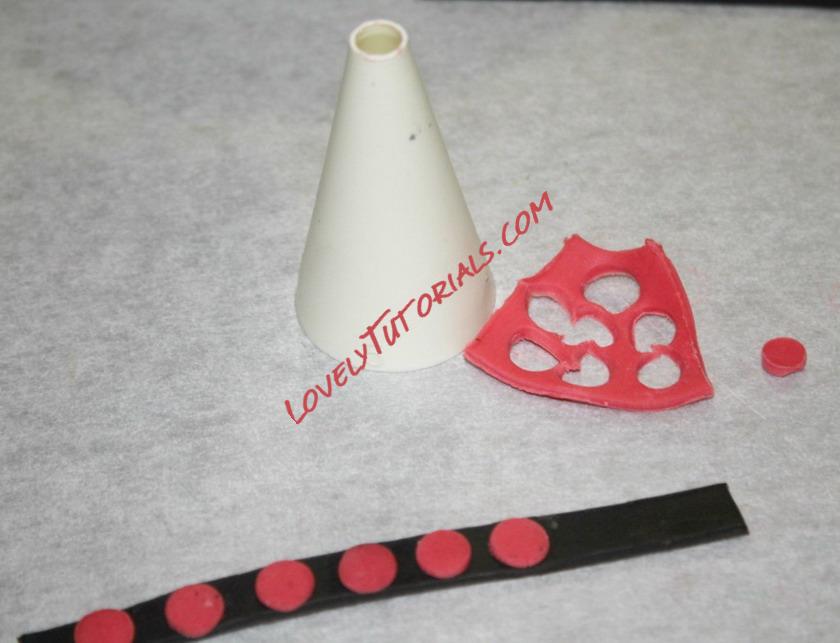
Cut a thin strip of black modelling chocolate to create a belt. Feel free to add embellishments to your belt, I added cut out some small red sequins out of a little square of modelling chocolate!
Next, I used a long frill cutter to create the illusion of a petticoat.
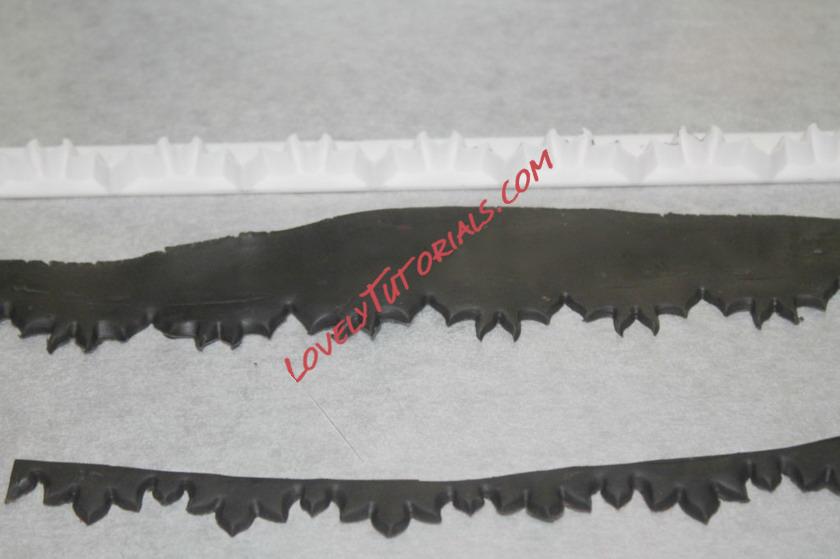
Attach frill to the bottom of the dress. Again, if using modelling chocolate this will stick straight to the bottom of the dress but fondant will need dabs of water or melted chocolate.
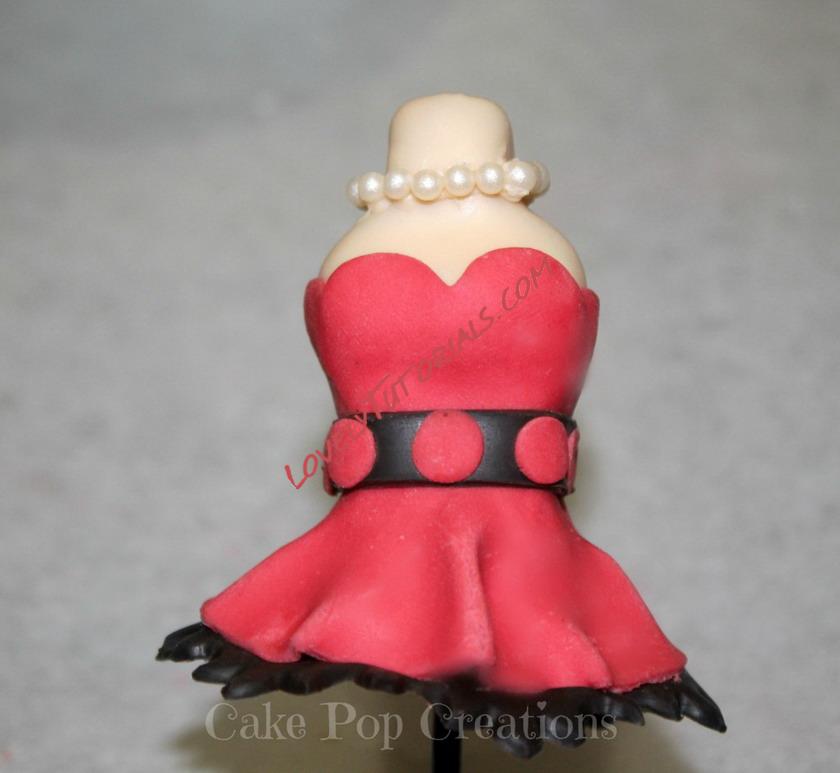
As you can see from the above picture I also added Ivory Candy beads to the neck to form a necklace!
Now you need to create the top of the mannequin by forming a small circle and a tiny teardrop shape. Attach these to the top of the mannequin.
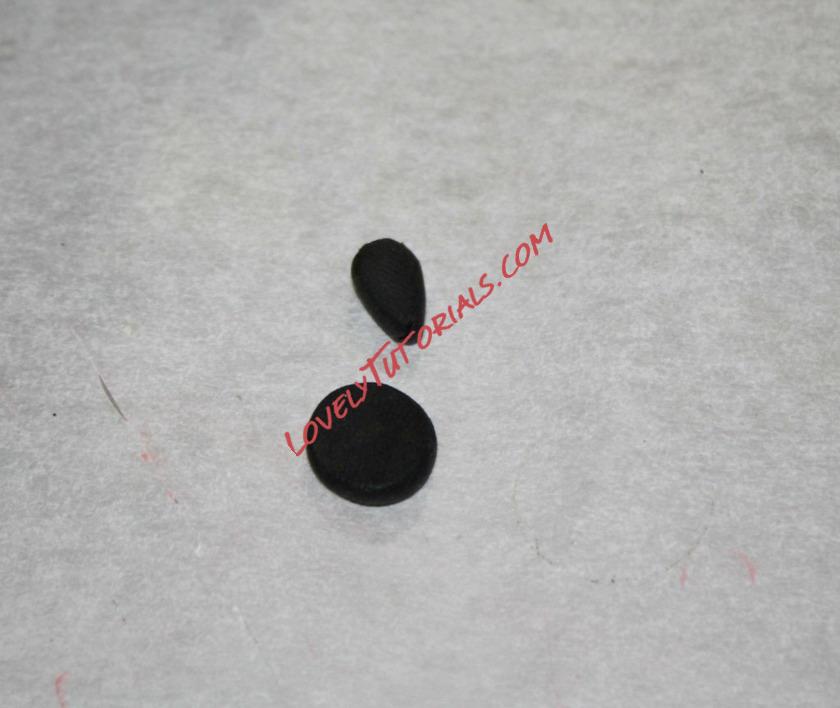
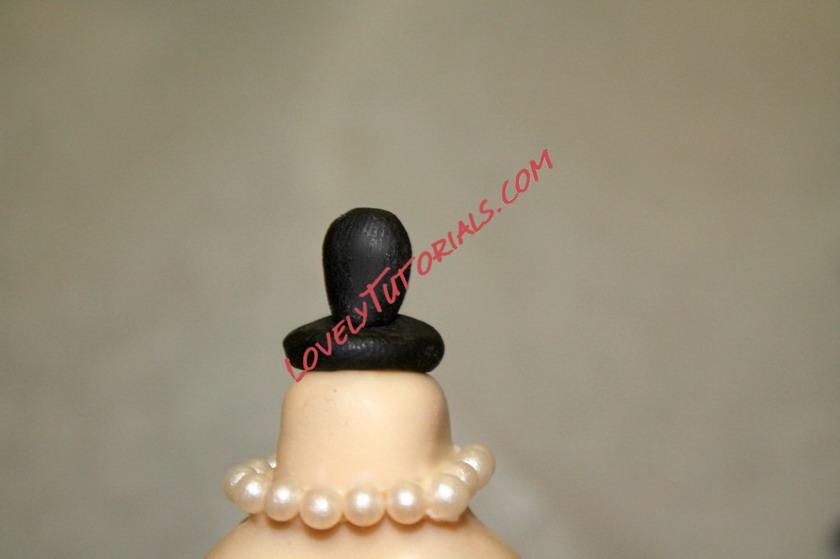
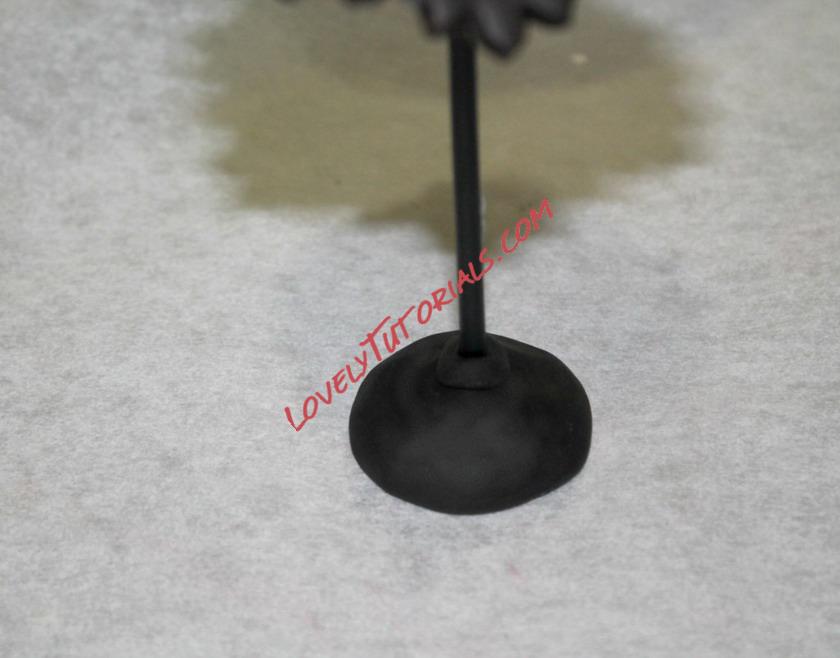
And to finish we just need to create the base plate for the mannequin to enable it to stand alone.
Form a piece of modelling chocolate/fondant into a circular shape and slowly bring into into a dome type of shape. Insert the lollipop stick into this and adjust so it is centralised.
For added strength add a little coil of modelling chocolate around where the stick is inserted into the base. See below.
Now you have a free standing Mannequin Cake Pop!
