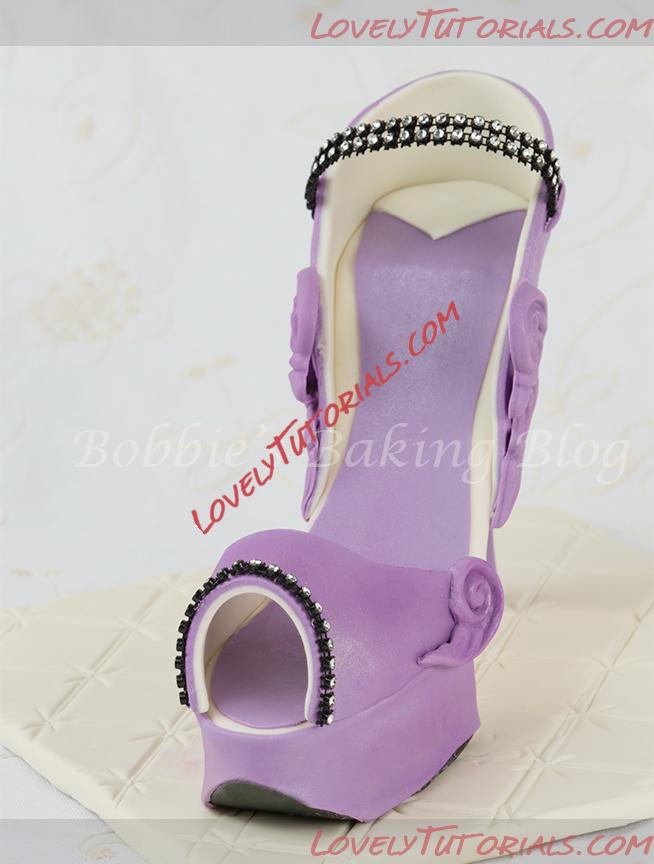
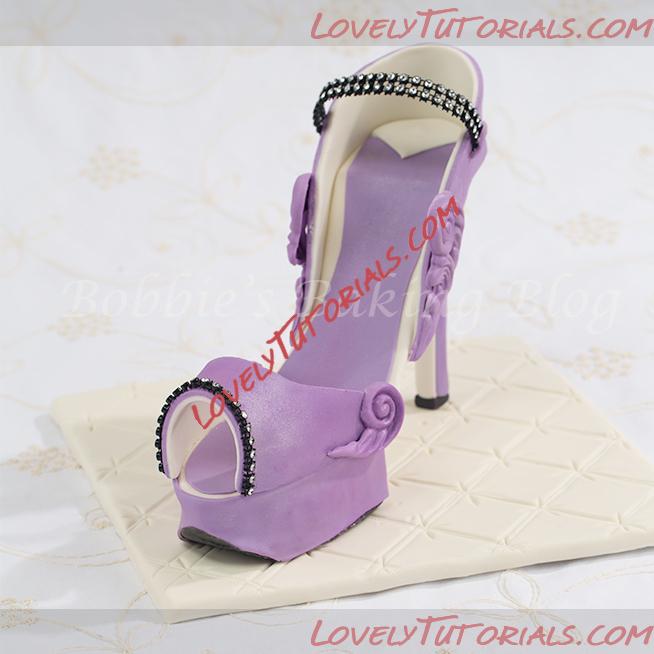
Огромная благодарность Автору Bobbie Bakes за Мастер-класс
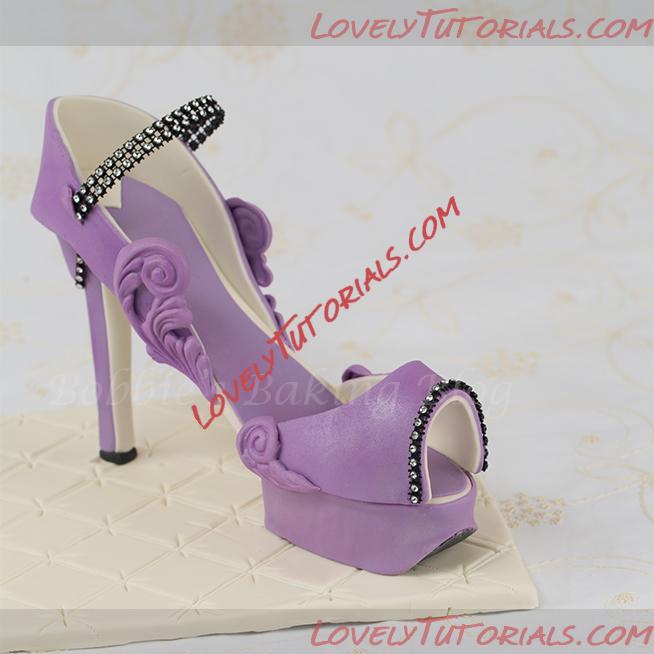
Shoes are the number one accessory; women brag about how many pairs of shoes they have in their closet.
Mariah Carey had
Mario Buatta design an elegant space with gold-leaf and bleached-wood floors for her stilettos. Although my husband has to share his closet with my left over shoes I do not have a special built room just for my shoes, I would not object to one! I admit I adore shoes, wearing them, looking at them, and shopping for them, so it only seems obvious that a shoe would be a popular cake topper. For the past few years fashion cakes have become popular.
When I decided to write a tutorial on fondant/gumpaste shoes I quickly learned there was a very limited amount of information on how to create a realistic platform stiletto high heel shoe. I finally went to talk to a shoe cobbler, who else could explain the structure of a platform high heel.
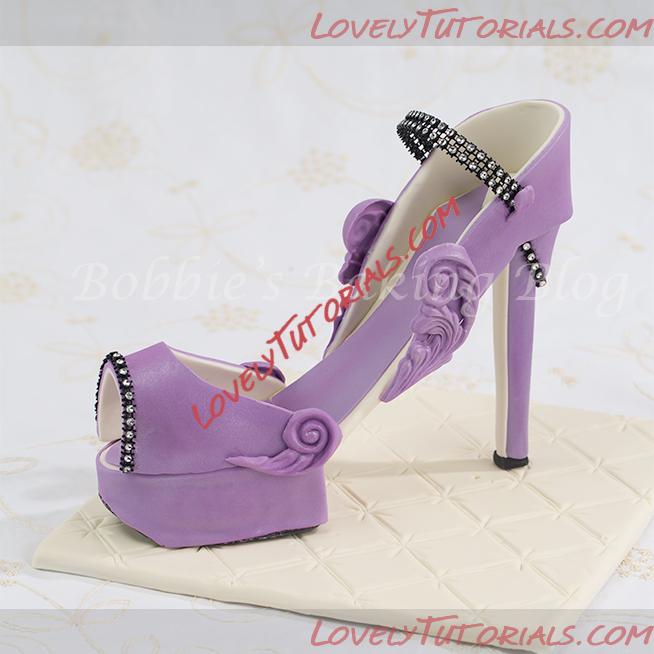 Equipment:
- Styrofoam or cake
- Styrofoam heat tool or sharp blade
- Tissue blade
- X-acto knife
- Wood skewers, two
- Styrofoam block, to hold shoe
- Decorative molds
- Artist brushes
- Needle tool
- Fondant smoother
- Fondant rolling pin
- Sanding block
- Facial mask
- Ribbon cutter
- Fondant covered drum
- Hot glue gun
- Cardboard
- Pasta machine, optional
Materials:
- Fondant, black, purple, and ivory..or your choice
- Tylose powder
- Edible glue
- Crisco
It is possible to create the platform high heel with cake in lieu of the styrofoam. Follow the same instructions except bake a 6×2-inch cake, cut the cake horizontally, with the platform template cut two platform cake pieces fill the center and cover with a crumb coat of butter cream and marzipan.
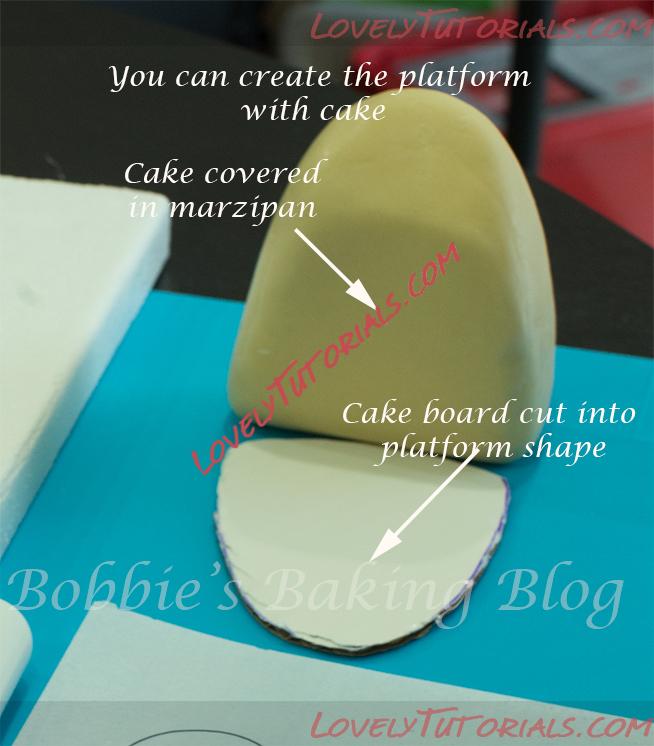
Before you begin your shoe I want to mention that after each step, except for the heel, I place the shoe in the freezer. Placing the shoe in the freezer allowed the extra time to play with each of the designs without the fondant becoming to soft or my fingers leaving prints!
Prepare your mise en place.
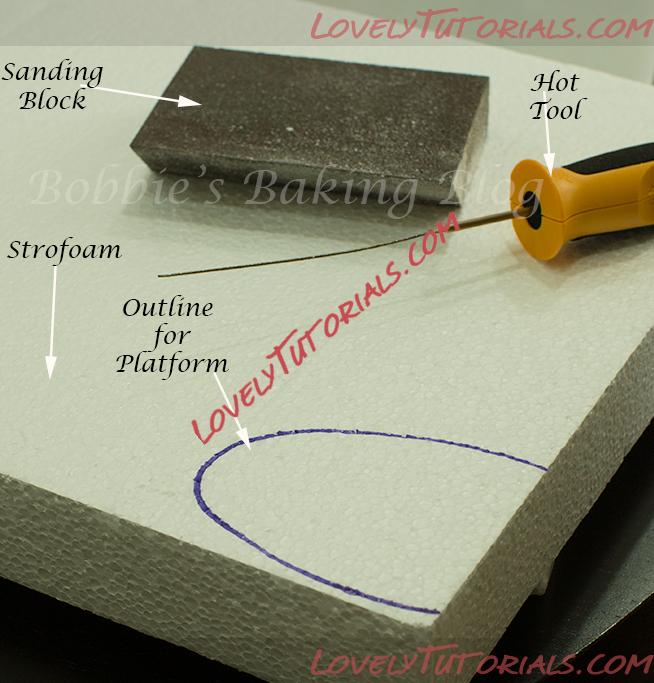
The platform of the Stiletto:
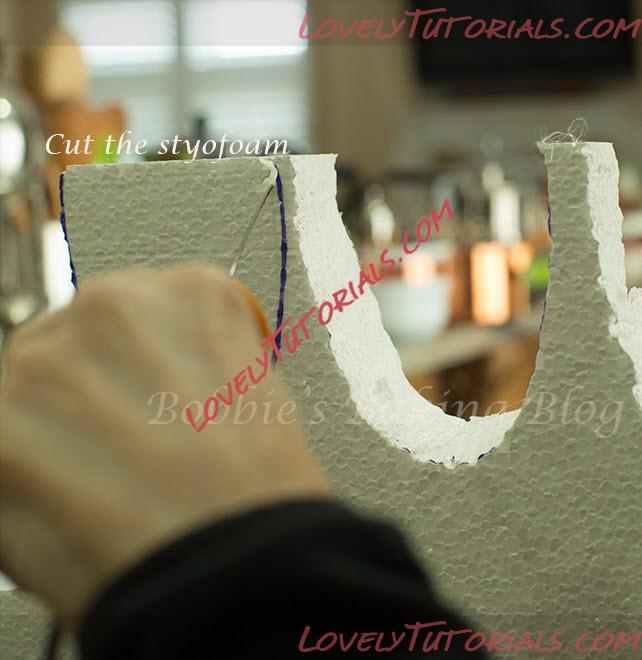
With a marker trace around the portion of the small sole, cut the foam with a hot tool for foam or use a craft blade.
Put a mask over your mouth and nose and proceed to sand a slant on the toe portion. Smooth the sides of the styrofoam platform… the smoother you can get the styrofoam the nicer the fondant will lay.
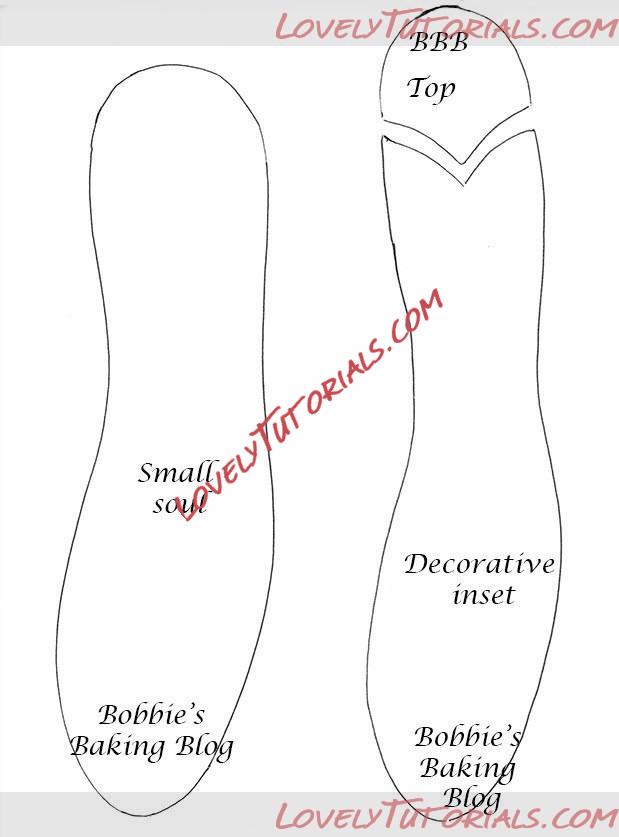
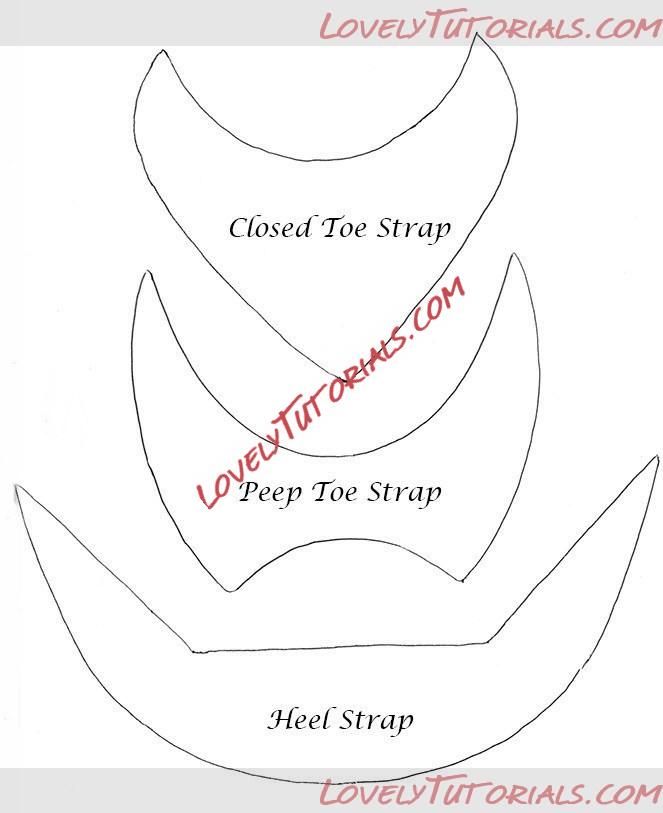
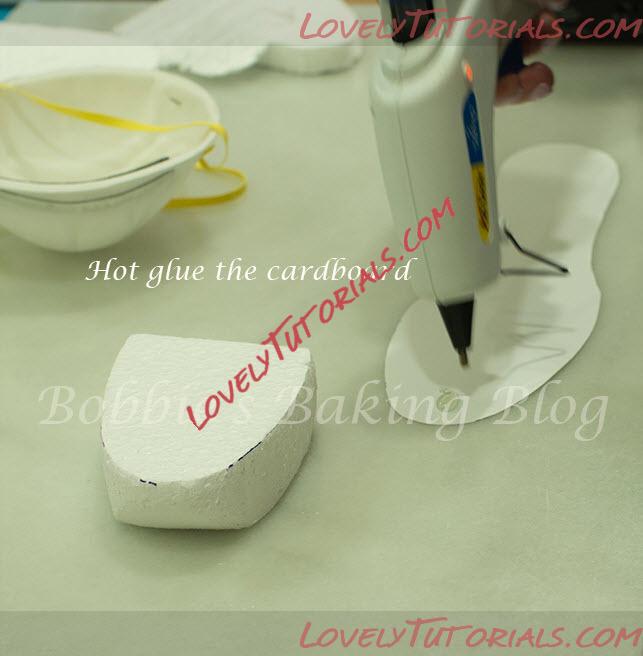
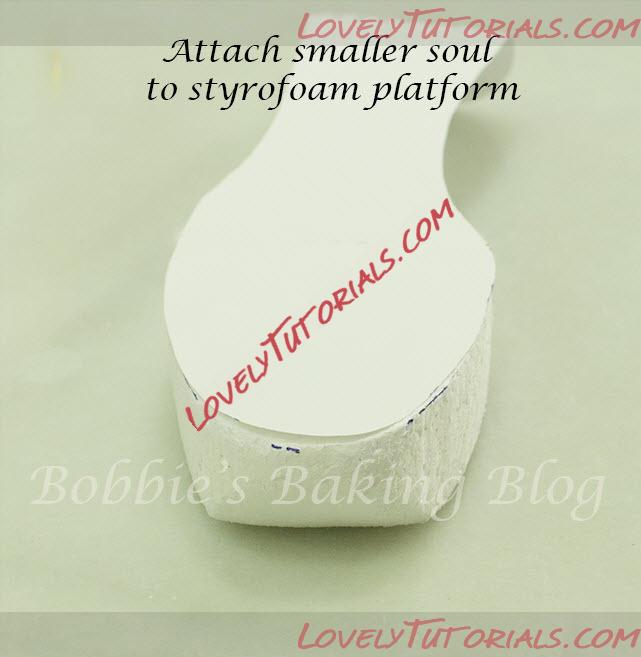
Cut out all your templates, make sure to cut the small sole on a piece of cardboard. With a hot glue gun, glue the back of the small sole cardboard cut out, at the toe, and attach the template to the styrofoam platform. With a skewer push a small hole through the heel of the cardboard template. Place the prepared platform with the template on a styrofoam block and set aside.
The Heel:
Prepare mis en place.
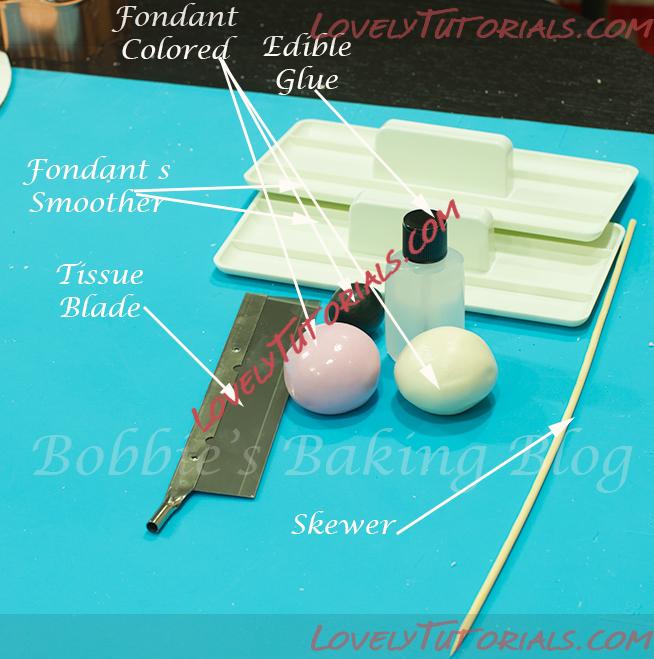
Begin to soften your purple fondant (or color of choice), add about 1- 2 teaspoon of tylose. The more tylose you add to the fondant the faster your shoe will dry.
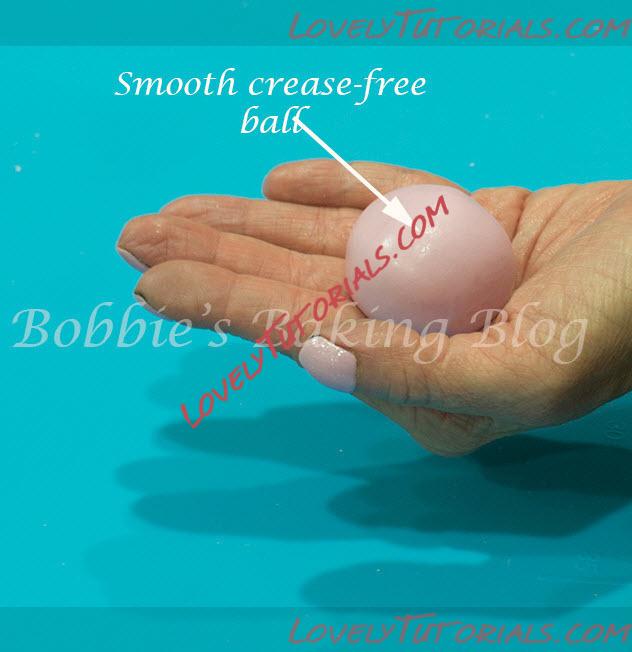
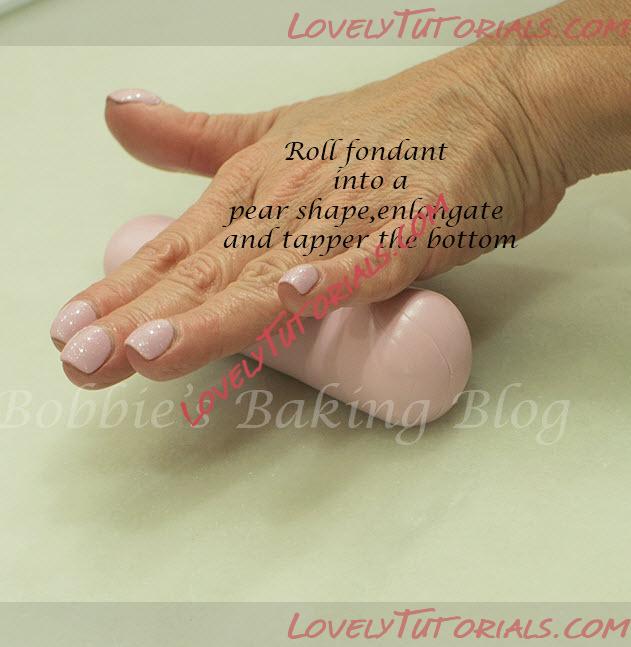
Roll the fondant in your hands to create a crease free ball. Turn the ball into a pear shape, elongate the pear to tapered at the bottom about 3mm to 5mm, leaving a wide enough top to fit under the heel form, about 2cm.
Smooth the heel with fondant smoothers.
Carefully and slowly twist a skewer through the top of the heel to the bottom. The skewer needs to be as centered as possible.
Re-shape the heel with your fondant smoothers.
Ivory Decorative Strip:
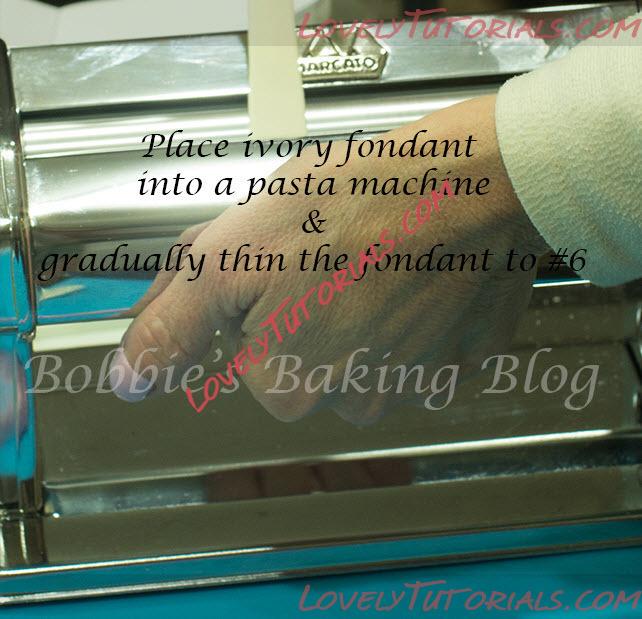
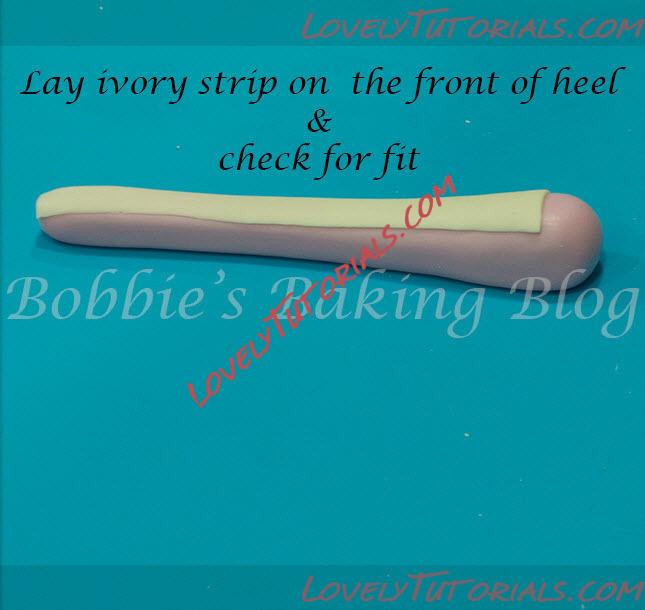
Knead your tylose prepared ivory fondant, roll the fondant with a fondant rolling pin, and place in a pasta machine to #4 thickness. Cut with a ribbon cutter and taper with a tissue blade. Brush a small amount of edible glue on the front of the heel, attach, and smooth with fondant smoothers.
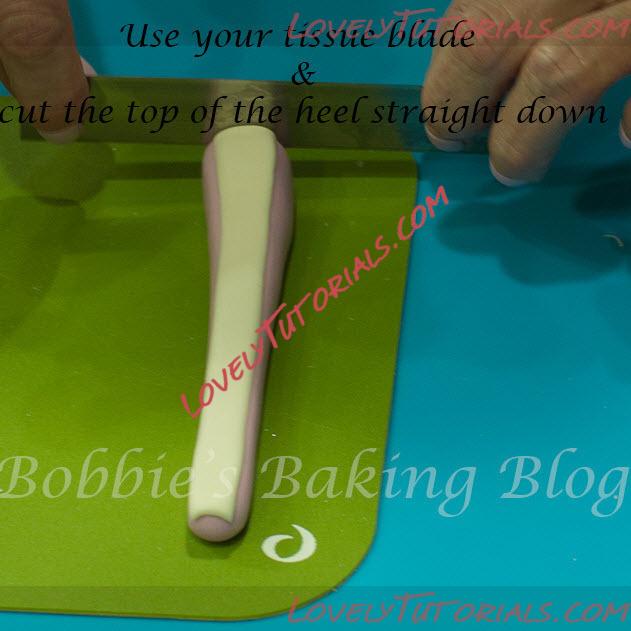
Cut the top of the heel with a tissue blade straight down.
The Tap:
Take a marble size of kneaded black fondant about 3mm to 5mm/ 1/4-inch thick. Take your heel push the bottom of the skewered heel through the black fondant. Carefully create an impression of the bottom of the heel on the piece of black fondant. Cut the impression mark and glue, with edible glue or sugar water, the black fondant onto the bottom of the heel. Place the heel into the styrofoam block and allow to dry overnight
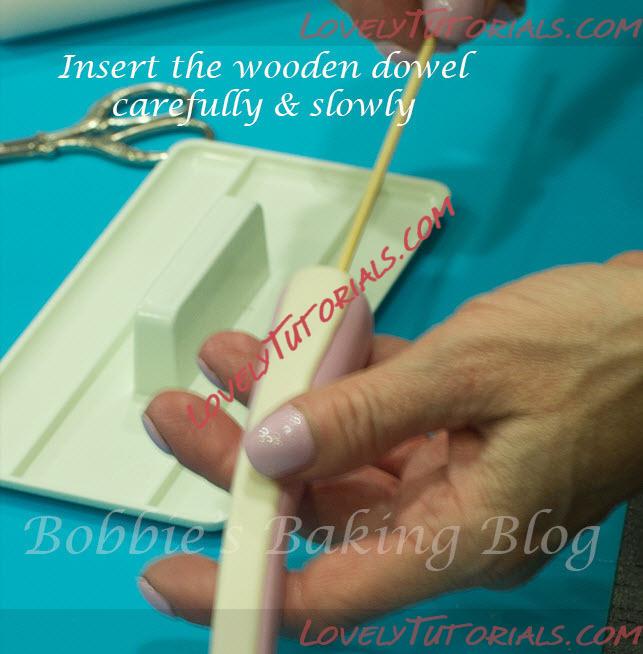
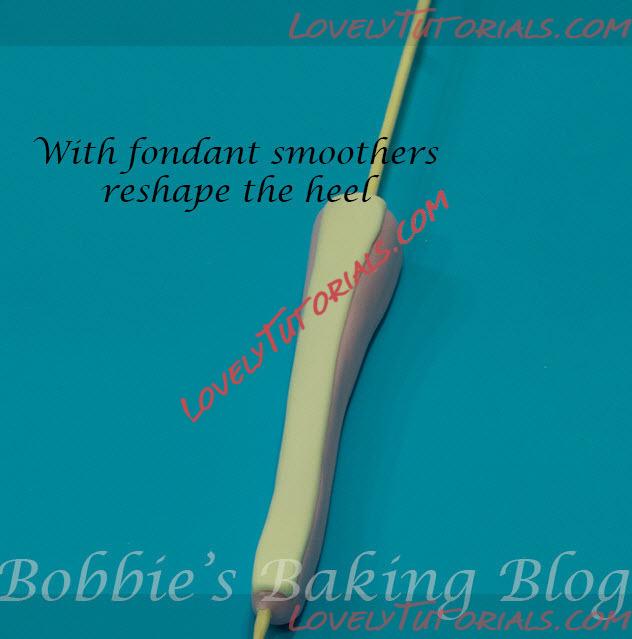
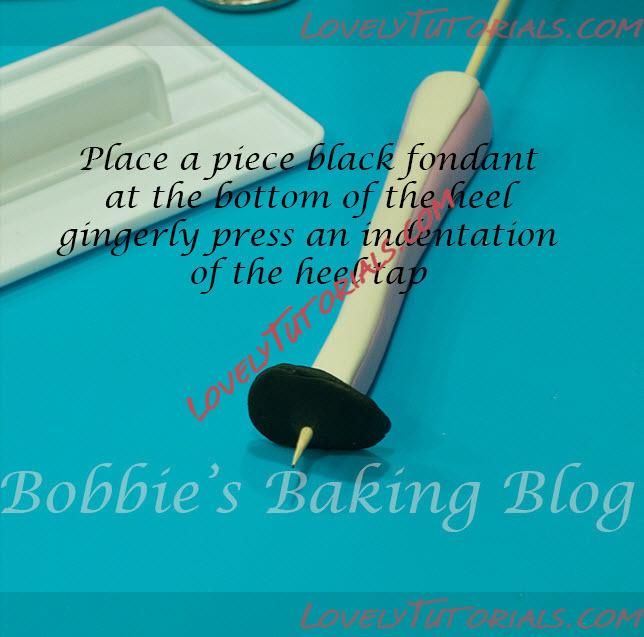
The Platform and Sole of the stiletto:
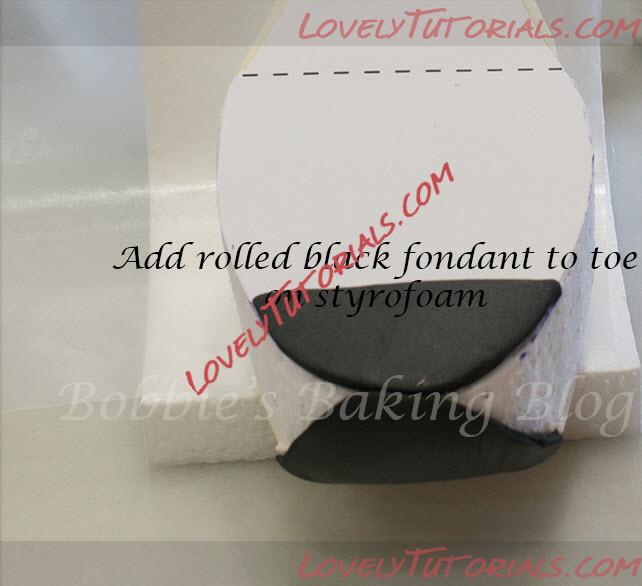
Roll out some black fondant to a #0 on a pasta machine, generously apply edible glue to the bottom of the styrofoam platform, smooth the black fondant, make sure the black fondant covers the incline toe portion..set aside.
The sole:
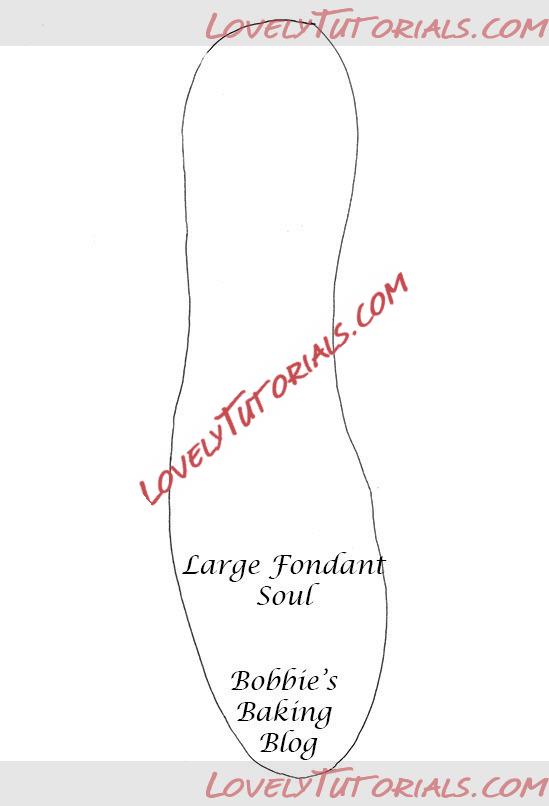
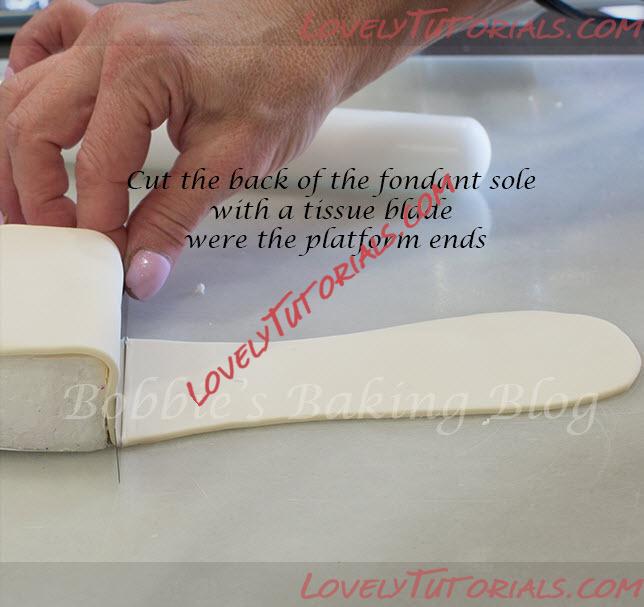
Start with the bottom of the sole, roll out prepared ivory fondant #1 on the pasta machine. Using the larger sole template cut the back of the sole (use x-acto blade), make sure to turn the template to the opposite side for the back sole. Apply a small amount of edible glue to the back of the cardboard. Attach the ivory fondant to the cardboard. Use you tissue blade to cut the fondant sole back where it meets the styrofoam.
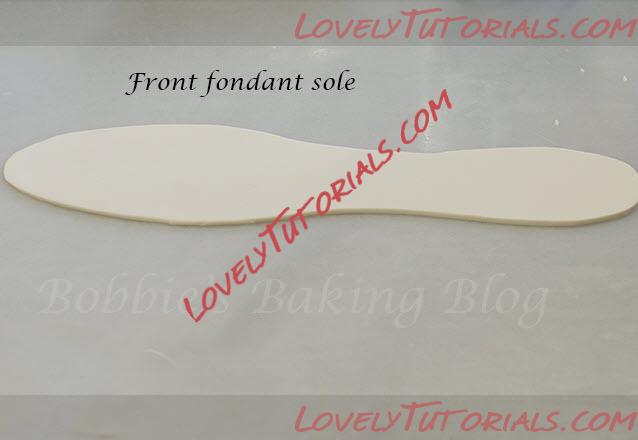
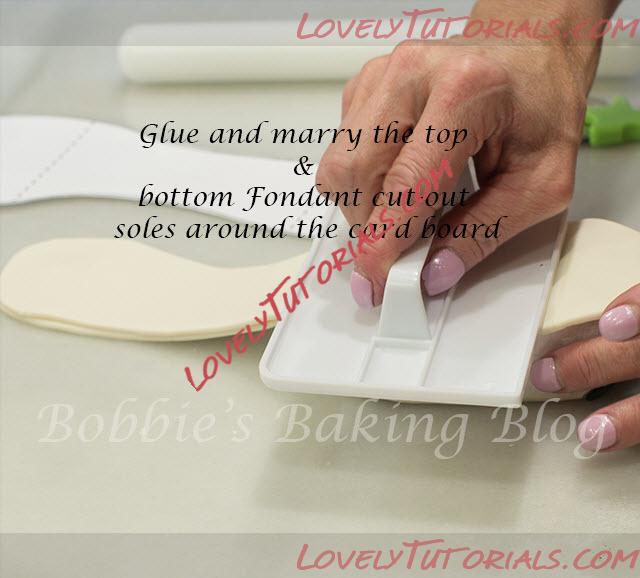
Repeat the exact same steps for the front of the sole, taking care to turn the template right side up. Add the edible glue to the ivory fondant and the top of the cardboard. Smooth the two pieces together until they look like one. Use a small amount of crisco to bind the edges.
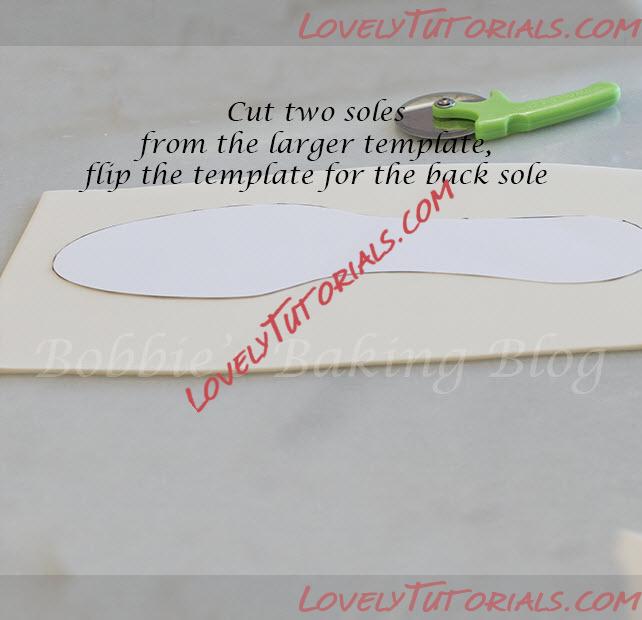
The Side of the platform:
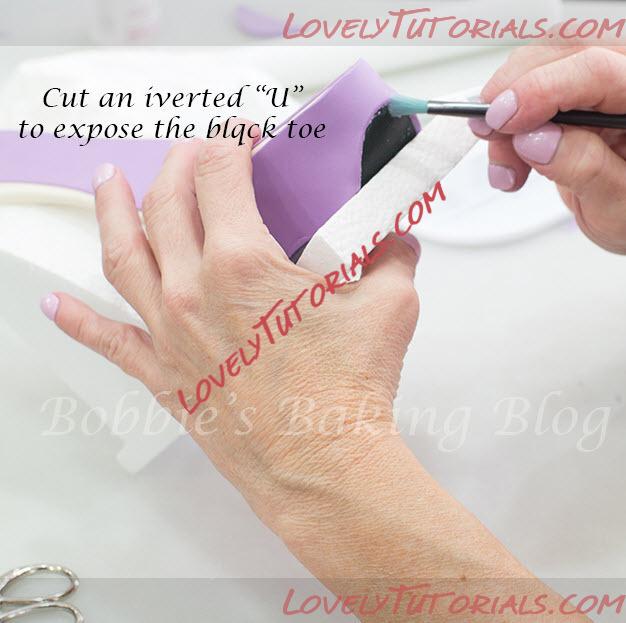
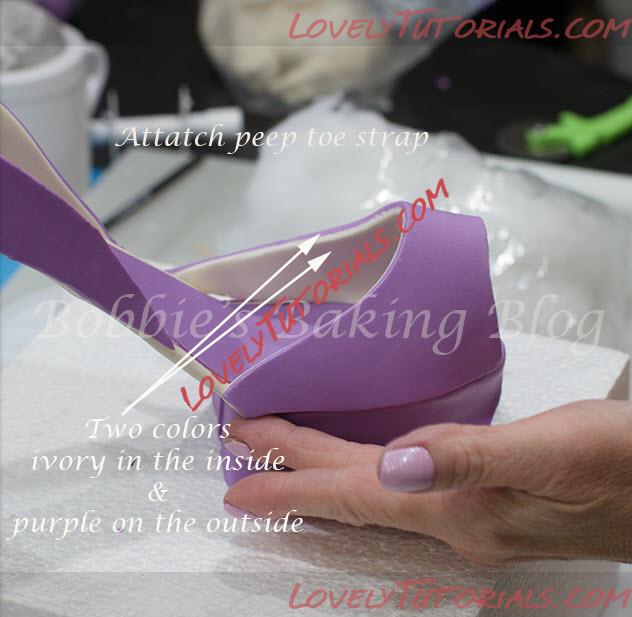
Roll out the purple fondant to a #1 on the pasta machine, using a ribbon cutter with separators to the width of the platform and length around 30cm/ 12-inches. Apply a generous amount of edible glue to the side of the styrofoam. Starting at the back of the platform wrap the purple fondant around the sides of the platform. Cut the fondant in the back, so that the two pieces come together. Cut out the toe piece so the black peaks out.
Decorative Inset:
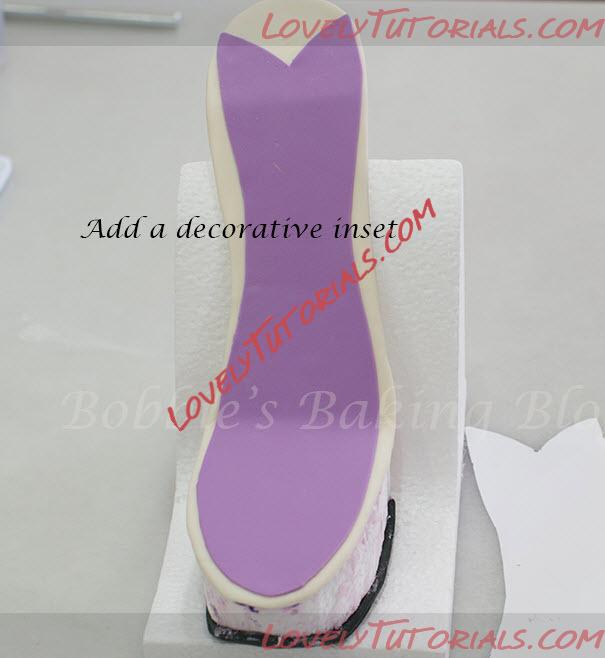
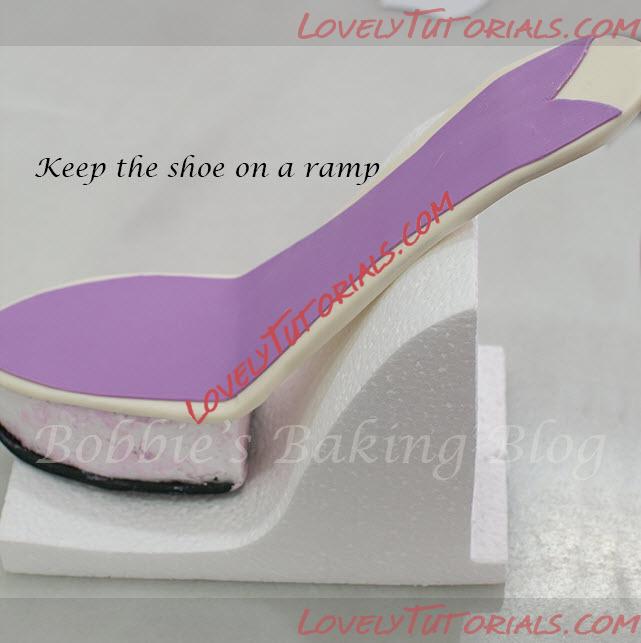
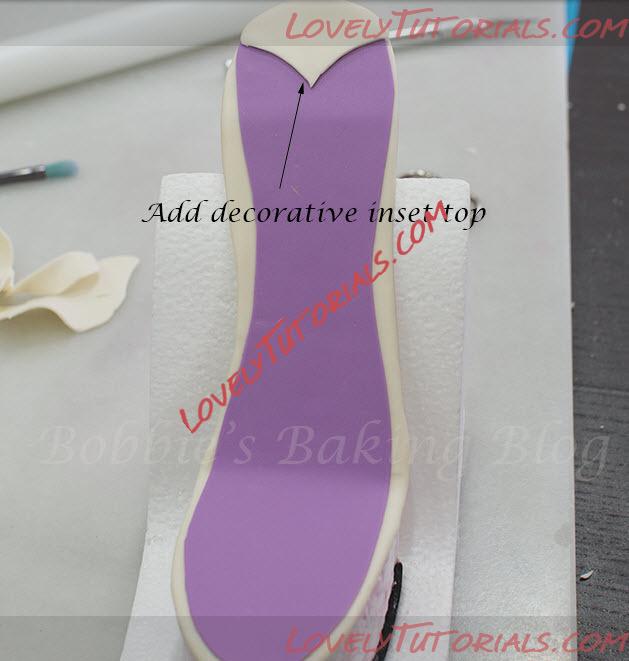
If you look at a Jimmy Choo shoe there is a decorative inset.
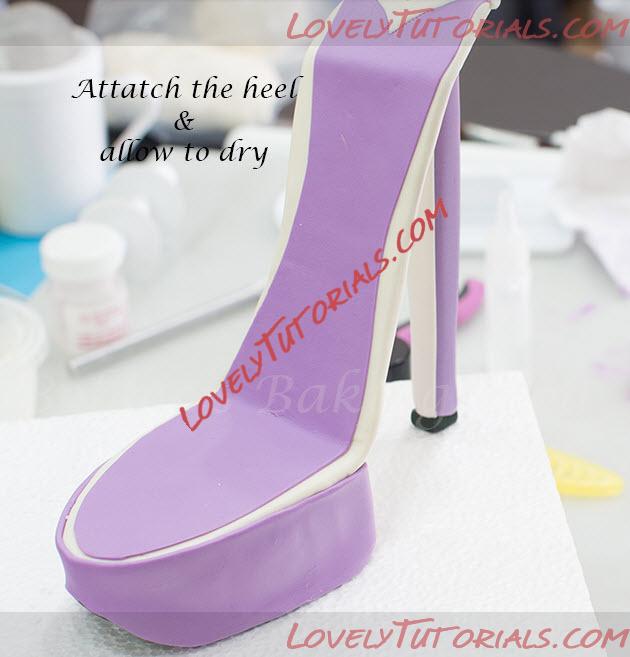
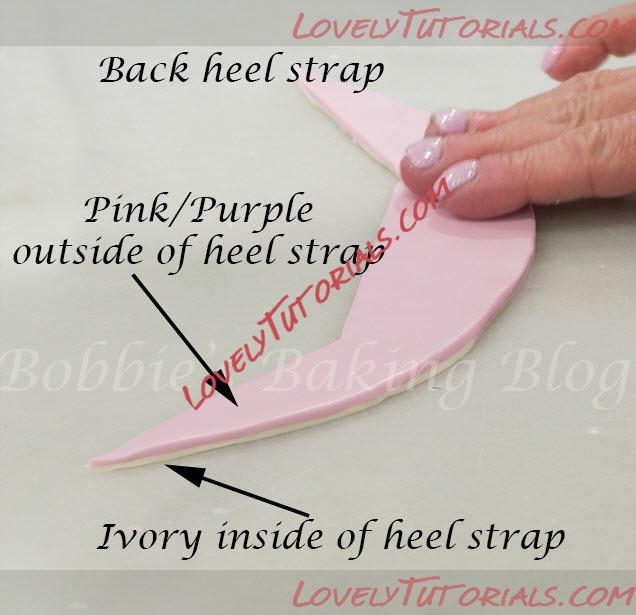
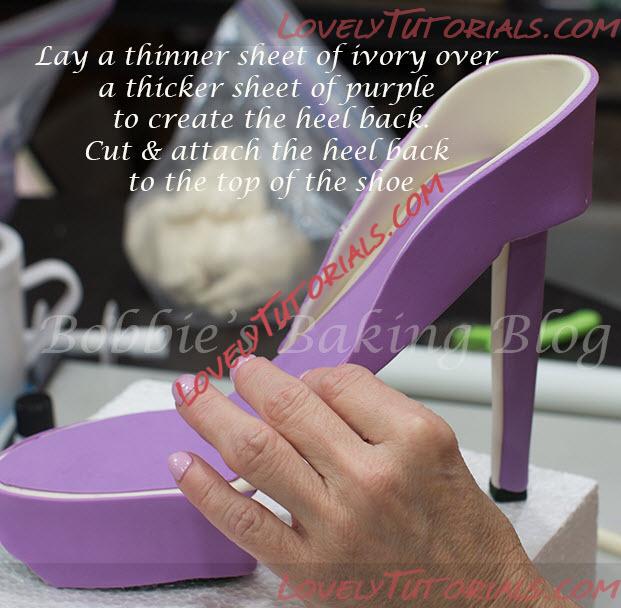
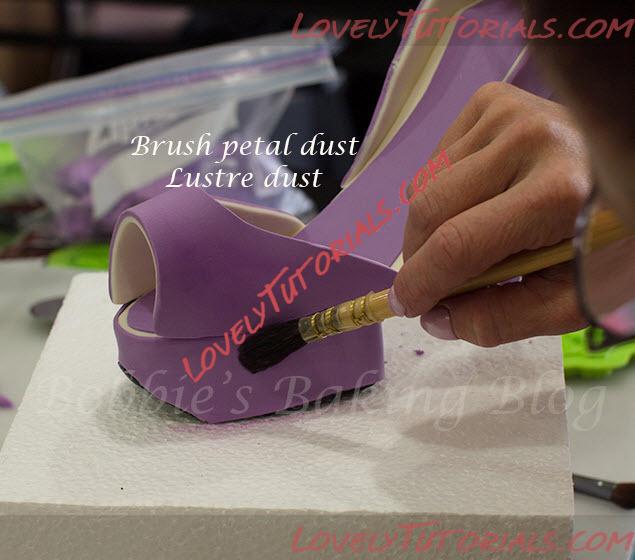
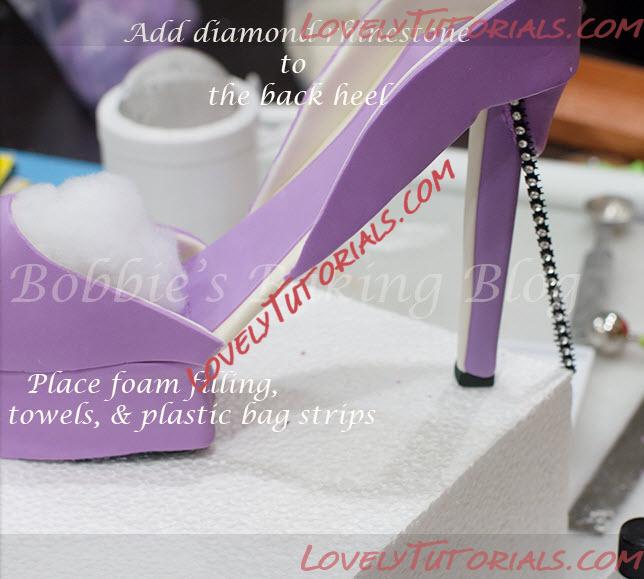
Using the decorative inset template (it resembles a fish). Cut a prepared purple sheet of fondant, #3 thickness on a pasta machine apply edible glue to the back of the decorative purple inset and lay it 1/8-inch from the edge of the toe to the start of the back of the heel. For the back of the heel, prepare a sheet of ivory fondant to #3 thickness and cut out the back heel. Use a pounce wheel to add stitching.


