Огромная благодарность Автору tarttokig за Мастер-класс
 Supplies
- Rolling pin
- Large Cylinder
- Exacto knife
- Star tool
- Brush
- Edible glue
- Sugarpaste in 3 colors of your choice
- #1 round tip
- Paper straws
- Tissue
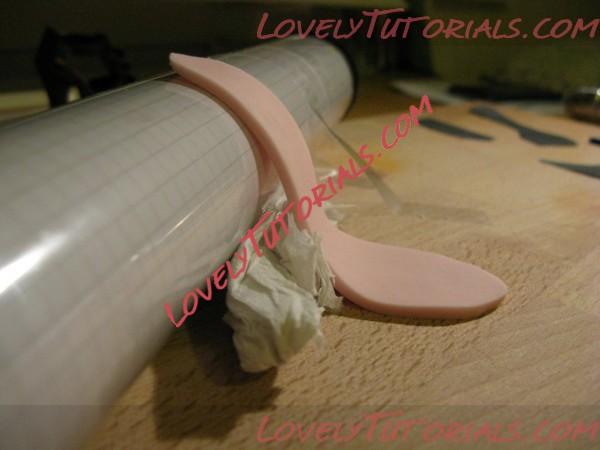
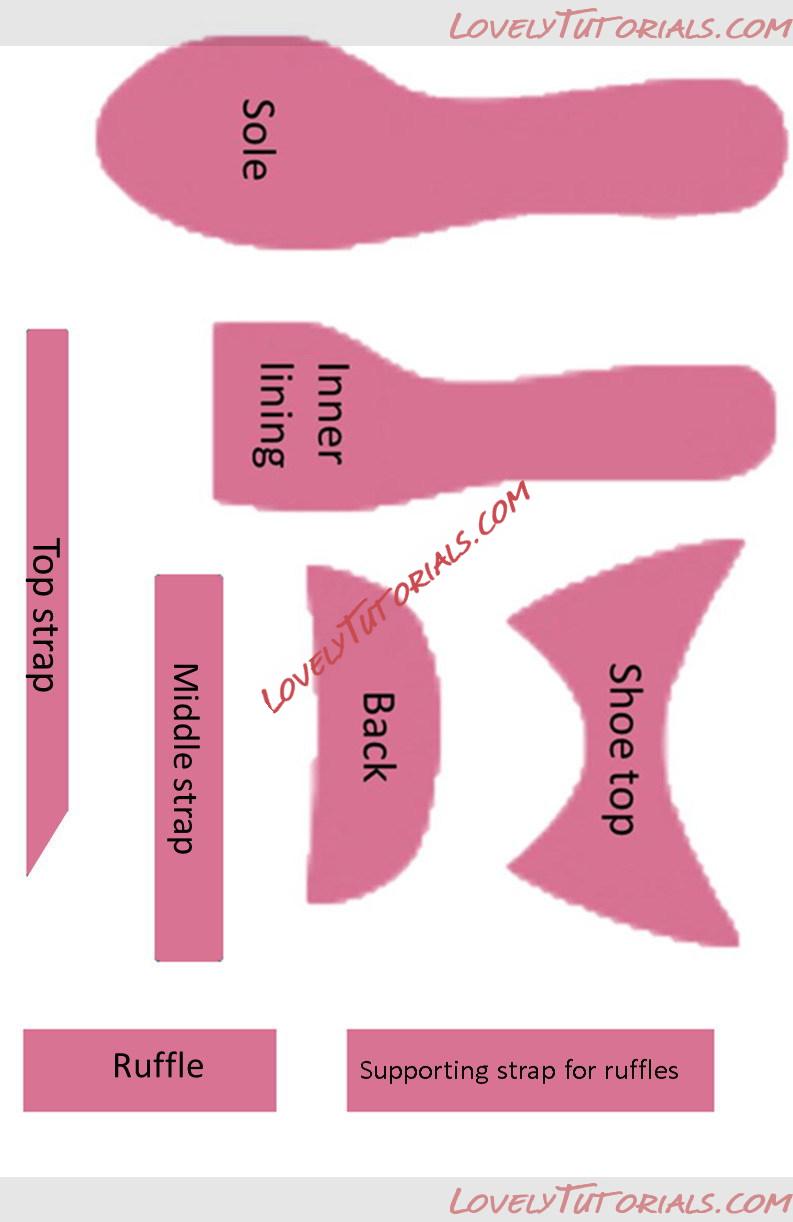
Roll out sugarpaste to 3 mm thickness. Use the exacto knife to cut out the sole and place it on the cylinder to shape it. Use tissue if additional support is needed.
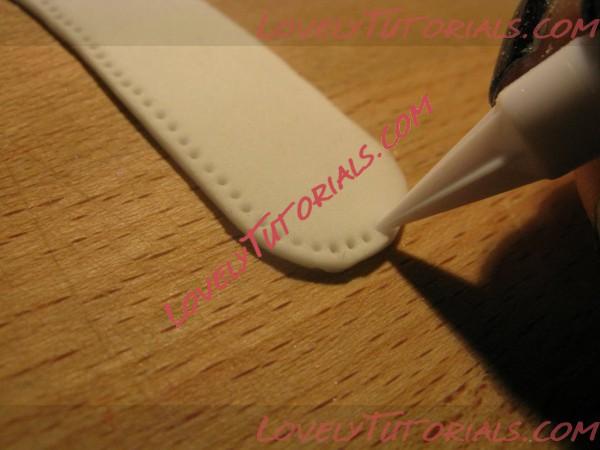
Roll out sugarpaste in second color to 1 mm thickness, and cut out the lining. Use the star tool to make a stitching along the edge of the lining. Brush edible glue on the sole and carefully attach the lining. If you want to paint the lining (like I did with this shoe) then do this now. I used silver luster dust mixed with some clear alcohol.
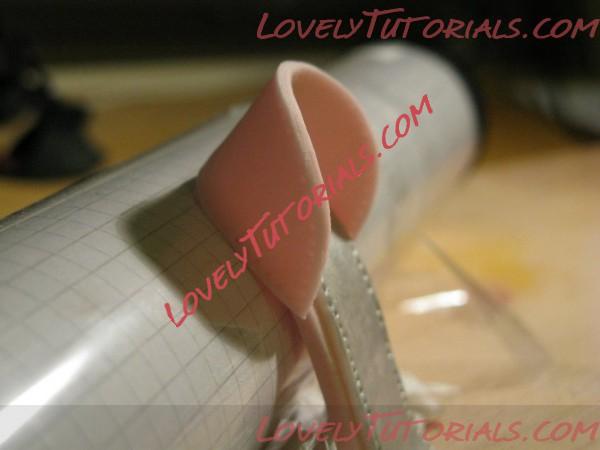
Roll out sugarpaste of the same color as the sole to a 2 mm thickness, and cut out the back of the shoe. Again, use the star tool to stitch along the edges on both sides of the back piece. Brush some edible glue along the bottom edge of the piece and attach it to the sole.
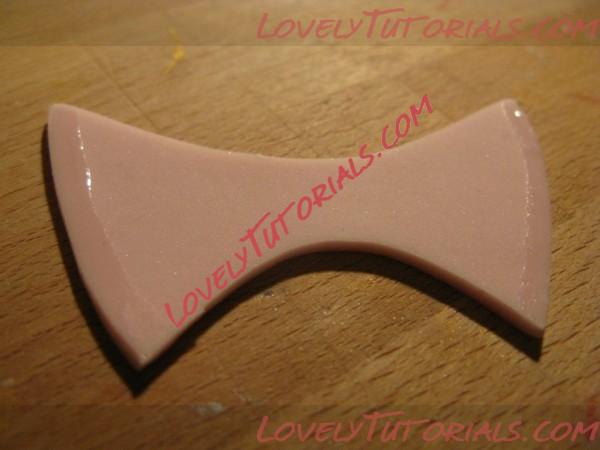
Cut out the shoe top from the same piece of sugarpaste and make a stitching on one of the sides. Flip the piece over and brush edible glue like on the picture, and attach it to the sole. Since the pieces are so small I usually don’t need any support for the shoe top, but if it doesn’t hold its shape you can support it with some tissue.
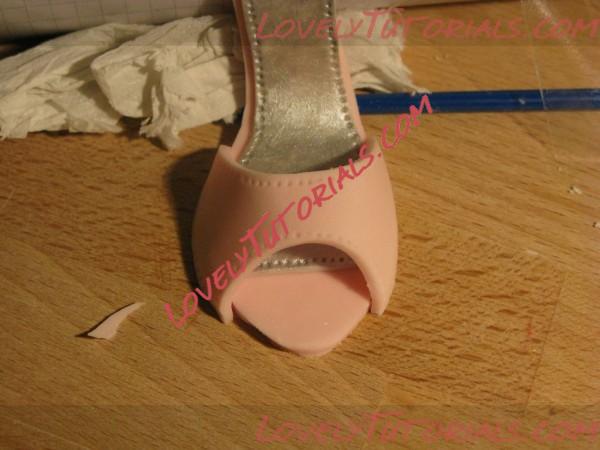
Leave to dry until the glue has set and the pieces are hard enough to hold their shape when touched, a few hours to overnight.
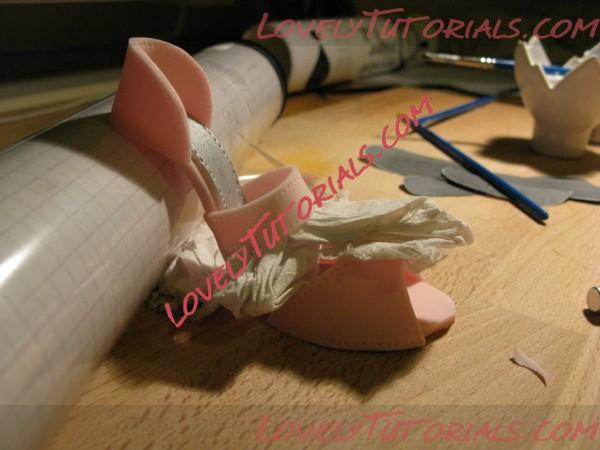
Roll out sugarpaste to a 1-2 mm thickness, cut out the middle strap and make a stitching along the edges of the piece. Attach it to the sole using edible glue. You want the distance between the strap and the piece called the shoe top to be about the same as the width of the strap. Let dry for a couple of hours before moving on to next steps.
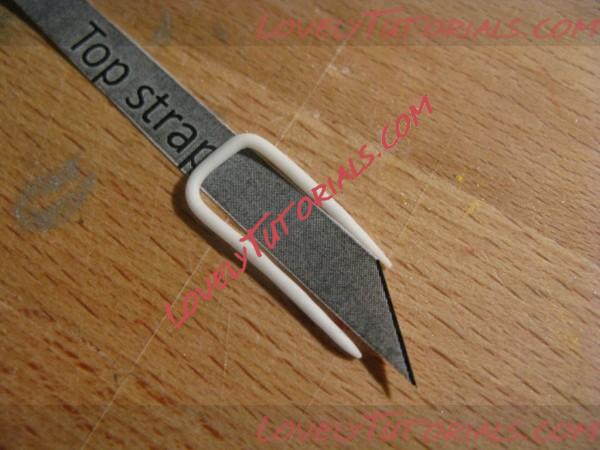
Cut out the top strap from the template. Roll some white sugarpaste into a thin sausage and shape it around the top strap as in the picture. Put to the side.
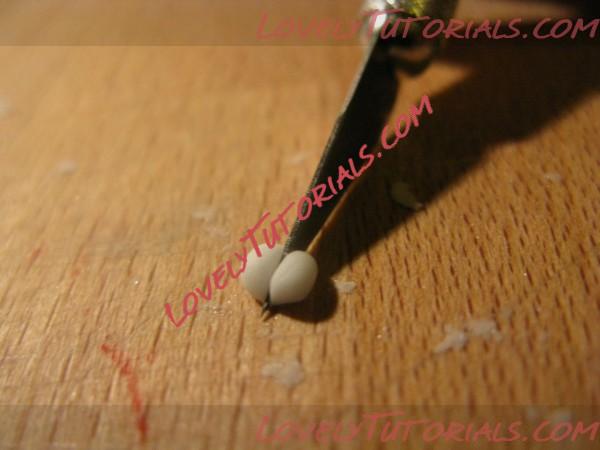
Roll a tiny ball out of white sugarpaste, approx. 4 mm in diameter. Cut it in half and roll into two new balls.
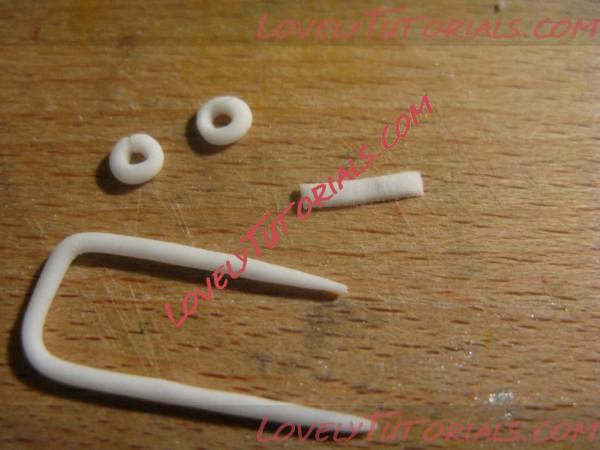
Flatten them slightly with your finger and use the round tip to make a small hole in the middle. These will be the eyelets for the buckle. Roll out a small piece of sugarpaste as thinly as possible without it breaking. Cut it into a small rectangle (as in the picture). You will adjust the length later so just make sure that the width is small enough so that it can fit inside one of the eyelets.
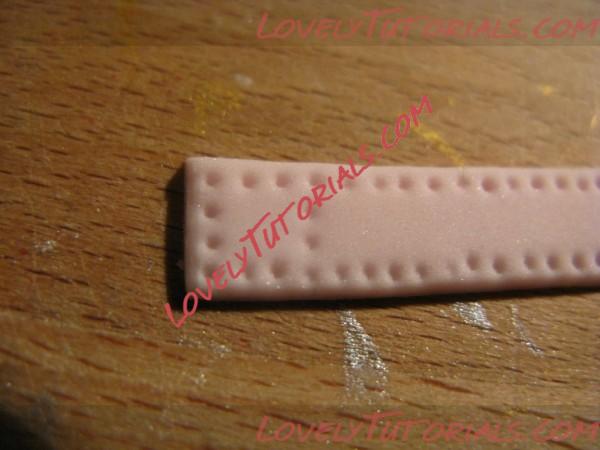
Roll out sugarpaste (of the same color as the other strap) to 1-2 mm thickness, and cut out the top strap. Make a stitching along the edge and like in the picture.
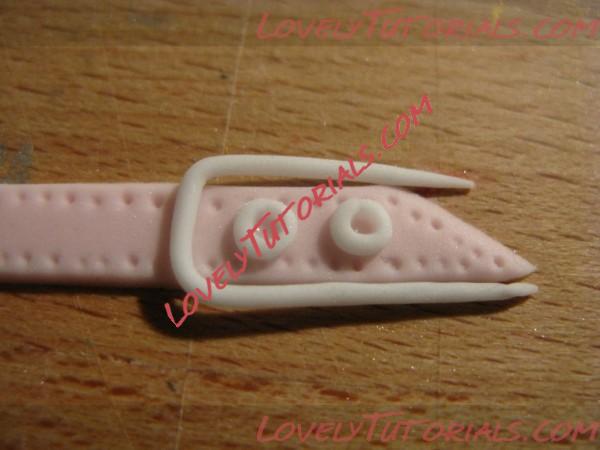
Glue the small circles and the thin sausage you made earlier to the pointy side of the strap.
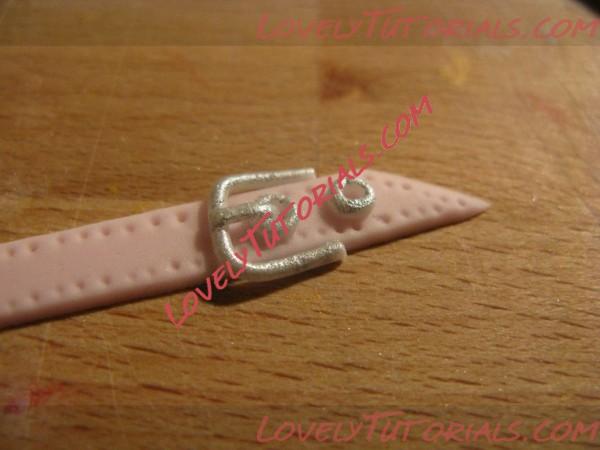
Trim the ends of the little sausage off, and add the small rectangle. Trim the small rectangle to desired length, and glue it to the strap. Color the details in some metallic color or leave as is.
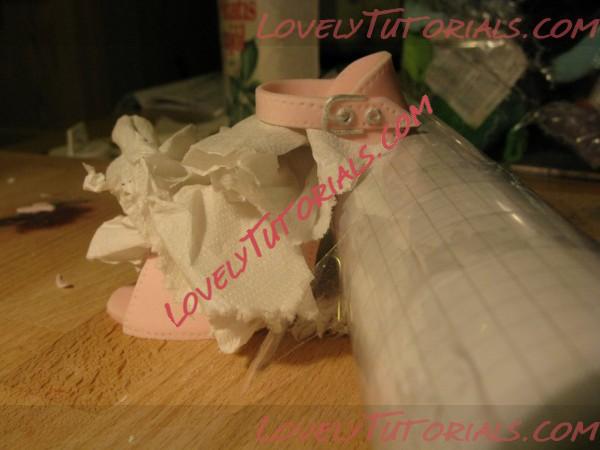
Attach the strap using edible glue, supporting it with tissue. Make sure the strap is horizontal! Leave to dry overnight before moving on with adding the ruffles and heel.
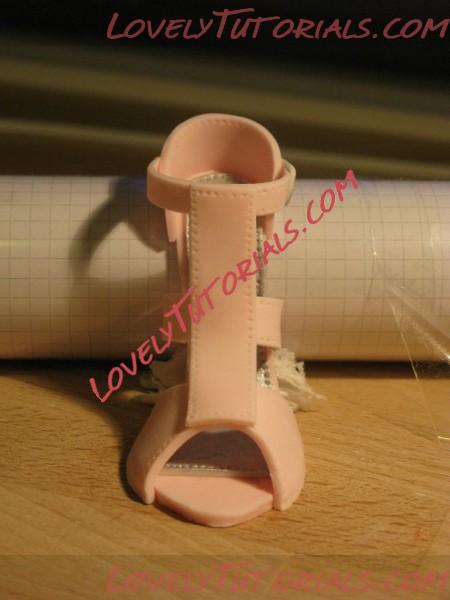
Roll out sugarpaste to 1-2 mm thickness and cut out the “supporting strap for ruffles.” Attach the strap using edible glue.
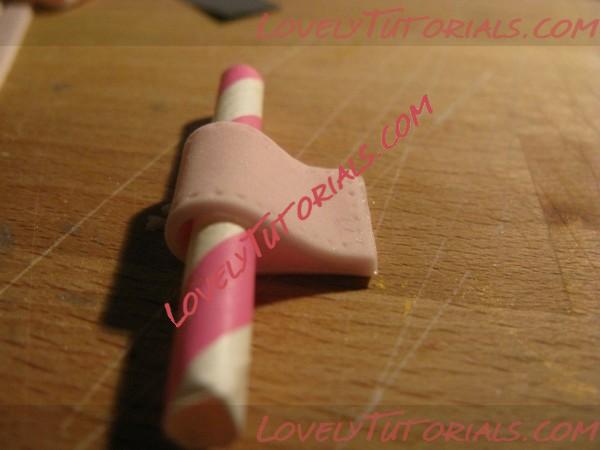
From the same piece of fondant, cut out five ruffles and place them in a plastic bag to prevent them from drying too quickly. Take out one ruffle at a time and stitch along the edges using star tool. Place a straw across the ruffle and fold the ruffle over it. Glue the ends together and put it in the bag again (don’t remove the straw), repeating the procedure with all five pieces. For the last ruffle, stitch another line like in the picture.
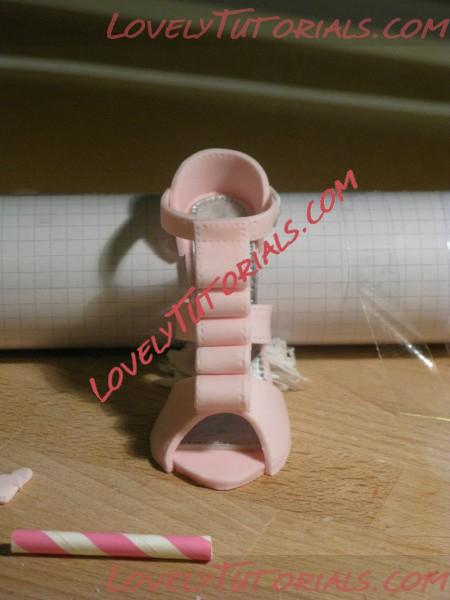
Once all five are done, use edible glue to attach them, making sure they are placed an equal distance from each other and in a straight line. Leave to dry until the glue has set, and you can touch the ruffles without them losing their shape.
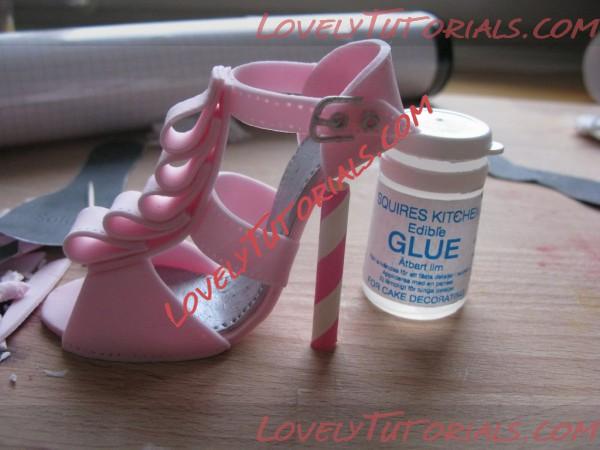
Cut a straw to the length shown by the picture and knead some sugarpaste until pliable and smooth, taking too much rather than too little.
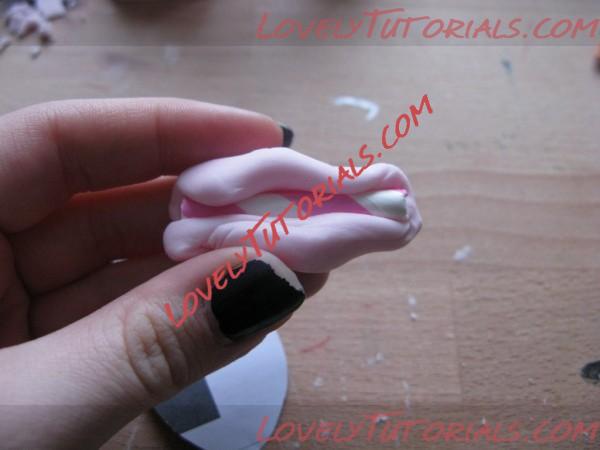
Brush the straw with edible glue and push it into the sugarpaste as shown by the picture.
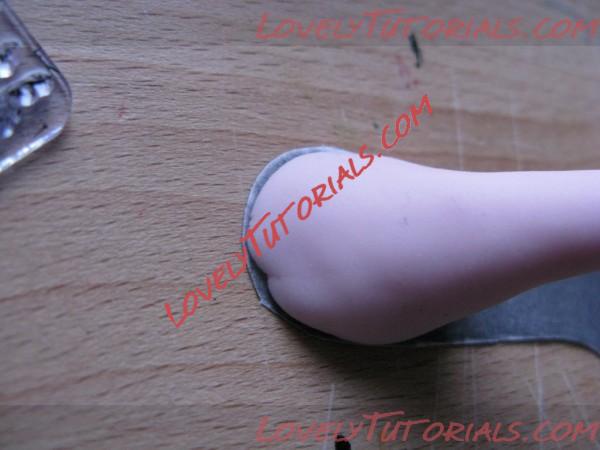
Shape heel as desired. Use the template for the sole as a guide to getting the top of the heel to the right size. Never push your fingers into the heel to get the right shape; that only leaves fingerprints. Instead drag your fingers downwards with even pressure until the hell is thin enough and has a smooth surface. Once you like the shape of it, put it right-side-up, and check if it fits with the rest of the shoe. If it doesn’t, reshape it. Continue doing this until you’re happy. Attach it using edible glue.
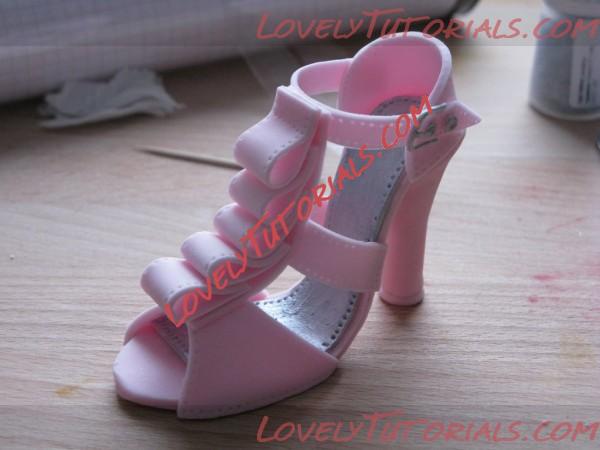
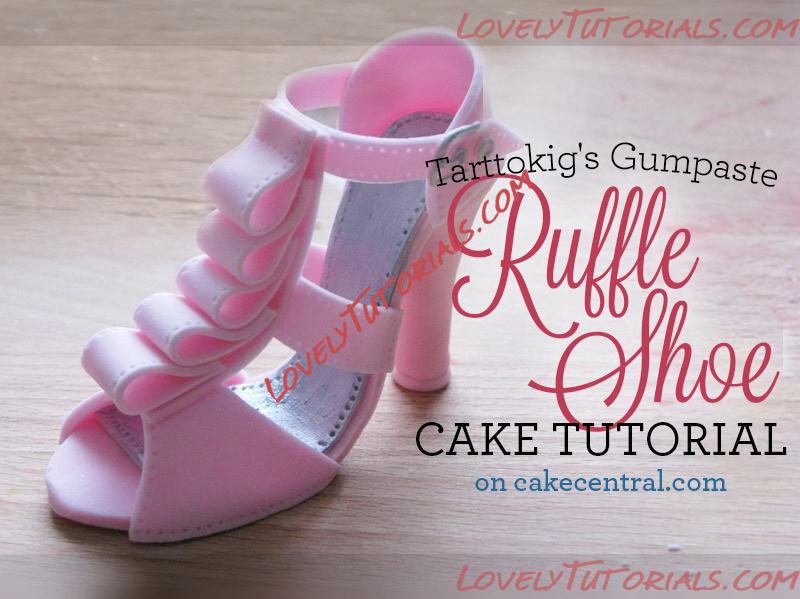
Roll a small ball of sugarpaste and flatten it slightly to make the sole of the heel. Attach it with edible glue and let the shoe dry overnight or longer until the sugarpaste has dried properly and the glue has set. Then your high heel cake topper is ready to be put on a cake! Just keep in mind that the thin straps makes it quite fragile, so be careful with it, and don’t move it more than necessary!
