Огромная благодарность Автору bubbleandsweet за Мастер-класс
Willy Wonka was one of my favorite movies growing up.
Oh how I wished to win a golden ticket and be transported to a place where everything was made of chocolate and candy.
OK I guess I'm not surprising anyone with that little revelation, and I doubt I was alone in my wish, but it might go a little ways to explaining why I am the way I am.
I think this Christmas cake is a little bit Wonka and a little bit Dr Suess. In fact originally I was going to make each of the layers a bit topsy turvy......but then I got a bit lazy. Well not lazy so much as I needed to do some other stuff.
'Cause oh my goodness it's nearly Christmas.
Anyhoo back to the cake - the inside cake is a cranberry, almond and hazelnut gluten free cake I created which was quite delicious and moist.
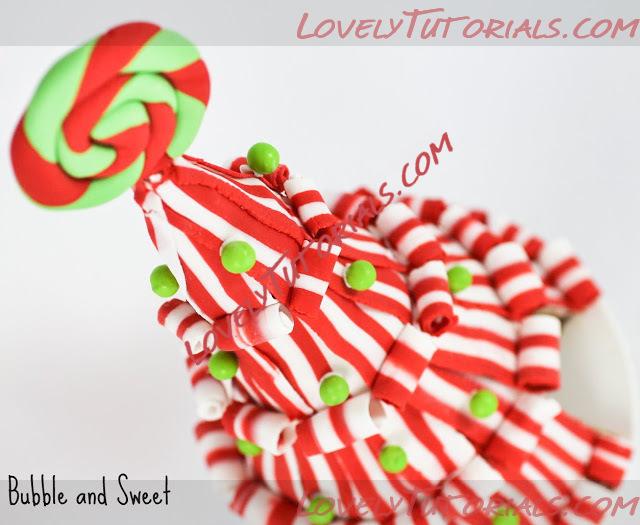
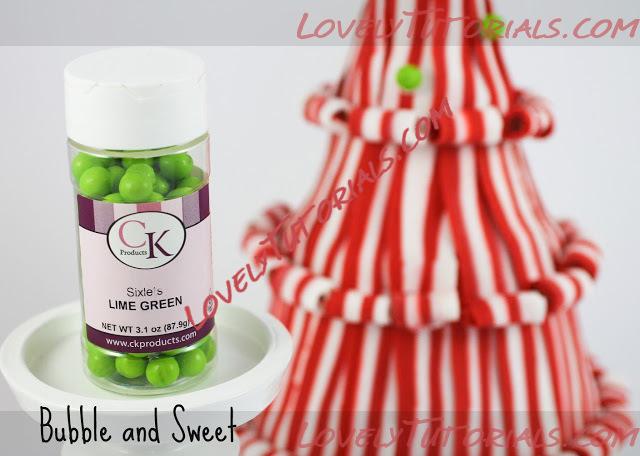
Decorations are handmade fondant lollipop and lime green sixlets* (little chocolates coated with a hard candy shell).
If you wanted to you could use a real lollipop in place of the fondant decoration. I chose not to as I find that they become a little tacky and sticky when left out unwrapped in our humid weather.
*Sixlets are available from Spotlight in Australia, in the US you can get them at Walmart and Target, if you can't find target just replace with another type of sweet.
Lollipop and Candy Christmas Tree Cake
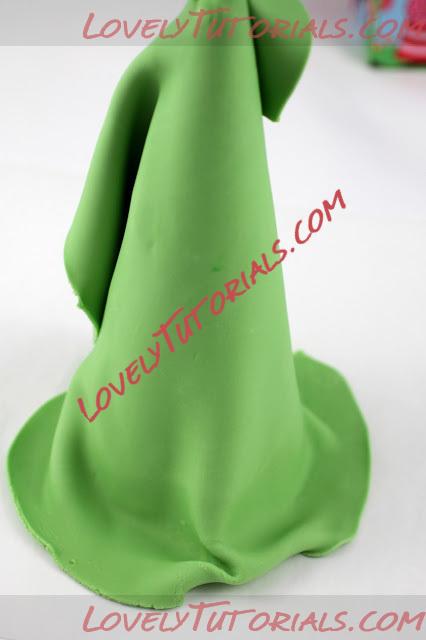
NOTE - the first couple of pictures are from last years pretty ruffled tree cake and are green follow the written directions and use white fondant.
4 x 16cm (around 6") cakes - brown edges, tops and bottoms trimmed, ensure that the cakes are level
Cake board (16cm or around 6")
White chocolate ganache set at room temperature (make the day before assembling the cake)
large knife
offset spatula
White Ready Roll Fondant (I used Bakels brand)
Red Ready Roll Fondant (I used Satin Ice brand)
a small amount of green fondant (I colored white fondant with Americolor Electric Green)
large rolling pin
small sharp knife
small rolling pin
cornflour/ cornstarch
small brush and water
skewer
green sixlets
* Fondant dries out very fast. You must work quickly and keep in an airtight container when not in use. Knead well before use.
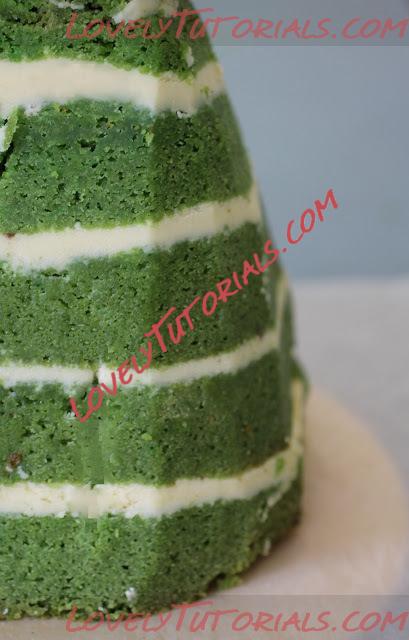
Using a small amount of ganache adhere one of the cakes to the cake board, spread a generous amount of ganache evenly on the top of the cake and then place a second cake on top of the first cake layer. Place into the fridge to set. Once set remove from the fridge and spread on an even layer of ganache on top of the second layer. Place the 3rd cake on top and pop the cake into the fridge for the ganache to set.
Remove from fridge spread an even layer of ganache onto the third cake layer and pop the 4th layer on the top, quickly pop a skewer or dowel in the center of the cake pushing it thru all 4 layers and return the cake to the fridge to set.
Once the ganache is set securely, use a sharp knife to shape the layers of cake into a cone. (I actually used some of the off cuts to make another layer which you can try if you feel confident with your carving)
Picture of last years tree cake. This years cake was gluten free cranberry,
sorry I didn't take any construction photo's this year.
Reserve any offcuts of the cake to make cake pops

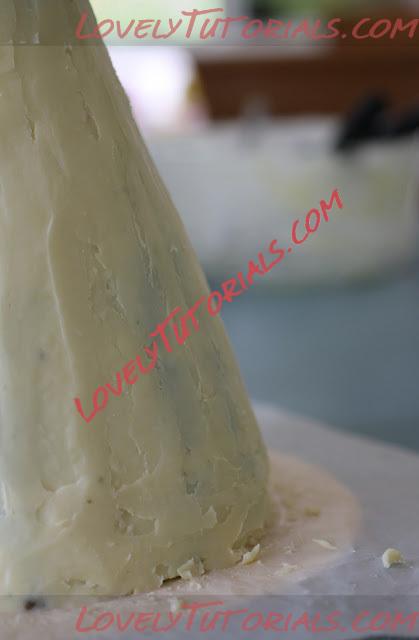
Using an offset spatula spread the remaining ganache on the sides of the cake cone, making the sides as smooth as possible. I popped the cake into the fridge for the ganache to set and then smoothed on a final layer.
Smooth ganache all around the sides of the cake
Dust the workbench with cornflour (cornstarch) and using the large rolling pin roll out the WHITE fondant large enough to cover your fondant cone. I shaped my fondant into a rectangle which was tall enough in width to cover the cone from the bottom to the tip of the cone and wide enough to wrap around the base of the cone.
Picture of last years tree cake. This years cake was white fondant,
sorry I didn't take any construction photo's this year.
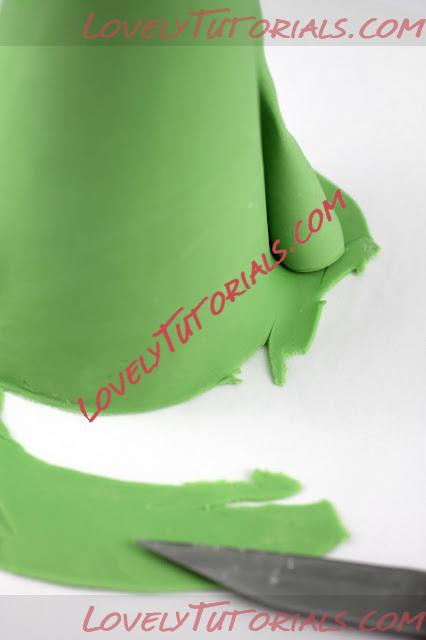
Pick the fondant up and wrap it around the cake cone (I'm using a fake styro one for these pictures), smooth the fondant down along the whole edge opposite where the seam will meet (that would be the middle of your large piece of fondant). Work quickly and carefully working the fondant onto your cake until you get to the seam at the back, wrap one layer over the top of the other and using a sharp knife cut a straight seam down the back through both layers. You can then easily remove the top layer of overhang from one side. Then pull back the fondant to get to the underlayer of overhang and remove that. Push the seams together as neatly as possible.
Picture of last years tree cake. This years cake was white fondant,
sorry I didn't take any construction photo's.
Neatly trim any fondant overhand from the bottom of the cake using the sharp knife.
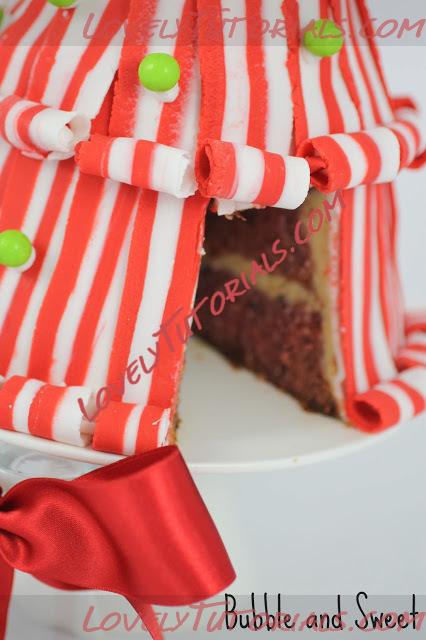
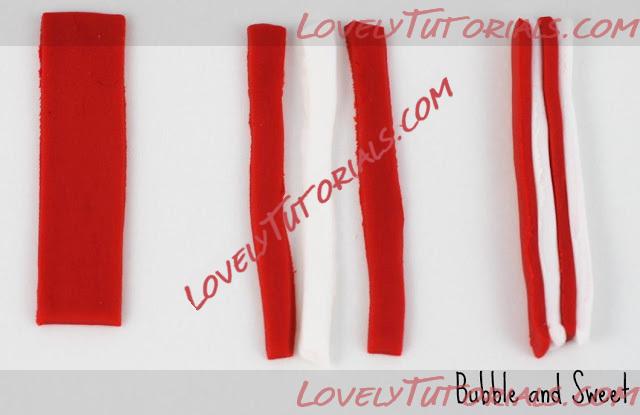
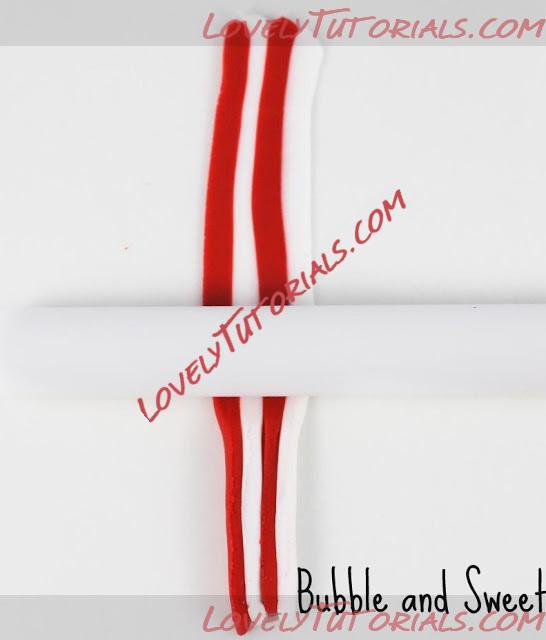
Roll out some of the red fondant until about 4mm thick and cut along rectangle strip (I made myself up a little cardboard template around 8cm X 2cm (3" X 3/4"), cut that strip in half longways and then do the same for the white.
Layer them on top of each other, you may need to brush the teensiest amount of water on each layer to make them stick.
Cut the layered strip in half longways to make 2 striped long strips.
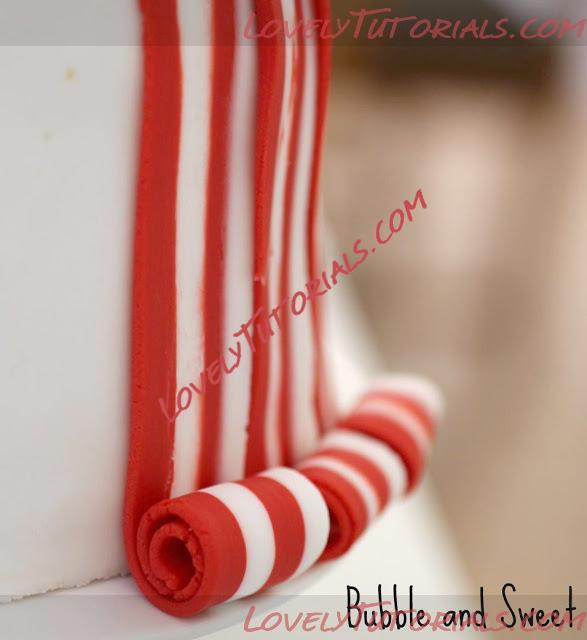
Using a small rolling pin. roll out the striped fondant strips until they are quite thing and long. Trim the edge and roll it up a few cm's (1 ").
Brush a little water onto the cake and then stick the fondant to the cake by resting the rolled up section of the fondant strip on your baseboard (I was working straight onto my cake stand) and pressing the striped thin strip section up onto the cake.
Make more of the fondant stripes and work your way around the base of the cake using the same steps and technique, allow to dry until the rolled stripe sections are quite firm to touch.
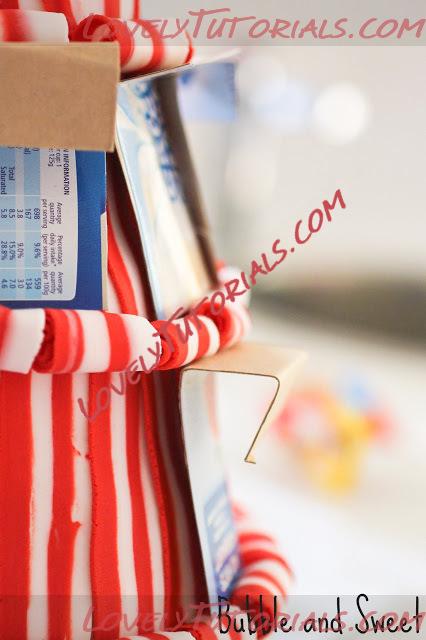
Fold up little pieces of cardboard to make support stands (see picture below for example). I made mine so that the lengths of striped 'candy' fondant were approx 1/4 the height of the cake so I ended up with 2 rows.)
Make more of the striped fondant stripes with the rolled base and then attach them to the cake. The rolled section should be about a quarter of the way up the cake and the cardboard support should sit on the bottom row with the support just resting under the next layer to hold it up).
Continue working around the cake until that layer is complete, allow to dry until the rolled sections are firm to touch.
Using the above instructions and techniques complete another 2 rows so that the whole cake is covered in striped fondant 'candy' type decoration.
Make a fondant lollipop by rolling out a bright green and a red log of fondant about 20cm (8") long. Place the fondant together hold the ends and then twirl each end in the opposite direction so the twisted fondant looks like a rope. Gently roll a little with the palms of your hands to smooth out the 'rope' and then swirl the 'rope' around to make a lollipop shape (see picture). Place a wooden skewer into the base of the lollipop and allow to dry until firm.
Once all the rolled fondant stripes are dry on the cake you can carefully remove all the cardboard support structures, be careful not to snap any of the rolls off the cake, but if you do you can take a little extra white fondant, press it together with a small amount of water until it makes a very thick plaster like past and use it to stick the rolls back in place.
Using more of the white fondant paste (fondant mixed with a little water) stick on the sixlets (of your choice of sweet) in random spots around the cake.
Take the fondant lollipop on the skewer and push it into the top of the cake.
As long as your cake and frosting are not perishable cake can be stored/ used as a decoration (
not in an airtight container or fridge) for about 4 days safely. Mine lasted well for 1 week.


