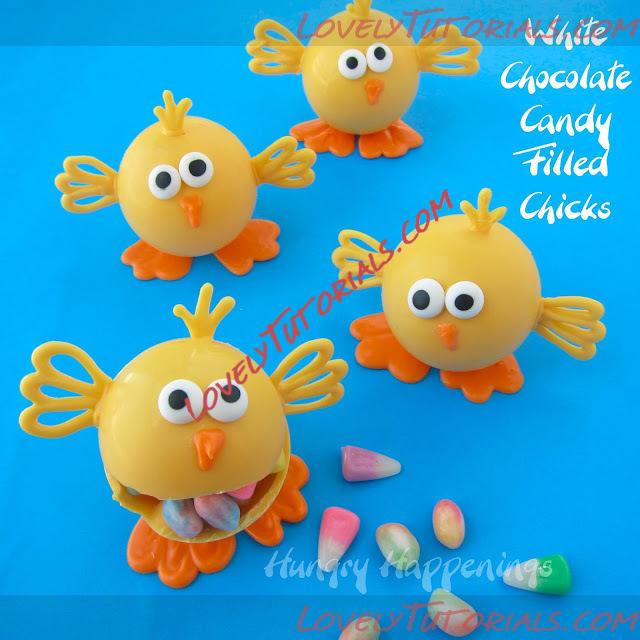
Огромная благодарность Автору Beth за Мастер-класс
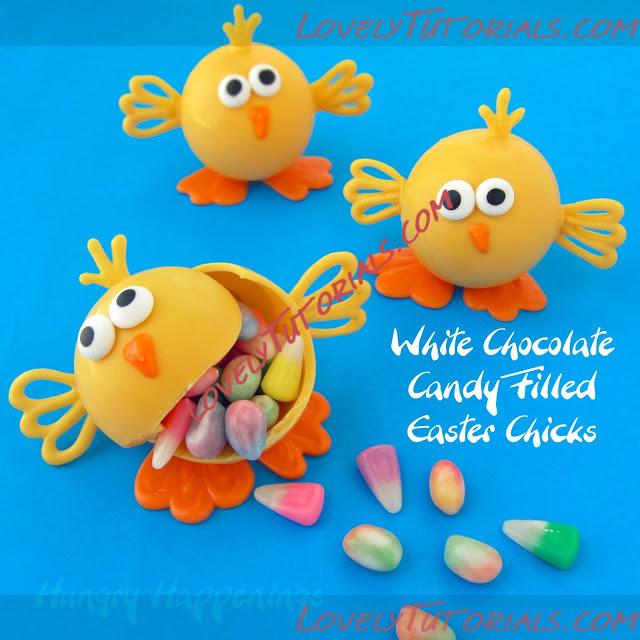
Every holiday I come up with more edible craft ideas than I have time to create and these White Chocolate Candy Filled Chicks are a hold over from last Easter. I have a scribbled drawing of what I thought these would look like, and I'm so happy that they turned out even cuter than I had imagined.
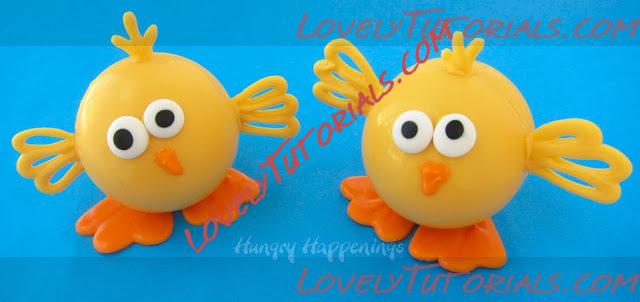
Each of these sweet chicks is completely edible. They can be made using pure white chocolate, if you are experienced with tempering chocolates, but can also be made using confectionery coating/candy melts. You'll create a hollow chocolate ball, using a round plastic ornament as a mold. Each chocolate ball can be filled with any type of Easter candy you like. Then you will pipe wings, feet, feathers, and a beak and attach them along with some candy eyes to the ball.
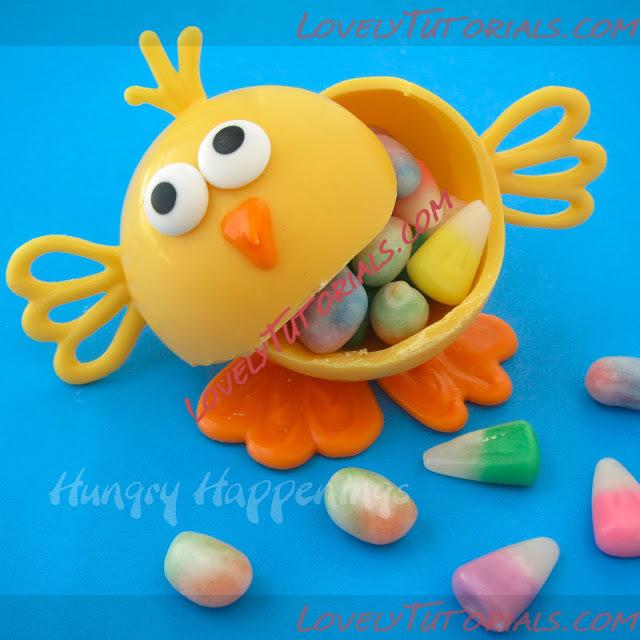
If you look at the step-by-step pictures below, you might feel a bit overwhelmed, but I gave you very detailed instructions, and making each ball is simpler than it looks.
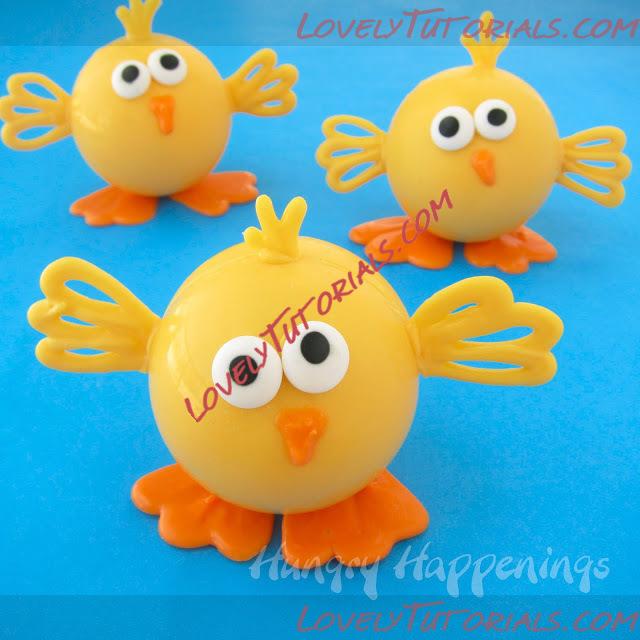
White Chocolate Candy Filled Easter Chicks
Before you begin, if you don't have experience working with chocolate or confectionery coating, read my Chocolate Making Tips page.
You'll Need:
melted and tempered pure white chocolate OR
melted confectionery coating/candy melts (use white and color it or use yellow and orange)
yellow and orange candy coloring (if using white chocolate or white candy coating)
2 candy eyes per chick
60mm fillable small round plastic ornaments (see note below next image)
disposable pastry bags or Squeezit mold painter bottles fitted with a small round decorating tip
baking sheet lined with parchment paper
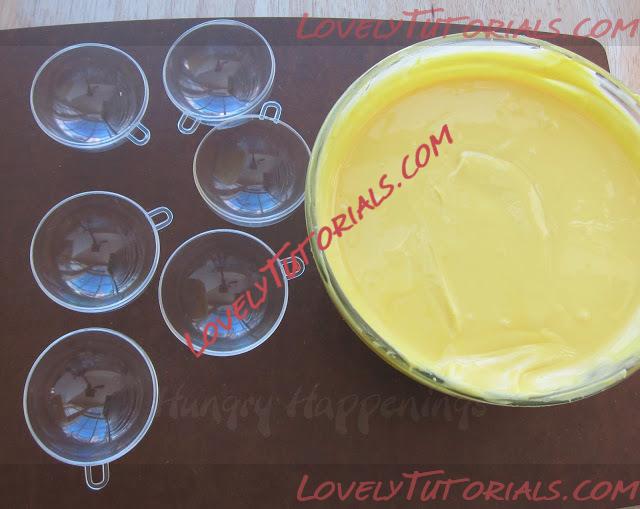
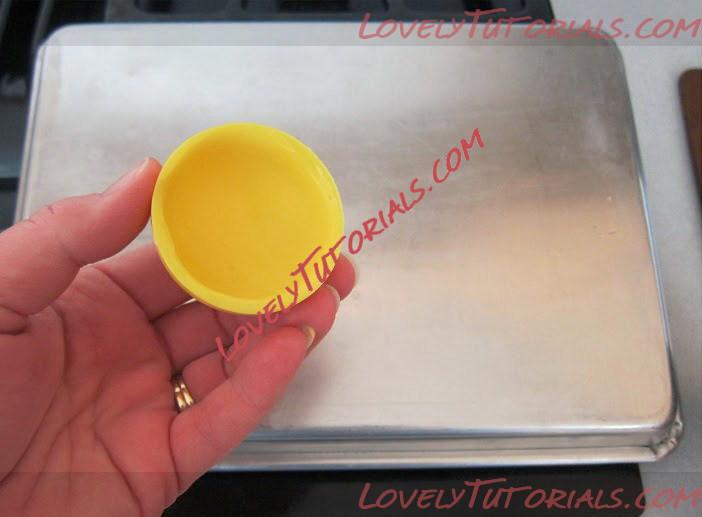
Note: You want a smooth surface all the way to the edge when molding your chocolate, so you'll only want to use one piece from each plastic ornament. Choose the piece that is smooth all the way to the edge and has the groove on the exterior edge. Don't use the piece that has a groove right near the inside edge.
Color the white chocolate or confectionery coating with yellow candy coloring. You'll also need some colored orange later on.
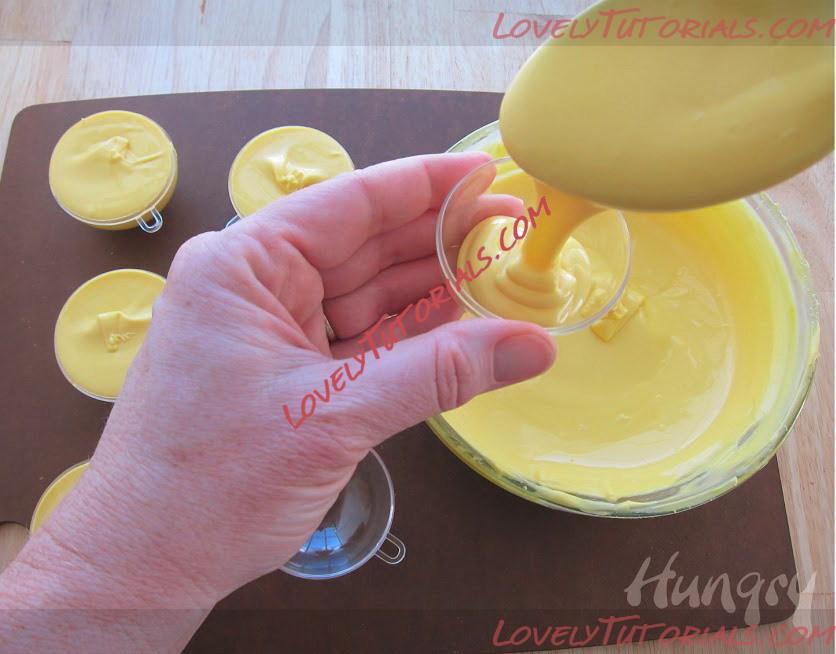
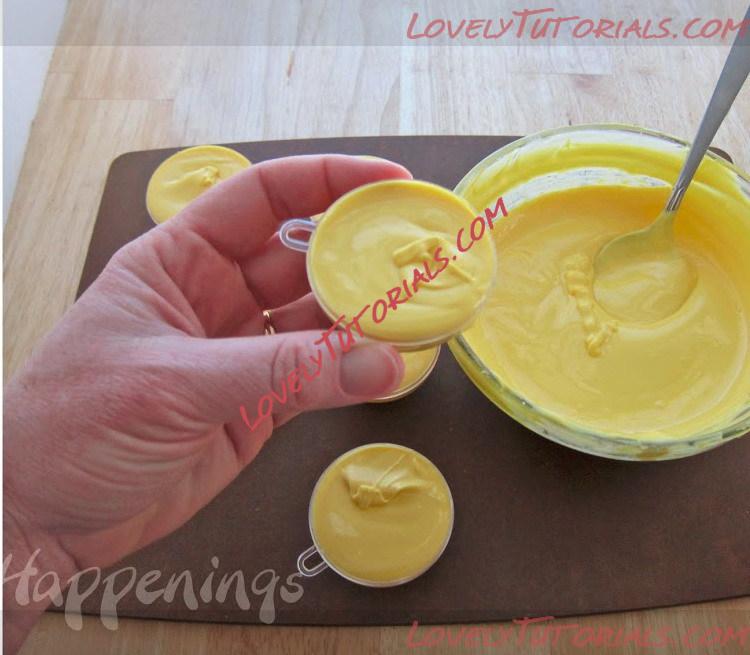
If using confectionery coating/candy melts, allow it to cool to about 91 degrees so that it thickens slightly.
Pour yellow chocolate into your round plastic ornament halves, which I'll call the mold from now on. Allow filled molds to sit at room temperature for a minute or two.
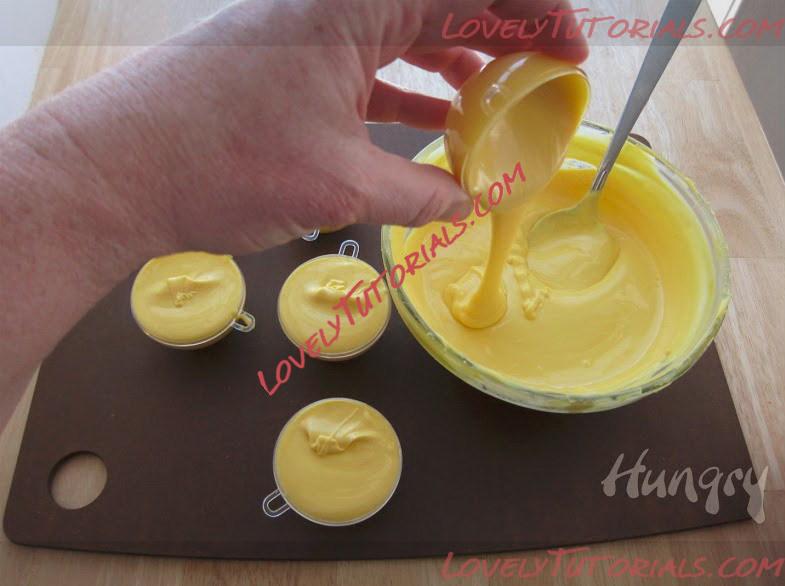
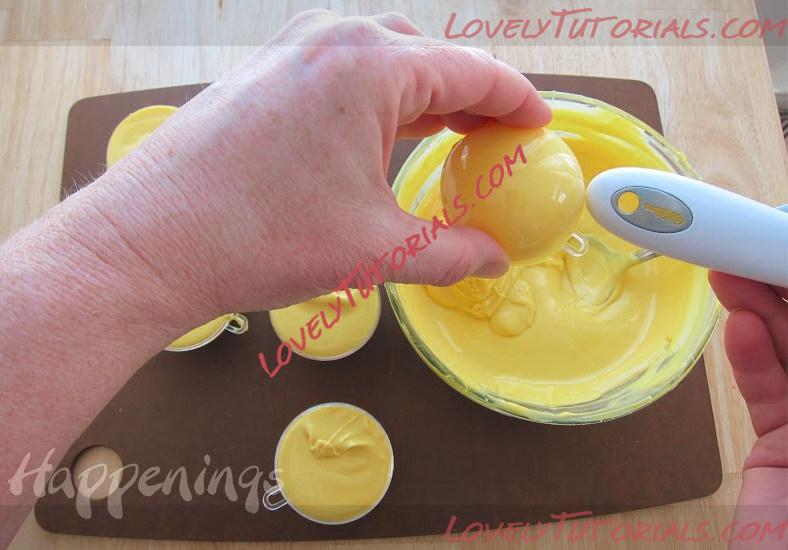
Turn the molds upside down allowing the chocolate to drip out. Tap the back of the mold to help move the chocolate out of the mold evenly.
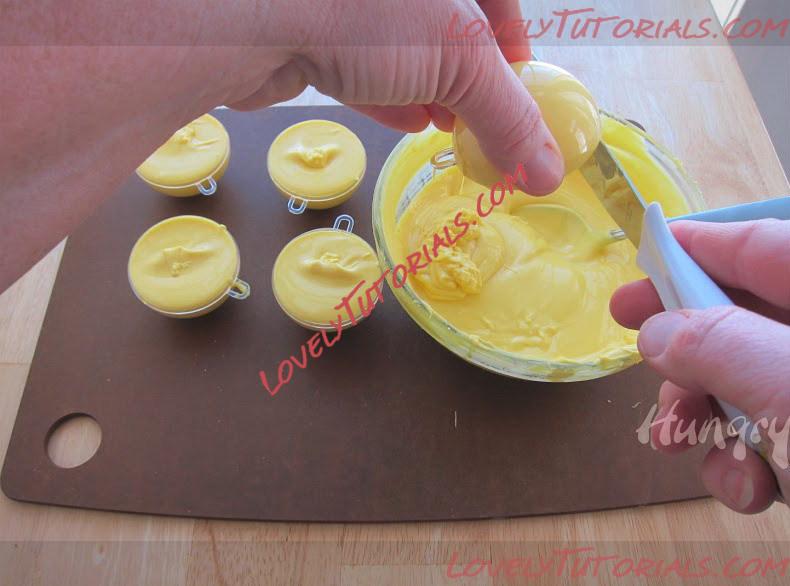
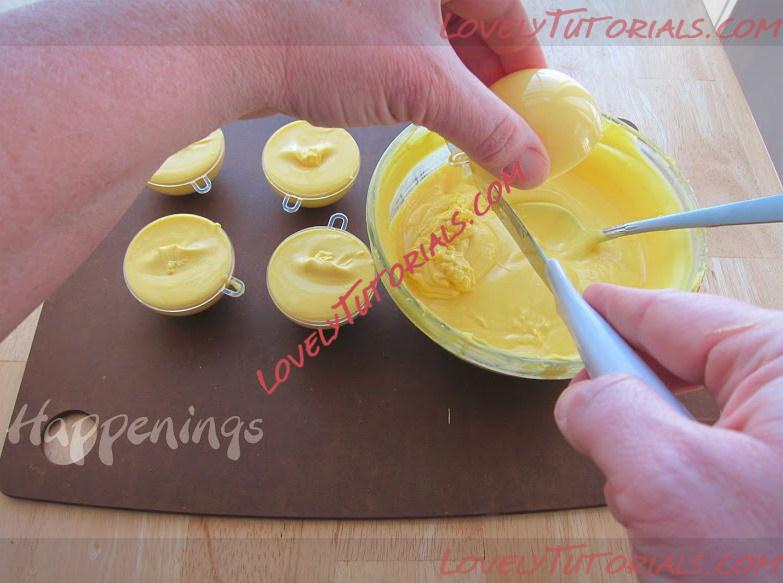
Use a metal spatula or knife to scrape off the excess chocolate from the edge of the mold.
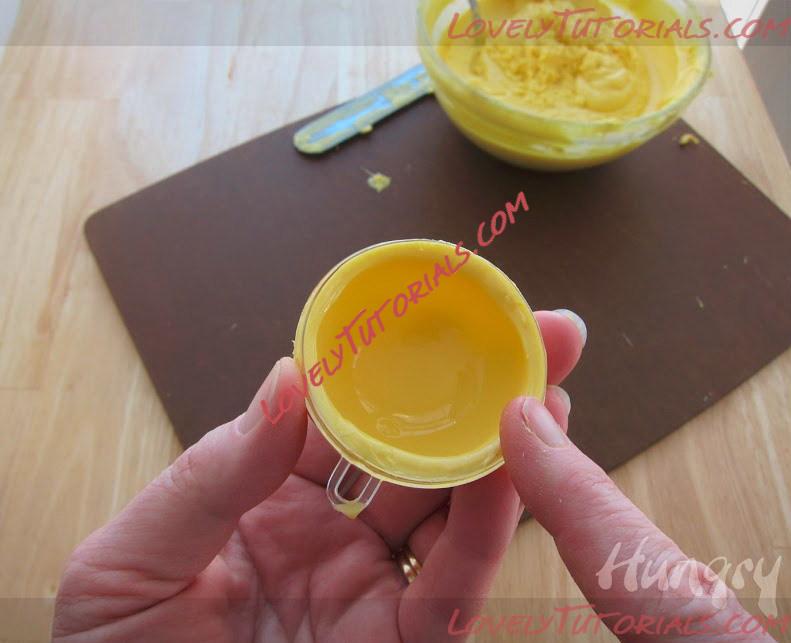
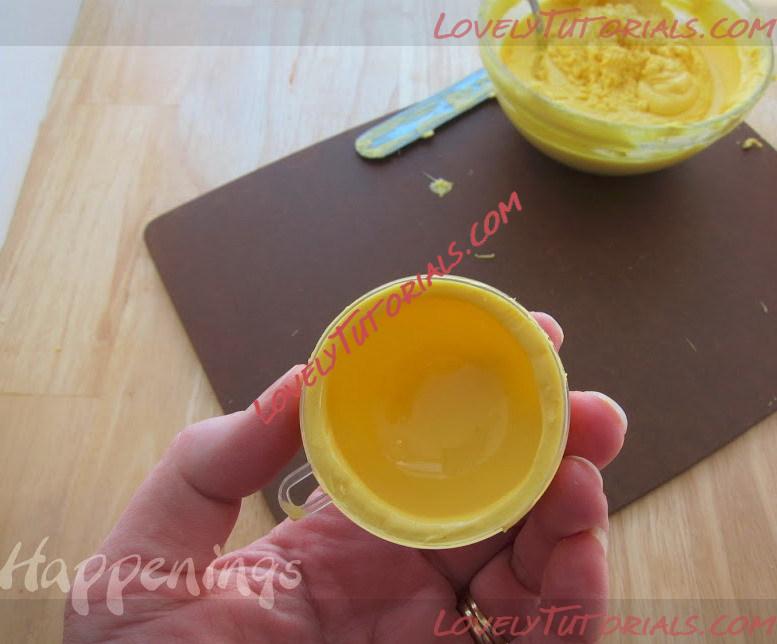
Use your finger to wipe the edge of the chocolate so that you end up with a nice flat edge.
Refrigerate if using pure white chocolate for 5-10 minutes, freeze if using confectionery coating/candy melts just until the chocolate sets 3-5 minutes. If left in for too long, the pieces will crack.
Note: You'll notice the chocolate shell is fairly thick. If your's is not, you may need to repeat the steps above to add a second layer.
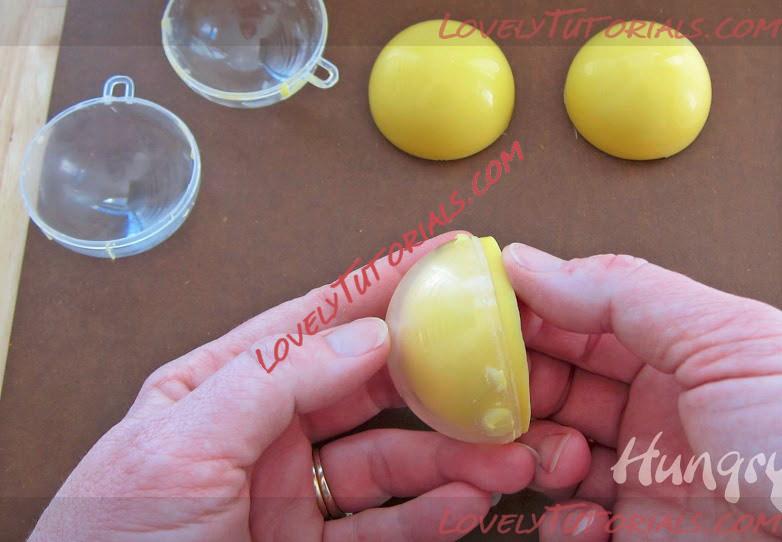
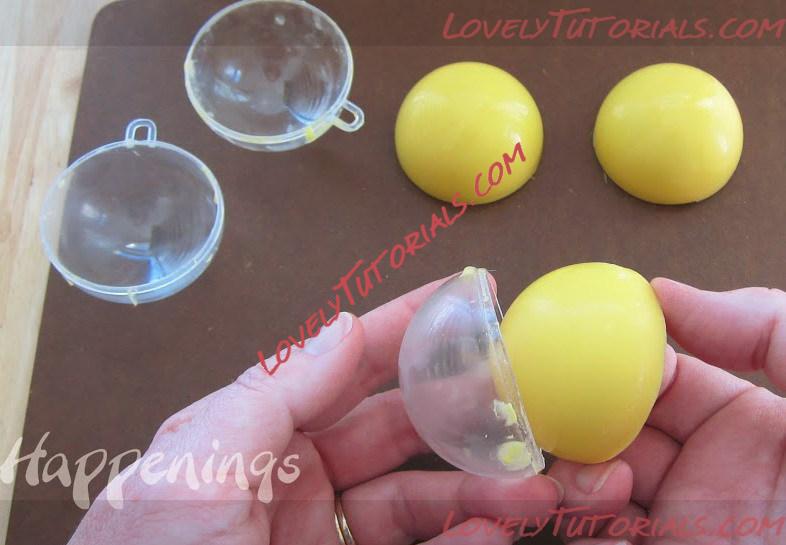
Remove molds from refrigerator/freezer. Carefully pull on the chocolate releasing it from the mold. If it doesn't come out easily, put the mold back for a minute, then try again.
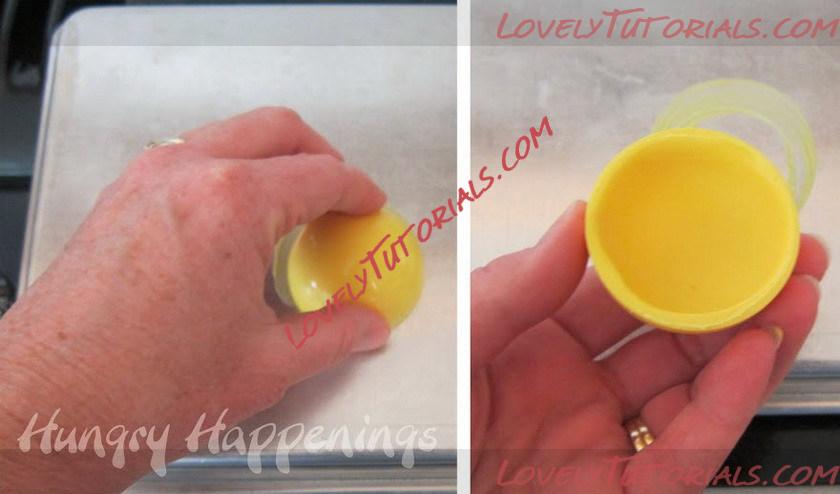
The best way to stick the two sides of your chocolate balls together is to melt the edges of both halves and stick them together. I set a clean baking sheet on my gas stove top, turn on the heat to medium for 30-60 seconds, just long enough to heat the pan. Don't overheat the pan or you'll actually burn the chocolate.
Set one half of your chocolate ball down onto the hot pan allowing the edge to melt a bit, very quickly do the next two steps.

Pour in some candy. Set the second half of the chocolate ball on the hot pan to melt just a bit of the edge.
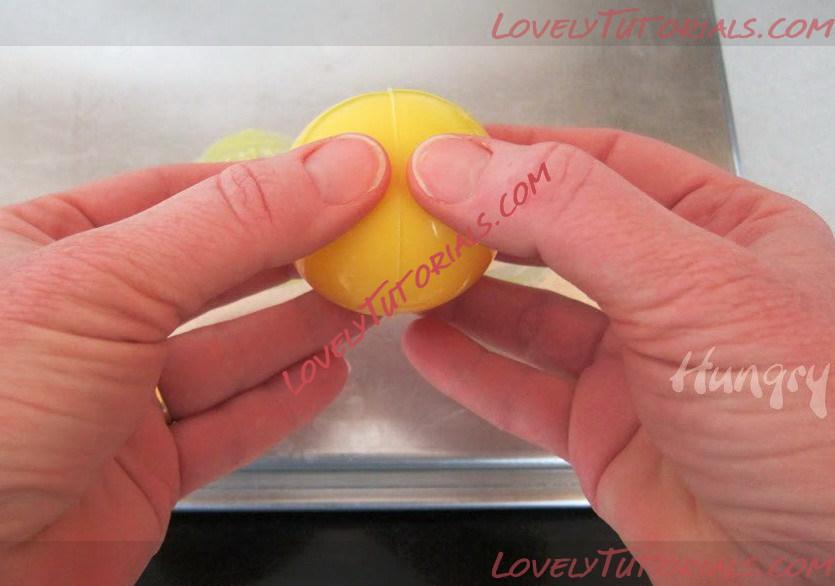
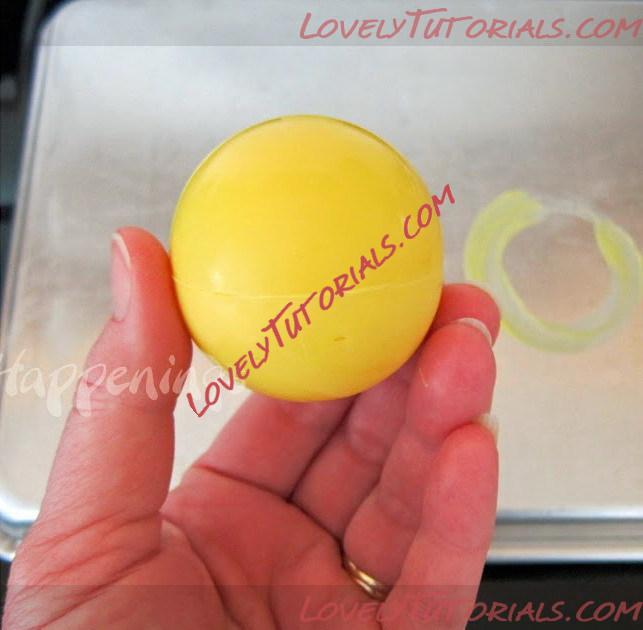
Set the two pieces together, being sure to line them up exactly, press and hold for a few seconds. Ta da, your first chick body is ready.
You can use the pan a few times while it's still warm to make a few chick bodies, then clean the chocolate off the pan before heating it up in order to make more chocolate balls.
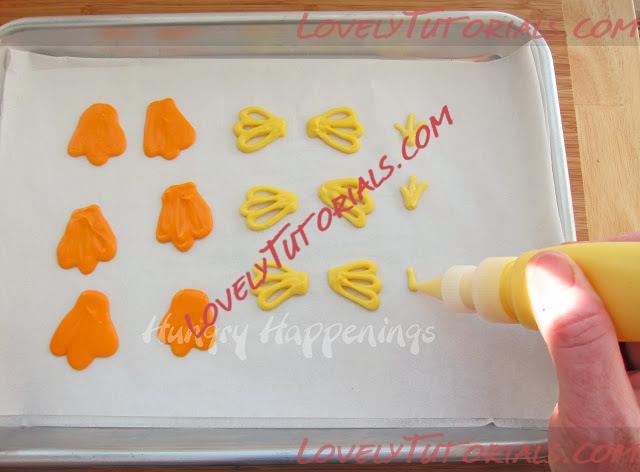
Fill one Squeeze-it bottle or a disposable pastry bag with orange colored chocolate and another with yellow. Attach a small round pastry tip (#3 or #4 work well.) Pipe feet, wings, and feathers for each chick.
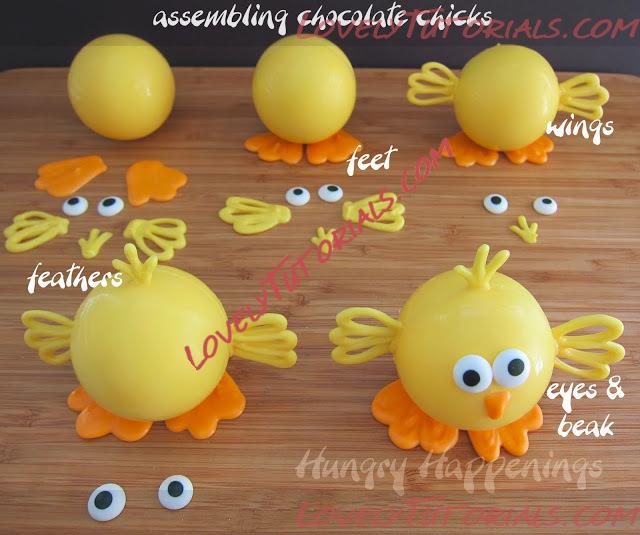
Assemble your Chocolate Chicks. Set the chick so seam goes around from the top to the bottom and the front of the chick's face is smooth. Use melted chocolate to attach the feet first.
Then attach the wings and feathers. I found it helped to melt the part of the wing that attaches to the chocolate ball. I wasn't working near my stove, so I just used a lighter to heat up a metal spatula, I set the spatula up against the chocolate, allowed it to melt, then pressed the wing onto the chocolate ball. I then used a bit more melted yellow chocolate to fill in the gap. I had to hold the wing for a bit until it would stay put.
Attach two candy eyes then pipe on an orange beak.
