Огромная благодарность Автору Cakes with L.O.V.E. за Мастер-класс
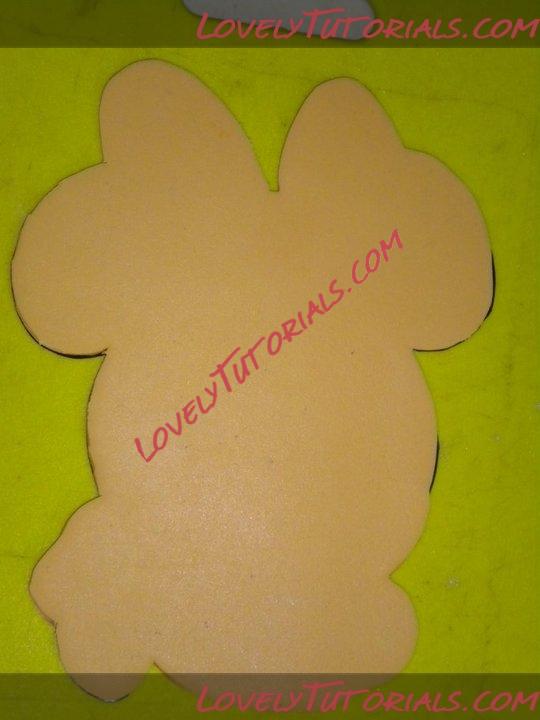
This is the beginning of a Fondant Puzzle, its backwards I started doing it and then remembered I had to take pics that is why you see some black outlines It started with a picture I printed off the internet, then cut the "background, "canvas" or "base of fondant the color you will need the background.

This is the pic after you cut your background, cut it all into pieces like a puzzle !
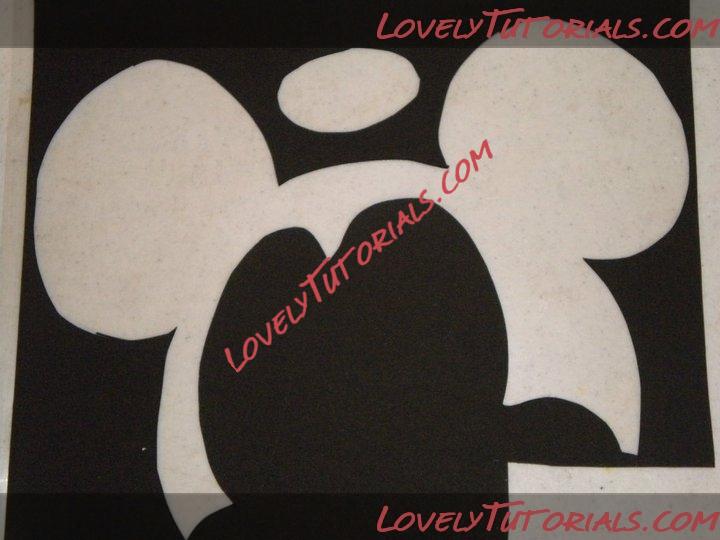
See in this pic the ears and nose are already cut out. This is from a Sugar Sheet from Wilton. The colors are mostly primary colors but it cuts our work time in half since they are so easy to handle and cut.
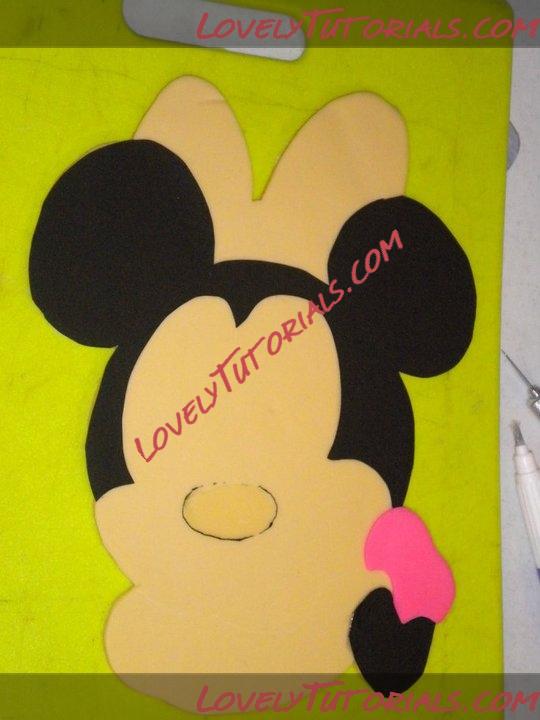
Ok, here is the "background" then we added the ears, arm and sleeve. The nose is outlined to see exactly were it goes.
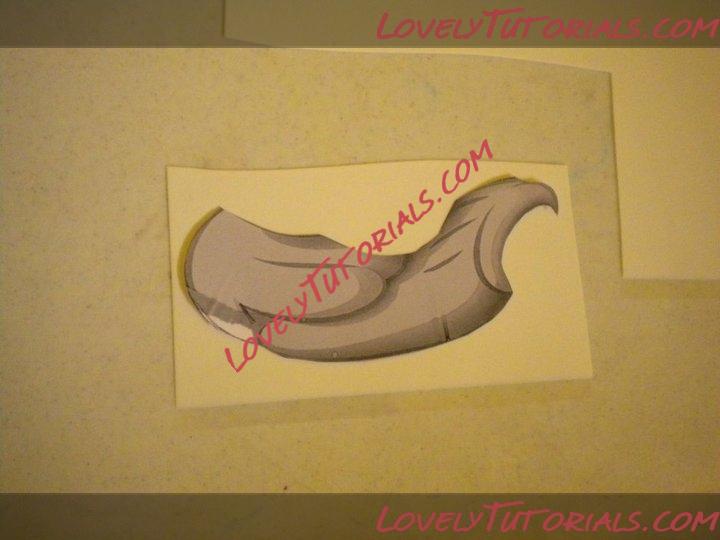
Here are her hands, will be cut out from a Sugar Sheet also.
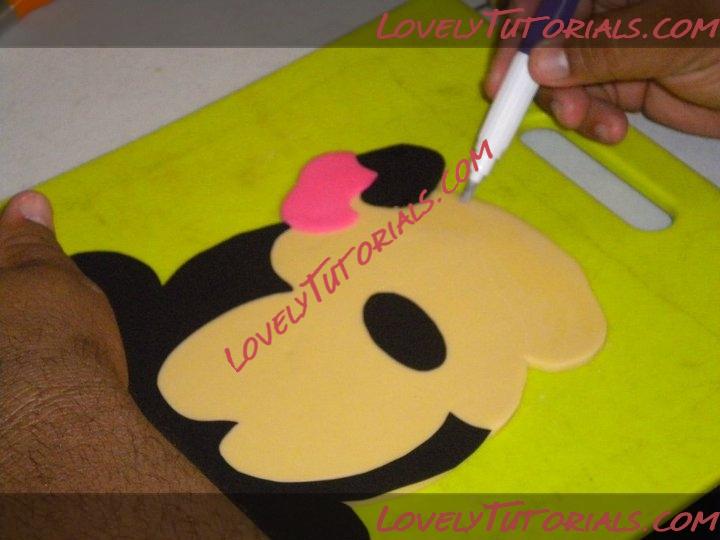
Getting ready to add her hands. Getting it wet with the new Wilton Water Brush.
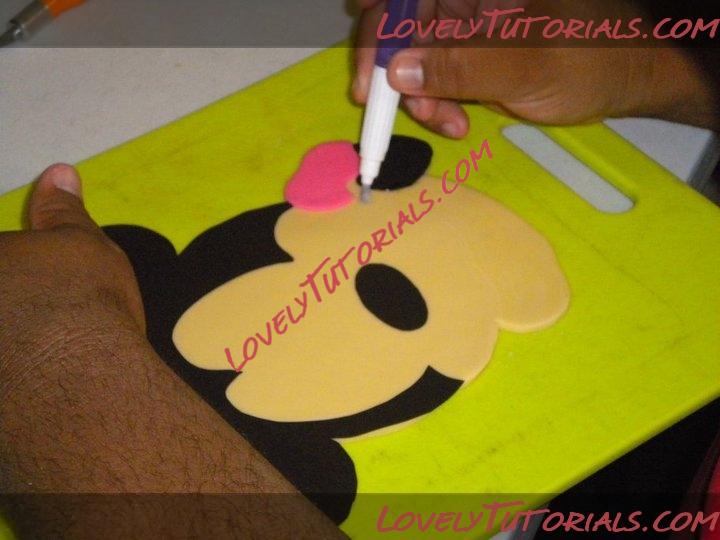
and some more .....
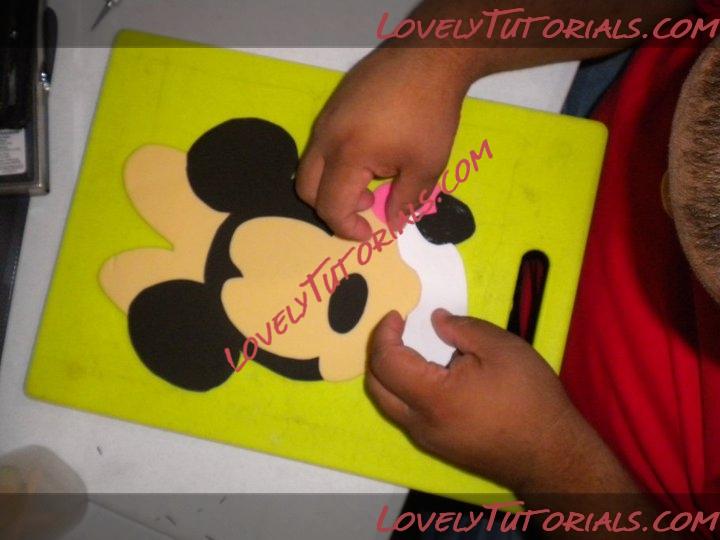
Adding her hands !
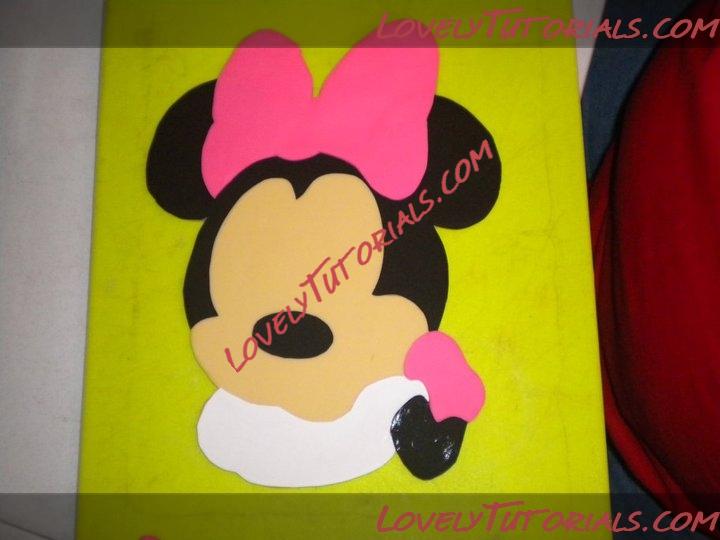
See how it looks so far, pretty nice right
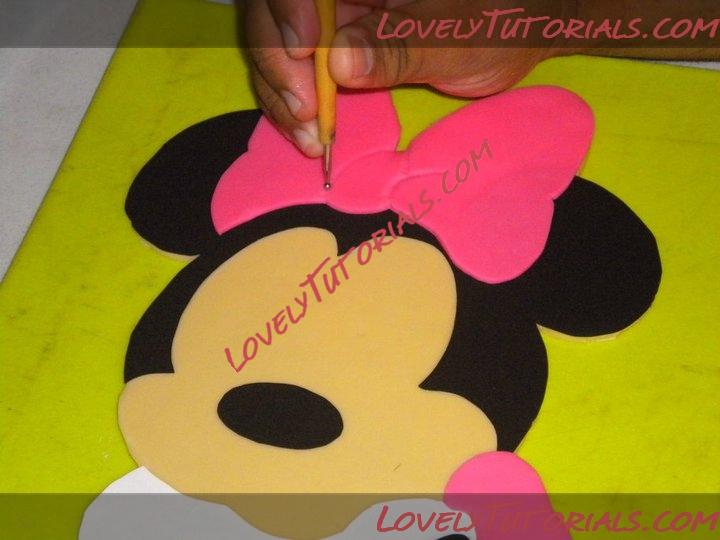
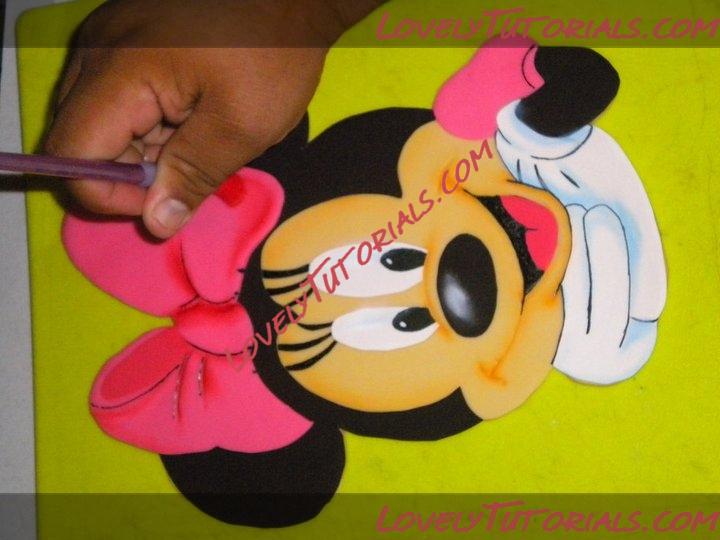
Adding some details with a stylus tool.
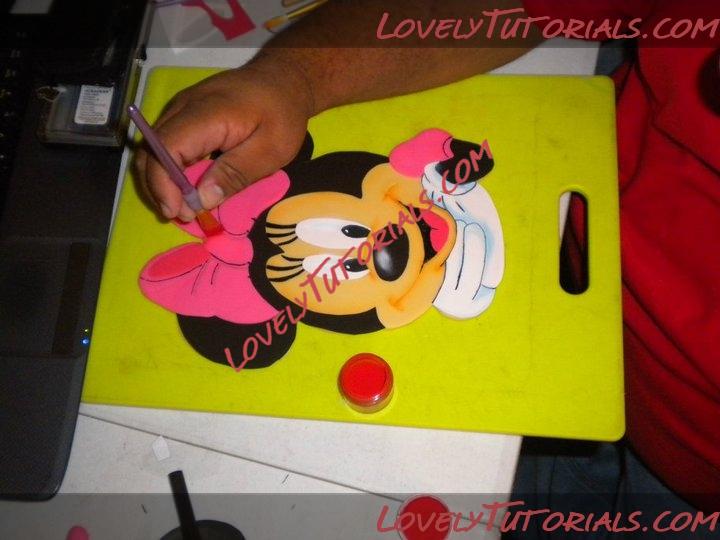
Ok, I was making dinner and he was way too fast. When I came back he was this far along.... The eyes, mouth, eyelashes (handpainted), and hands are done. The paint he uses is edible gels the ones you use to paint the buttercream (americolor). The fingers and nose have petal dust to add definition. He is adding some red petal dust to the bow in this picture
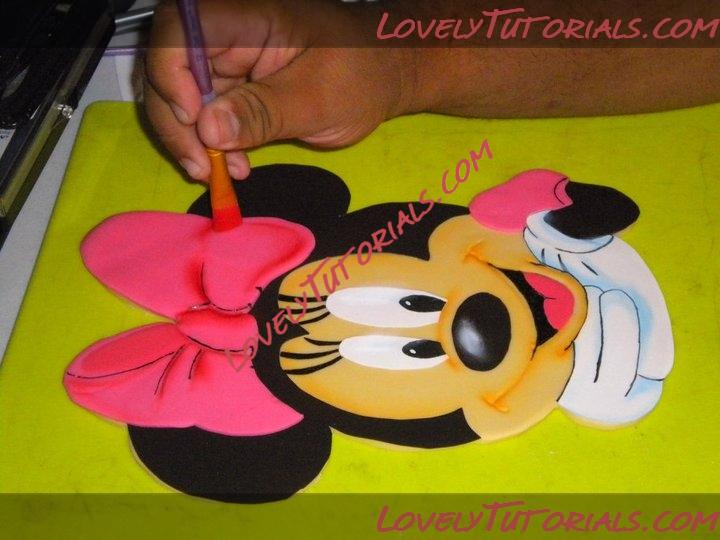
See it now the petal dust makes it look almost 3D
She looks so good
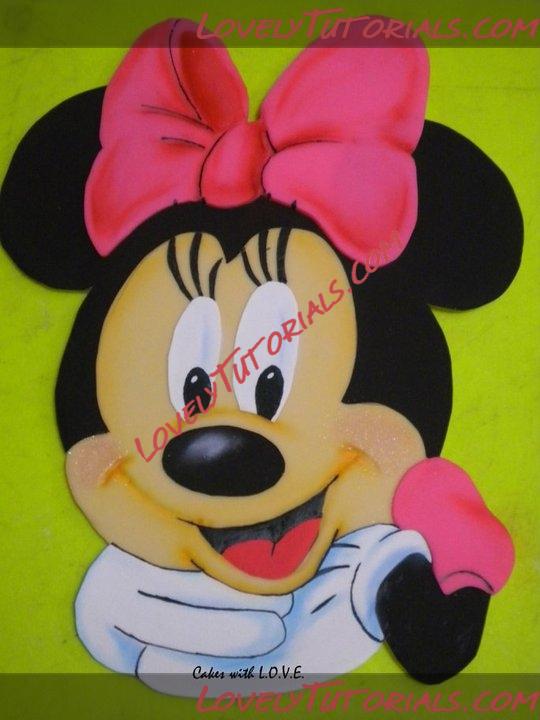
See ALL Finished ! Yellow petal dust was added to the mouth, light blue to the fingers, white on the nose, a thin line of light blue on her eyes for the glare effect, red on the bow and some pink luster dust was added to give her rosy cheeks
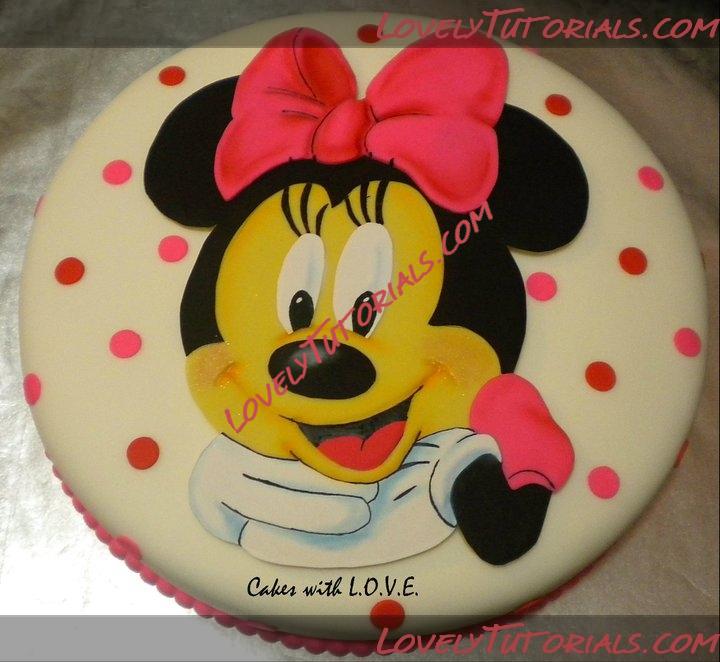
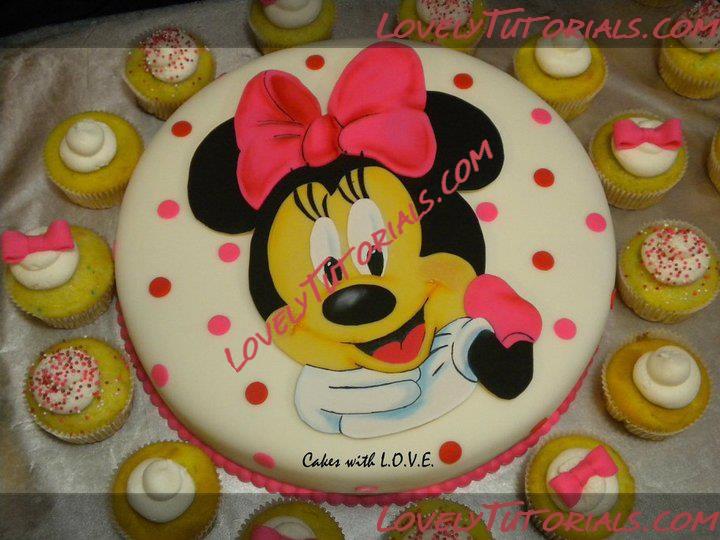
All done on the cake this was a 12" single round cake covered in white fondant, added the red and pink dots and Minnie, isn't she cute
