Огромная благодарность Автору Cheryl's Cakes за Мастер-класс
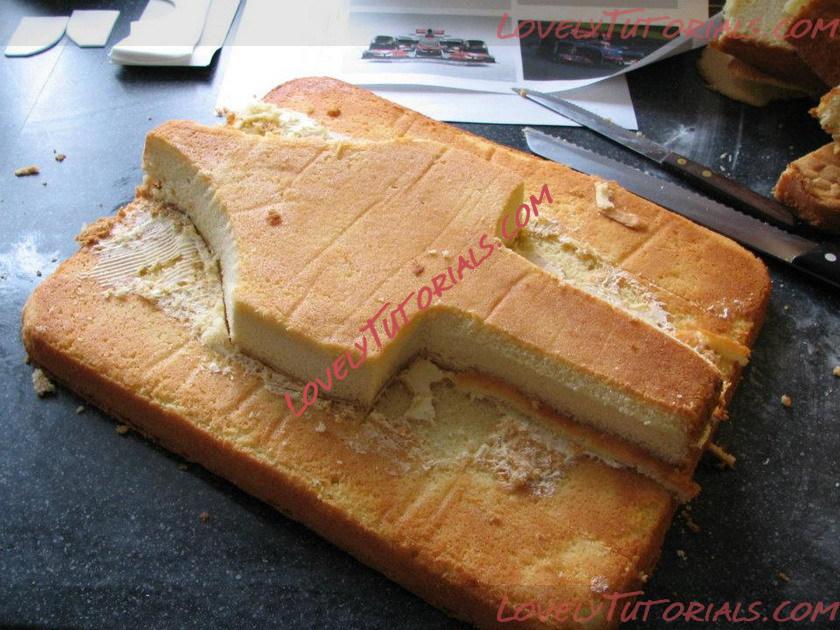
2 shallow sheet cakes one on top of the other. Carve out general f1 race car outline into the top cake.
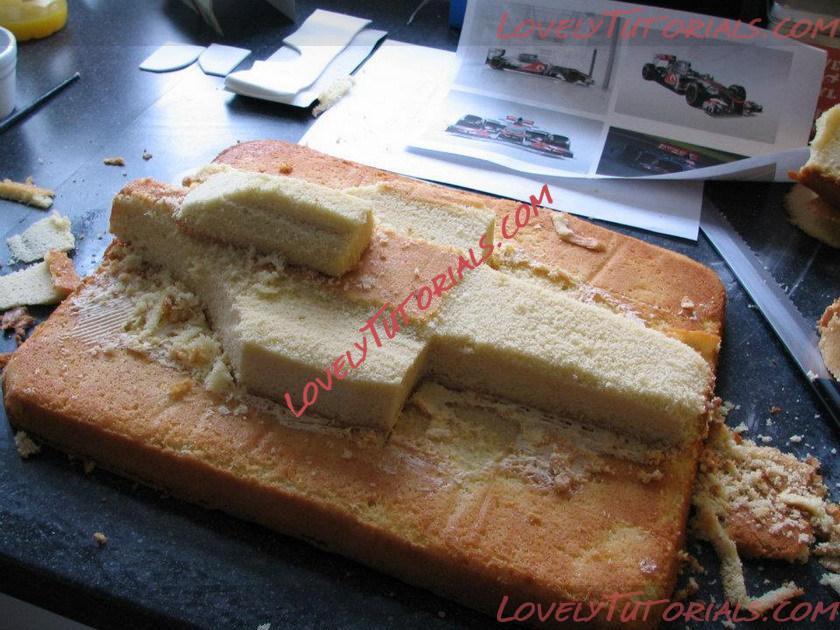
Continue to carve and shape, giving rounded edges and adding 'cut-offs' to give extra depth where needed.
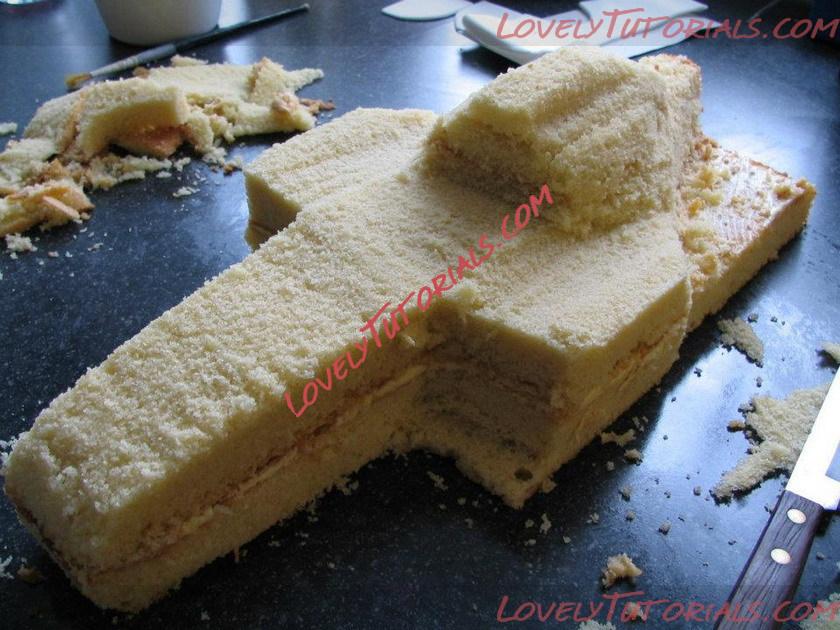
Cut the lower cake to match the shape of the top cake, achieving more depth...
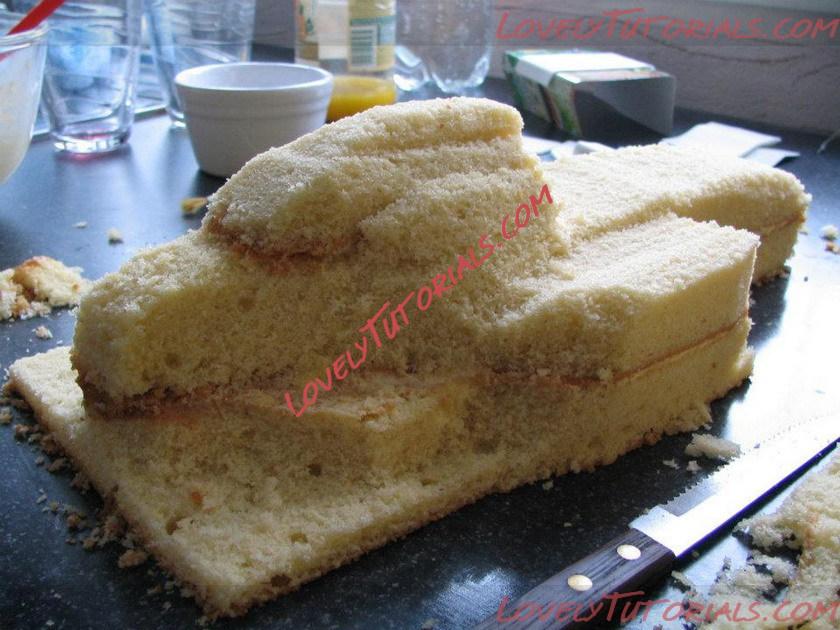
cutting the cake thinly is tricky without it crumbling, so go careful! This part forms the shallow black board around the back end of the car....
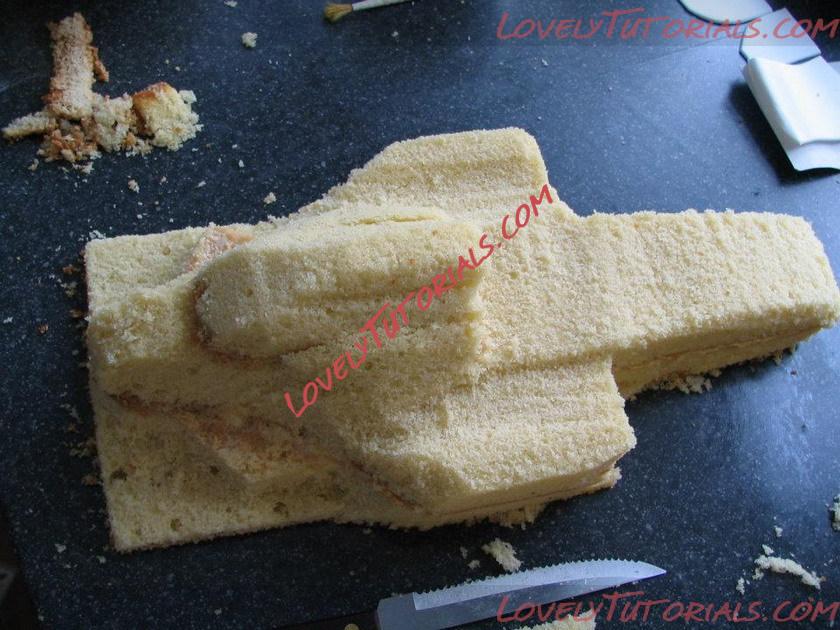
almost there...
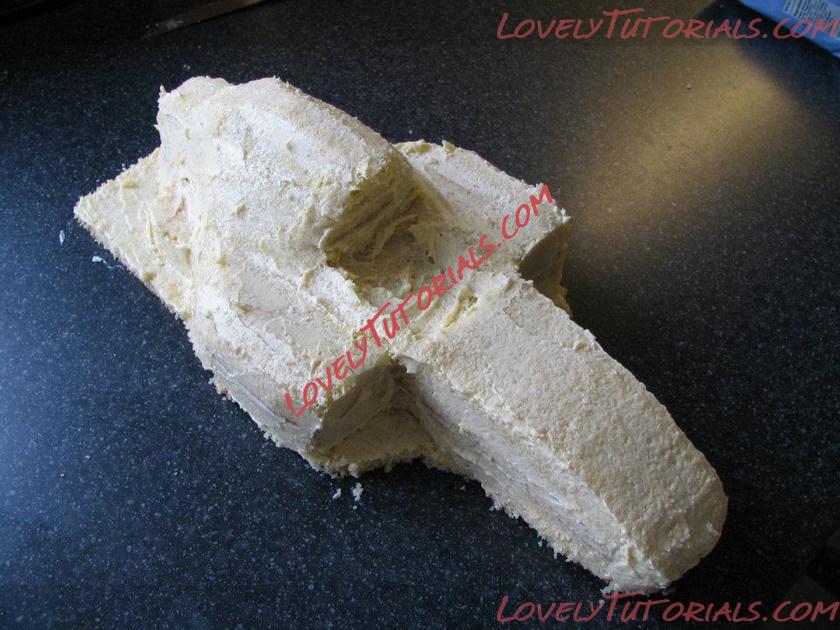
crumb-coated, ready for the fondant....
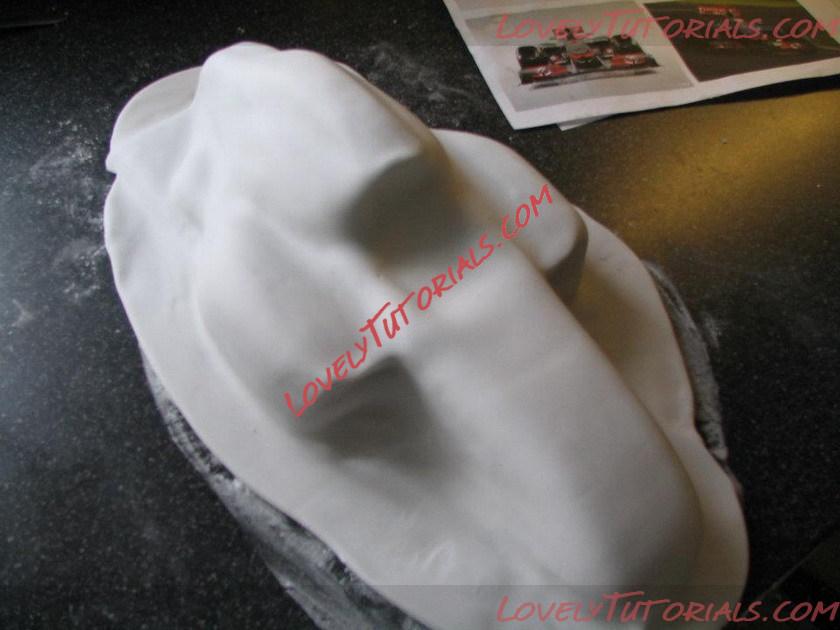
covered in light grey fondant (as the car is silver this colour works best)
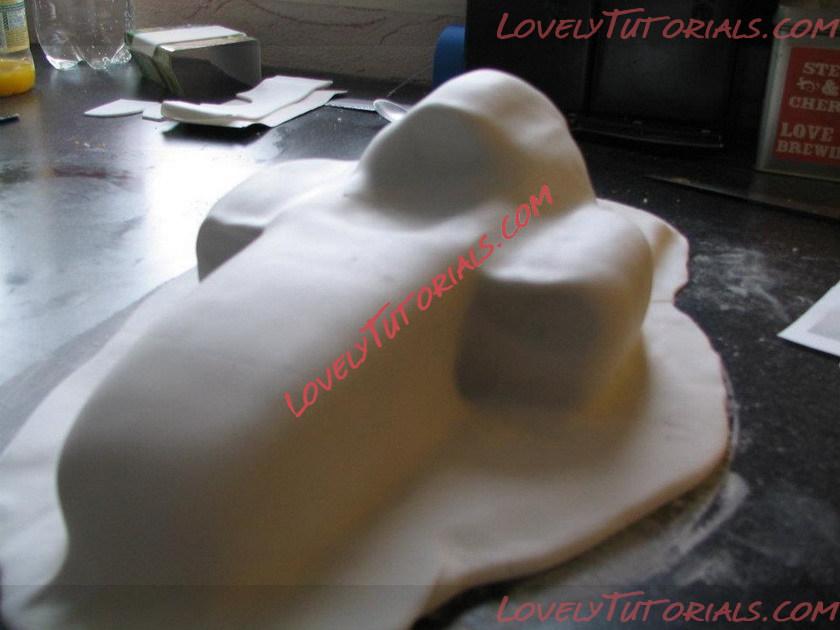
fondant moulded and shaped to the cake....
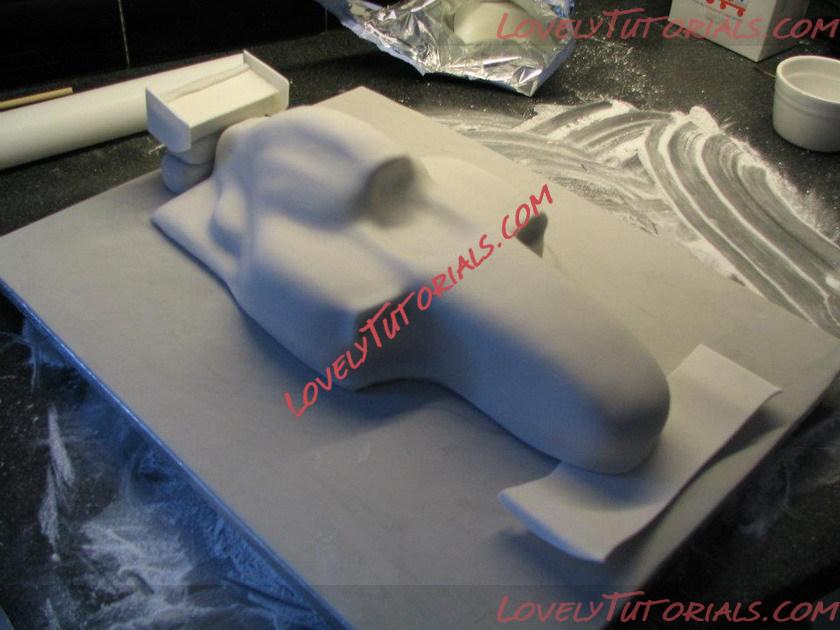
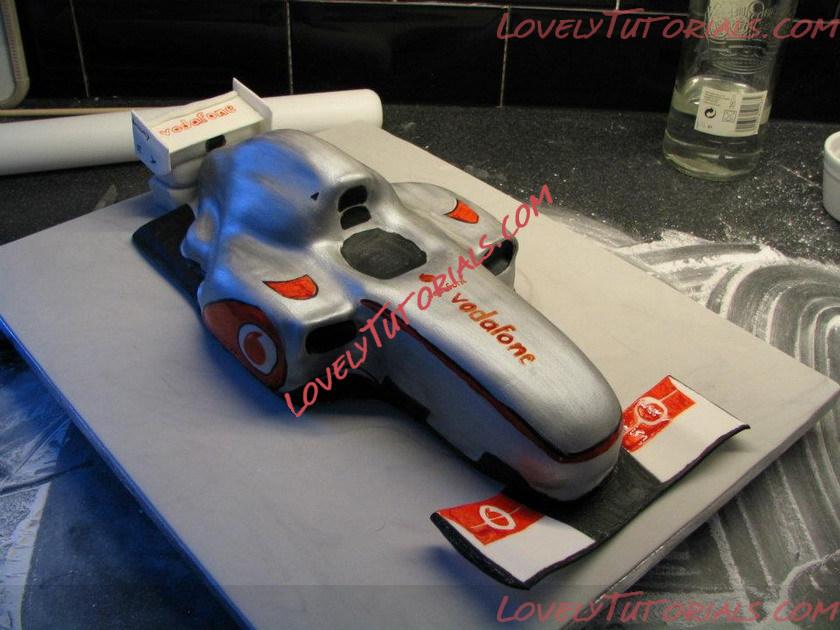
pre-set (modelling paste) rear spoiler and front nose...er..thingy (not technically minded at all when it comes to F1!) added

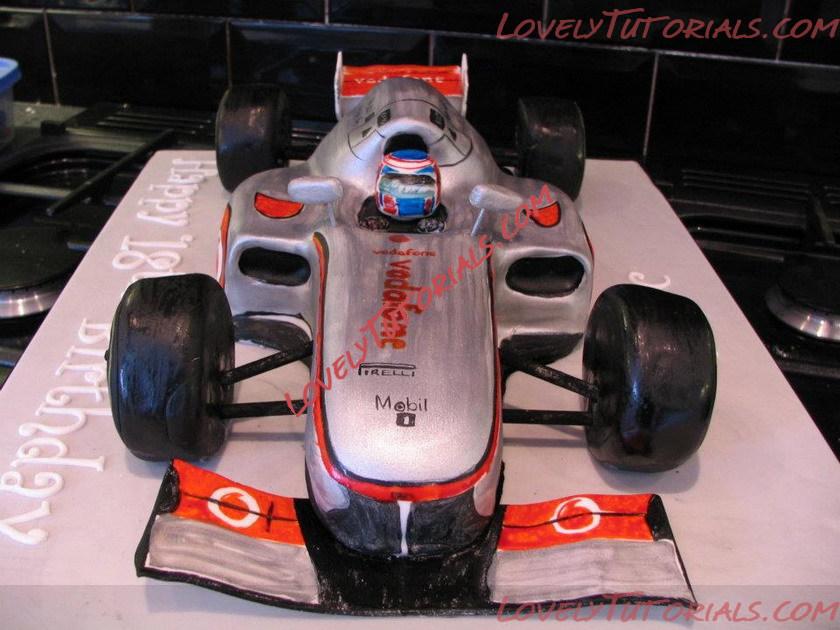
I lifted the nose of the car using a very long carving knife and supported the back end with my hand. I think it's important to move it whilst the fondant is relatively pliable, if left too long it would crack as it is moved.
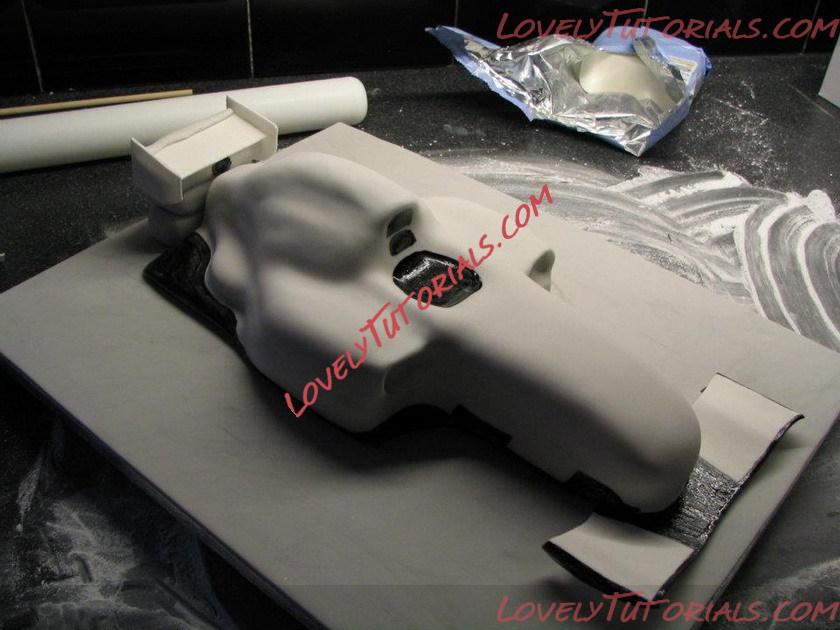
begin painting!
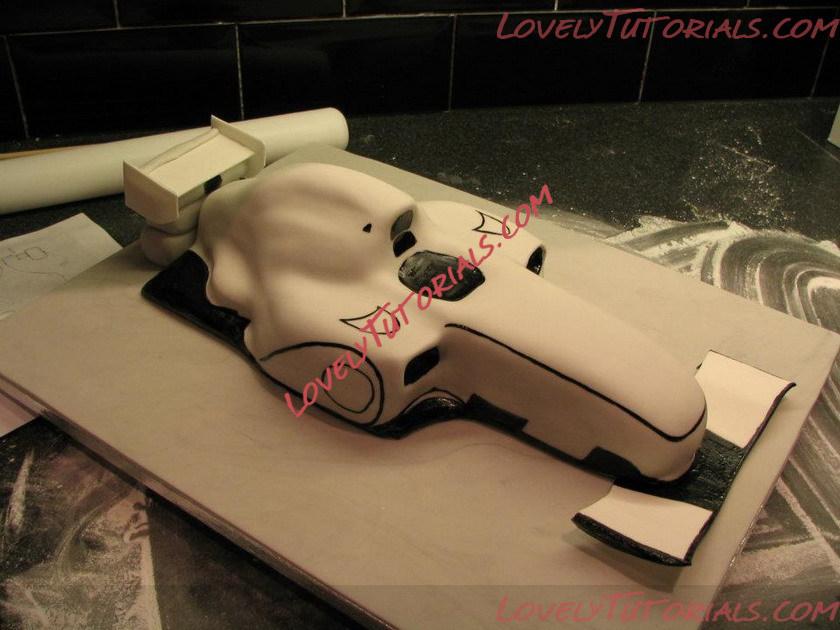
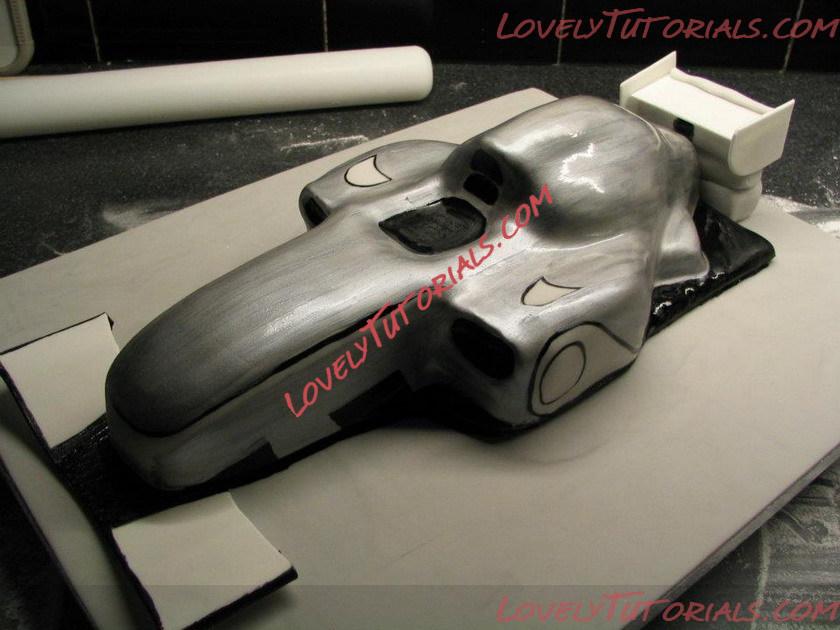
painted with silver....needs overnight drying time before sponsor logos are painted over the top....
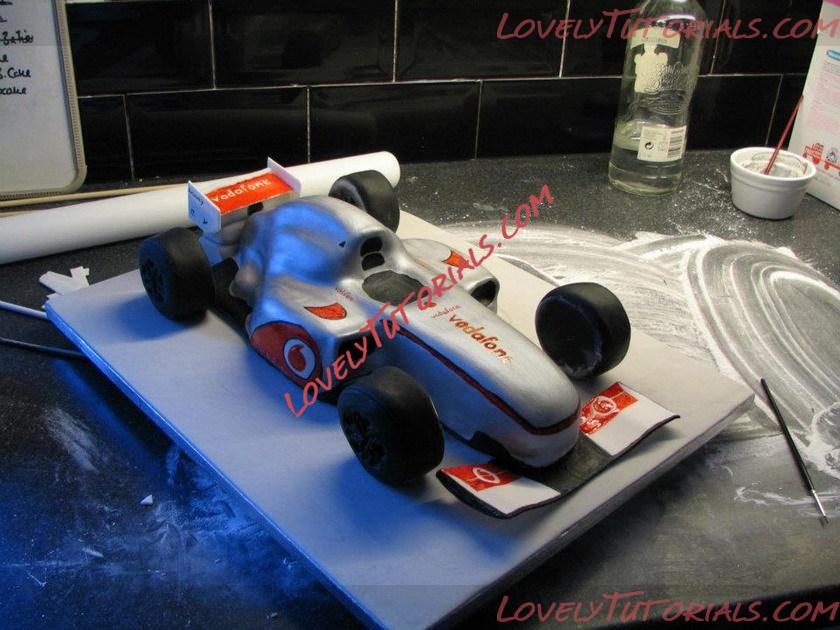
wheels in position..these also need to set overnight so that they don't sag at all when in place. Cookies inside them help them to hold their shape....
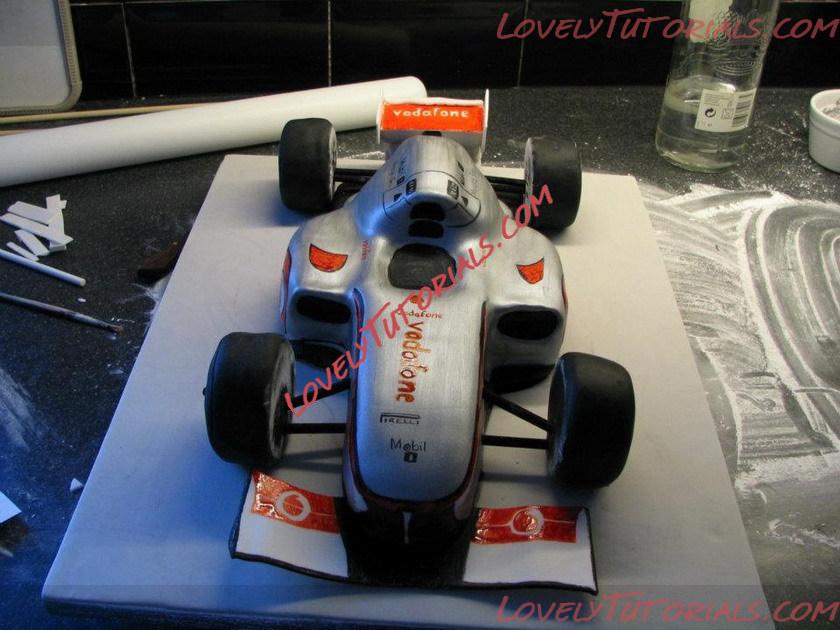
lollipop sticks are used (painted with black food colouring) to add suspension detail, inserted into the body of the car and into the wheels.
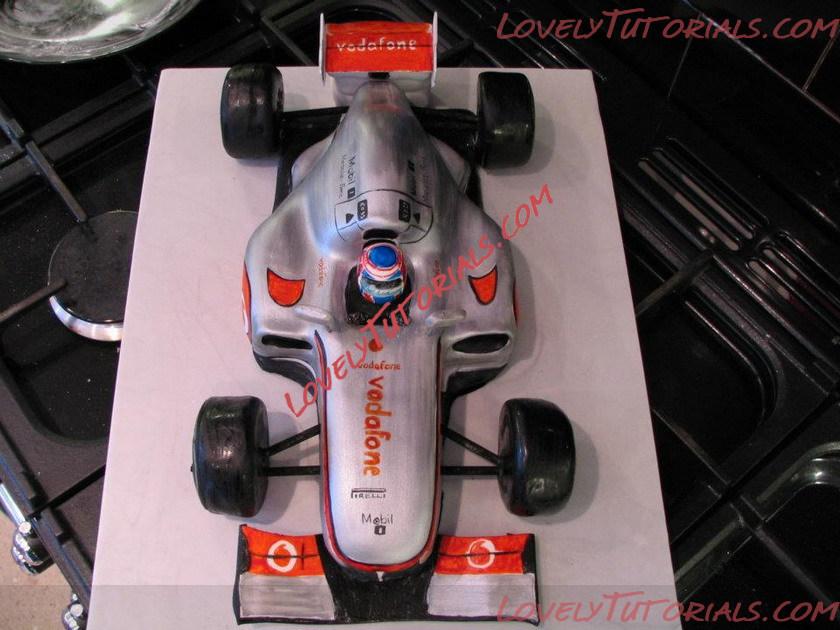


 I lifted the nose of the car using a very long carving knife and supported the back end with my hand. I think it's important to move it whilst the fondant is relatively pliable, if left too long it would crack as it is moved.


