Огромная благодарность Автору Royal Bakery за Мастер-класс
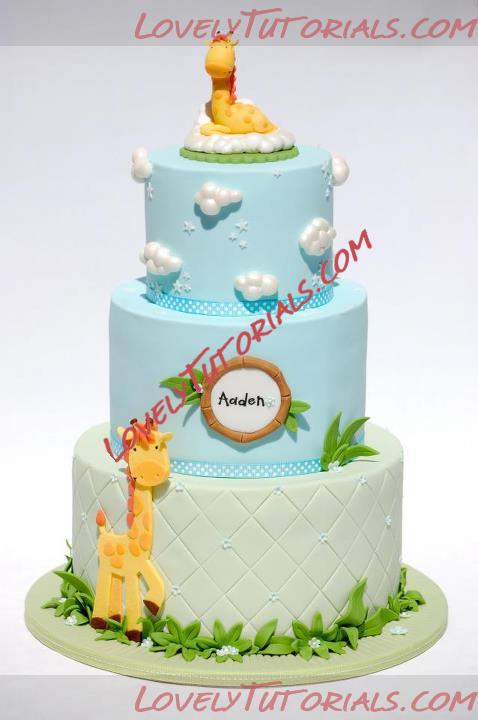
Mother and Baby Giraffe Baby Cake Tutorial
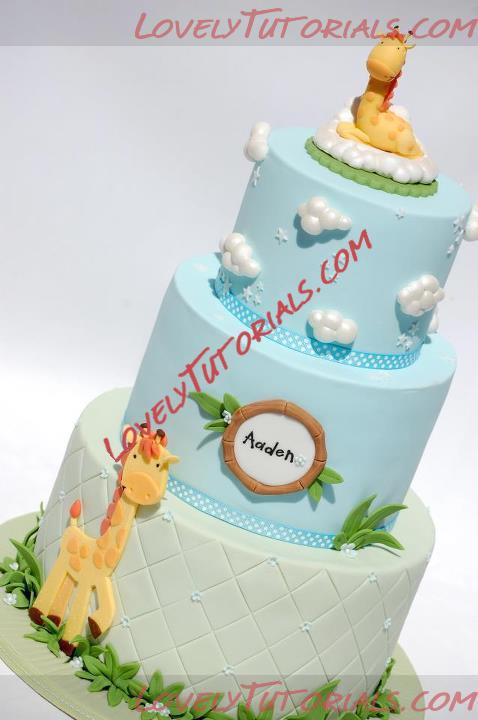
This tutorial is for a three-tiered cake, but you could combine these elements to make a cake with just two tiers.
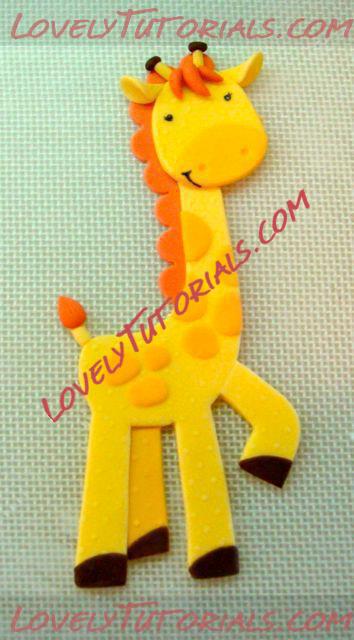
Mother Giraffe
1. Start the mother giraffe a few days in advance. She needs to dry sufficiently to be able to stand up against the first tier.
2. Find a picture of a giraffe that you’d like to copy. I used one from some baby shower stationery by BigDotOfHappiness.com.
3. Print out the picture to the correct height on card. I wanted my giraffe’s head to extend past the top of my first tier, and as my cake tiers are all 4” high, I printed out a 5” tall giraffe.
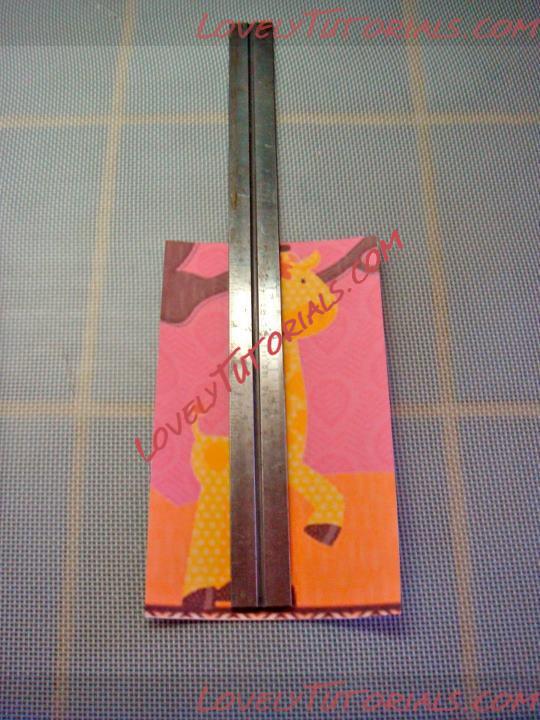
4. Cut out the body of the giraffe. You can cut off details like the mane, tail and horns, but keep them for reference later.
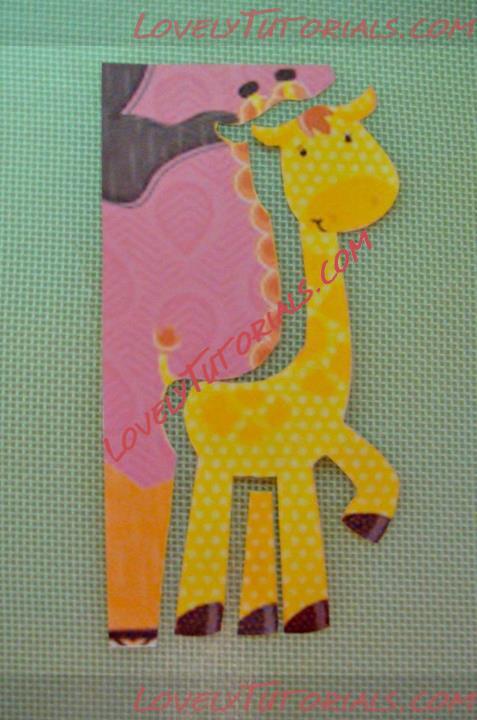
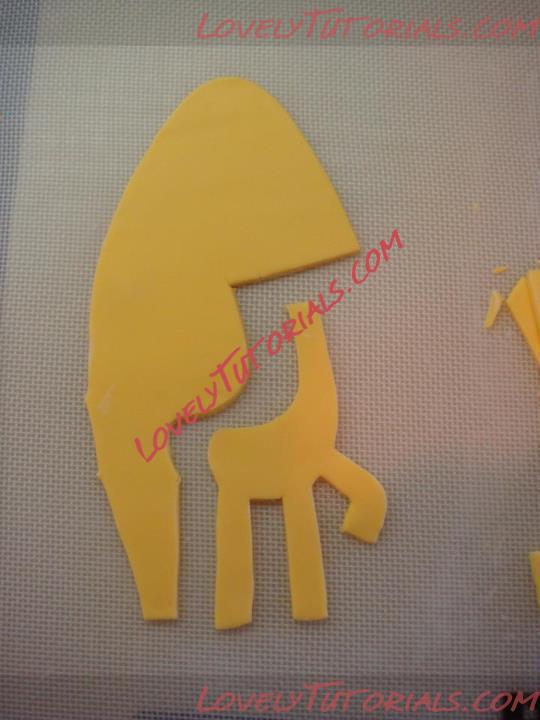
5. Dust the fondant with a little cornstarch and lay your card template on top. Use a sharp knife or scalpel to cut out the giraffe shape. Cut the head out separately and cut an extra long neck so that you can overlay the head on the neck for support.
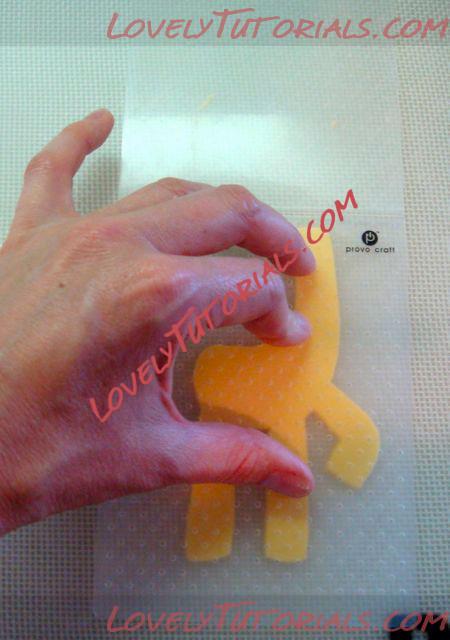
6. If you want to texture the body of the giraffe, use a polka dot embossing sheet. Lay the sheet over the fondant and press firmly, rubbing all over with your thumb to transfer the texture to the fondant.
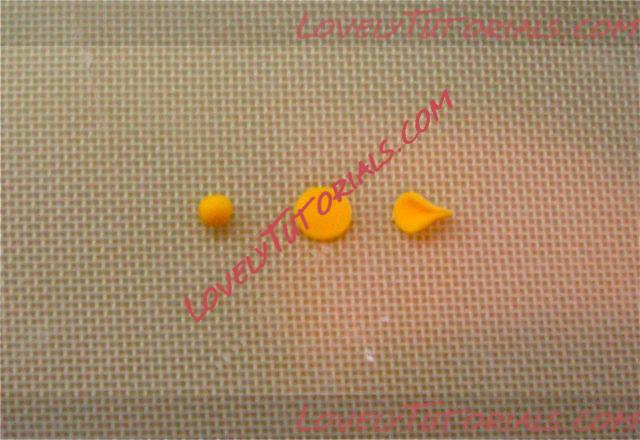
7. Make two ears with small balls of fondant, pressed flat, then pinched at one end.
8. Attach these to the head using edible glue or water. Refer to your original template photo as a positioning guide.
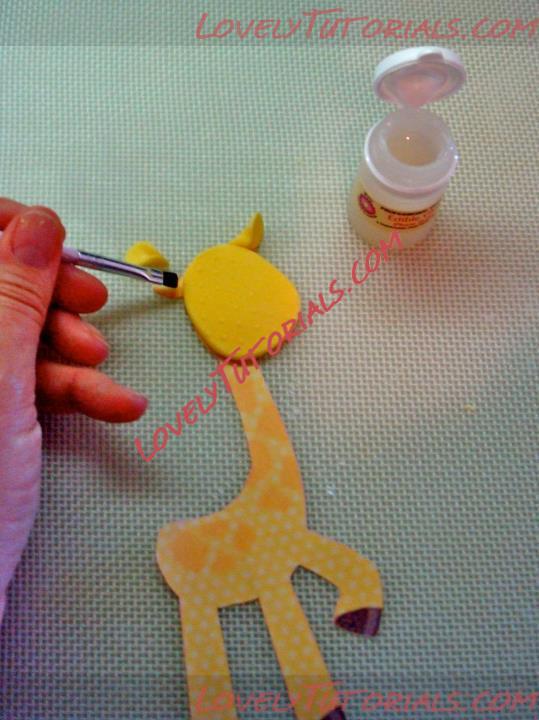
9. Attach the head to the neck. (I actually changed the position of the head later so it was on top of the neck, not flush with it as in the photo.)
10. Add the fourth leg using a slightly darker shade of yellow fondant rolled a little thinner than the giraffe’s body. Attach it using water or edible glue applied to the very edges of he leg.
11. Use a small garrett frill cutter to cut a length of dusky orange fondant.
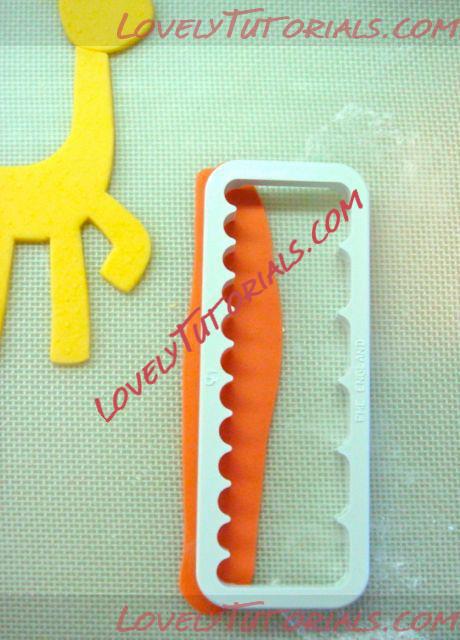
12. Use water or edible glue to attach a section between the ears and another down the length of the neck.
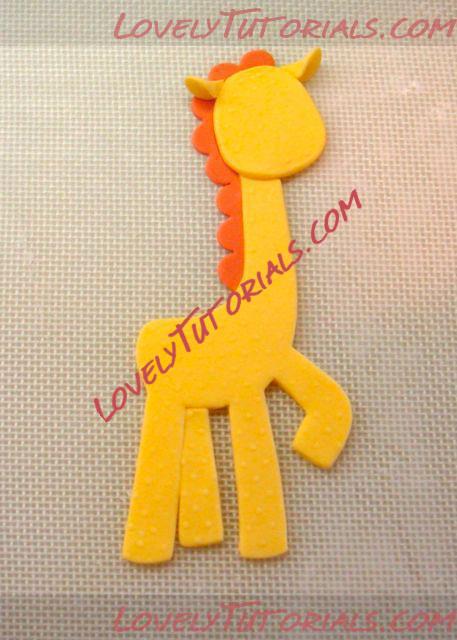
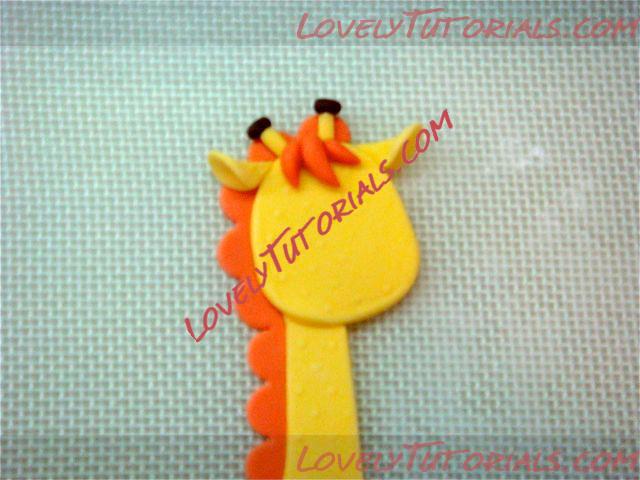
13. Add three orange teardrop-shaped tufts of hair and two yellow horns topped with brown ovals.
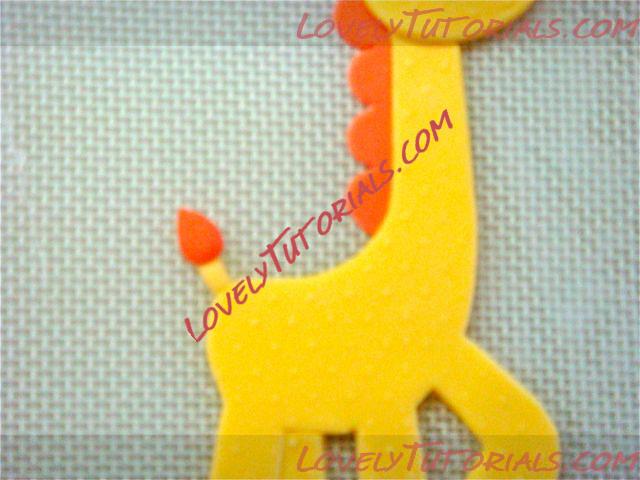
14. Add a yellow tail, topped with a teardrop-shaped tuft of orange fondant.
15. Cut the hooves from thinly-rolled brown fondant using a circle cutter.
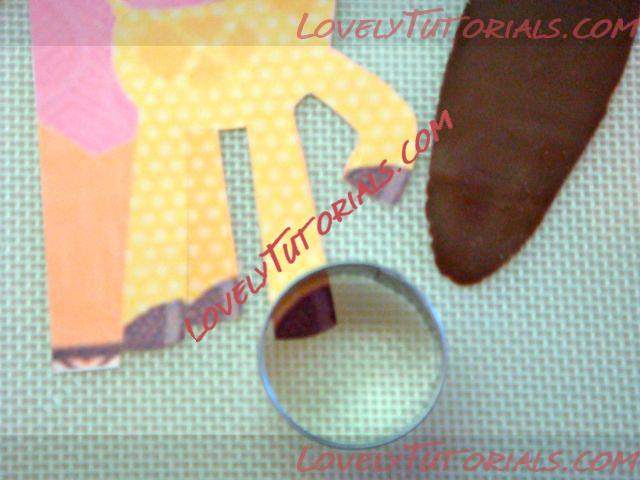
16. Cut a section from the circle that corresponds to the width of the leg and attach.
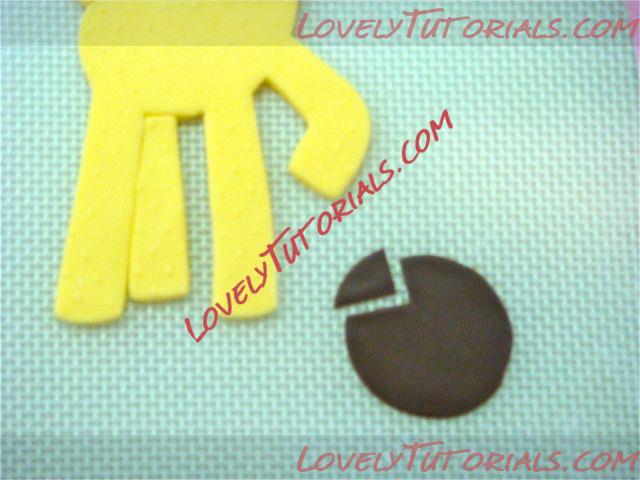
17. Make the muzzle from a darker shade of yellow fondant by cutting a section from a circle. Refer to your card template to find the right size.
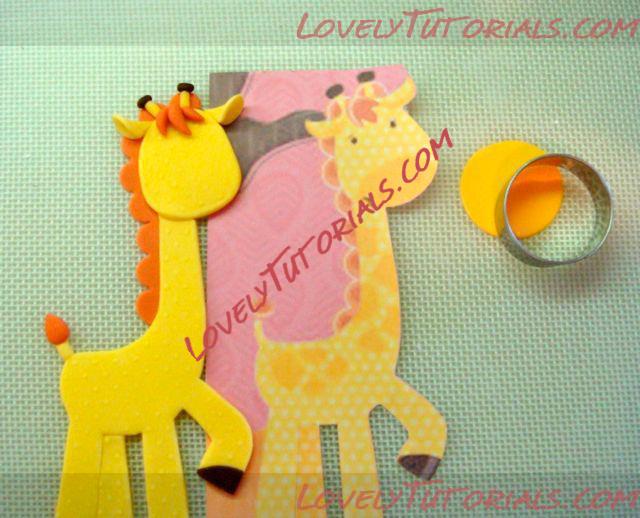
18. Indent the nostrils with the end of a narrow paintbrush or small ball tool.
19. Use a thin-tipped edible pen to draw on the eyes and the smile.
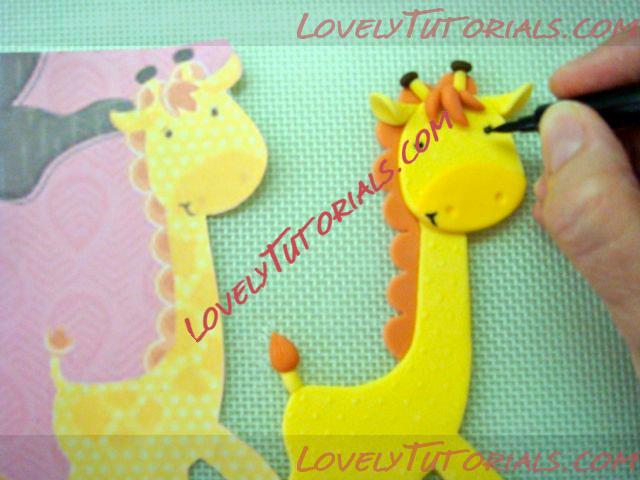
20. Take different sized small balls of the darker shade of yellow fondant and flatten them gently with your finger to create the spots on the giraffe’s back. Try not to squash the balls evenly, so you end up with irregular-shaped spots. Cut some in half and line up with the edges of the neck.
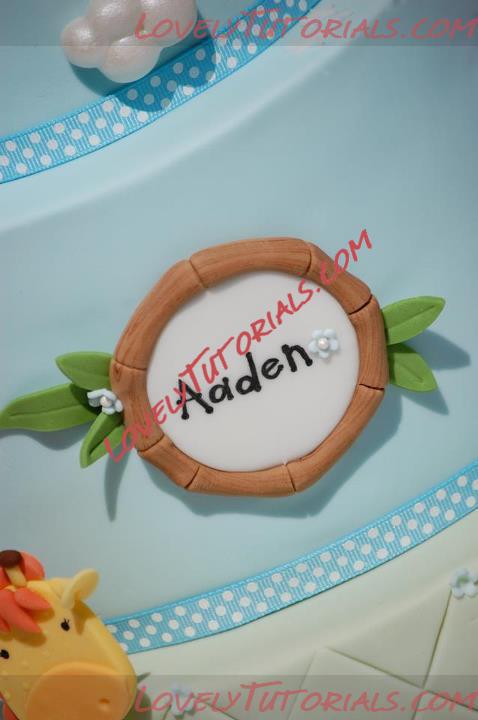
 Name Plaque
1. Prepare the name plaque in advance by cutting out a circle of white fondant around 2” in diameter.
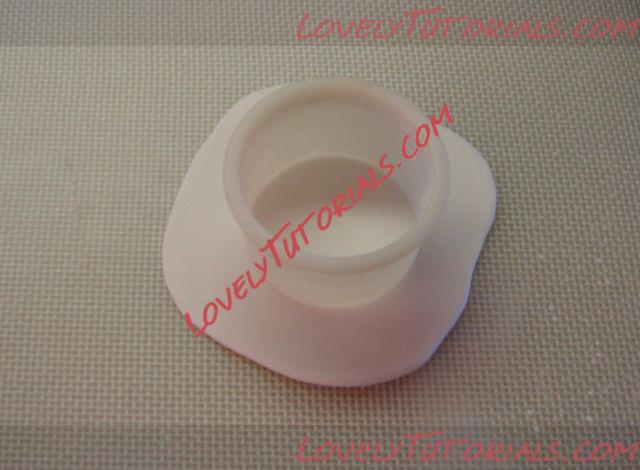
2. While you prepare the bamboo, put the plaque on a cake pan that corresponds to the size of the cake tier it will be attached to. This ensures it dries with the correct curve.
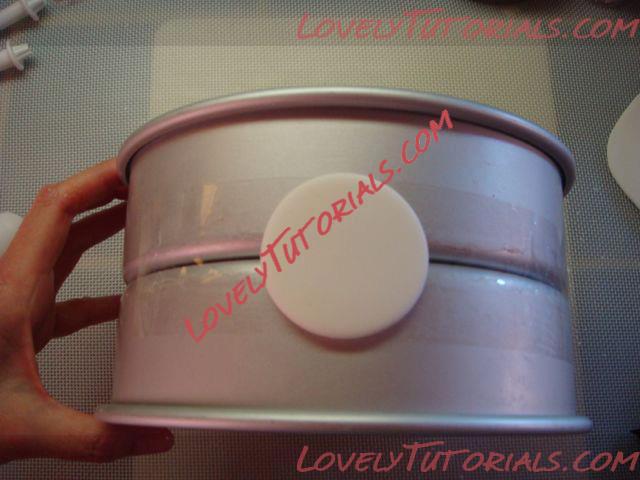
3. Create a woodgrain texture by adding a thin strip of brown fondant to some beige.
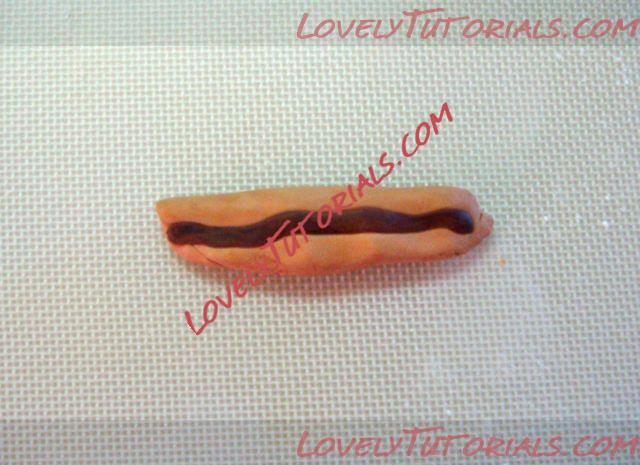
4. Roll into a long sausage and then fold the sausage in half and then half again. There is no need to be neat, but try not to fold the brown stripe inside.
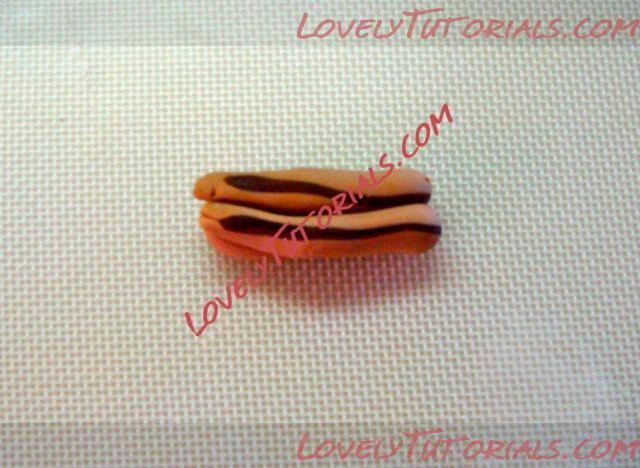
5. Continue to roll and fold until the brown strip is visible only as a faint line in the fondant.
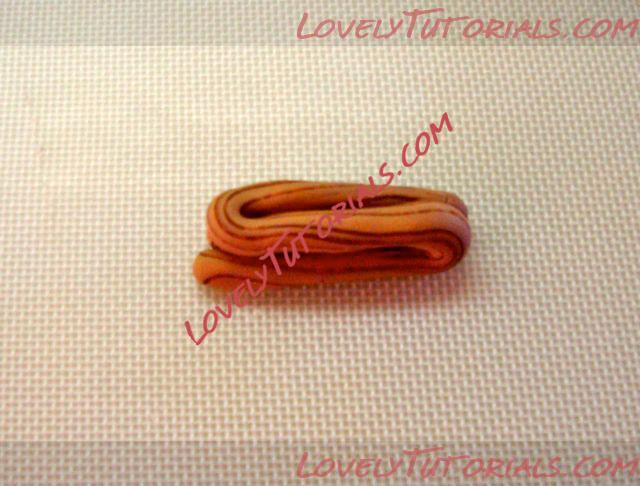
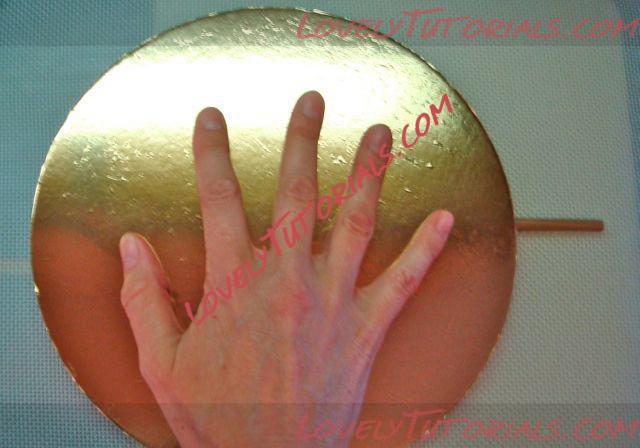
6. Now roll a sausage long enough to wrap around the white circle. Use a cake board to help keep an even diameter of about 1/4” along the length of the sausage as you roll.
7. Now pinch and push the sausage at intervals of 1/2” to 1” to create the bamboo sections. You are aiming for subtle thinner and fatter areas.
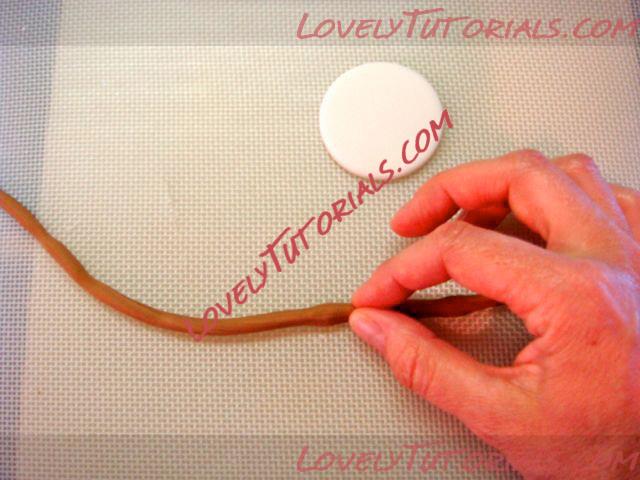
8. Glue the bamboo around the white circle. Make the ends of the bamboo slightly fatter where they join to disguise them as one of the sections.
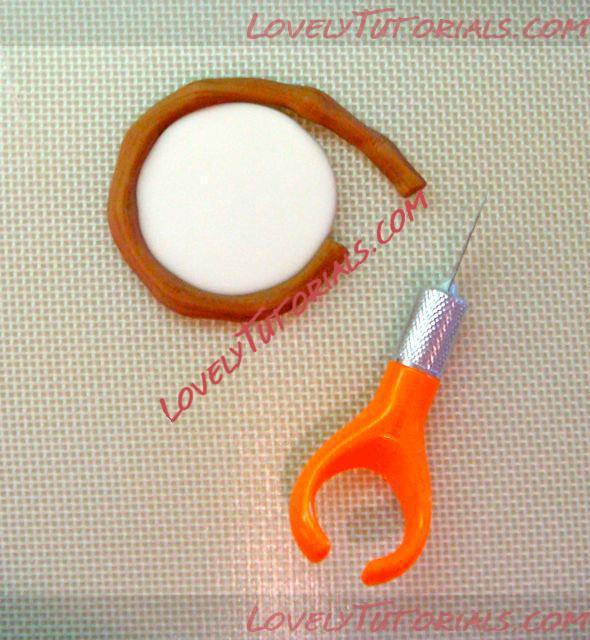
9. Use a knife to gently indent the bamboo at the fat parts to create the individual sections.
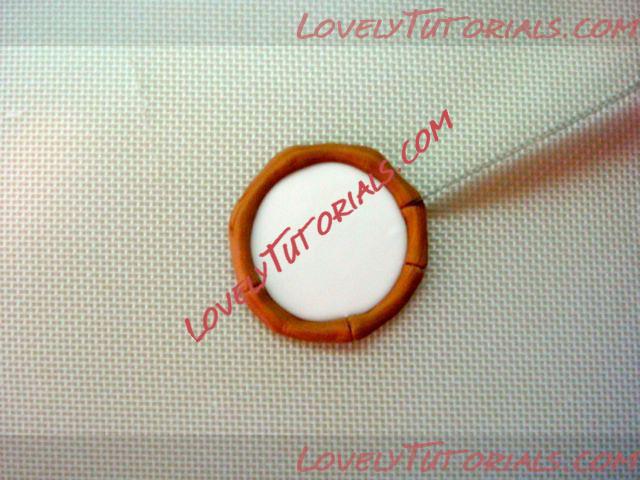
10. Cut freehand leaf shapes of different lengths and widths and indent them down the centre with the pointed end of a Celstick or veining tool. Pinch one end and flatten it so that it may be glued to the back of the plaque. You can use a leaf cutter if you prefer.
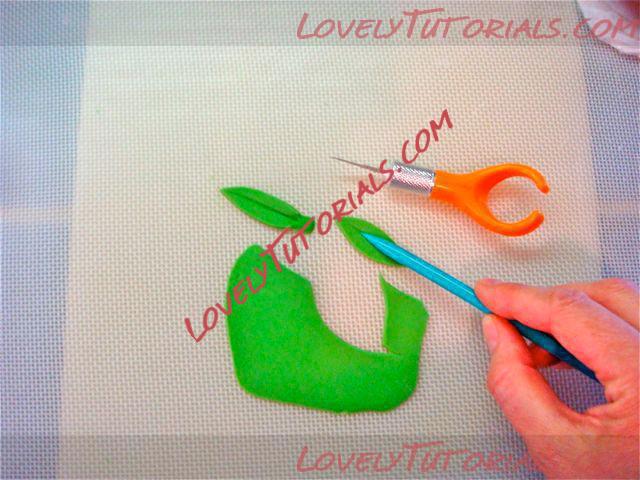
11. Position the plaque back on the cake pan to dry, using pieces of paper towel to support the leaves so that they will sit away from the cake when the plaque is attached.
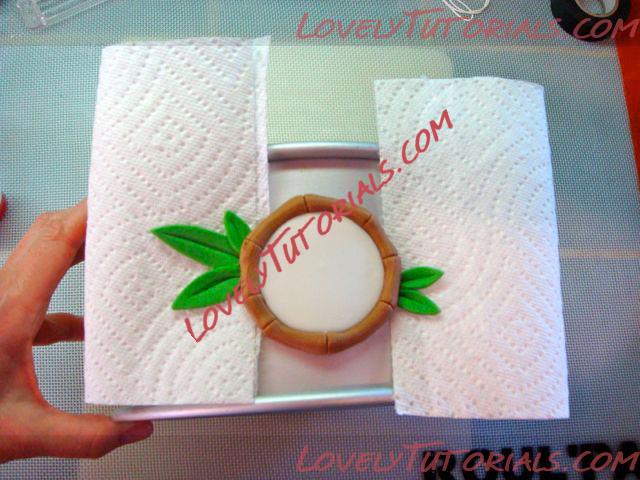
12. Add a flower if you like.
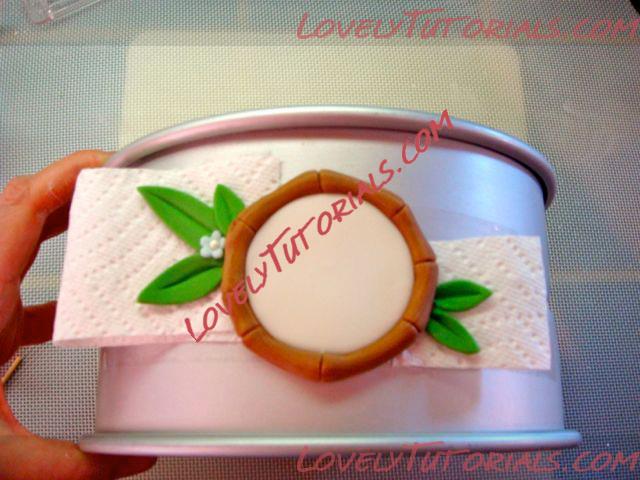
13. When the plaque is fully dried, write the baby’s name or other message on it using an edible pen. Practice writing the name a few times first on a piece of paper the same size of the plaque.
Baby Giraffe
1. Print out a picture of the mother giraffe to the right size for the baby on the top tier. You are using this as a guide for the size of the head and body only.2. Roll a ball of yellow fondant that is the size of the head on your baby paper template. It should taper slightly at one end.
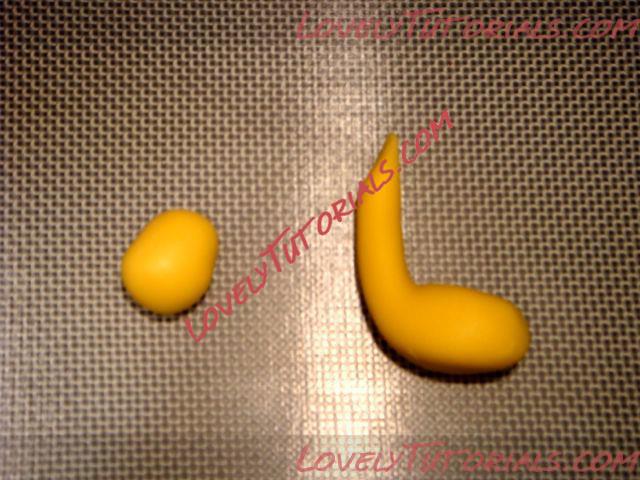
3. For the body, start with a ball of fondant and roll it into a teardrop shape. Keep rolling the tapered end until you get a long neck. Compare the body shape to your paper template until you achieve a shape you are happy with. Cut the neck at an angle, which will make attaching the head much easier.
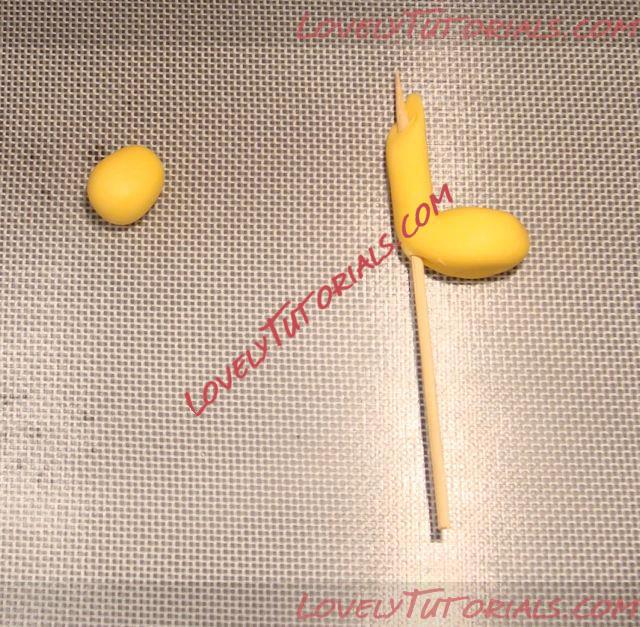
4. Insert a wooden skewer through the body, up the neck and out the top. Attach the head to the neck using the skewer and some fondant glue. Rest the giraffe baby on a piece of foam to prevent it becoming misshapen.
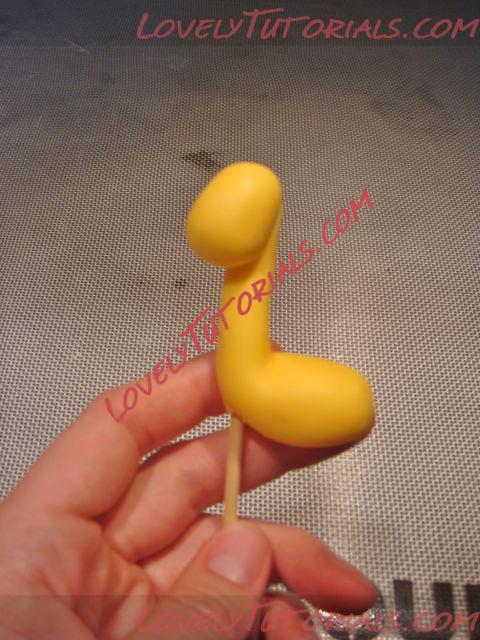
5. To make the front legs, roll two thin sausages of fondant about one and a half inches in length. Taper the legs slightly at one end. Bend the leg about a third of the way along pinching the bend to create a knee. Flatten the wider end of the leg slightly and cut the top off at an angle to make it easier to attach to the body. Repeat for the other leg.
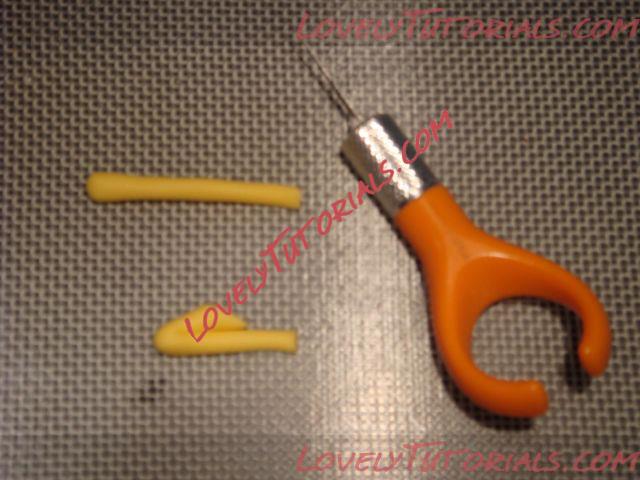
6. To make the back legs, roll two thin sausages of fondant about two inches in length. Taper the legs slightly at one end. Flatten the other end to create the thigh. Bend the leg about half way along, pinching the bend to create a knee. Continue to flatten the fatter end creating a rounded shape. Repeat for the other leg.
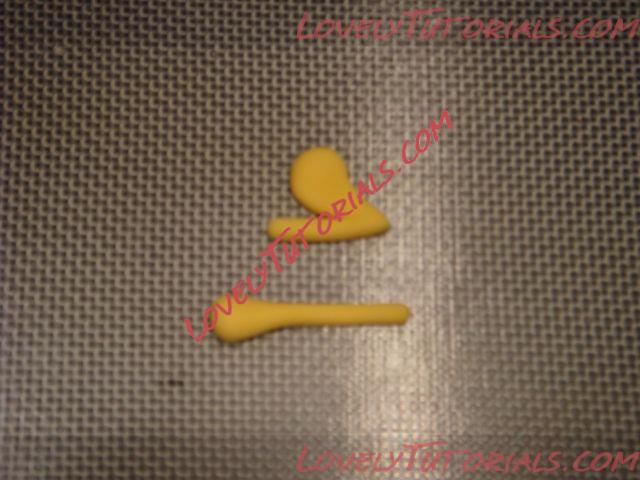
7. Attach the legs to the body with water or edible glue, bringing the hooves together to the front side of the body.
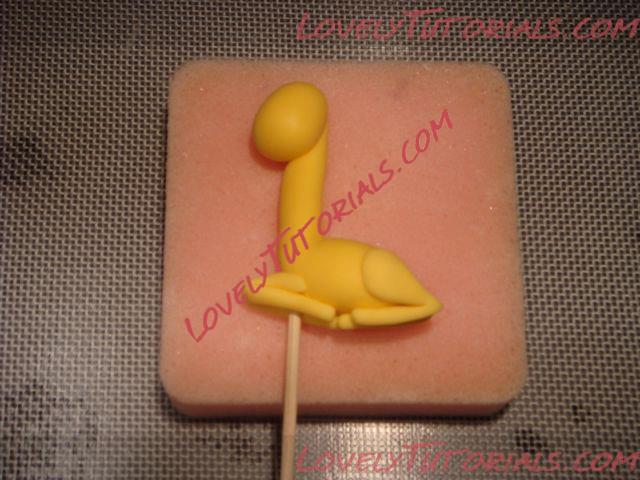
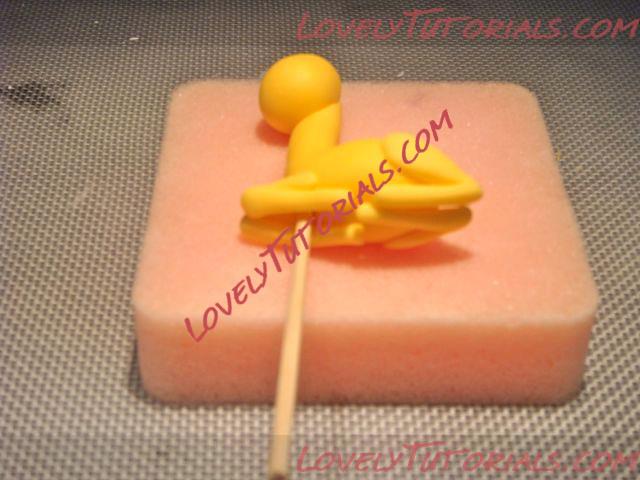
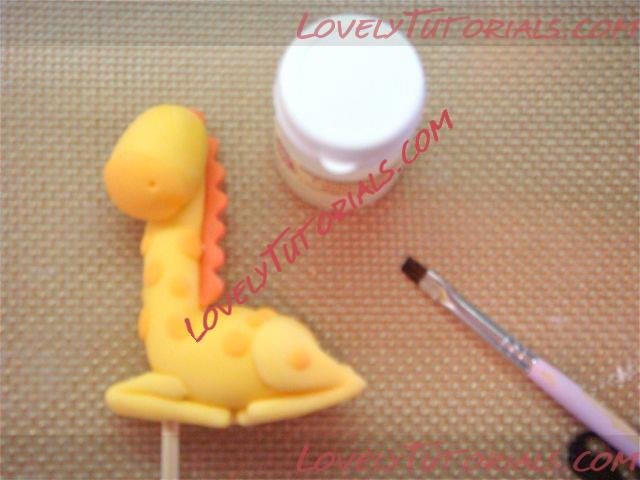
8. Cut a muzzle using a small circle cutter and glue this to the nose of the giraffe. Use a toothpick to make tiny nostrils.
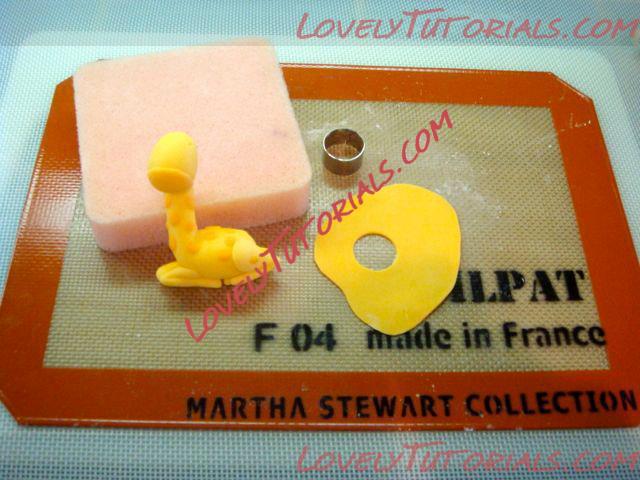
9. Add spots to the giraffe’s neck and back following the instructions from the Mother Giraffe above.
10. Use a small fluted cutter and remove the centre with a smaller circle cutter.
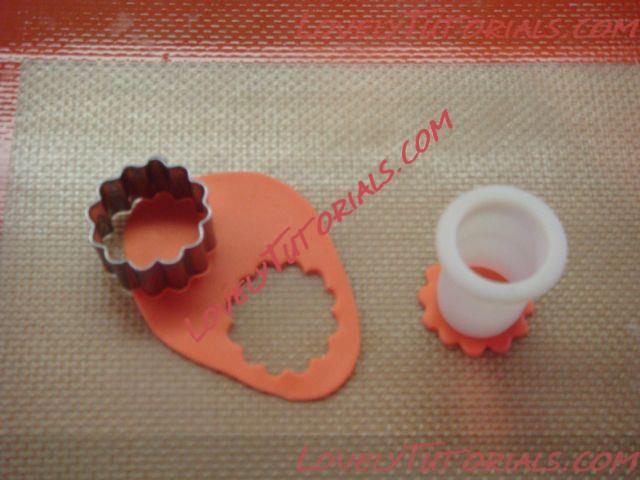
11. Cut the remaining ring of fondant open to create a narrow frill.
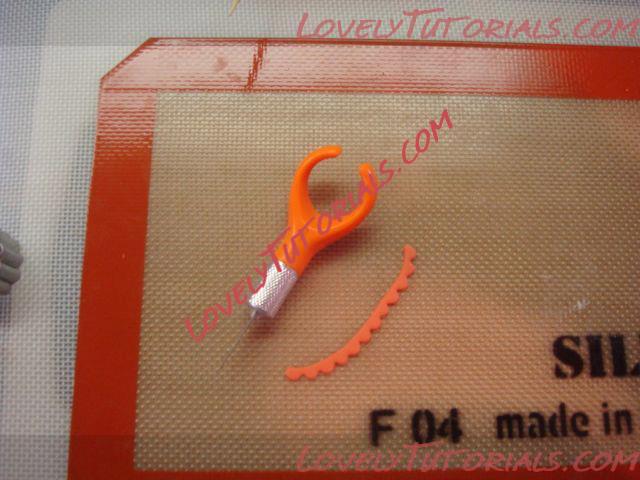
12. Attach this to the head and neck of the giraffe using fondant glue or water.
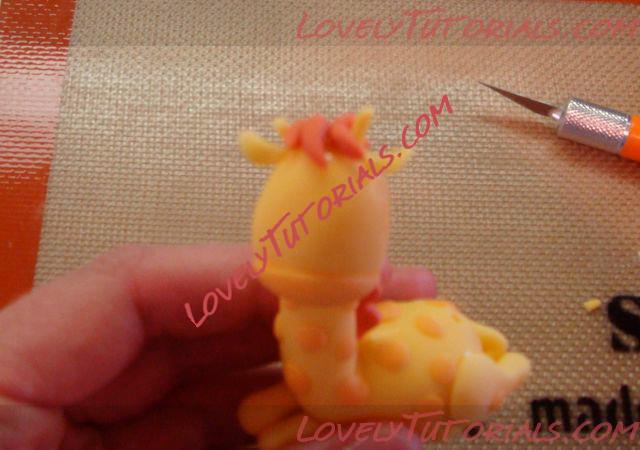
13. Add three teardrop-shaped tufts of hair.
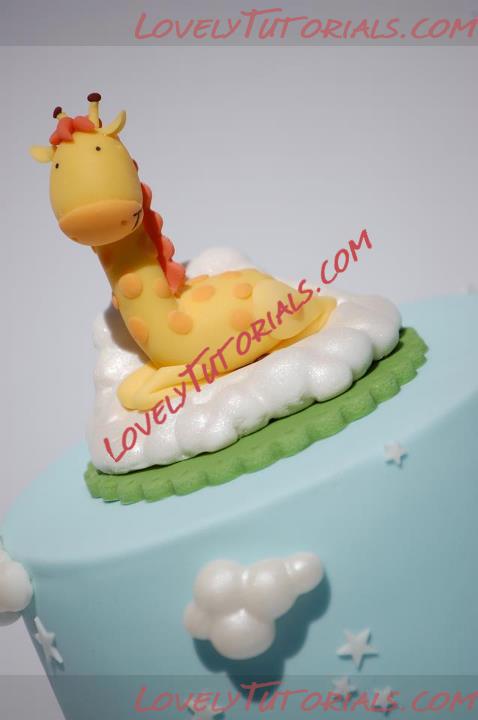
Make two smaller ears using instructions for the Mother Giraffe. Attach these with some fondant glue, along with two horns. Top these with small brown ovals.
14. Draw on eyes with an edible black pen.
 Cake Assembly
1. Cover 5” and 7” tiers with pale blue fondant.
2. Cover a 9” tier with pale green fondant.
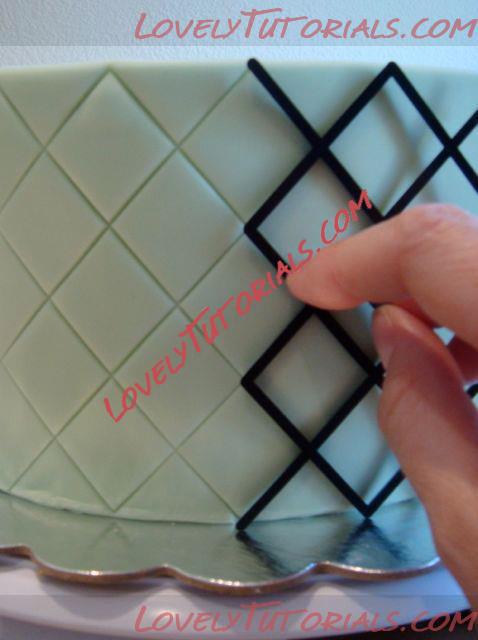
3. Using a Patchwork Cutters Diamond Side Embosser, press a quilted pattern into the fondant.
Decide on the front of the cake and press the embosser firmly into the fondant, rolling it carefully from one side to the other to make sure the pattern has been fully transferred. Do not press so hard that the embosser cuts the fondant, however.
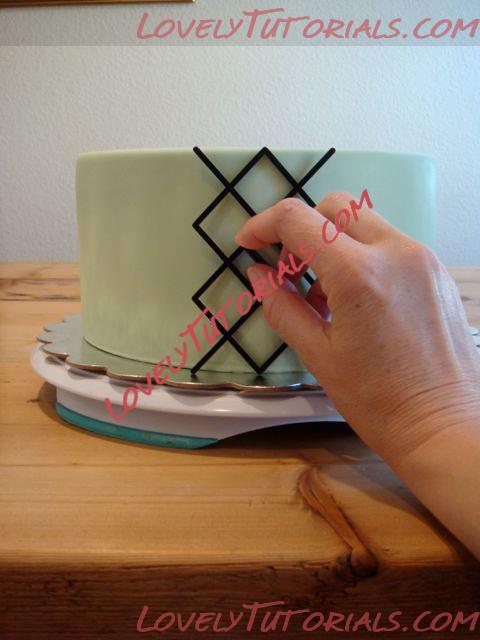
4. If your tier is not 4” high - the height of the embosser - raise it up on something that has a smaller diameter than the cake, so that the bottom edge is not resting on the turntable. This way, you can line up the embosser with the top edge of the cake and the embosser can extend past the bottom edge. You can cover the bottom edge with a ribbon, or other decorative border.
5. After quilting your first section, move the embosser to either the left or right, carefully lining up the pattern. Continue to quilt on first one side of the first section and then the other - this way your final section will be at the back of the cake. If you continue to quilt in one direction only, your final section will be next to the first at the front, and it is very unlikely to line up perfectly!
6. Attach your mother giraffe to the left of centre on your pale green tier. Cut out leaf and grass shapes using a selection of cutters, or using freehand patterns and position these around the bottom. Add flowers too, if you like.
7. Add the plaque to the middle pale blue tier and add a few extra freehand leaves at the base.
8. Add your clouds
9. Make a large fluffy cloud to sit your baby giraffe on, making sure that he will rest stably on it. Thread the skewer through the cloud and into the cake to a secure him.
10. Add co-ordinating ribbons or other borders to your pale blue tiers if you like.
