Cake Decorating Tutorials  (How To's) Tortas Paso a Paso
Cake Decorating Tutorials (How To's) Tortas Paso a Paso
Старый 06.05.2013, 13:25
Arianka Arianka вне форума
Администратор
Регистрация: 05.03.2013
Сообщений: 698
По умолчанию МК торт "Полумесяц" -Arabian Crescent cake tutorial
Огромная благодарность Автору Kelsey Weaver за Мастер-класс

Название: 1.jpg
Просмотров: 2

Размер: 92.5 Кб

Название: 2.jpg
Просмотров: 1

Размер: 94.2 Кб

Название: 3.jpg
Просмотров: 0

Размер: 42.1 Кб

Название: 4.jpg
Просмотров: 0

Размер: 65.3 Кб

Название: 5.jpg
Просмотров: 0

Размер: 83.0 Кб

Название: 6.jpg
Просмотров: 2

Размер: 75.5 Кб

Название: 7.jpg
Просмотров: 0

Размер: 76.5 Кб

Название: 8.jpg
Просмотров: 0

Размер: 59.8 Кб

Название: 9.jpg
Просмотров: 3

Размер: 71.4 Кб

Название: 10.jpg
Просмотров: 0

Размер: 82.2 Кб

Название: 11.jpg
Просмотров: 0

Размер: 85.8 Кб

Название: 12.jpg
Просмотров: 0

Размер: 85.7 Кб

Название: 13.jpg
Просмотров: 1

Размер: 85.9 Кб

Название: 14.jpg
Просмотров: 1

Размер: 103.1 Кб

Название: 15.jpg
Просмотров: 0

Размер: 103.9 Кб

Название: 16.jpg
Просмотров: 0

Размер: 79.7 Кб

Название: 17.jpg
Просмотров: 1

Размер: 102.9 Кб

Название: 18.jpg
Просмотров: 0

Размер: 127.2 Кб

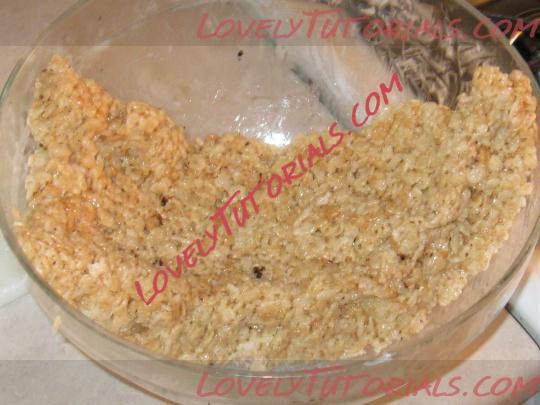
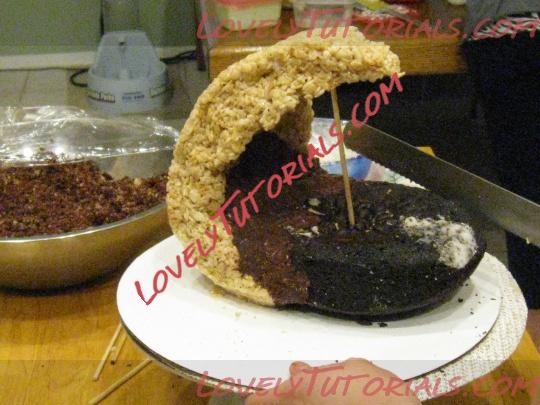
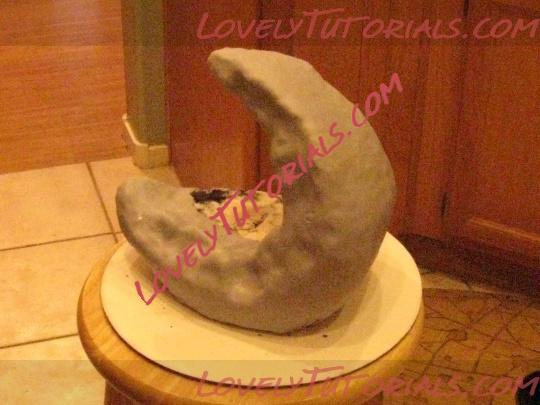
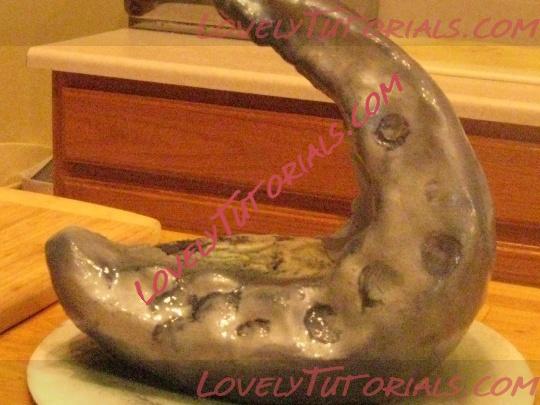
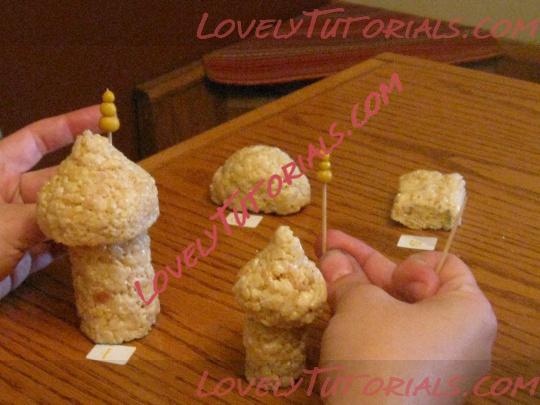
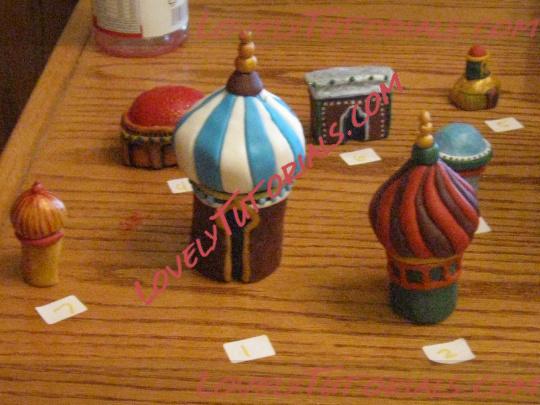
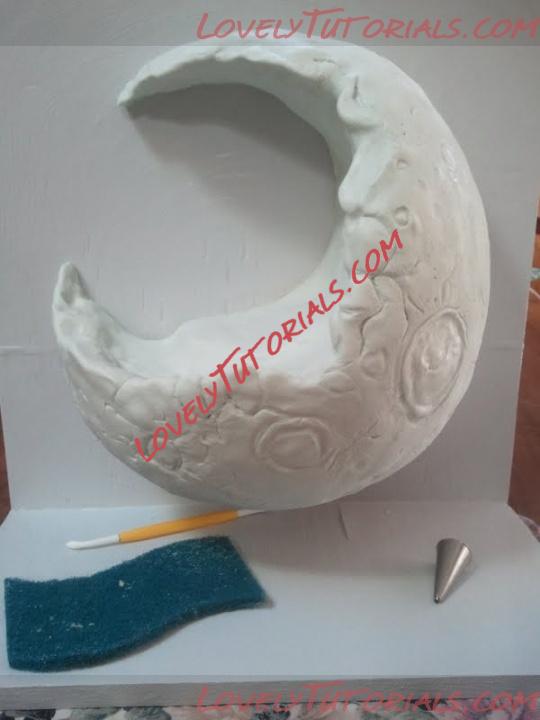
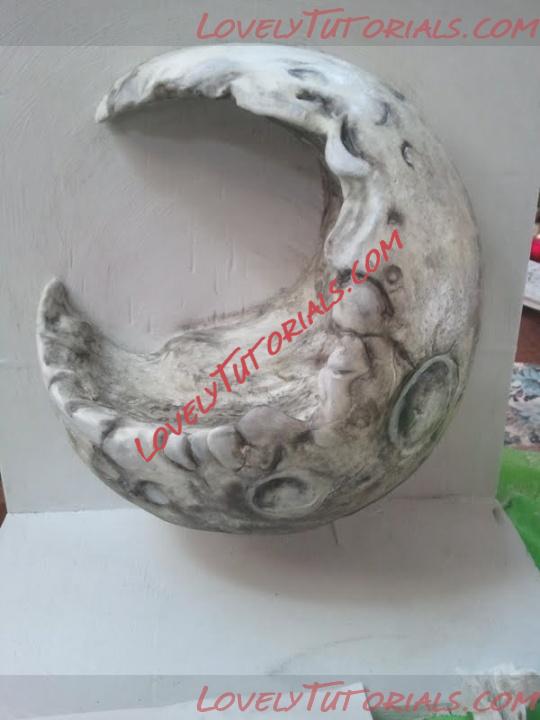
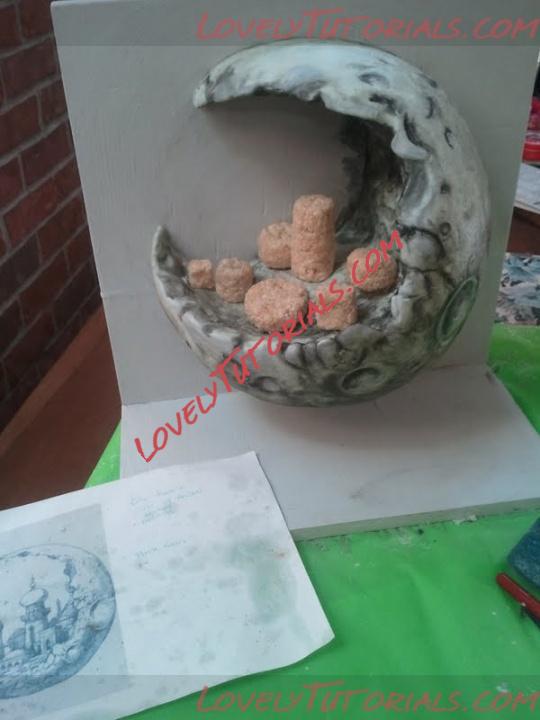
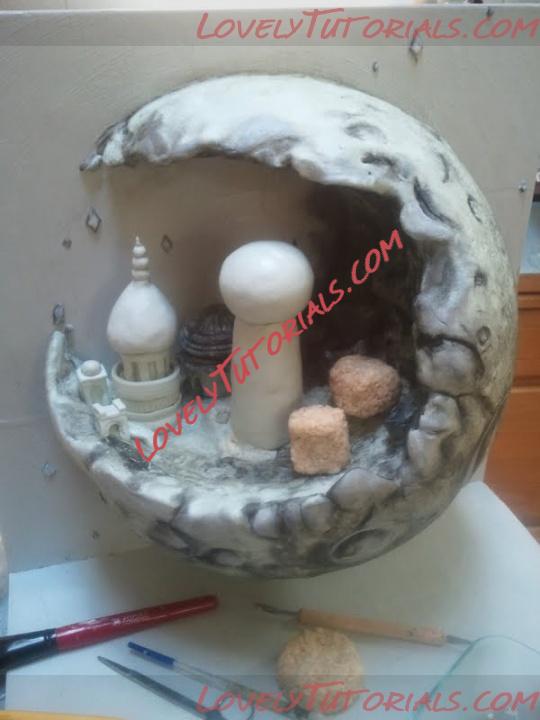
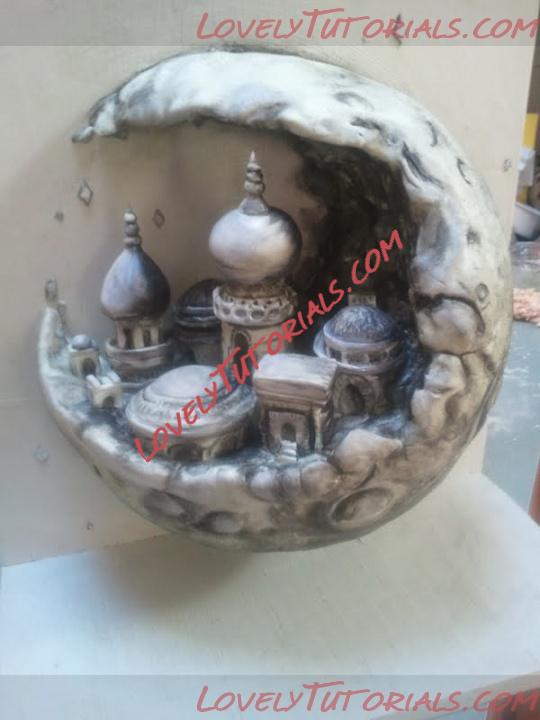
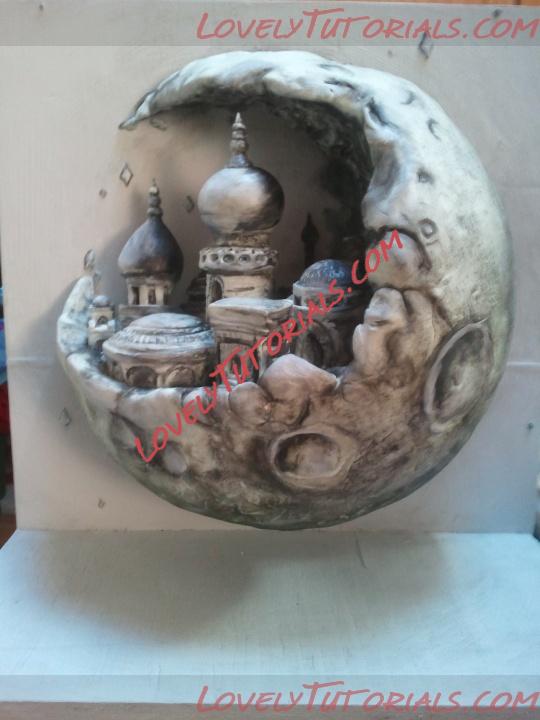
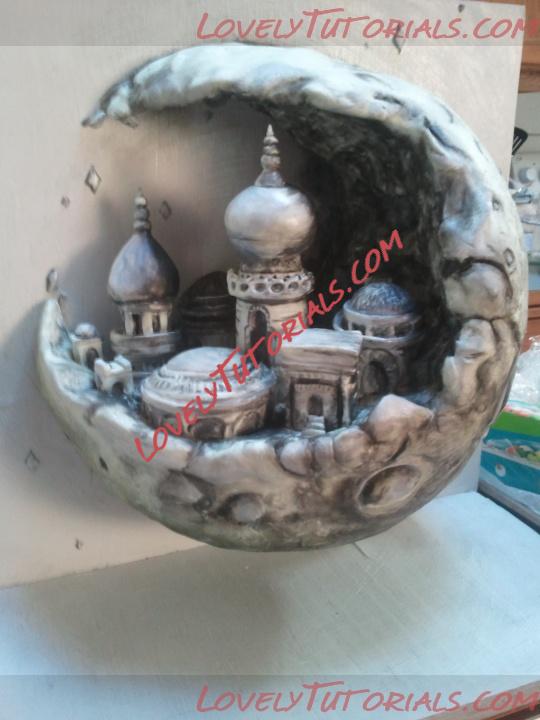
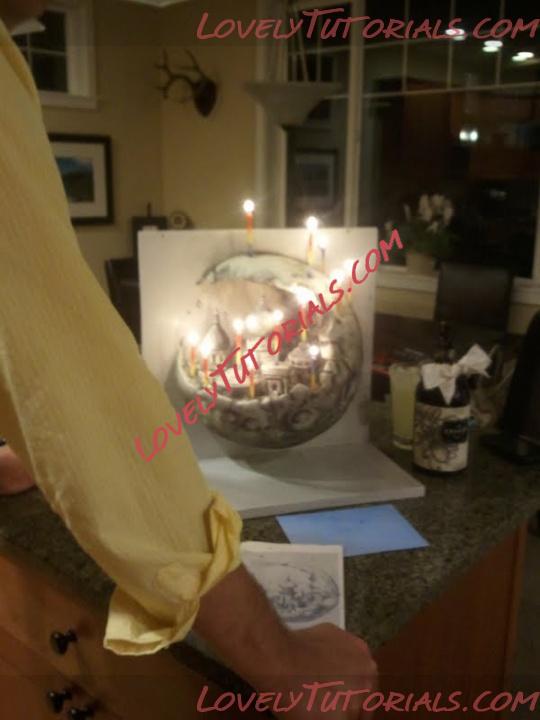
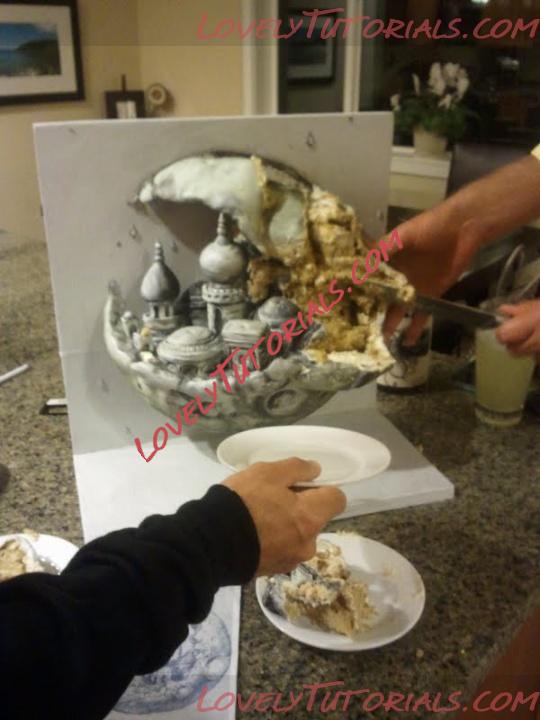
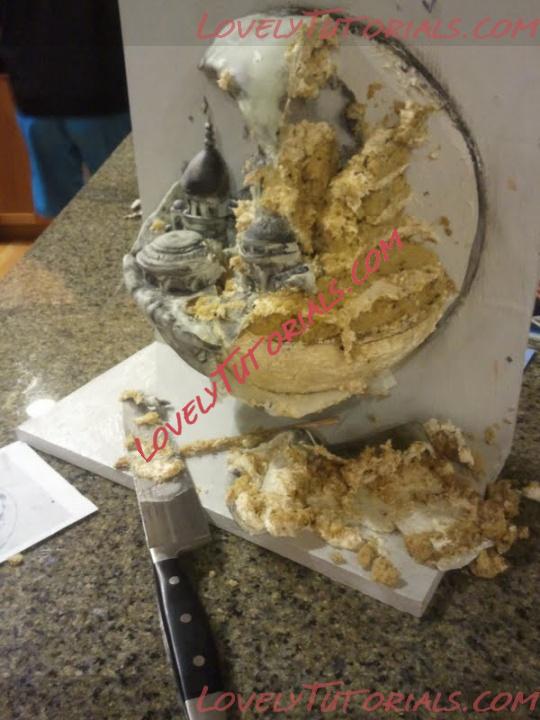
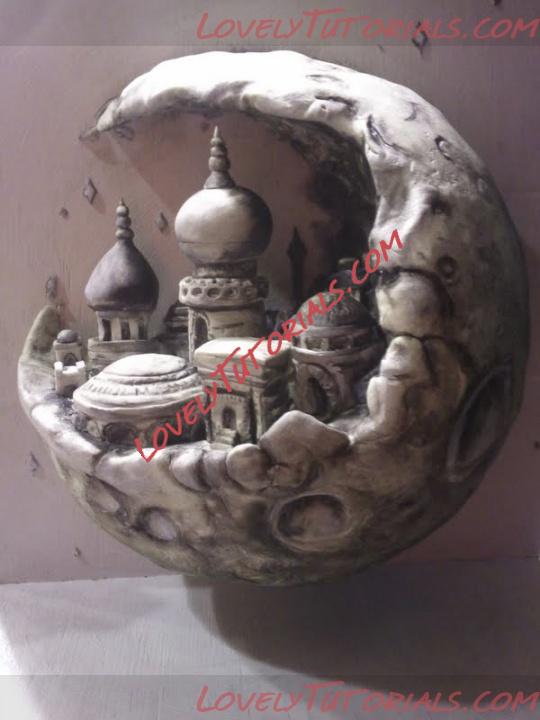
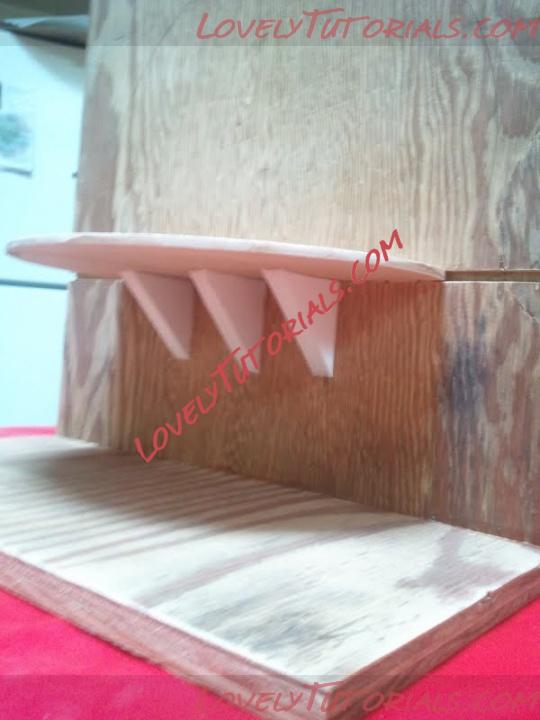
Building the stand was actually relatively easy, just a little assistance from my dad out in his shop. I painted the board with non toxic acrylic paint. The bottom portion of the crescent was made of rice krispy treats and then sealed in with white chocolate to make sure it would really hold. The whole right side was solid cake and buttercream, and the very top part was rice krispy treat as well covered in white chocolate. I ran a single support down the right side of the cake to make sure it stayed upright. I covered the cake in chocolate fondant and used various tools to create the craters and the rocky texture. To shade the moon, I unfortunately do not have an airbrush, so I hand painted with petal dust and used the wipe away technique to get the color into all the nooks and cracks. I used white candy color mixed with a little lemon extract to highlight specific areas. I made all the buildings out of rice krispy treats and modeling chocolate (YUM!) and then shaded them the same way. The stars on the board were also made of modeling chocolate and stuck with just a touch of piping gel. The Flavor of the cake was an experiment requested by someone very close to me. Coffee cake with cinnamon buttercream.
Старый 06.05.2013, 19:38
Arianka Arianka вне форума
Администратор
Регистрация: 05.03.2013
Сообщений: 698
По умолчанию
Огромная благодарность Автору Jay Tradup за Мастер-класс
Название: 1.jpg
Просмотров: 0

Размер: 75.8 Кб

Название: 2.JPG
Просмотров: 0

Размер: 126.8 Кб

Название: 3.JPG
Просмотров: 0

Размер: 91.1 Кб

Название: 4.JPG
Просмотров: 0

Размер: 105.2 Кб

Название: 5.JPG
Просмотров: 0

Размер: 91.6 Кб

Название: 6.JPG
Просмотров: 1

Размер: 91.7 Кб

Название: 7.JPG
Просмотров: 0

Размер: 94.6 Кб

Название: 8.JPG
Просмотров: 0

Размер: 90.7 Кб

Название: 9.JPG
Просмотров: 0

Размер: 102.9 Кб

Название: 10.JPG
Просмотров: 1

Размер: 97.5 Кб

Название: 11.JPG
Просмотров: 0

Размер: 87.5 Кб

Название: 12.jpg
Просмотров: 0

Размер: 98.7 Кб


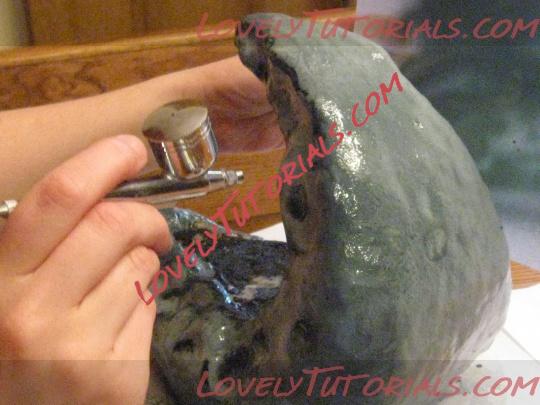
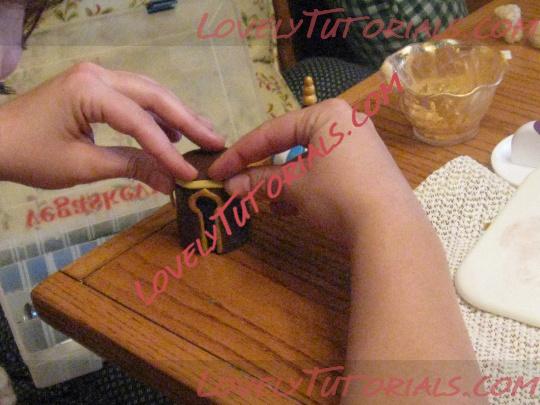
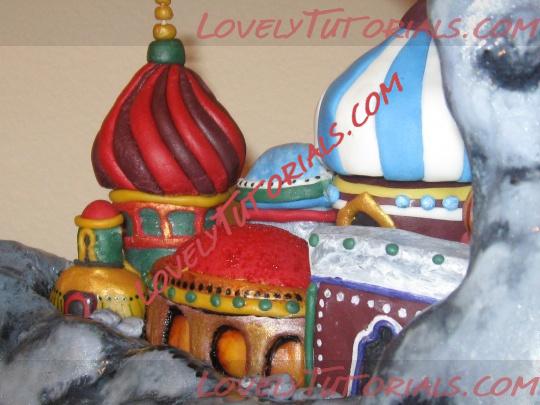
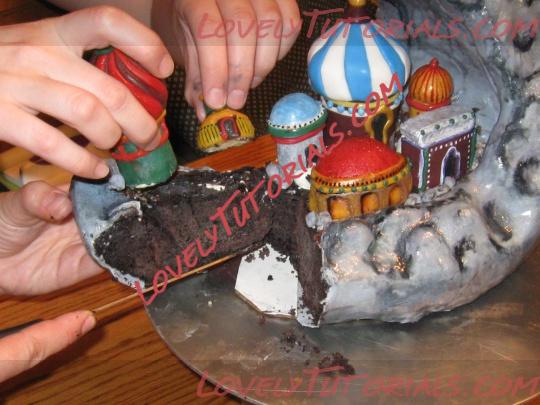
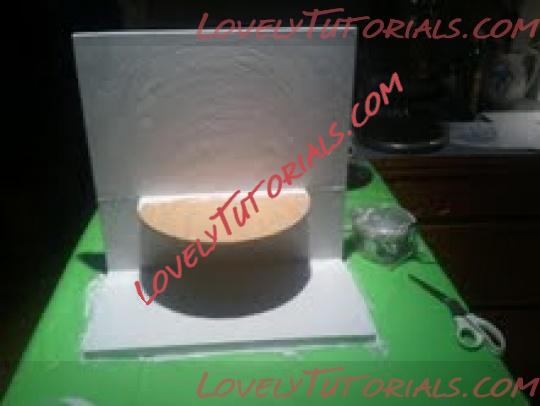
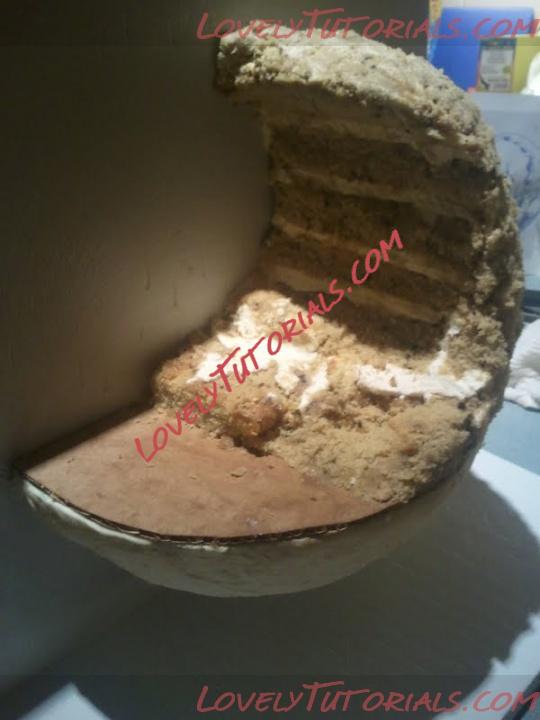
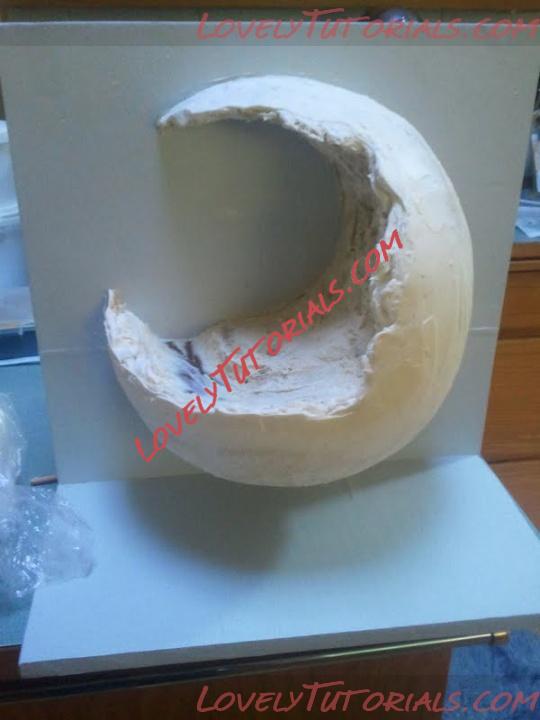
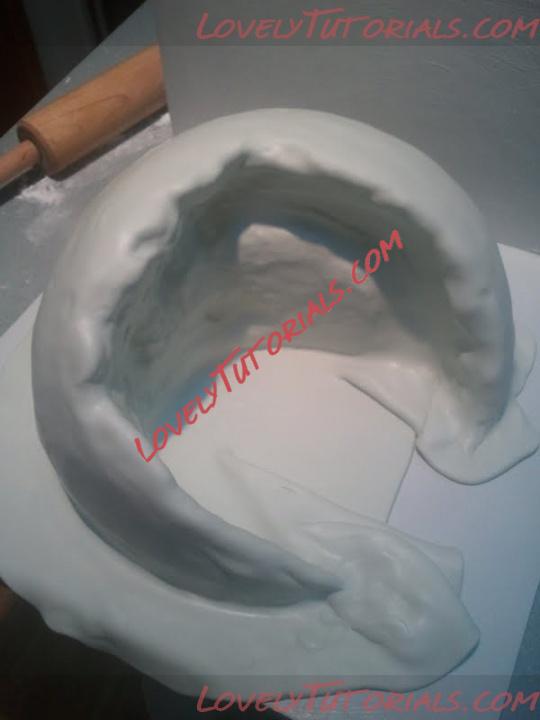
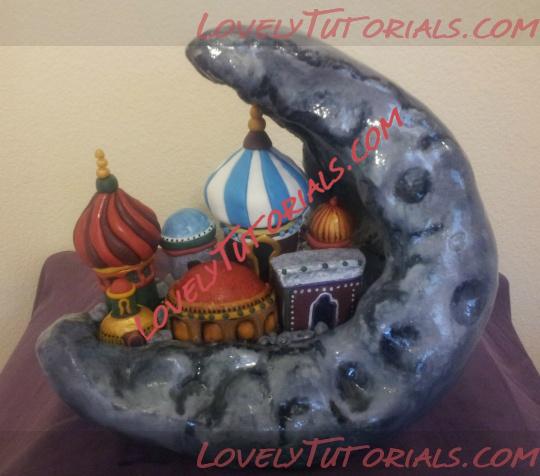
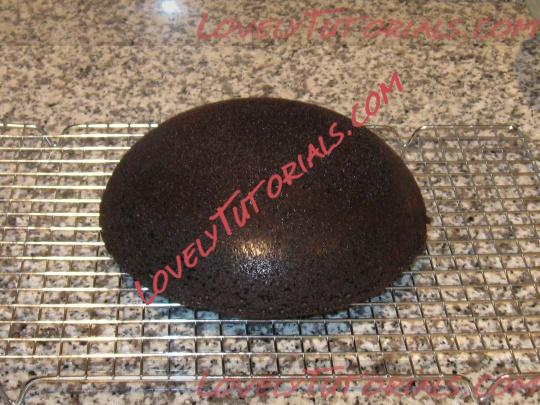
We started this project by first deciding what kind of materials we would use to construct the cake and buildings. We chose to use cake for the foundation of the moon and used Rice Krispy Treats for the large crescent shape and the buildings. We also decided that both the moon and the buildings would be covered in fondant. We chose to use chocolate cake with raspberry buttercream. This is the same buttercream we would use later to adhere the fondant to our buildings, as well as the crescent structure. To form the cake, we baked it in a bowl so that we would be starting off with a round form, and would not need to do as much carving. We then started to form the crescent by pressing a HUGE ball of Rice Krispy Treats into a large bowl to form the large crescent shape, which we then allowed to dry overnight. Once the form was dry, we adhered it to the cake foundation with two large skewers, ground cake and buttercream. We then began carving the cake and Rice Krispy Treat crescent into the " C " shape in the photo by trimmming and shaving off edges until we were satisfied with the overalll shape. Once the shape was complete we used a mellon balller to carve out craters on the surface. We also used a sort of " cake putty " to create moon rocks. The " cake putty " was a combination of ground cake crumbs and buttercream. Once the cake was smooth in all the right places and bumpy in all the right places we covered it in buttercream. Once covered in buttercream, it was time to put its comfy, cozy jacket of fondant on. We used a light silvery grey colored fondant, that we then airbrushed to add shadows and hilights. We started the painting proccess by hand painting black areas into all of the craters, as well as around the border of the moon rocks. The surface was then blasted with a combination bllack, white, blue and silver airbrush paint to add depth and some deep shadows near the bottom of the moon, as well as in the craters. We then sprayed the entire cake in an irridescent silver to add shine. The next step was to begin shaping all of the Rice Krispy Treat buildings. Once the buildings were shaped , we used a microplane to shve down the rough edges, appplied buttercream and then attached bright colored fondant. We had decided early on, that we wanted to add color to this piece because uppon seeing this photo, we were immediateley inspired by the bright Taj Mahal and Russian cathedrals. After the buildings were formed, we atttached them to the moons surface with buttercream. Sculpting,shaping and painting the moon only took about an hour total but shaping and covering the buildings took roughly four and a half hours ! It may not look like it from the photo but some of these buildings have a door , domed roof and lots of ornamentation and are only two inches tall !!


©2022 Lovely Tutorials
Content Relevant URLs by vBSEO