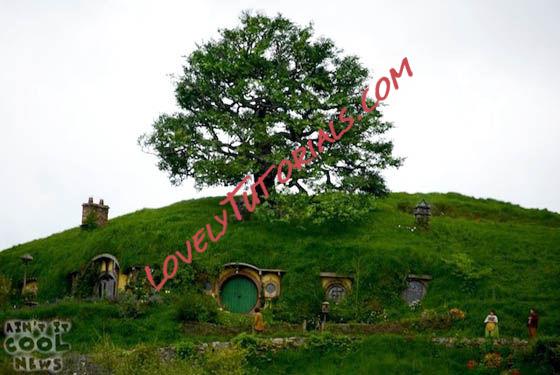
Огромная благодарность Kathy Lisa за Мастер-класс
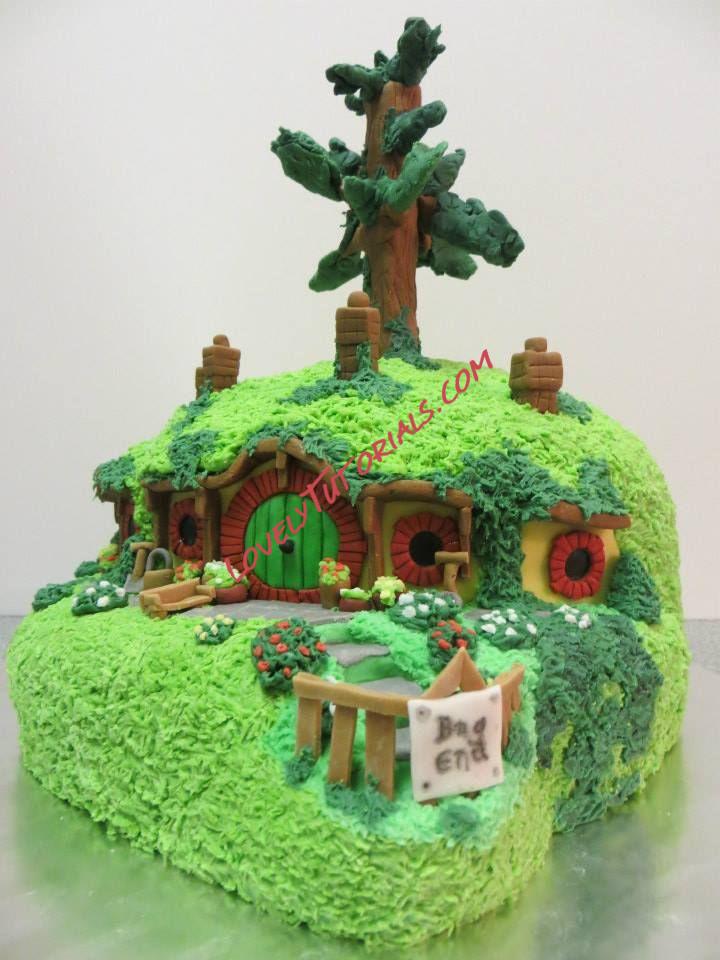
Step 1: Madeira Cake Recipe
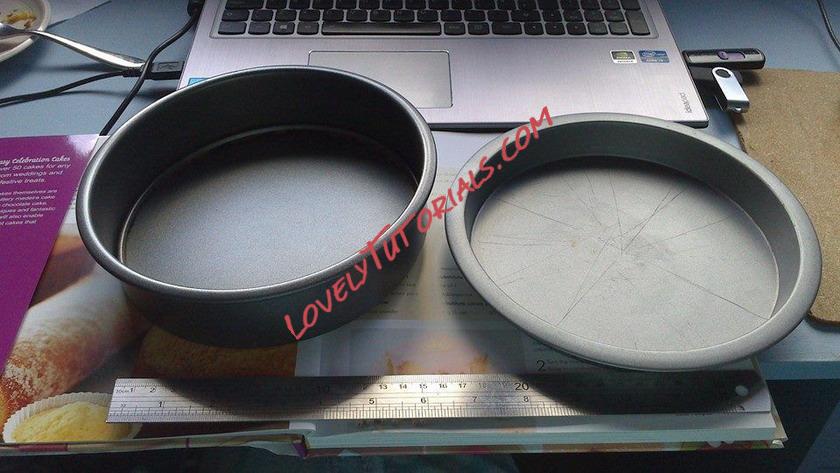
Ingredients
400g Self Raising Flour (I used Gluten Free SR Flour, and added xanthan gum).
300g unsalted butter.
250g Caster Sugar.
4 Large Eggs.
1 Lime (Zest and Juice).
2 Lemons (Zest and Juice).
(Juice should total about 4 tablespoons).
Step 2: Method
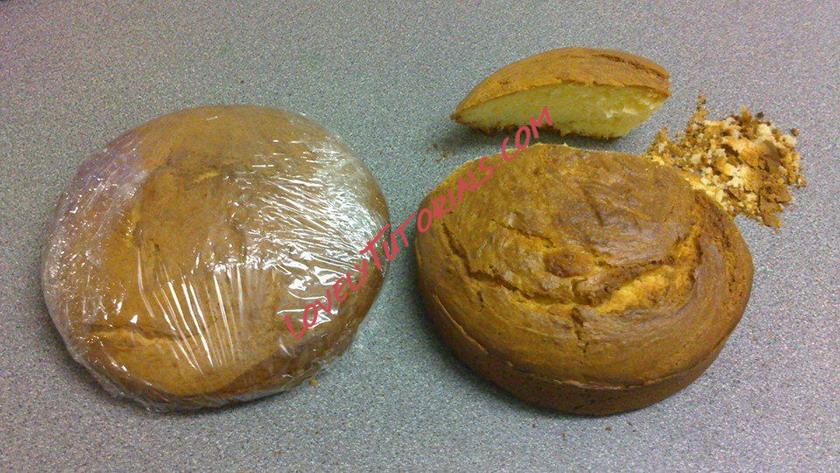
Pre heat the oven to 160 degrees Celsius.
Grease your baking tins and set aside.
Cream the butter and sugar in an electric mixer until pale and fluffy.
Lightly beat the eggs and gradually add the eggs to the butter mixture, altenating with the flour.
Add the Zest and Juice of the lemon and lime.
When thoroughly mixed, pour into your baking tins, level the surface and bake in the oven for about 1 hour. (cook until you insert a skewer in the centre and it comes out clean).
Leave in the tin to cool, remove and leave cool completely on a wire rack before decorating.
Step 3: Decorating Equipment List
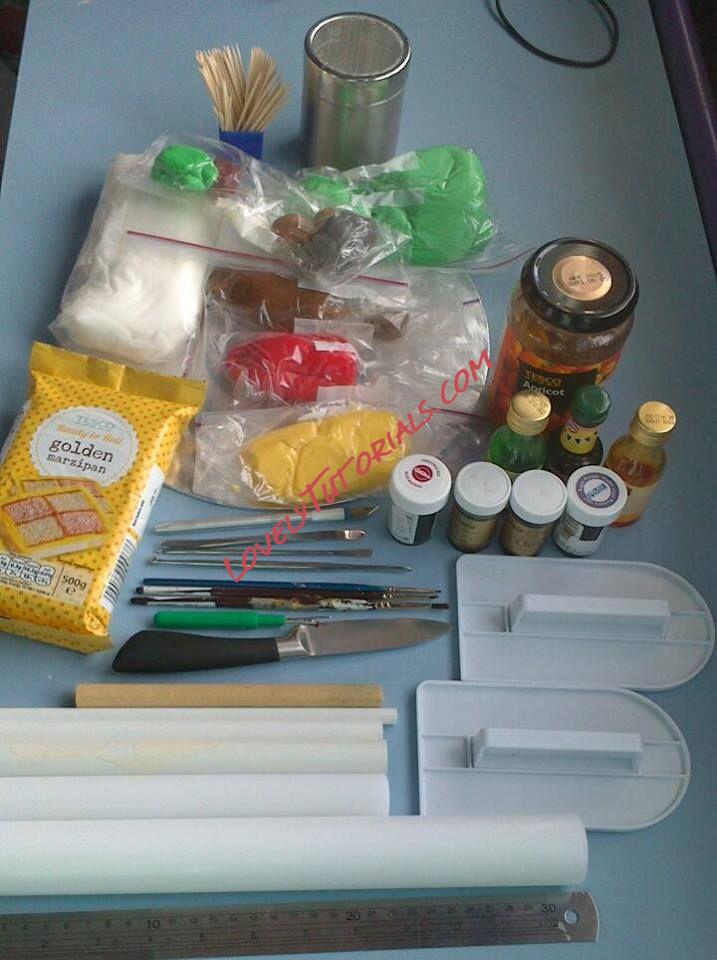
Large Rolling pin
Small Rolling Pin.
3 different diameter styrene tube (or anything suitable you find for cutting out circles for windows and the door).
Some small paint brushes, a straight edge knife and a few small sculpting tools I find handy.
Food colouring - green, blue, brown, red, yellow, black.
Icing/Sugar Paste - White, green (a few shades), red, black, yellow, brown, terracotta (some I bought, others
I mixed up using food colouring).
Almond Past/Marzipan (I didn't have enough because I was only using leftovers from another cake so I don't have a specific amount, prob need 500/600g).
A round cake board.
Tooth picks.
An icing sugar shaker (really handy!).
Apricot Jam.
Ruler.
Step 4: Almond and Sugar Paste
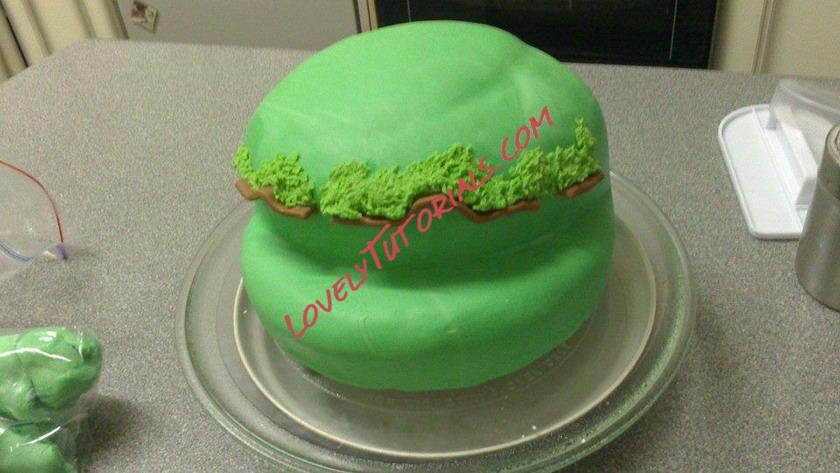
I cut off some of the thicker cake and put it on top of the thinner one and shaped it (rounded the edges).
Add a little water to a few spoons of apricot jam and heat in the microwave.
Brush the jam over the cake.
Roll out the almond paste/marzipan (for me that's until its very thin because I don't like it thick and I didn't have much). If you have sugar paste spacers good, I don't

Carefully lift and cover the cake smoothing it down.
Roll out your green sugar paste and lift that carefully onto the cake smoothing down (dust on icing dust and smooth the edges and trim excess).
Step 5: Grass, Walls, Chimneys
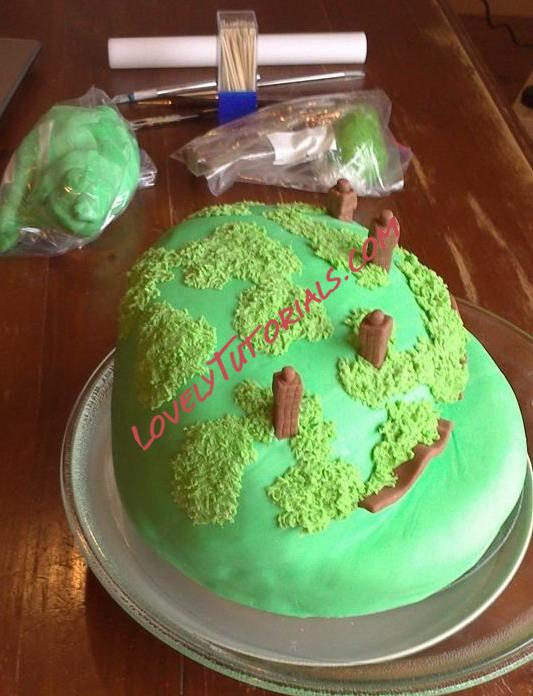
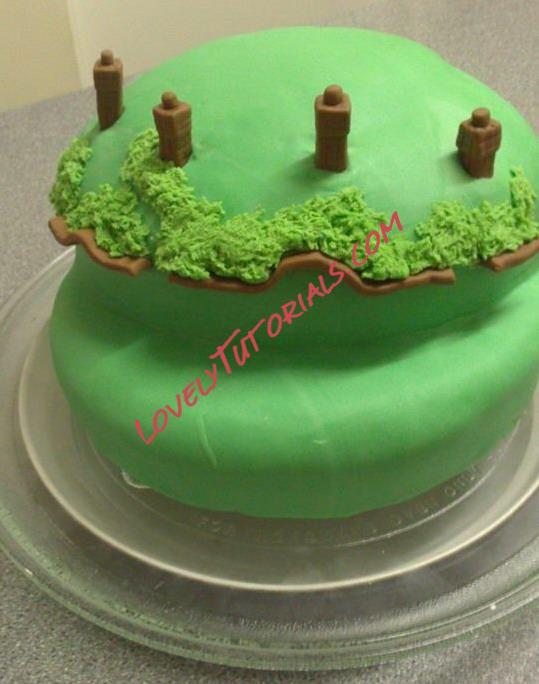
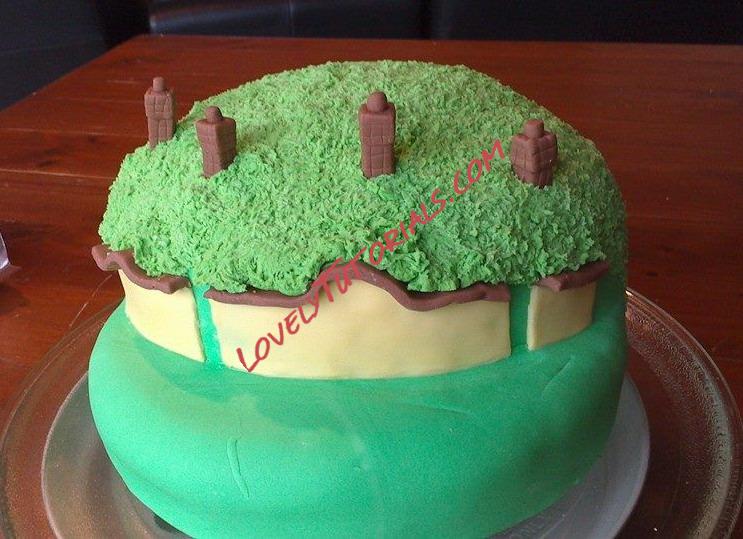
Grass - I used the remains of a packet of green (not as dark as I wanted but I couldn't get darker till a few days later). I brushed on water onto the cake and stuck down the green for the grass in small sections 'picking' at it with a tooth pick and scalpel edge to texture it. This took ages, but I was watching Lord of the Rings at the time, so I wasn't rushing.
Wooden Roof over the door and window - Rolled out brown sugar paste and cut thin 'straight' (ish) pieces out and stuck them to cake with a few tooth picks.
Chimneys - Shaped so brown sugar paste into rectangles and made lines in them for the bricks then stuck them down to the cake with water. Then I continued stick on grass.
Yellow Walls - Roll out a thin strip of yellow, cut to the sized you need, brush water on the cake and stick the wall pieces down rubbing gently to smooth.
Step 6: Door, Windows, Path, Fence
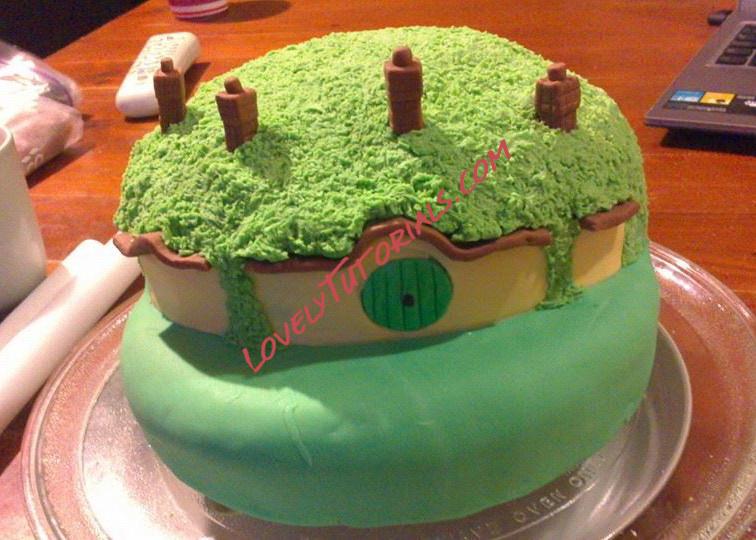
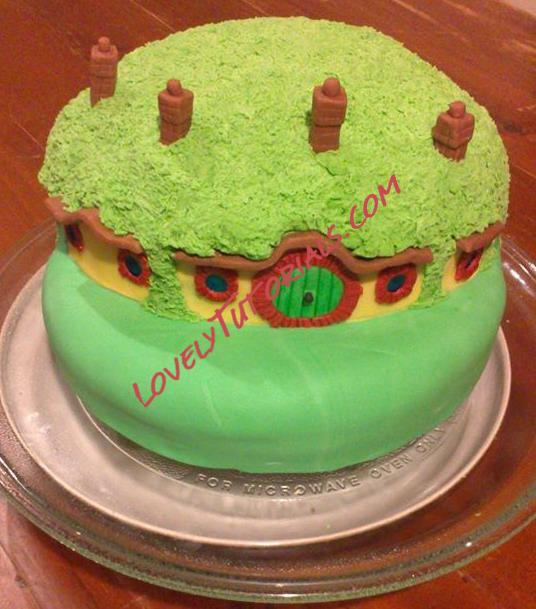
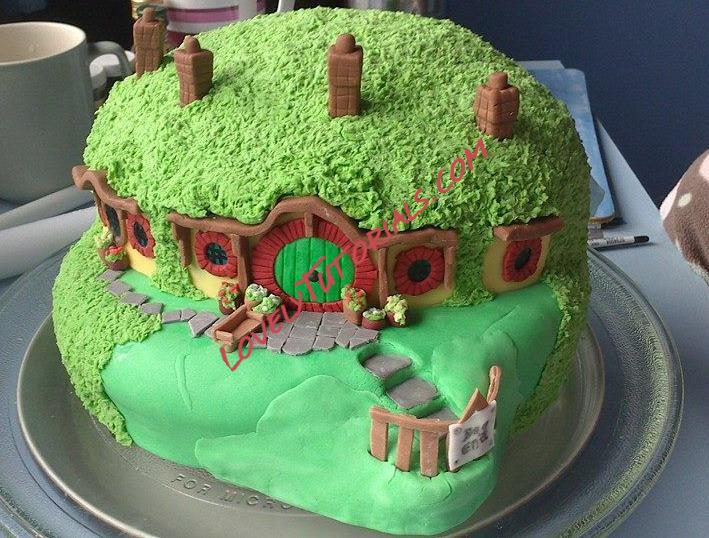
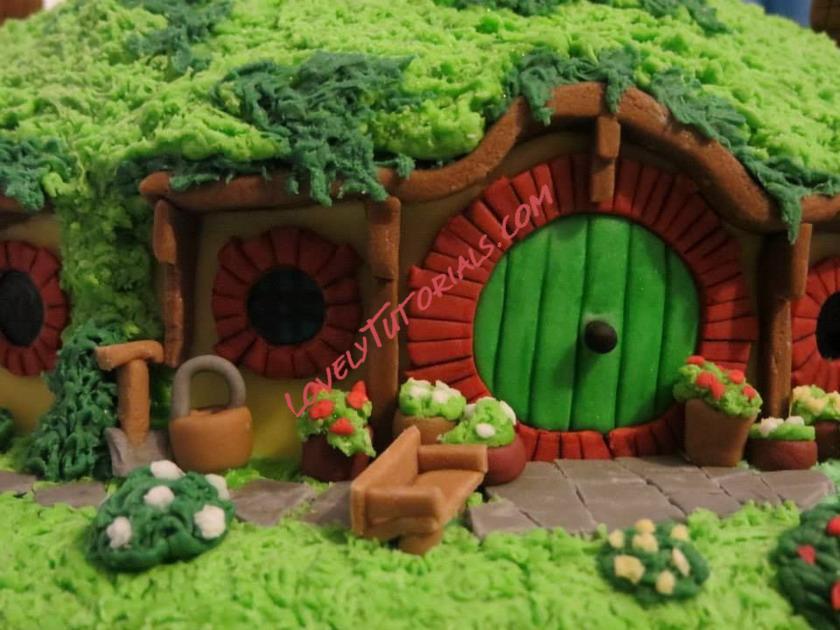
Door - Cut out a circle (hard part when I couldn't find anything a decent size, everything found a tube). make some vertical lines on the door, brush with green food colouring to make it look painted compared to the rest of the cake. Cut out a hole in the yellow wall to fit the door. Stick in a door knob, and stick carefully into the hole.
Windows Frames - I only stuck on the window frames and then brushed on some blue colouring (and black lines) for the actual windows.
Stone Path - Roll out grey sugar paste, cut into squares and irregular shapes for the path and stick them down.
Fence - Roll out thin strip of brown and cut even small 'planks' and 2 rectangular pieces to stick the sign to.
Sign - The sign Should read 'no admittance Except on Party Business', and I did try to fit it on paper, but wasn't happening. My sign just reads 'Bag End'. I just made the shape of the name and paint in a small amount of black food colouring in the grooves.
Step 7: Potted plants, Bench, Ivy, Tree
Picture of Potted plants, Bench, Ivy, Tree
Plants - Just stick on little bits of coloured paste onto the green 'grass' piece, stuck into a brown 'pot' shape.
Bench - brown thin strips, left to harden slightly before sticking.
Ivy - Dark green grass over the light green and textured the same way. Stick some around the fence and between the windows and path stones. I made clumps of shrubs with the dark green also.
Garden Tools - I made a shovel, bucket and fork for the garden and stuck them in. It was getting late and I had lost interest and didn't make the bird table and post box, but you can just keep adding stuff really.
Tree - I knew this was going to be hard so I wasn't hopeing for much and as I said, it was getting late so I didn't want to spend ages on it. I stuck wooden dowel into the cake, wet it with water a bit and stuck on brown paste, textured like bark and stuck in some tooth picks with patches of green 'leaves'. Its two days since and its still holding fine which Im surprised by.
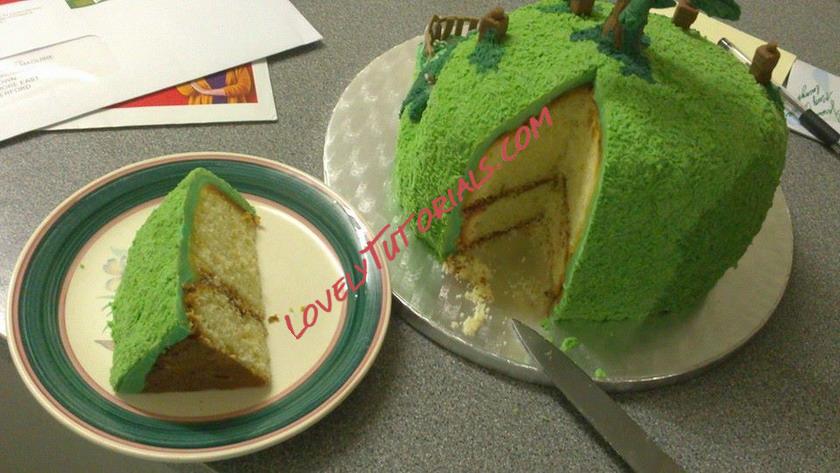
Step 8: Eat
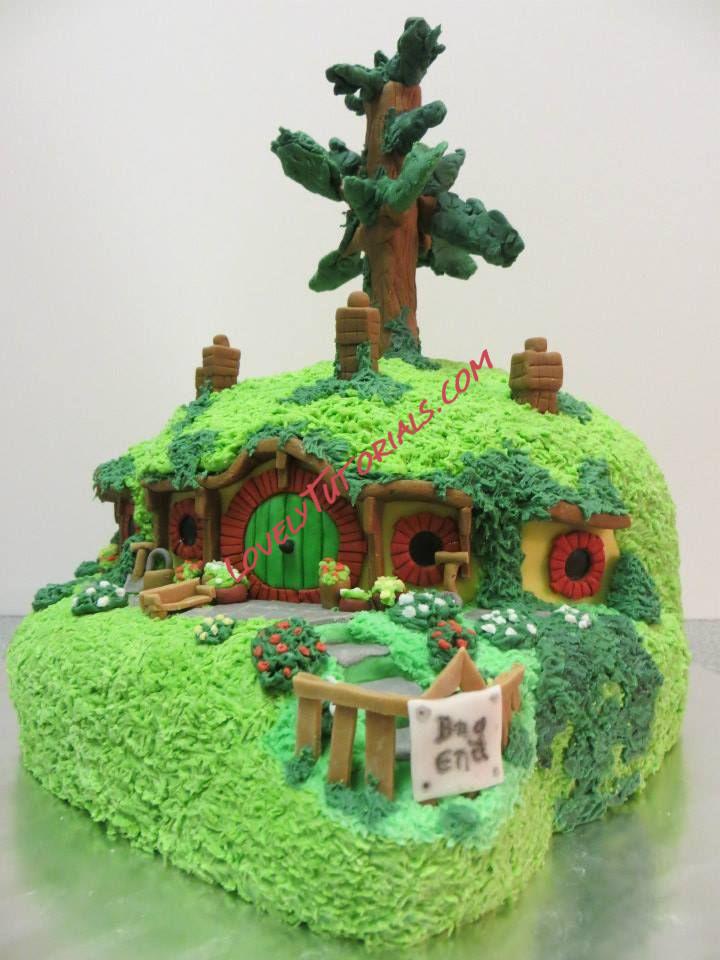
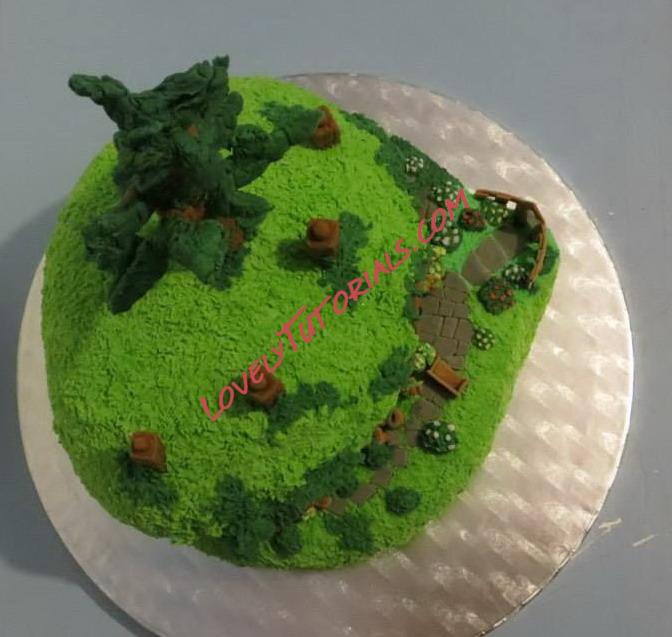
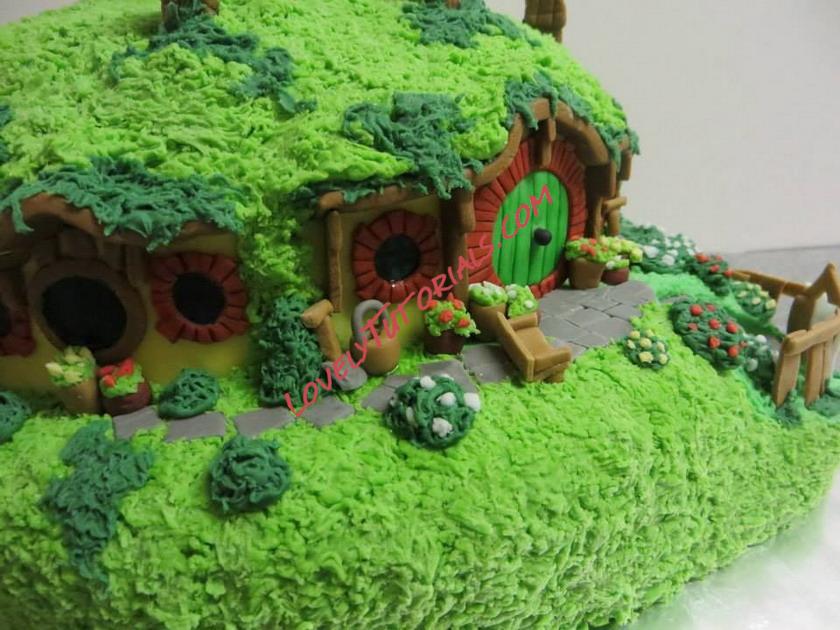
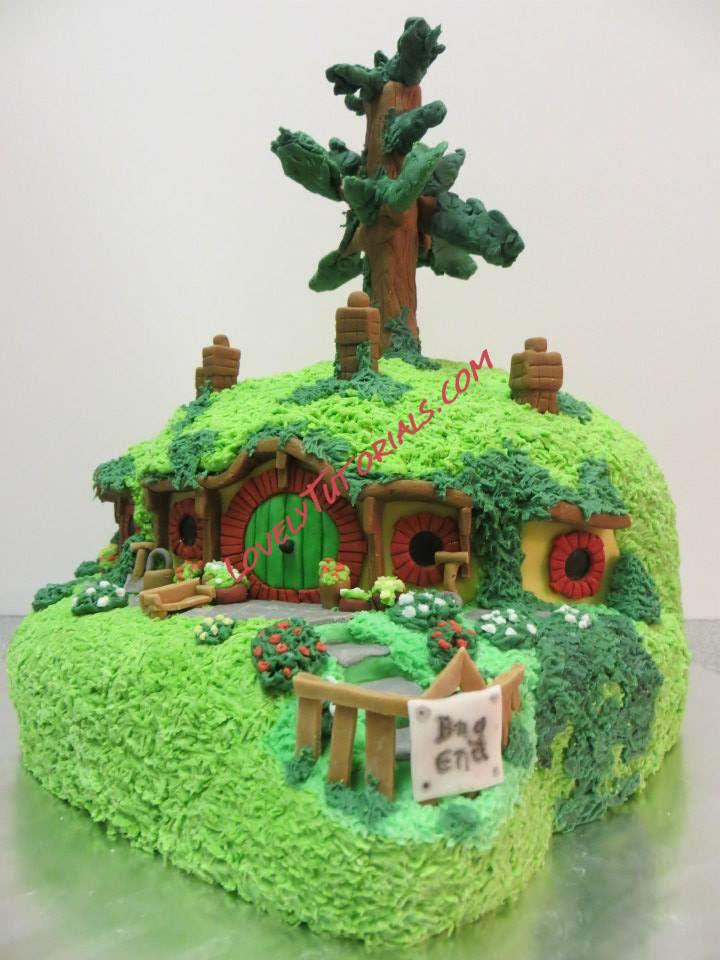
Finished.
Now don't get sentimental! Cakes are for eating, so eat it! (I don't recommend eating the icing though.....waay to sugary and gross)
Hope you like and thanks for reading.
Step 9: Real Bag End
