Огромная благодарность Автору sugarsweetcakesandtreats за Мастер-класс
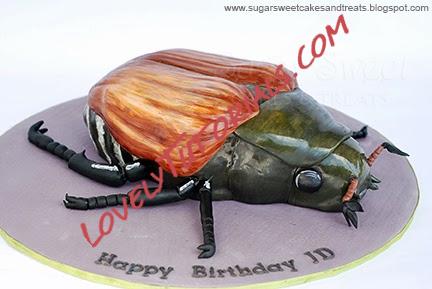
The beetle is sitting on a 16-inch round board and its body measures to about 12 x 6 inches. He’s entirely made out of cake and decorated in fondant.
Included are some of the step-by-step photos of the process in making the cake…
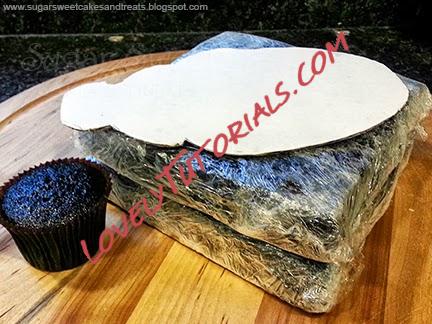
Baked 2, 8-inch square cakes plus a cupcake for the bugs head. Cut out the base of the cake out of a cake board and used it as a template to carve the basic outline of the beetle
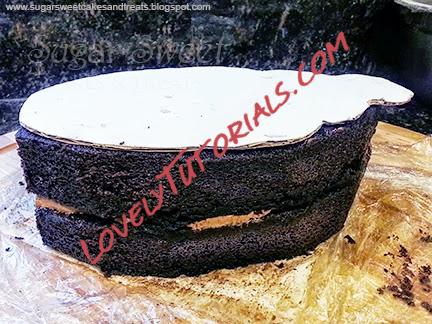
Basic outline of the bug carved out of cake
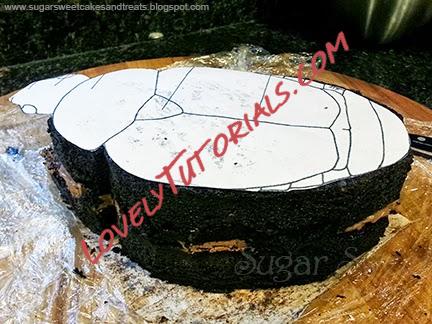
I used a paper template from a coloring page of a Japanese Beetle to get the features just right on the cake. Further carved the sides of the cake into shape.
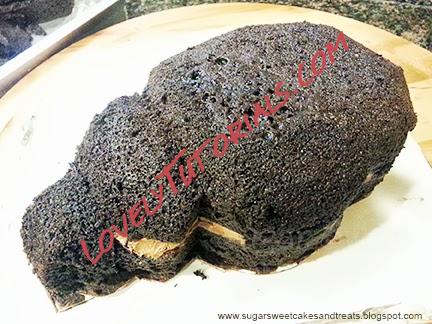
Remove the template and eyeballed the rest of the features and carved out the roundness of the bugs body
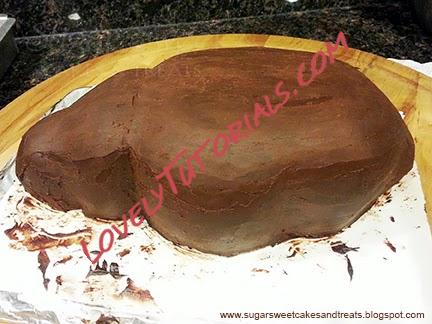
Cover in ganache and let it sit overnight to set
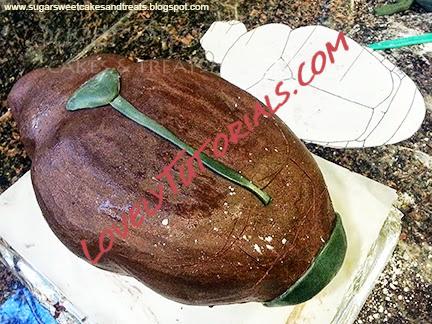
After it sits out overnight, I pop the cake into the fridge for about half an hour to get firm so that I can handle it better. I propped it up over a container so that as I add the fondant details, I can wrap it up under the cake to give it a more 3D look rather than have it sitting flat up on the cake board. I lightly drew out the details on the cake with a scoring tool so that I can get a better feel of what I need to make. The cake does form a small layer on condensation as it comes back to room temperature and it works to your advantage and helps the fondant stick to the ganache without needing to add anything extra.
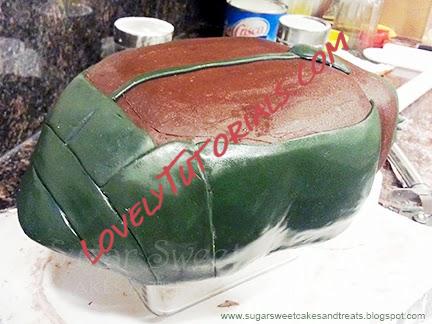
Keep adding the details on the bug cake section by section. As you can see, the cake is propped up over a rectangular container that fit under the bug’s body.
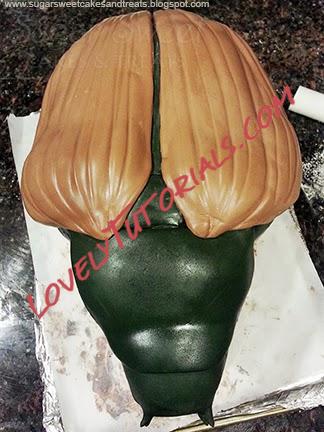
The wings were the most difficult to get just right. I must have spent a good hour shaping them. I then let the cake rest for a couple of hours so that the fondant can harden up a bit before painting in the details.
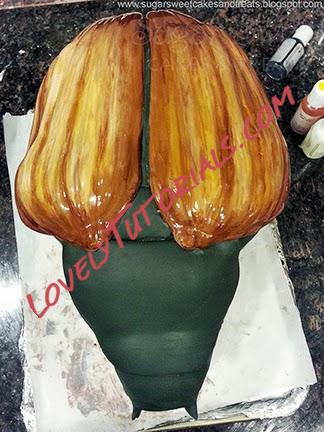
I then painted the wings with piping gel that I watered way down with vodka: I used a mix of chocolate-brown, bright yellow and white gel colors. I also painted the body of the bug the same way using a little bit of yellow to give it some texture and dimension. The piping gel dries up leaving behind a glossy shell.
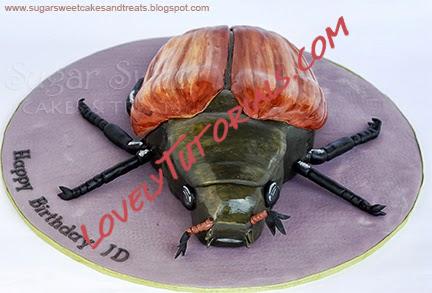
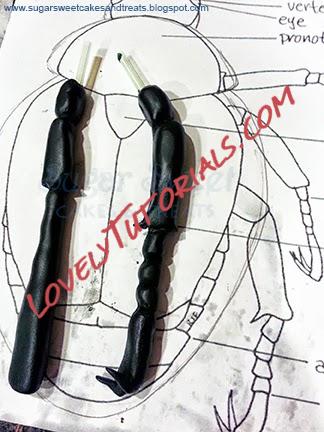
I used the coloring page as a reference to sculpt the beetle’s legs with – I wrapped up a straw with black fondant and sculpted the details on it. I used the same technique to create the tentacles.
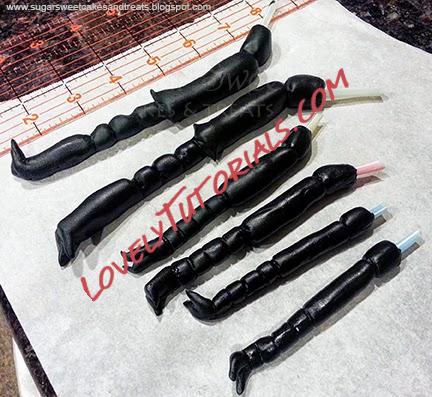
All 6 bug legs made and left to dry overnight. The tips of the straws sticking out is what I use to insert into the cake. I used sugar glue (Tylose powder mixed with water) to help hold the legs into the cake.Once the cake was assembled, I used white royal icing to brush the “fuzzy hair” around the sides and back of the bug.And that’s it. Hope you like it and didn’t get too creeped out by it.


